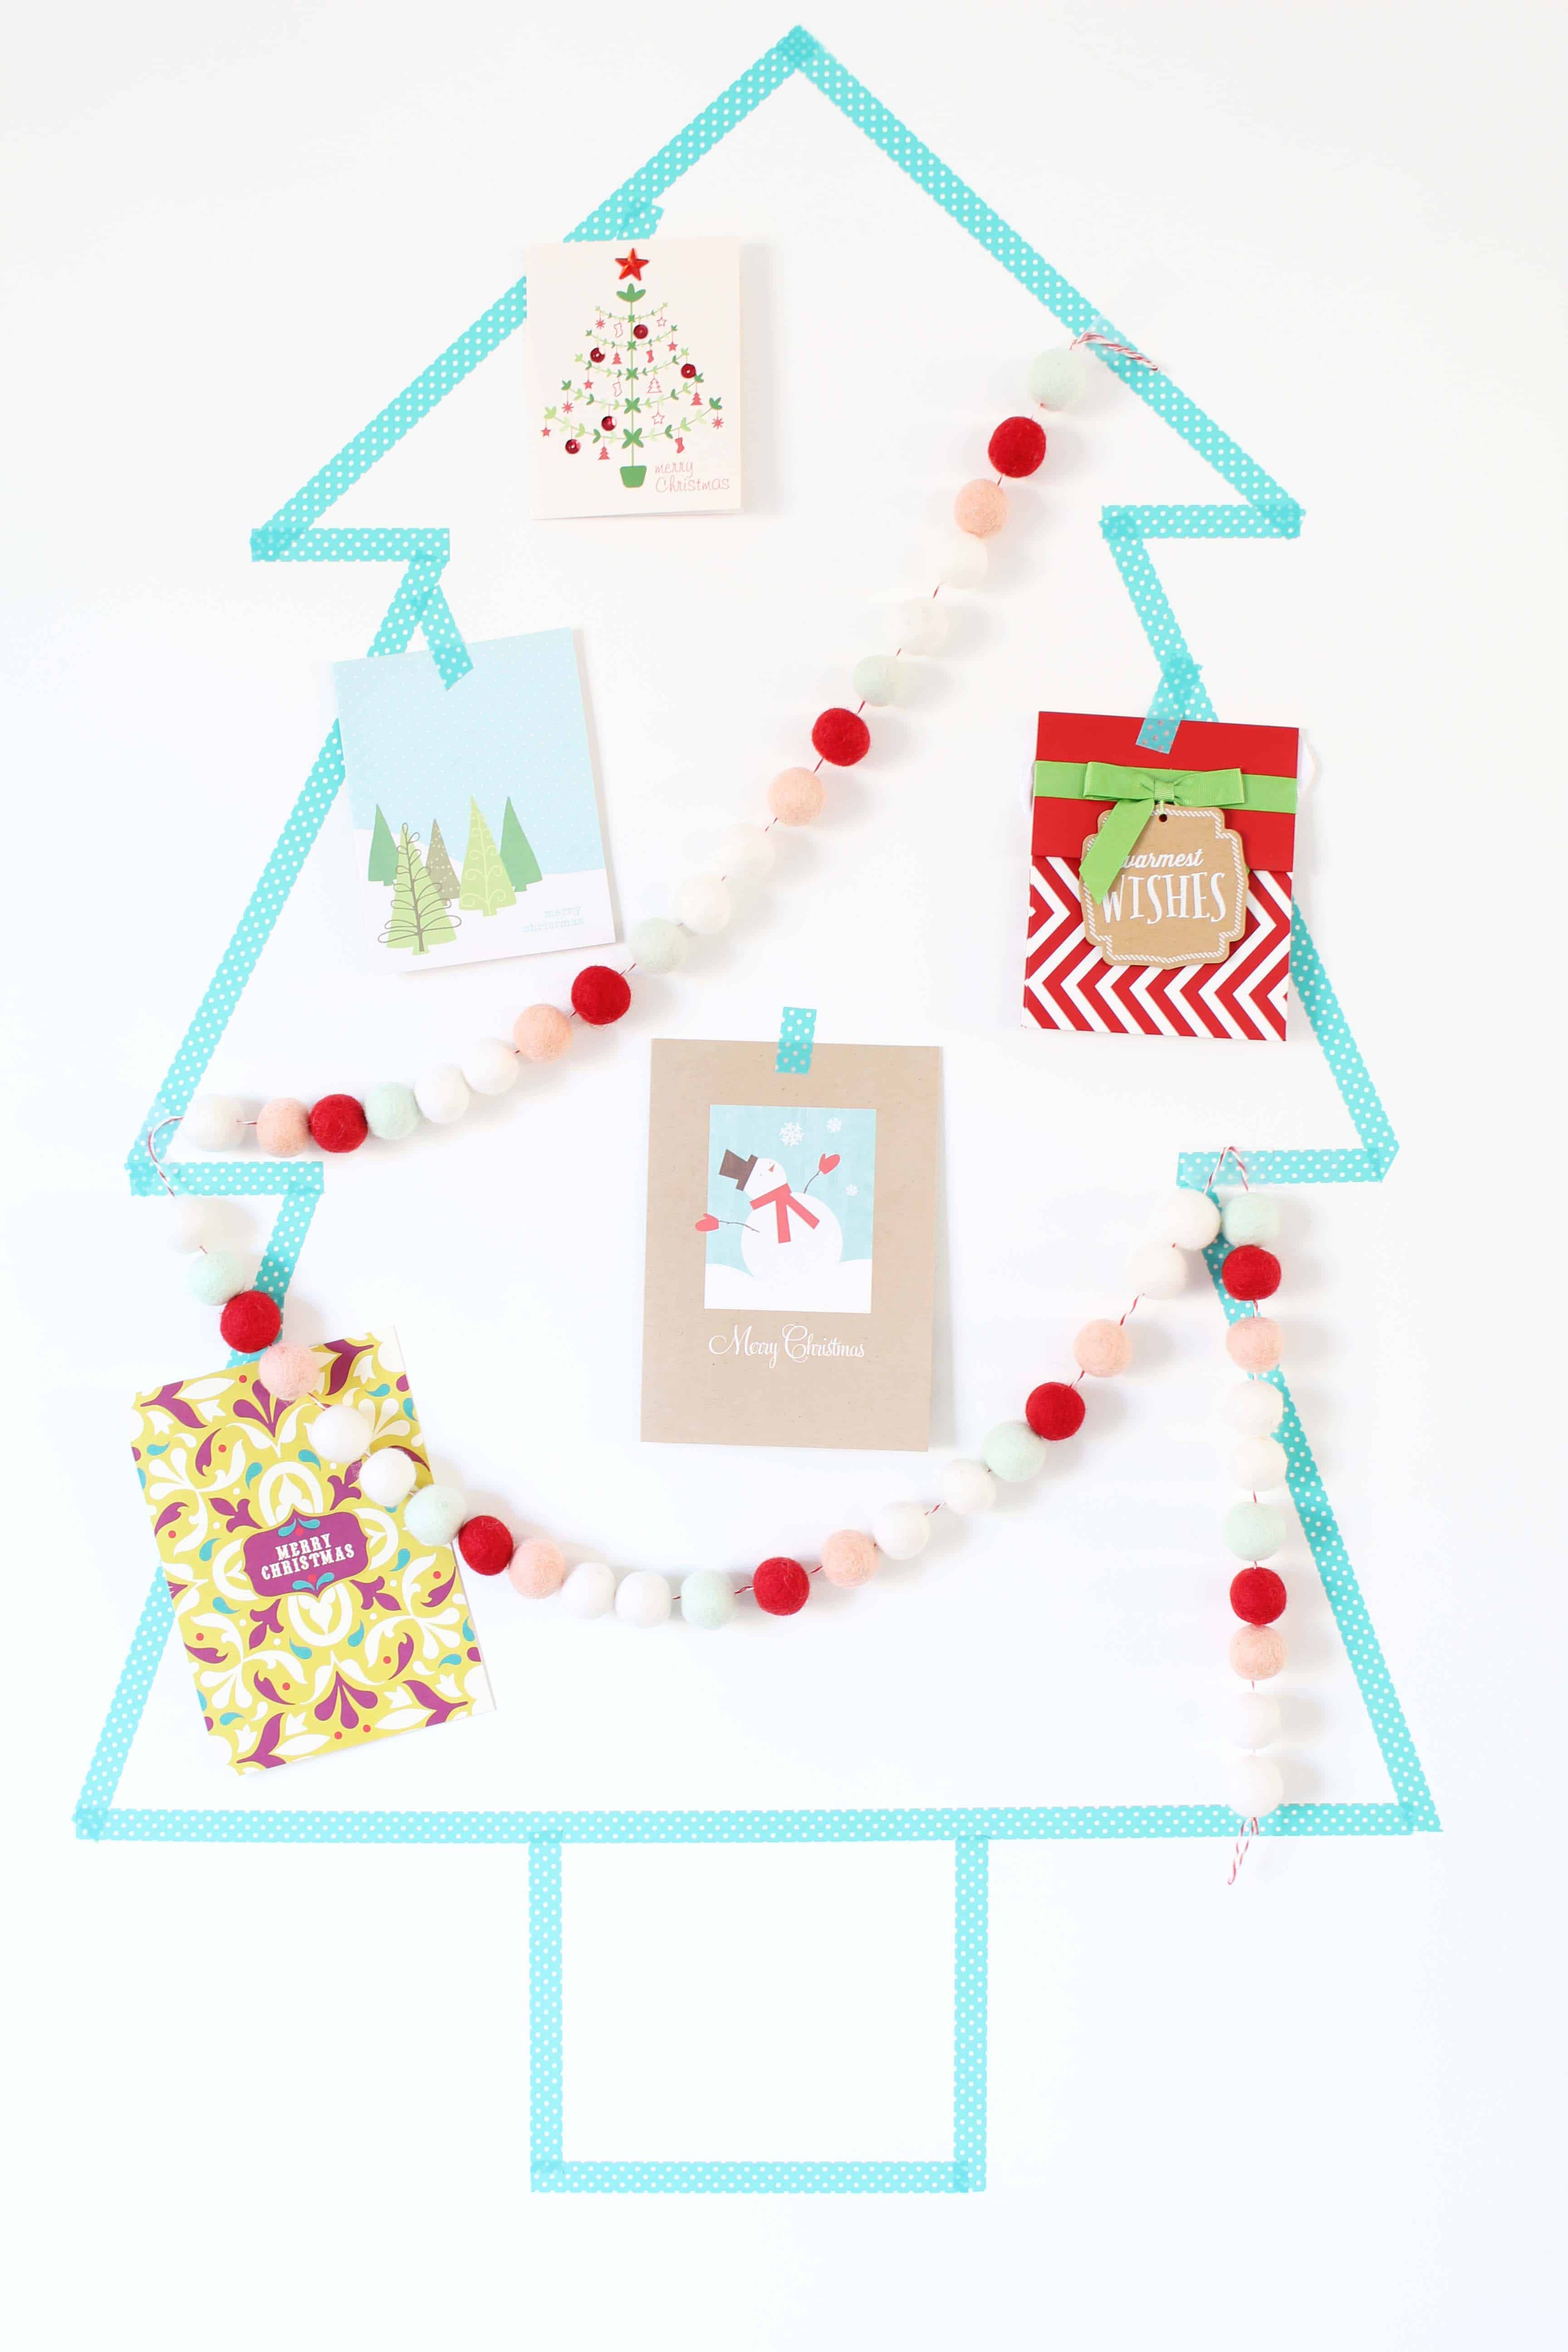
This DIY washi tape Christmas tree card holder is a fun and simple way to display Christmas cards and takes less than 30 minutes to make!
This post contains some affiliate links for your convenience. Click here to read my full disclosure policy.
If you’re home is like ours, those early bird Christmas cards have already started rolling in for the Christmas season. Each year I’ve done something different with our cards, strung them on baking twine with cute little mini clothes pins, piled them in decorative bowls, and even used a dedicated pin board to display them all.
This year I knew I wanted to use a wall to display them, and I wanted to do something colorful and a little unexpected. Washi tape sounded like a good way to do both.
I’ve used washi tape a lot over the years, but mostly just for spicing up the occasional card or note. I’ve seen a lot of cute decorative ideas out there for using it – some people even use it to make a substitute Christmas tree when they have a small space!
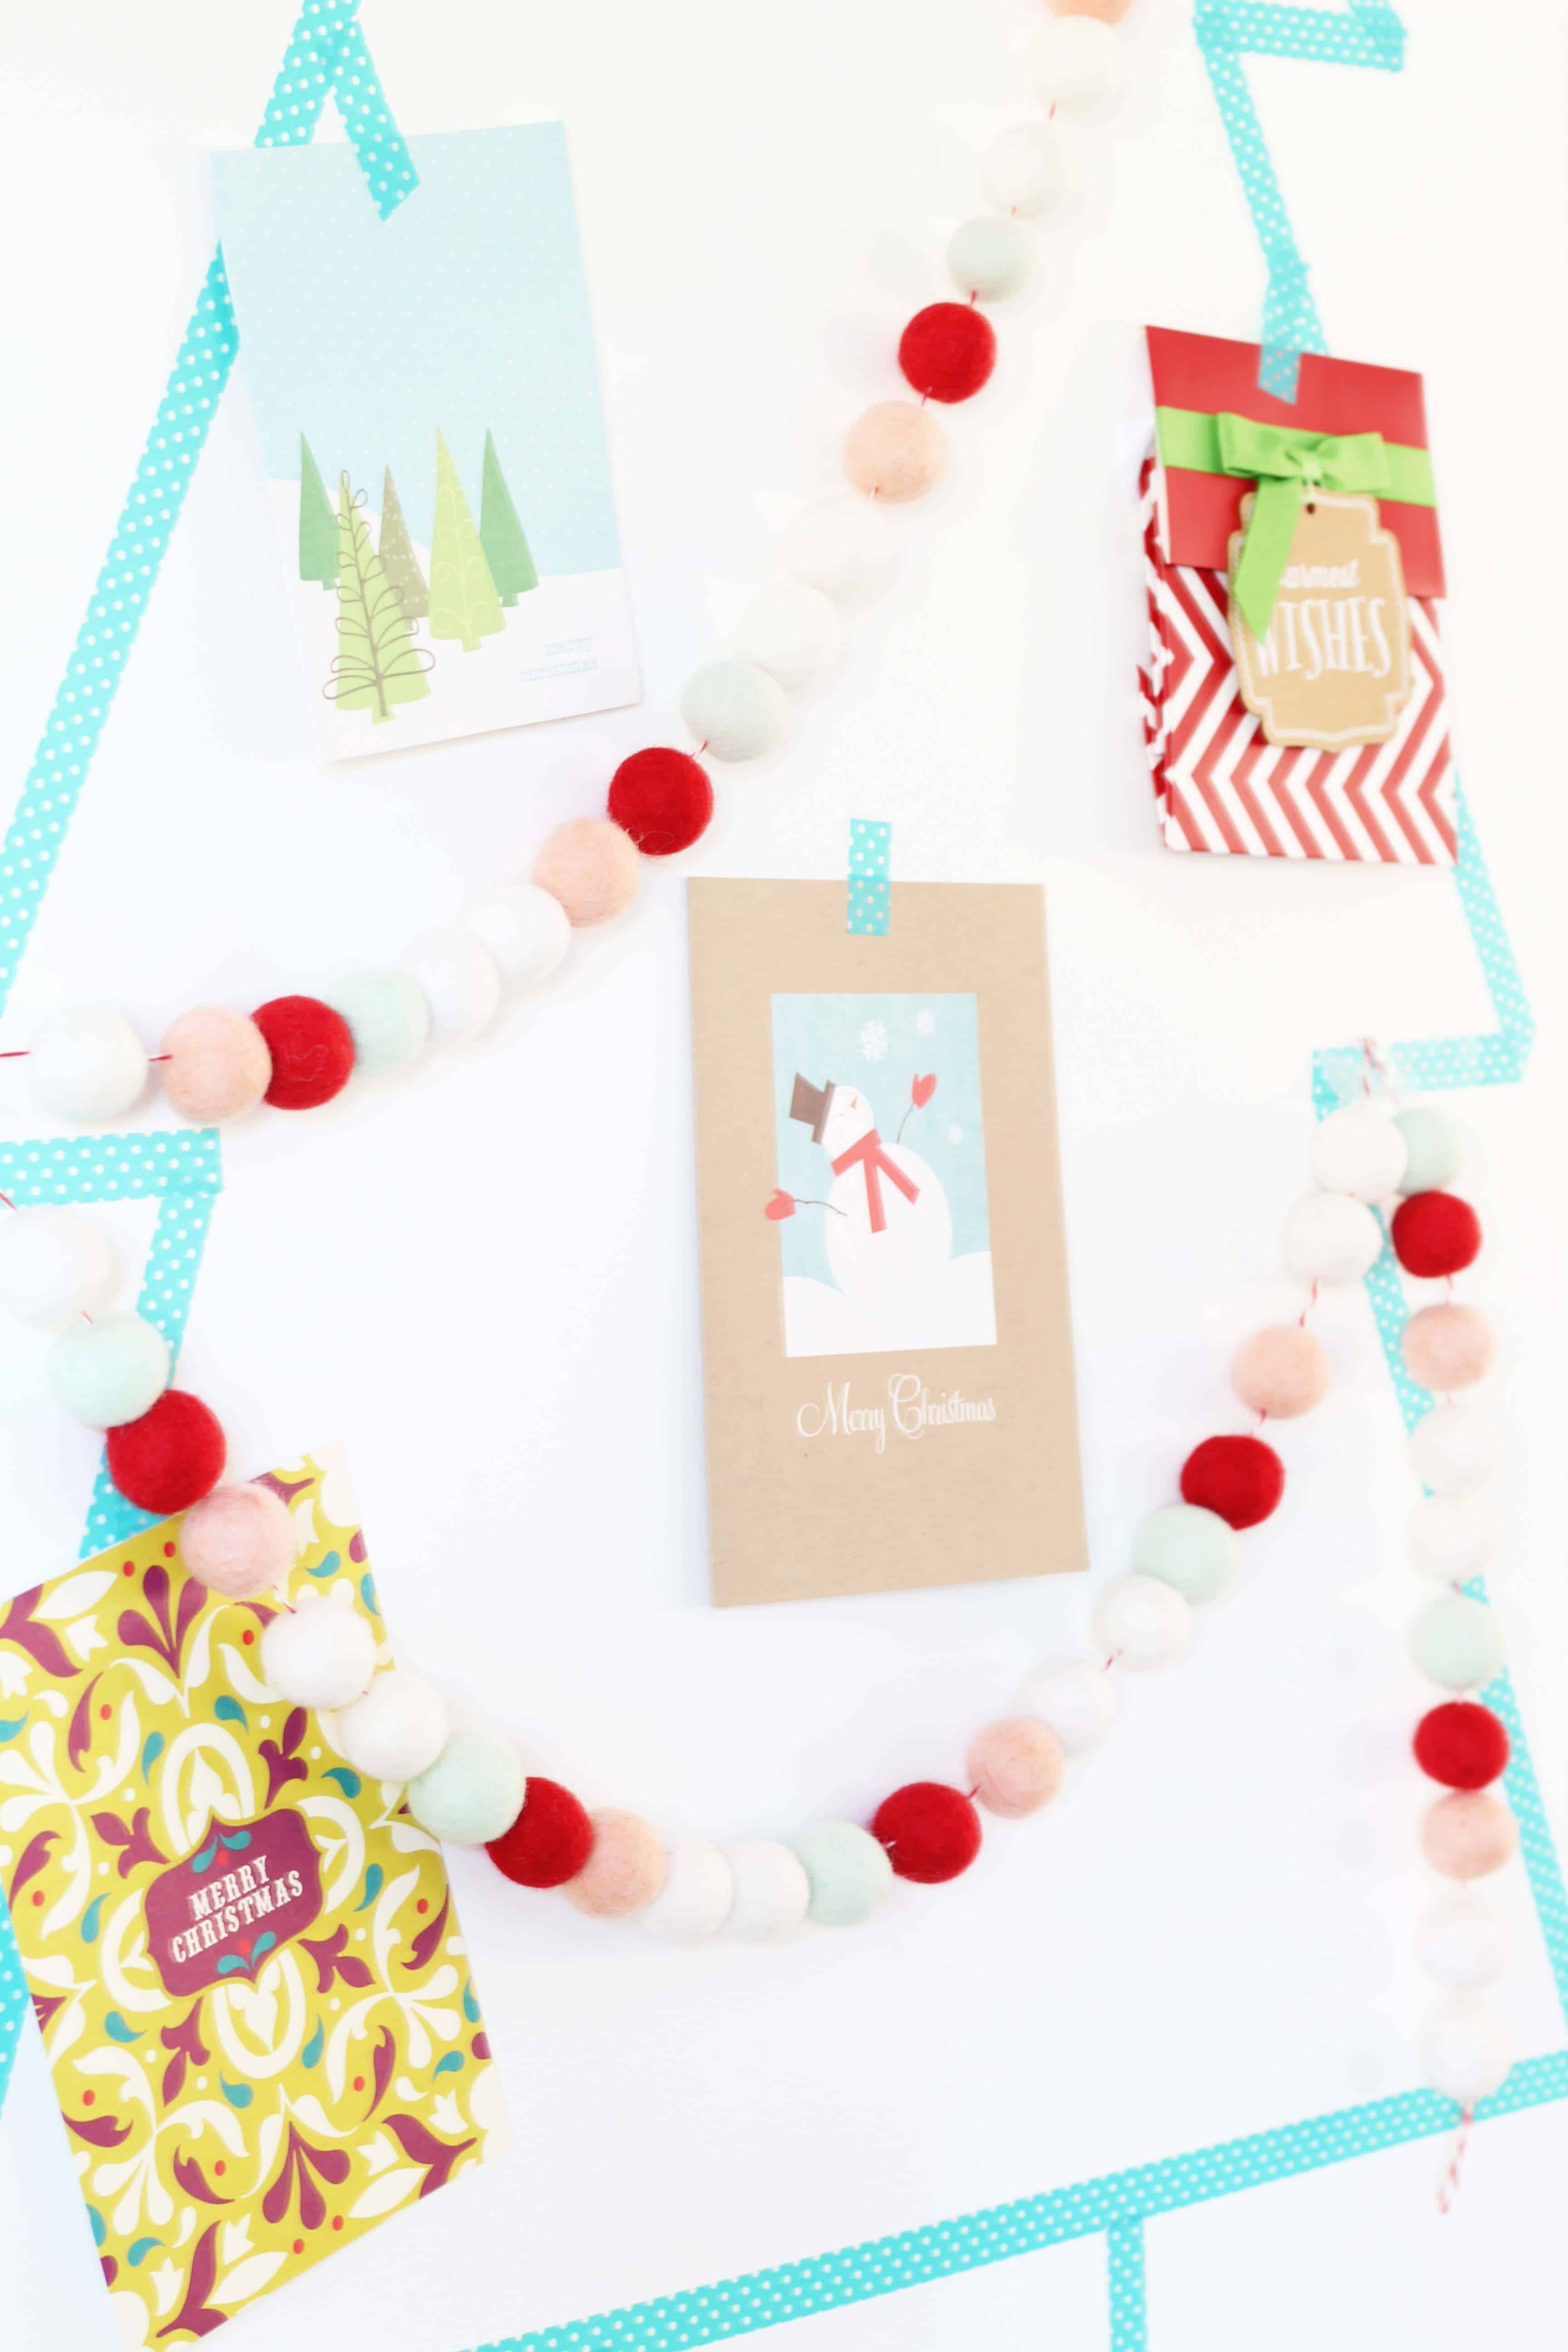
Washi Tape Christmas Tree Card Holder
I started by deciding what type of look I was going for with the color. Since our home has a lot of shades of aqua and blues throughout it, I always try to incorporate a little bit of it into our Christmas decor. Plus, I love the combination of aqua and Christmas red together, I think it’s kind of fresh and whimsical.
I settled on a roll of aqua washi tape with polka dots. If you’re looking for some, I bought mine here.
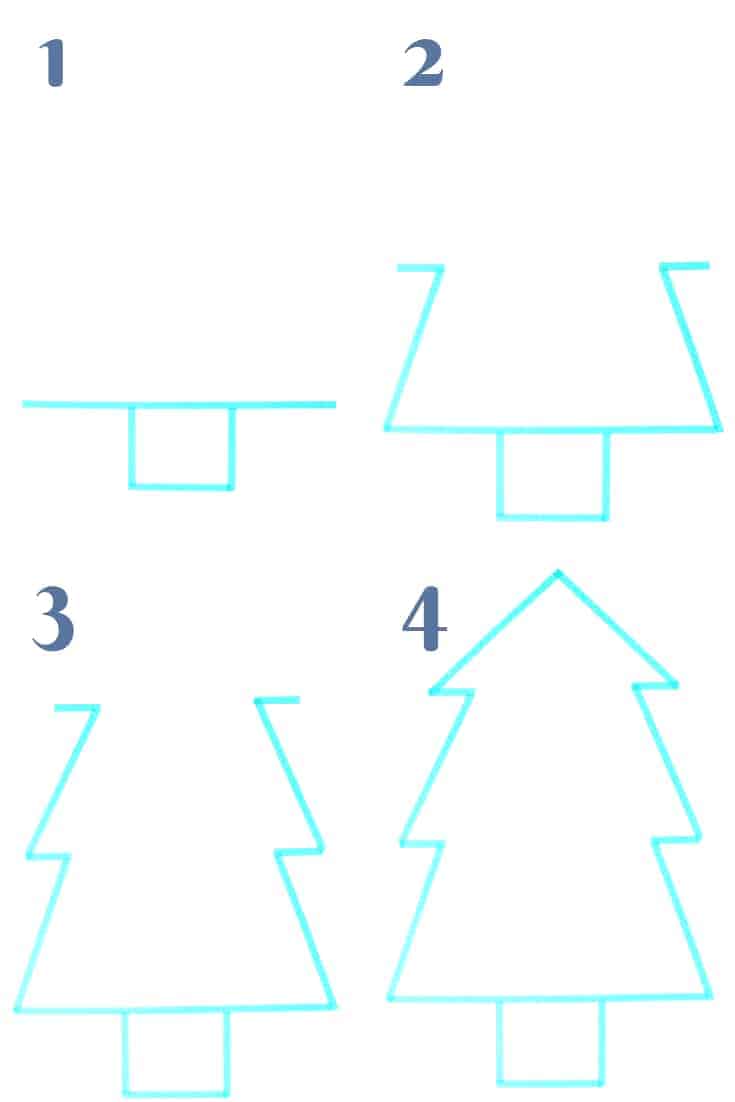
How to Make a Washi Tape Christmas Tree
- Once I had decided what wall I wanted to use, I started by making the base of the tree. That straight bottom line above the trunk will determine how big your tree will be over all, so use that as your guide for how long to make it based on your wall size. Once that is decided, add your tree trunk.
- The next 3 steps are easiest if you measure your tape out ahead of time before each step. Divide the tree into three sections, each with 2 long sections and 2 short sections (see step 2 illustration above).
- For each section of the tree outline cut the long sections the same length and the short sections the same length.
- Angle the long sections inward then place the short sections perpendicular to where your long section ends (this creates the “branches” of the tree).
- The best part? Washi tape is easy to reposition if you don’t like the look or your angles don’t match up.
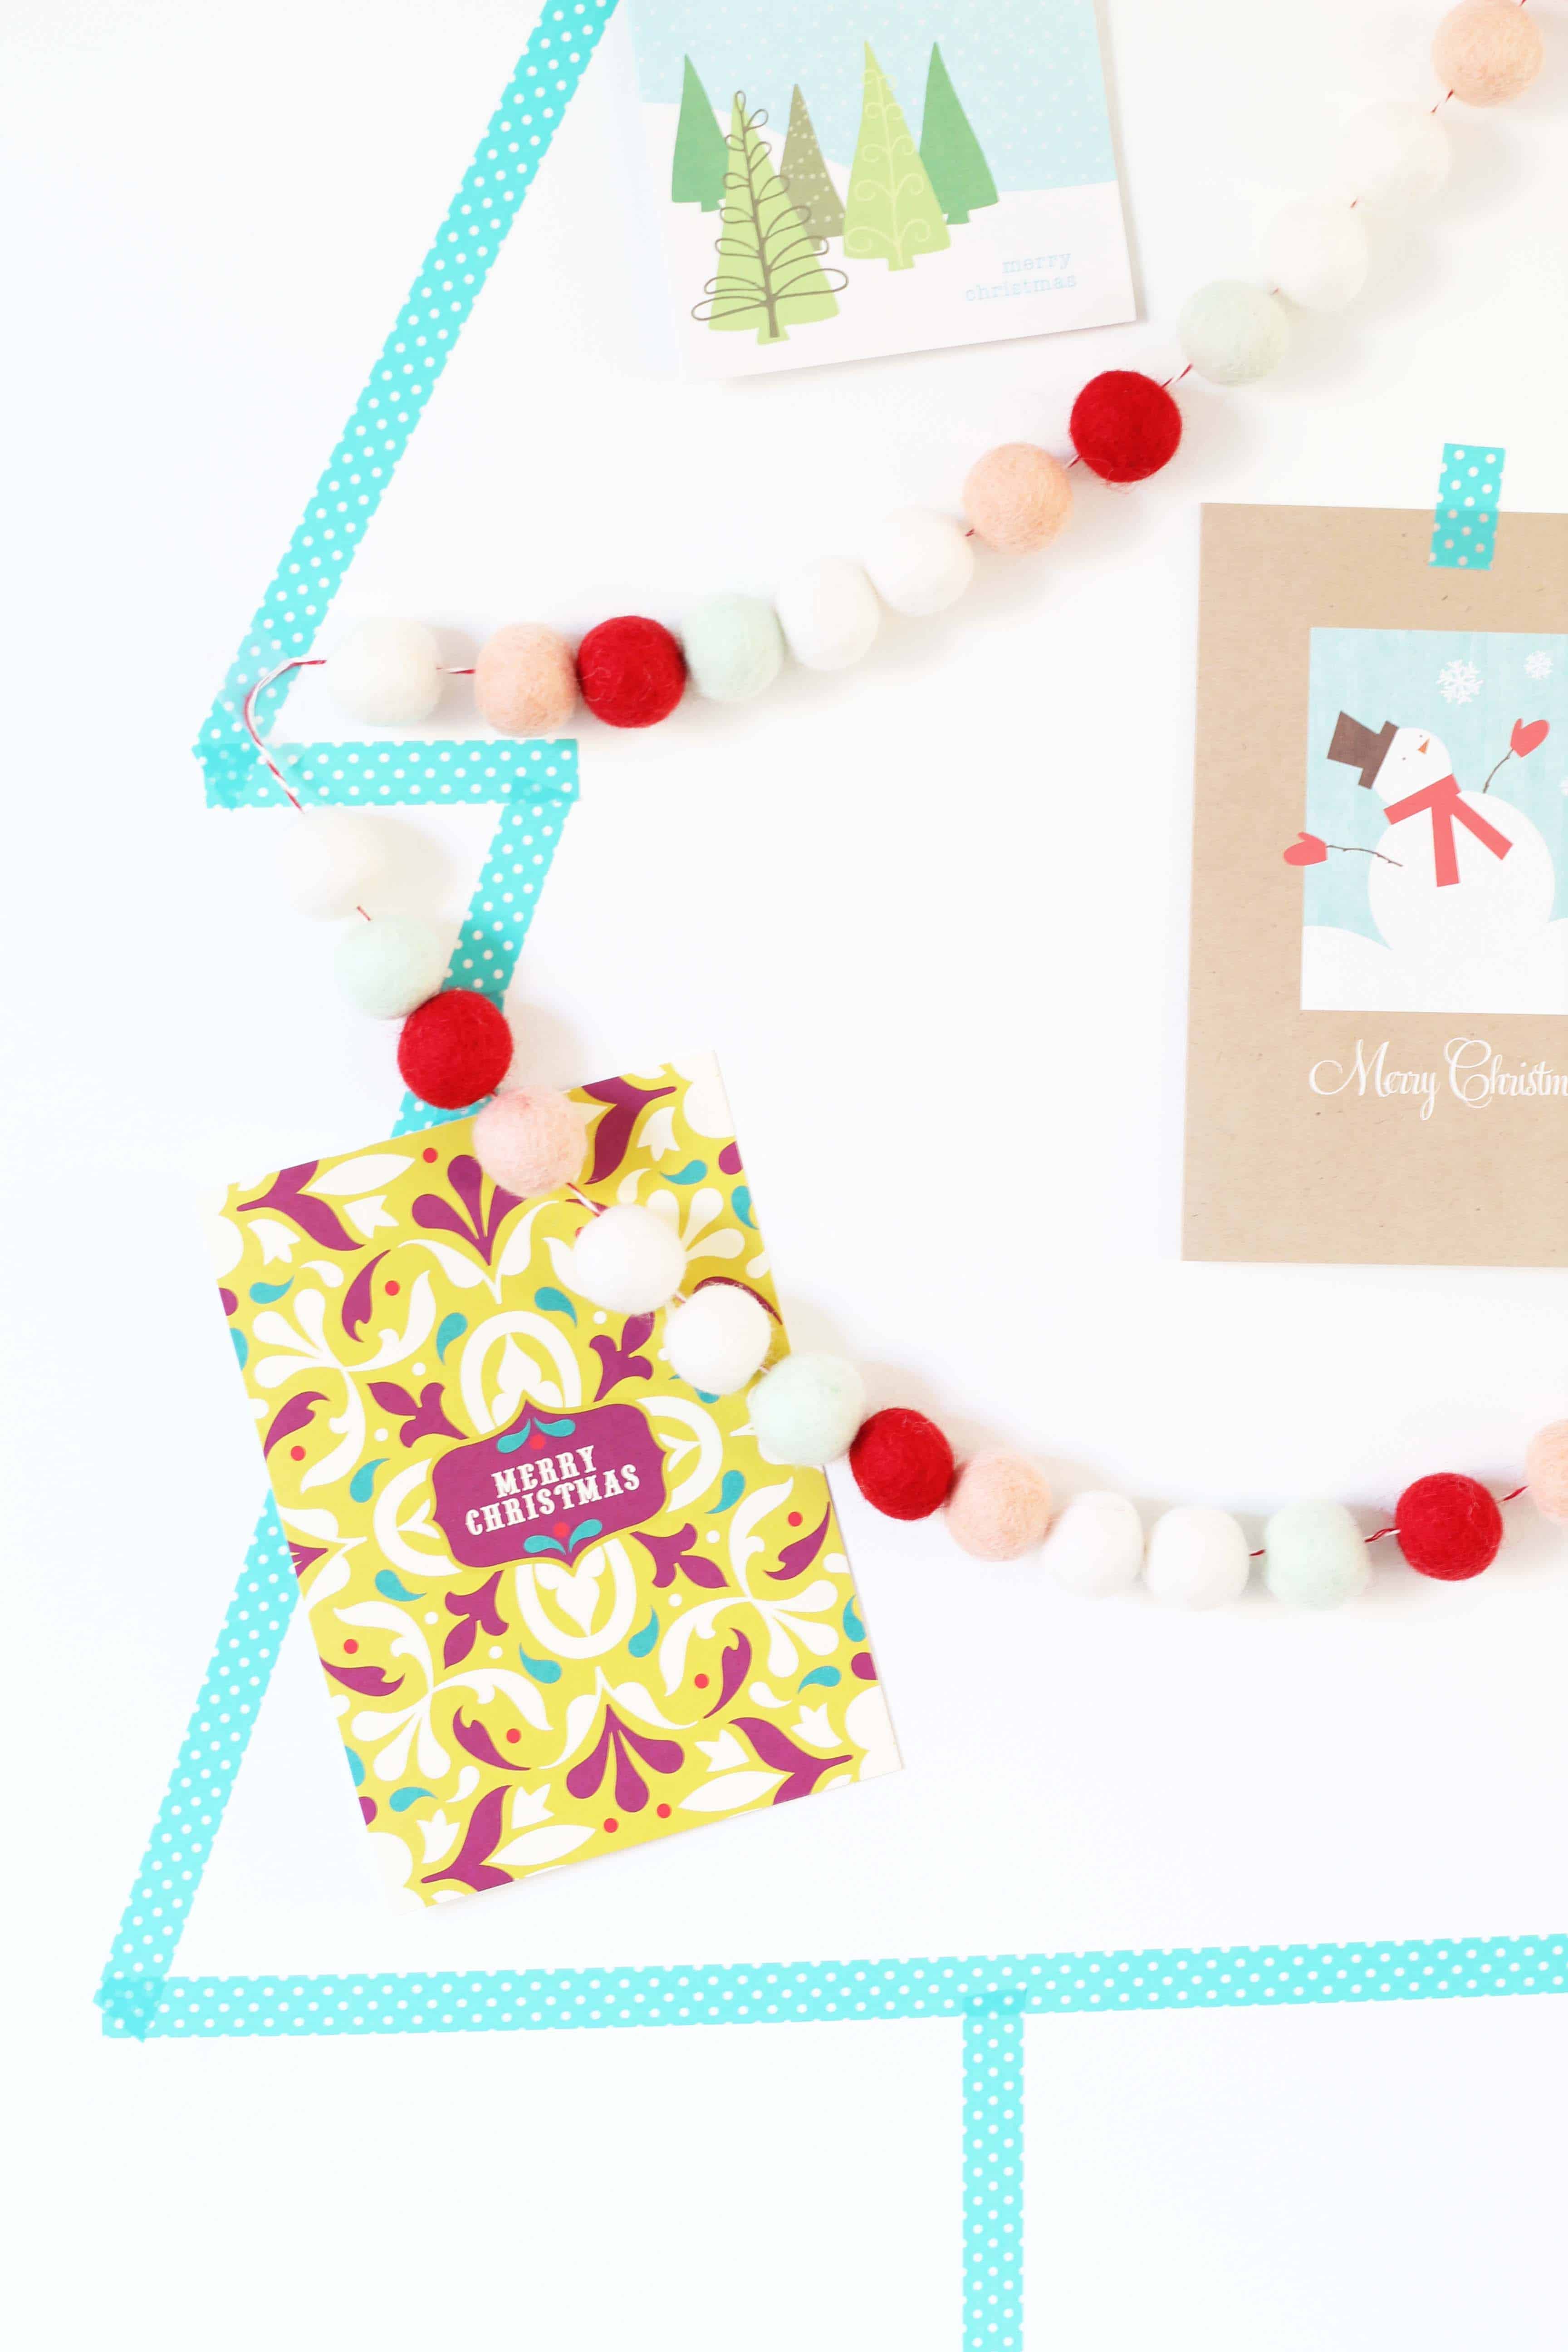
Fill Out Your Tree
Once I had my tree outline completed I started adding some cards. I used the same washi tape to tape them to the wall. It was looking pretty good, but needed a little something to add some pizzaz.
I tried a couple of different things, including making some red tissue paper ornaments, but they ended up looking a little too much like apples and since apple tree wasn’t what I was going for, I went with a felt pom pom garland instead 😉 .
Similar felt pom pom garlands available here and here.
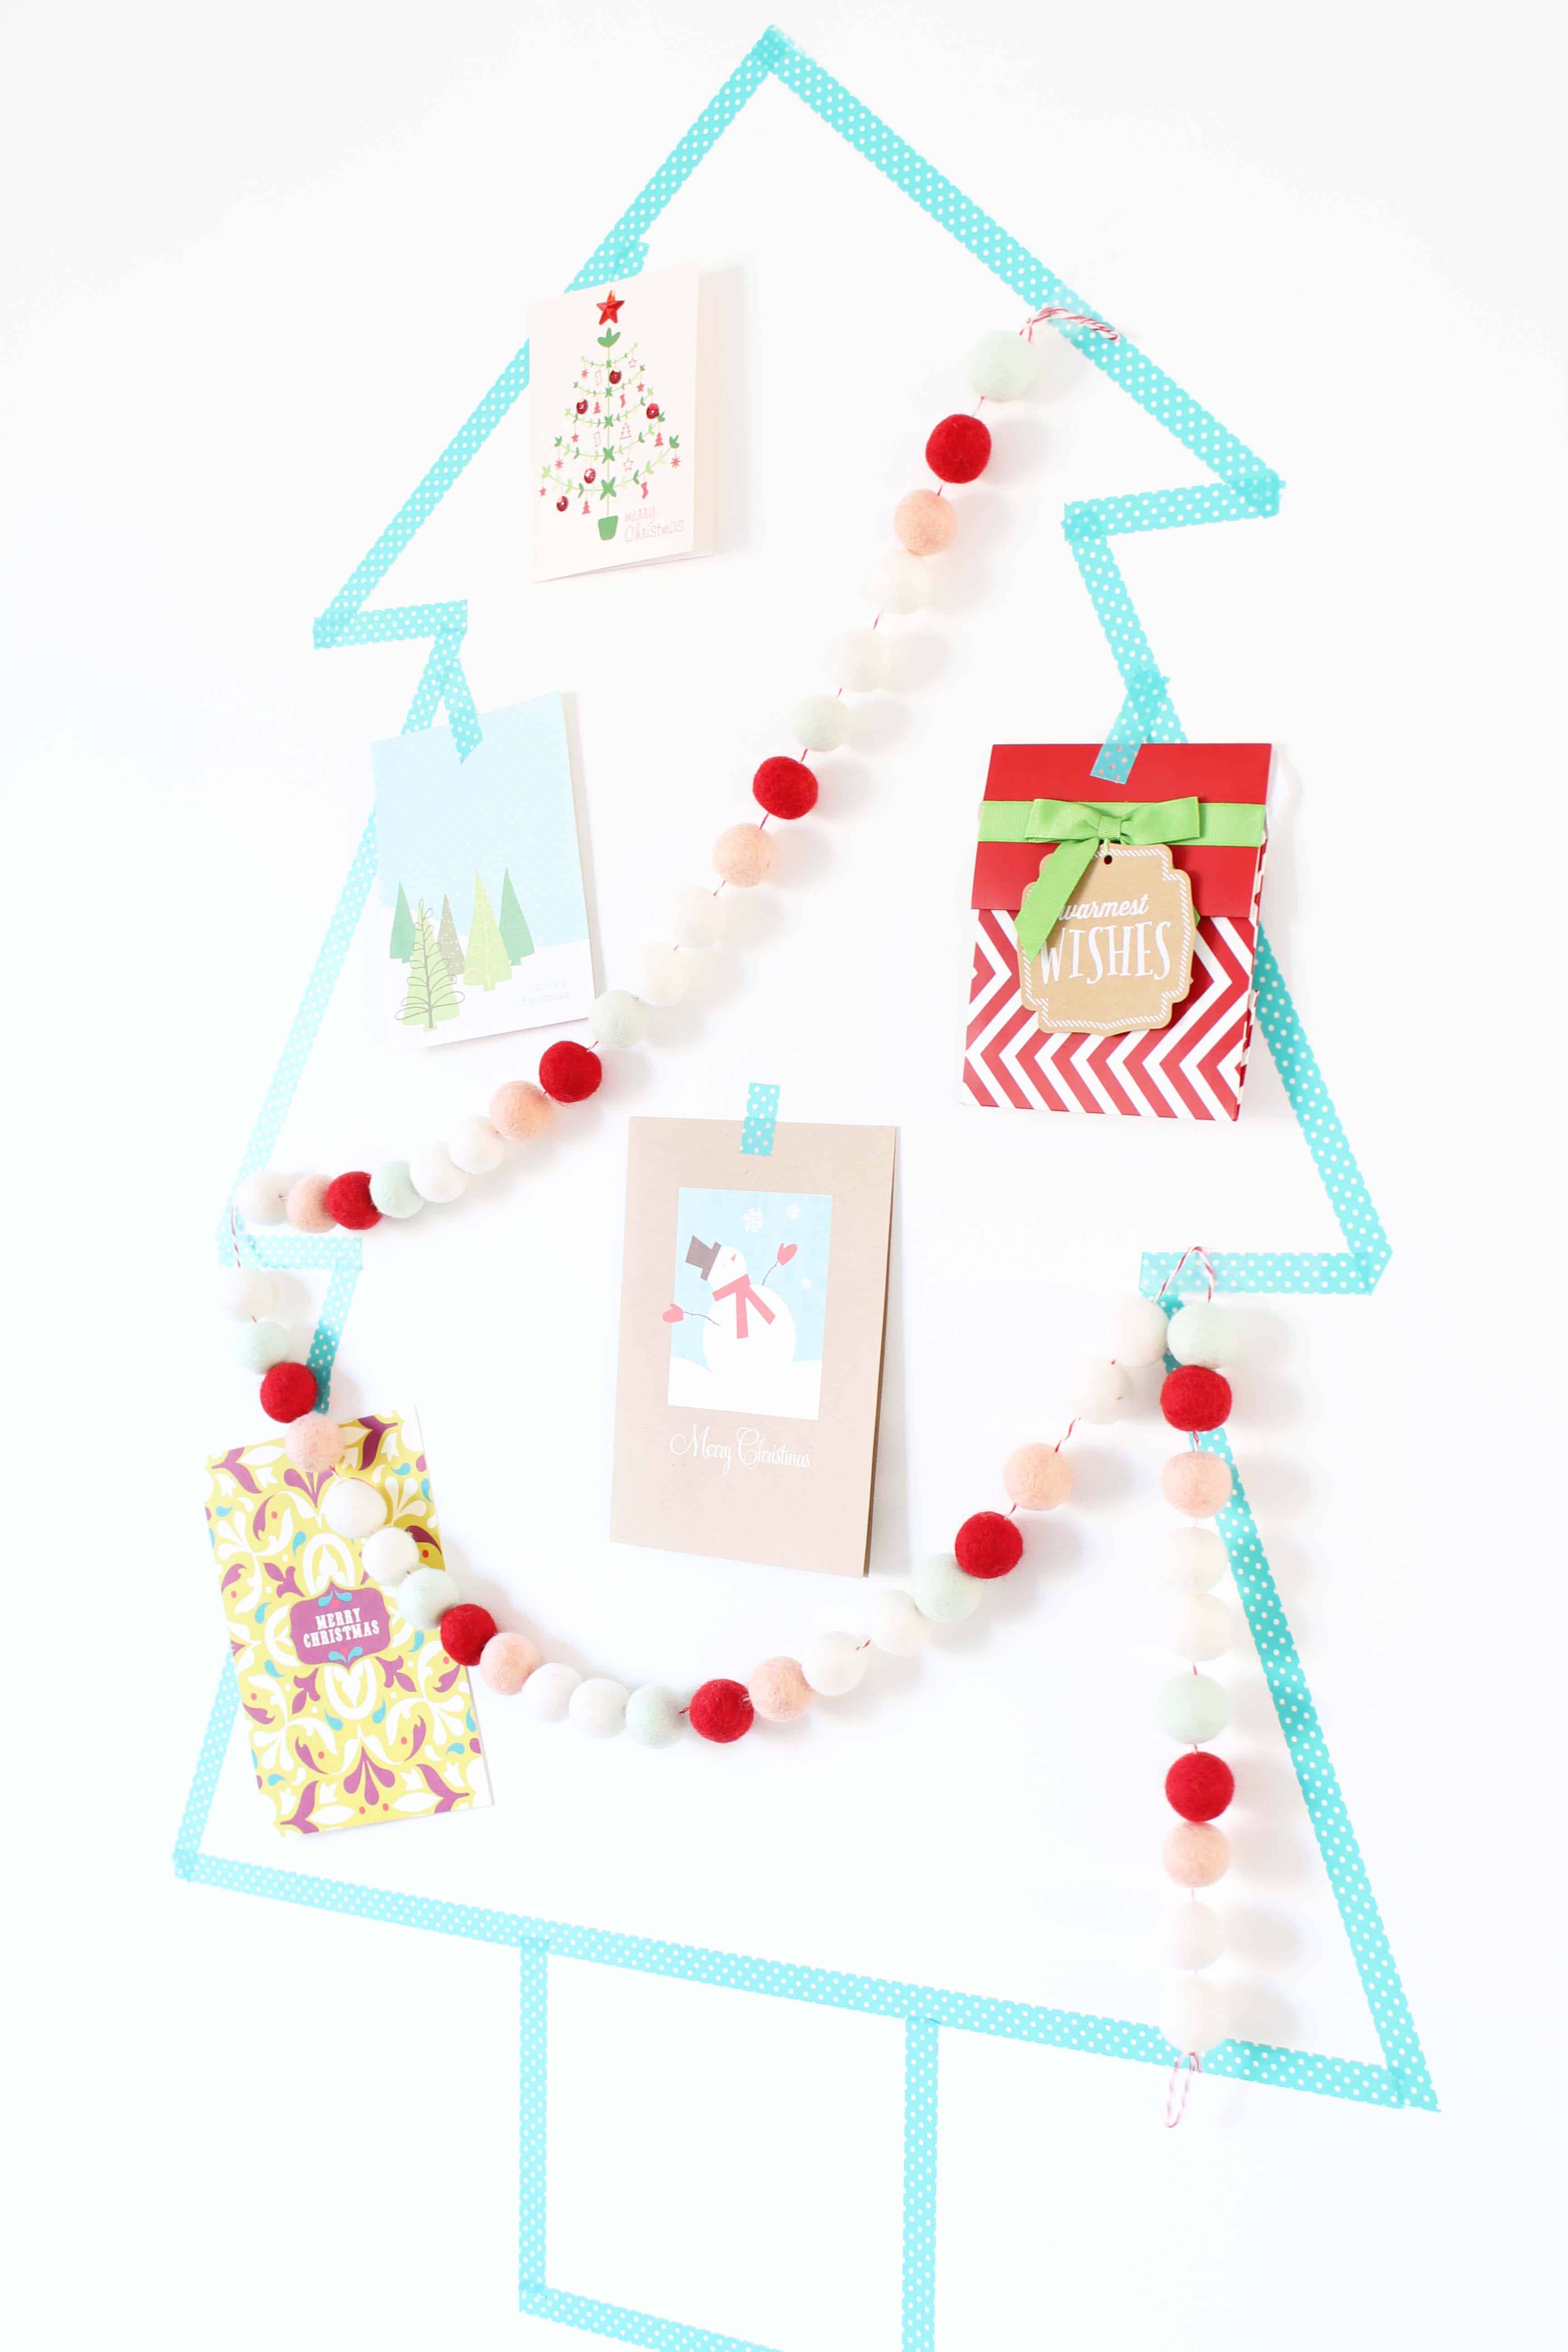
It turned out pretty close to what I envision in my head, I love the colors and the way it adds a huge pop of holiday cheer to the house without a lot of time or money invested.
Other than how it looks, my favorite part is the fact I don’t have to store it or find a way to pack it up at the end of the season. For seasonal decor this large, that’s always a plus!
Interest in more? You might enjoy these:
Our Whimsical and Colorful Christmas Tablescape
Want to save this post? Pin it here!




[…] Washi Tape Christmas Card Holder […]