Vertical shiplap is a popular and cost effective way to add character to any room. Here are our best tips and tricks on how to install a vertical shiplap backsplash.
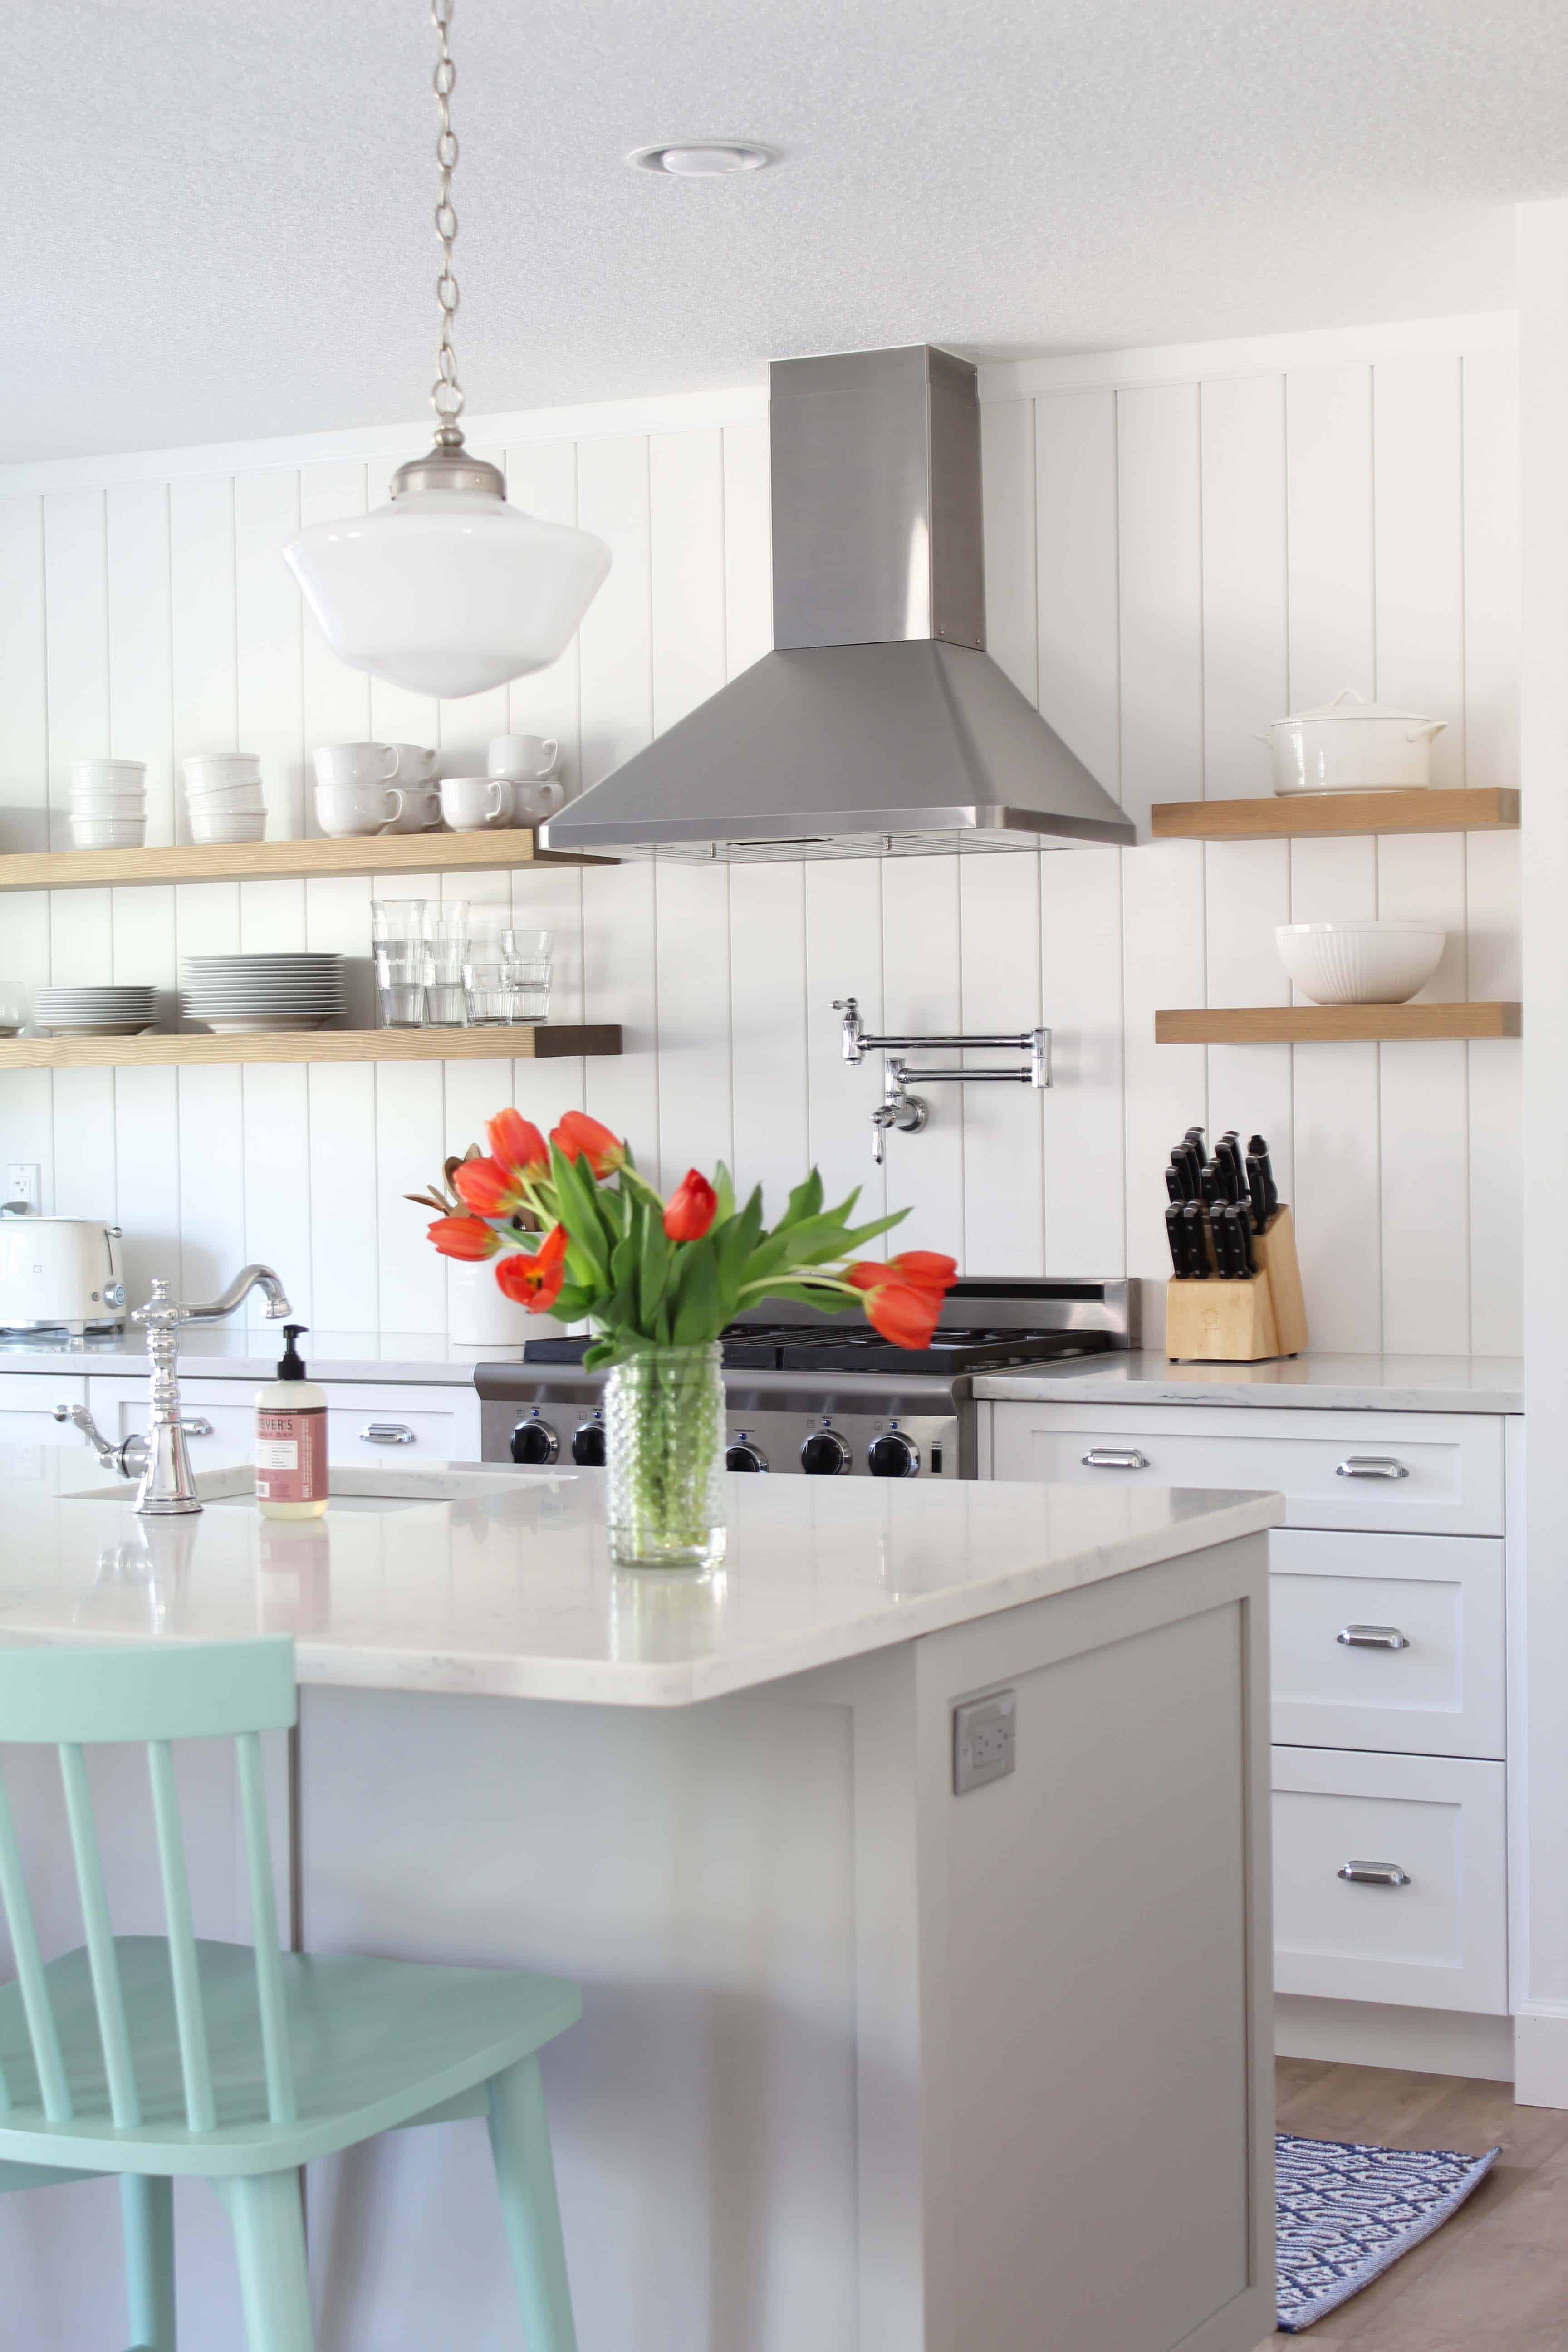
You may remember that when we embarked on our kitchen renovation I had my heart set on a subway tile backsplash in our kitchen. And then I inadvertently had six months to think about it and I changed my mind to vertical shiplap. Not only did I love the simple look of it, but it was more cost effective and easier to install than the tile. I was sold.
One of the things I always do before embarking on any DIY project is some research. I look for tutorials online, whether it’s from other blogs, home websites, or some variation of either. Seeing how other people did a project and checking for any pitfalls they might have encountered is something I always find extremely helpful.
Which is why what should have been a fairly easy DIY backsplash seemed so hard; I had such a difficult time finding any tutorials on how to install a vertical shiplap backsplash. So, if you’ve been thinking about installing some vertical shiplap anywhere in your home, here’s how we did it.
How To Install A Vertical Shiplap Backsplash
Let me start with the disclaimer that we aren’t professionals, so this is just a basic tutorial with tips and tricks for how we installed our backsplash. If you have questions or concerns you should always check with your city building department and check local building codes.
For convenience, we chose to use Metrie pre-painted shiplap for our project. Obviously, it was one less step to paint it, and it was also available at our local Lowes, so both of those things were pluses. Keep in mind that even though the boards are a pre-painted white, not all white’s are the same. So if you have any other white that you’re trying to match up with (like walls or cabinets) you should see how the pre-painted boards look up against them.
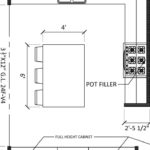
Another thing to keep in mind is your stove. Since this shiplap is made of MDF we wanted to make sure we had a good barrier between our stove and the wall. We ended up contacting our stove’s manufacturer to ask a bunch of questions and figure out what we needed to do. For us the solution meant ordering some new parts and retrofitting our stove with a new, higher vent guard on the back. Each situation is unique, so make sure you check with your stove manufacturer.
Gluing Versus Nails
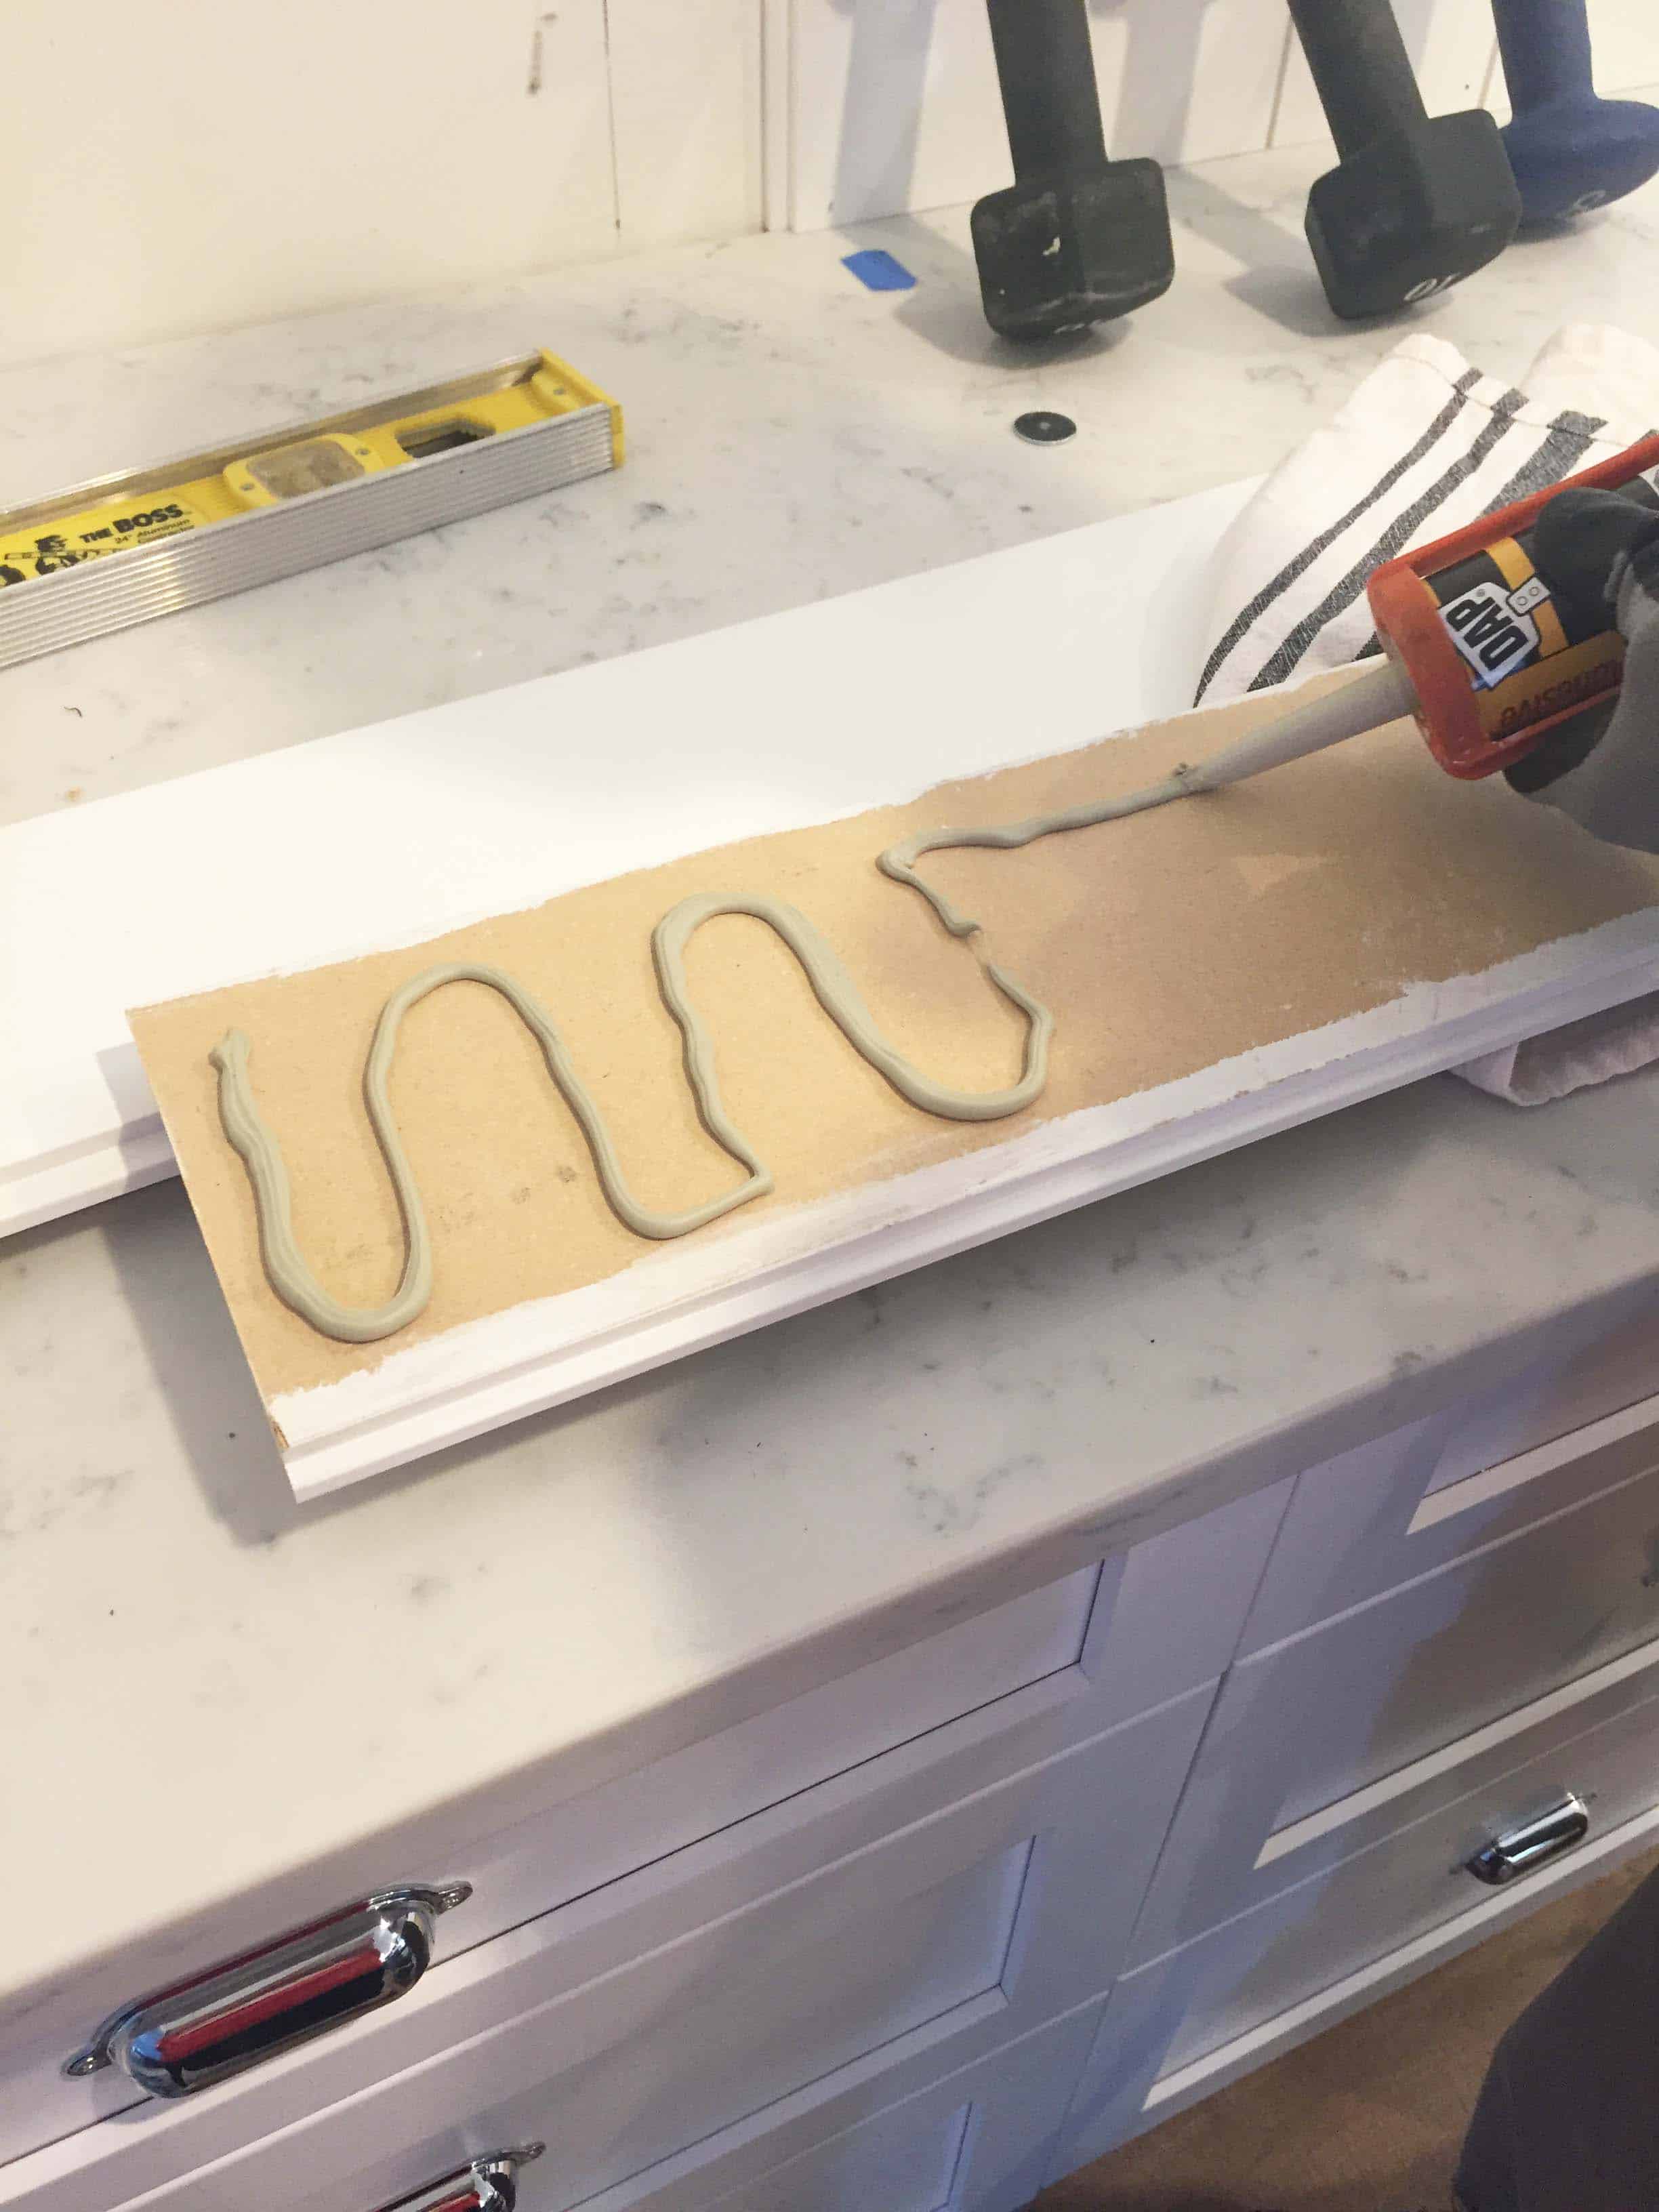
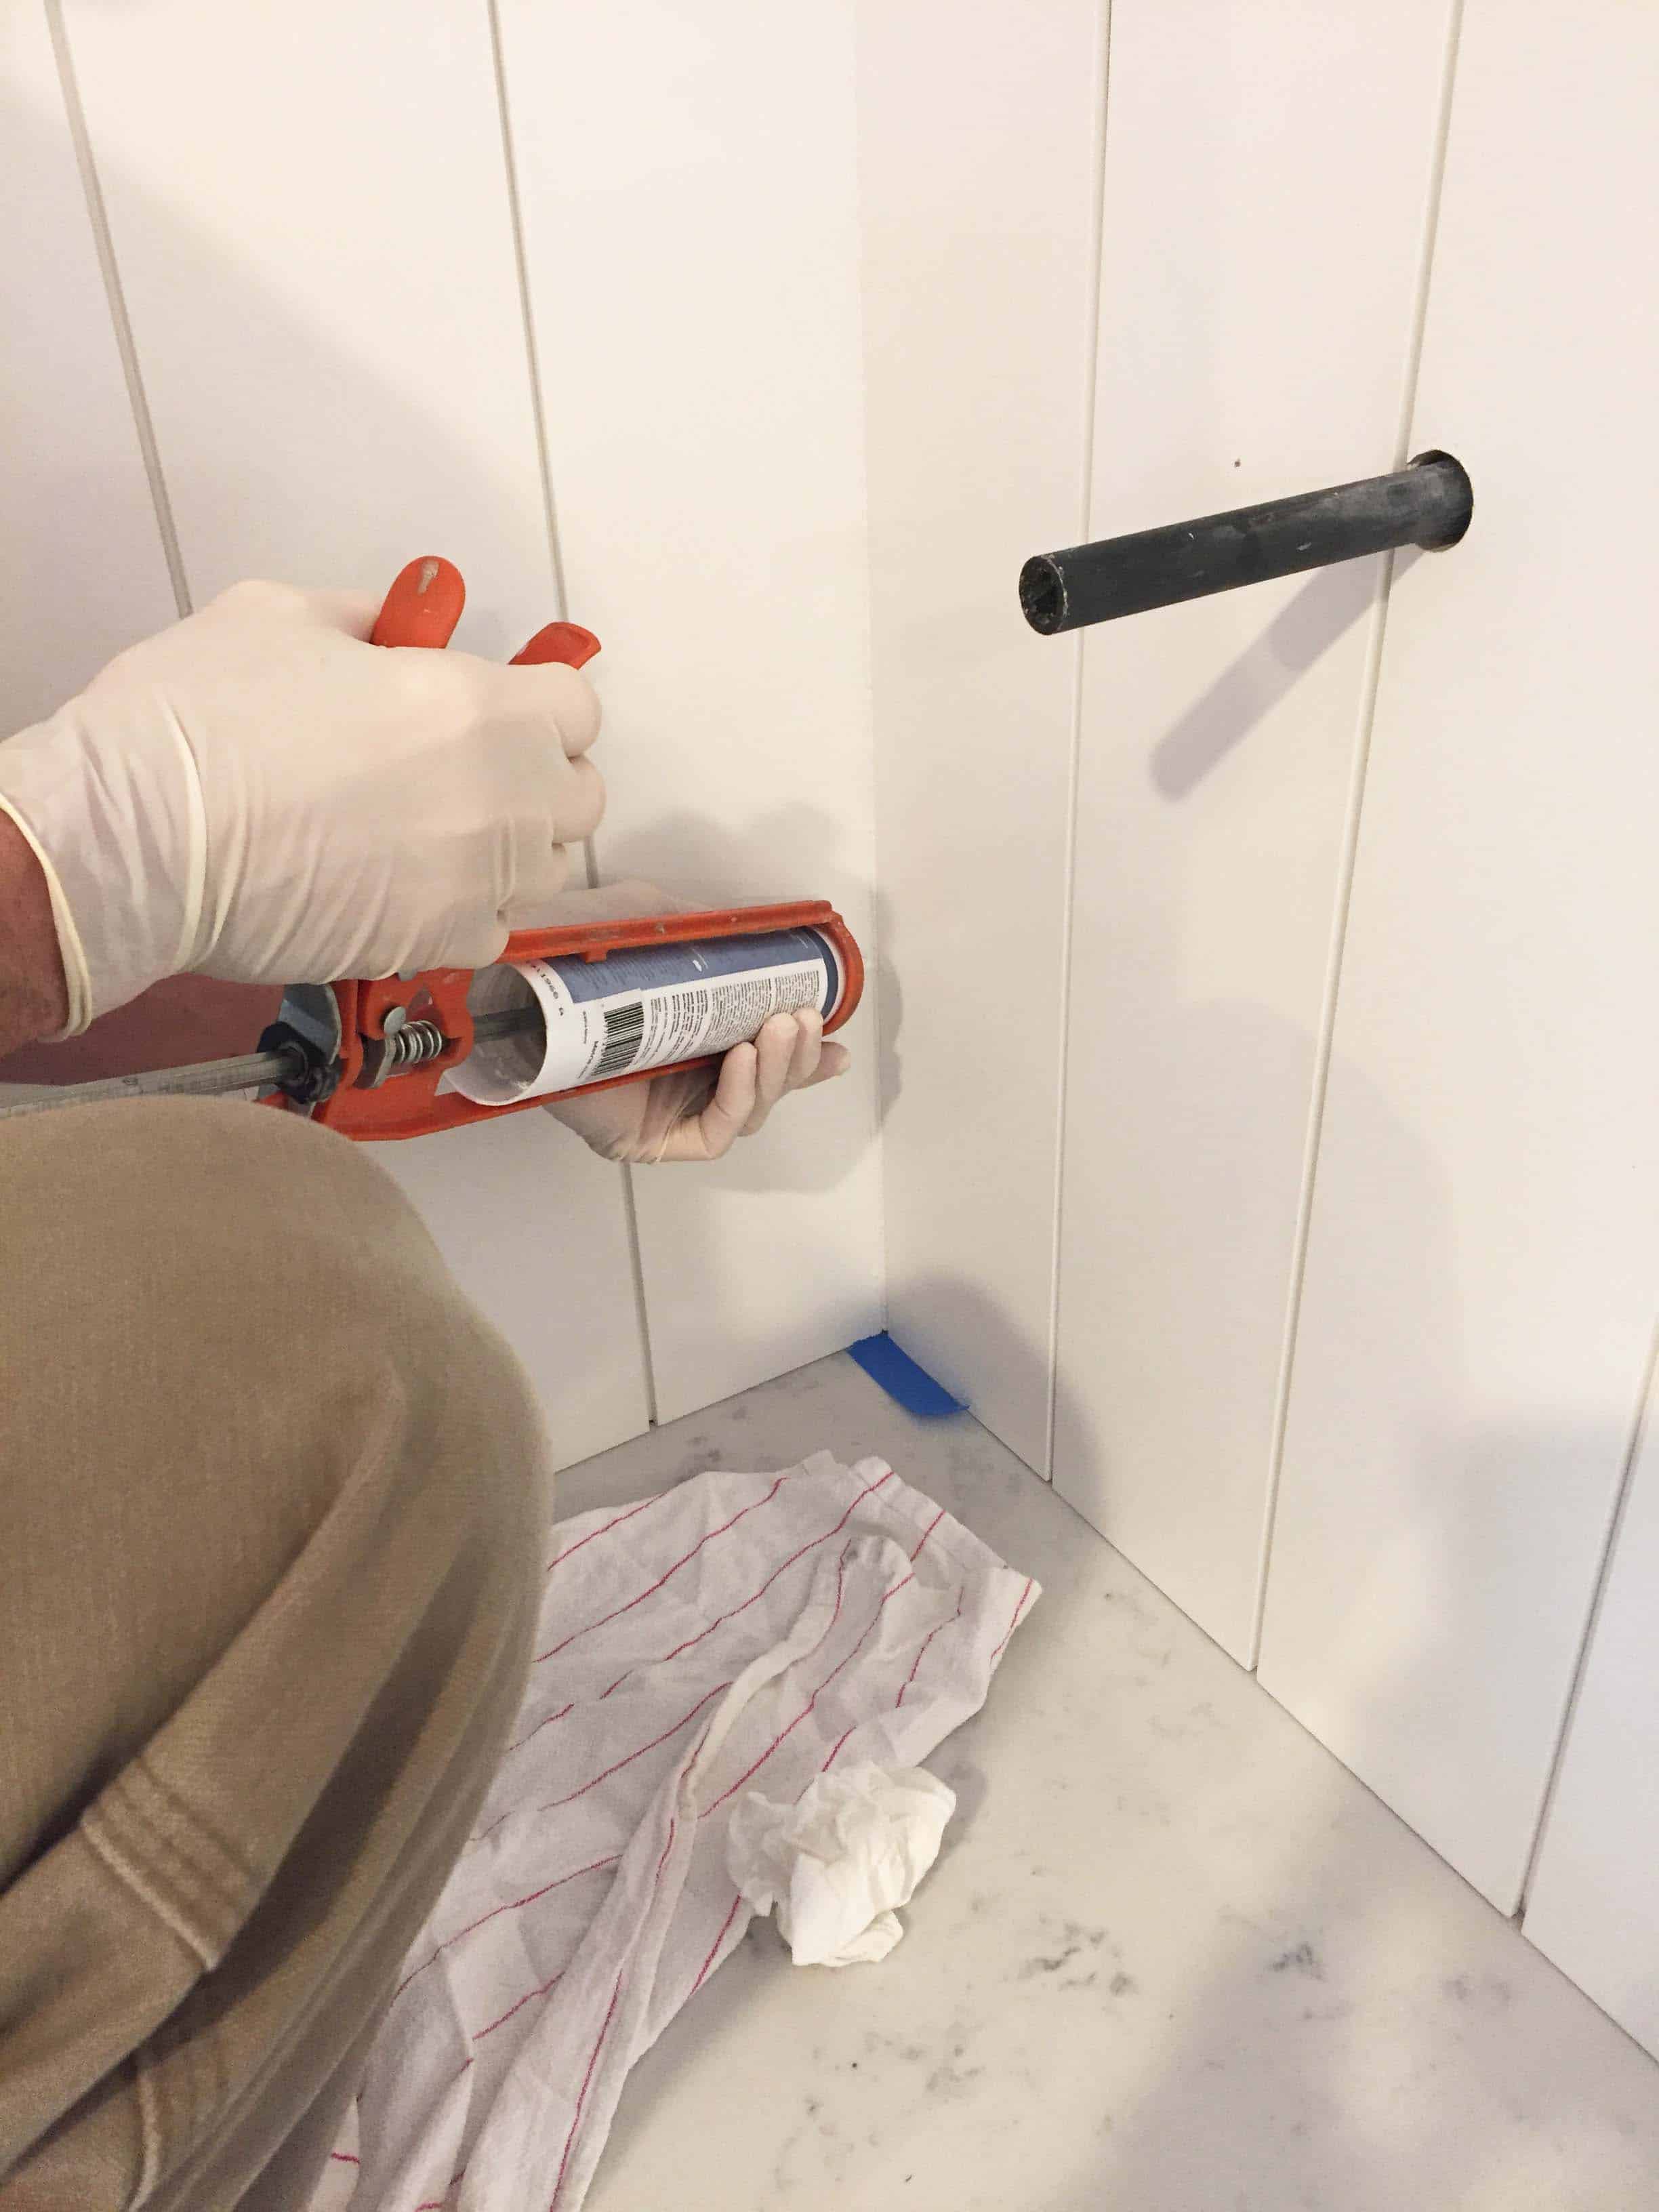
One of the first obstacles we encountered was the best way to attach the shiplap to the wall. Most traditional methods nail it to the wall. My main concern with this was that being a backsplash, you would see the imperfections of the nail holes.
We ended up using Dap Liquid Nails to glue each board to the wall. You have a few minute of wiggle room to make sure your board is totally level before the glue dries completely. This is important, because once one board is off, the rest of your boards are off too! For boards that landed over a stud we put a nail in the very top of each board and one at the very base as well as gluing. For boards not over a stud we just relied on glue.
The top nails were eventually covered by the trim piece we used for crown moulding. For the bottom nail holes we ended up using Metrie’s wax touch up kit (found in the same aisle as the pre-painted shiplap) which ended up working quite well.
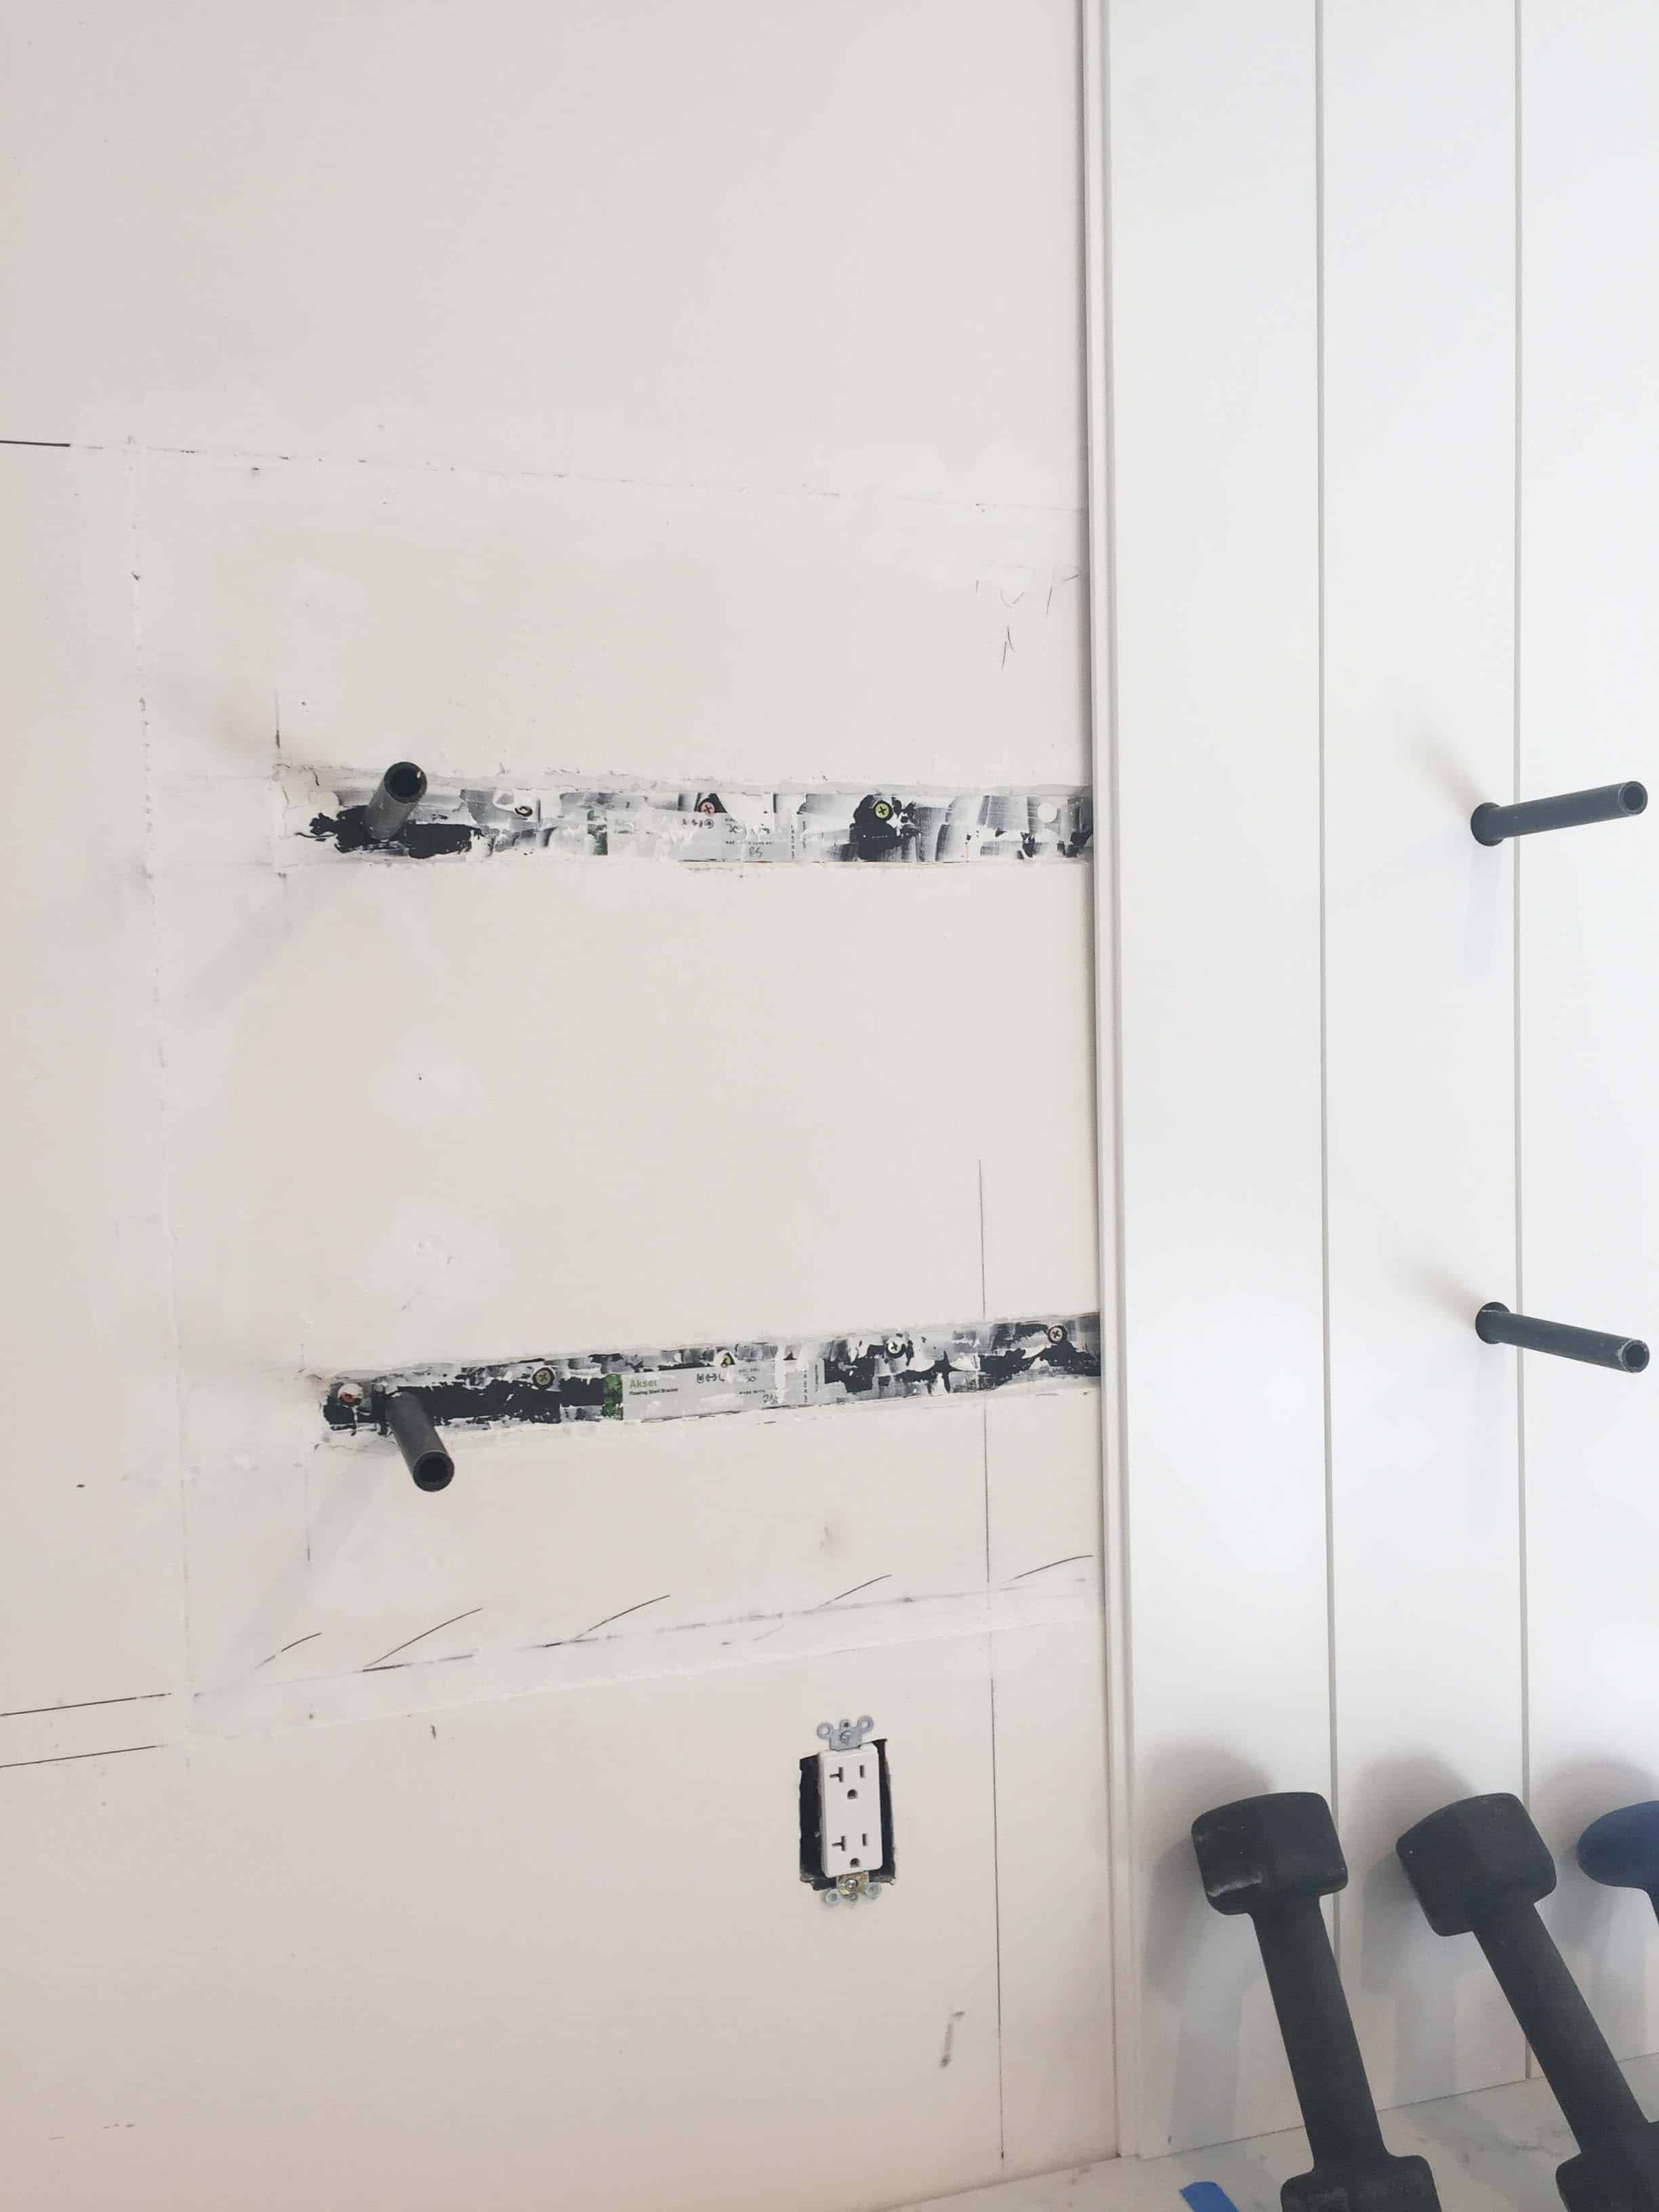
As you can see we improvised and used some hand weights to keep the boards secured to the wall while the glue set.
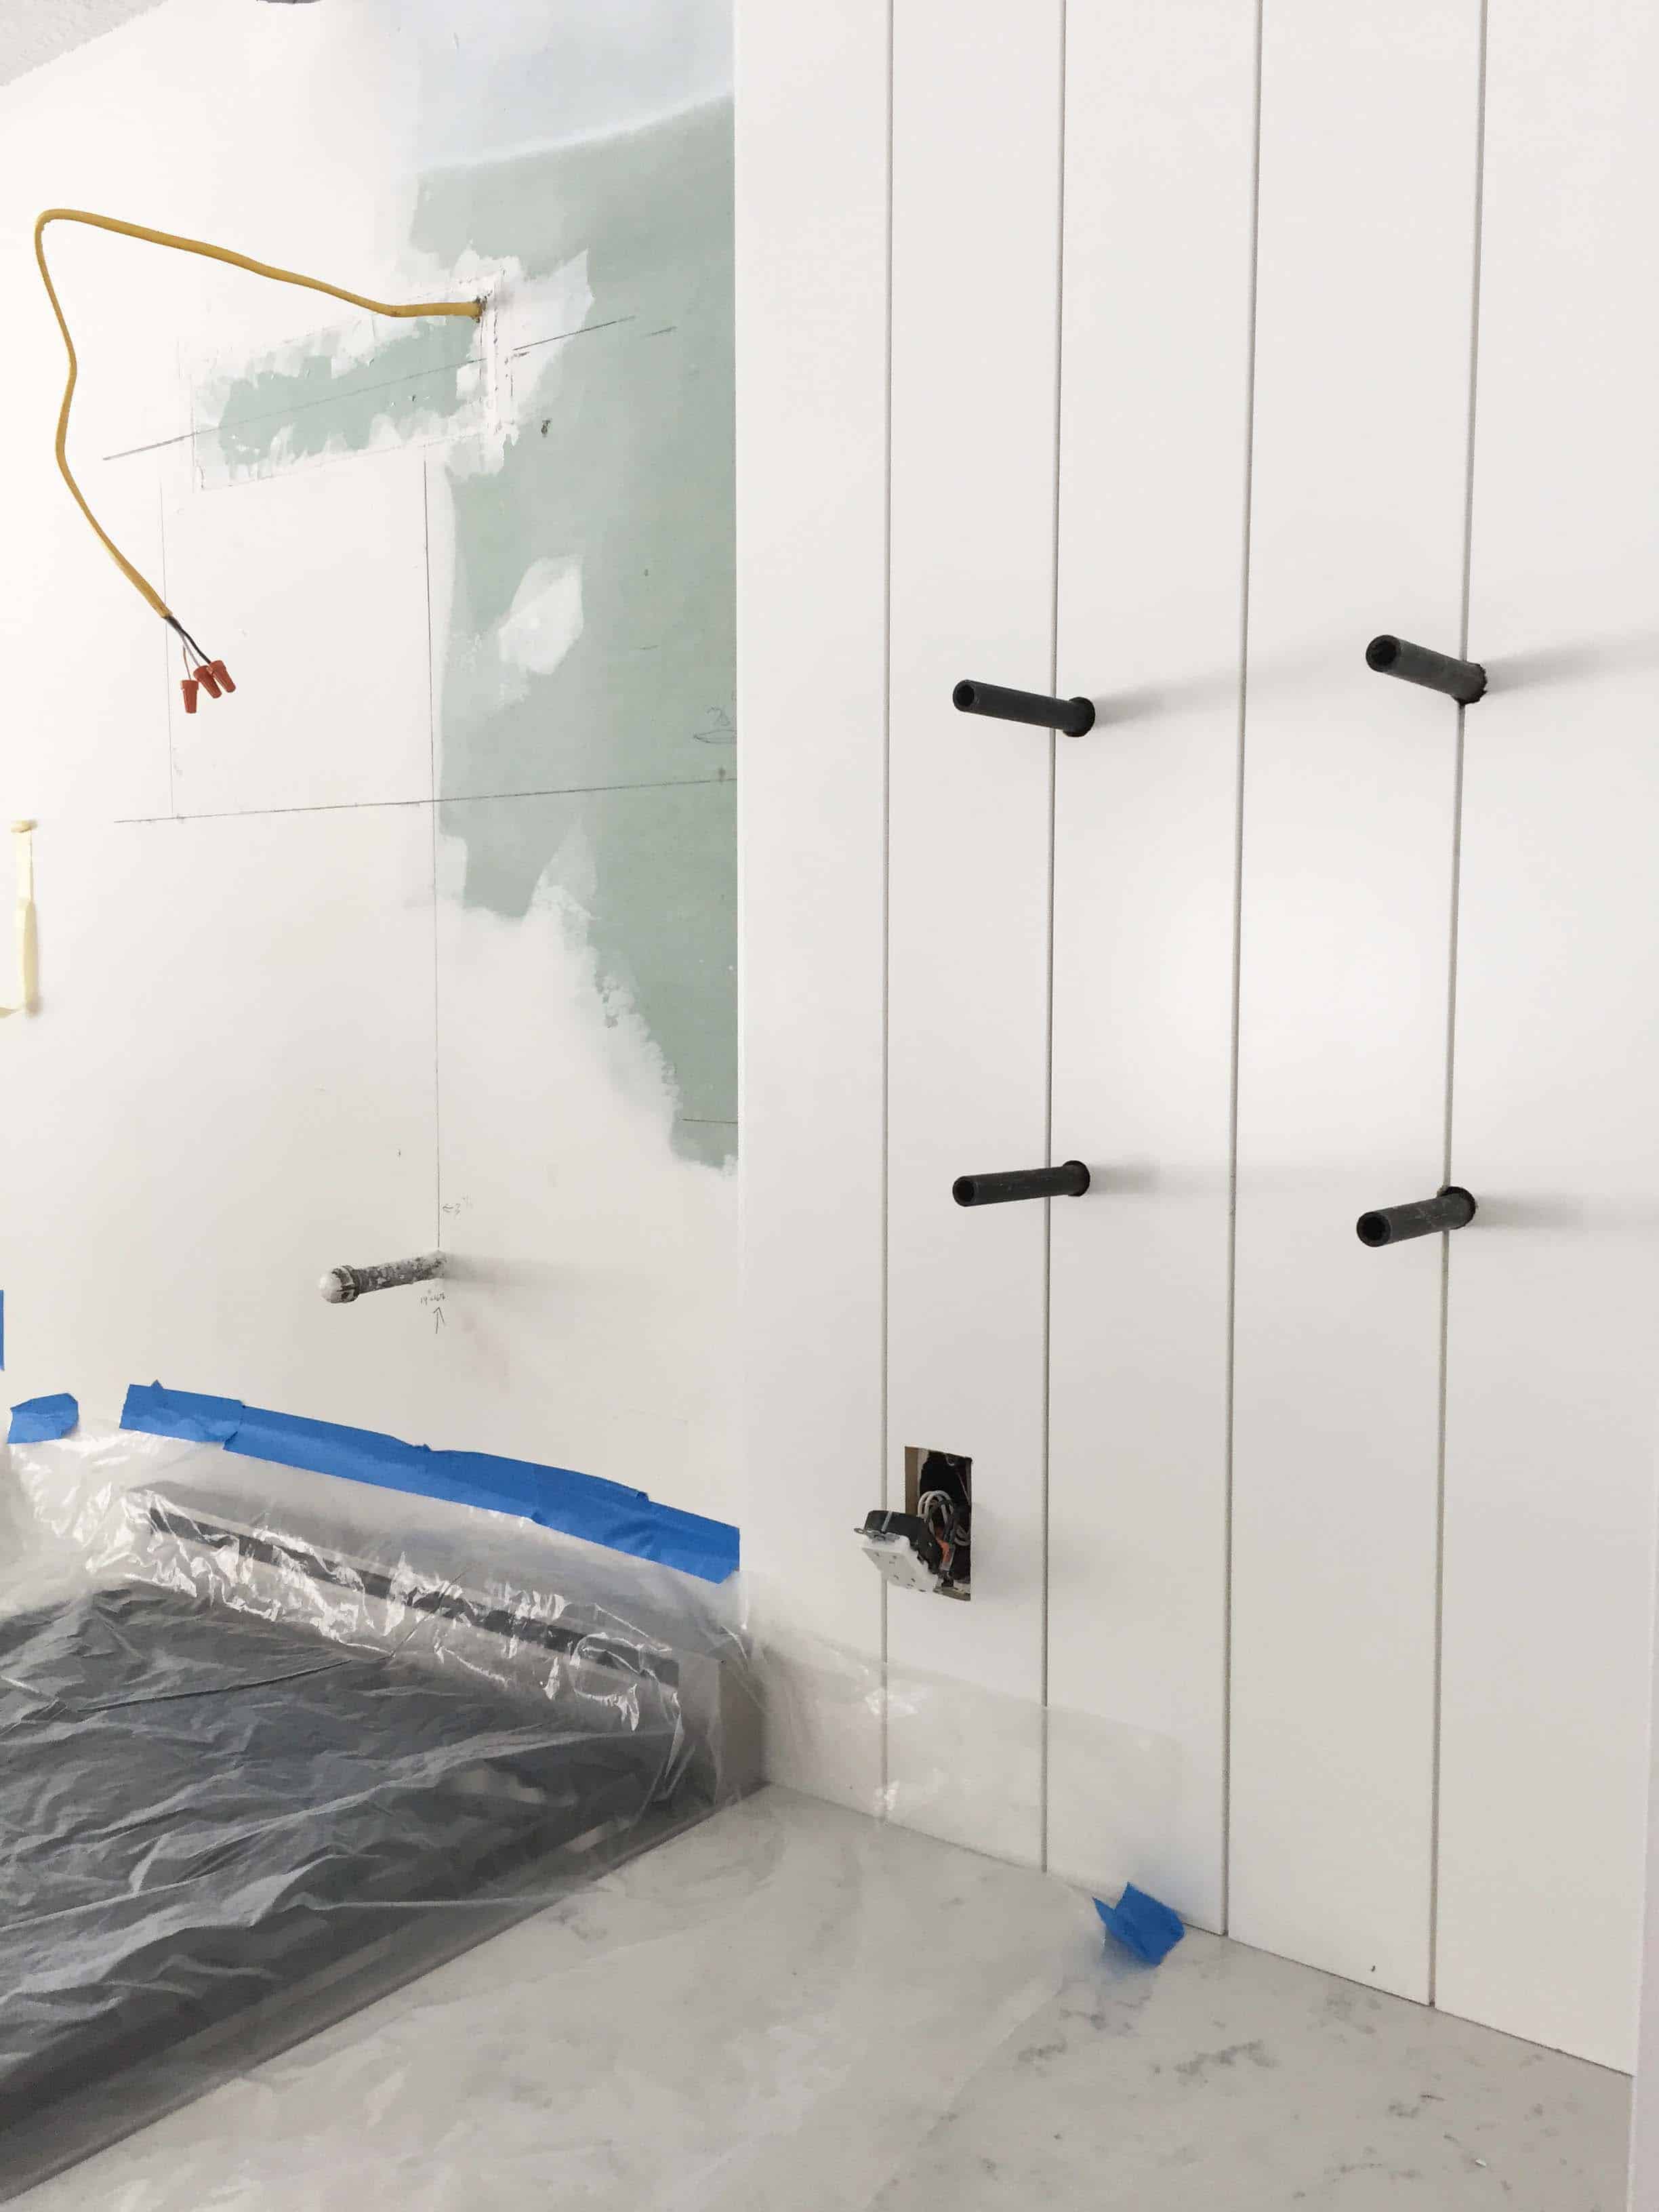
Plan For Shelving
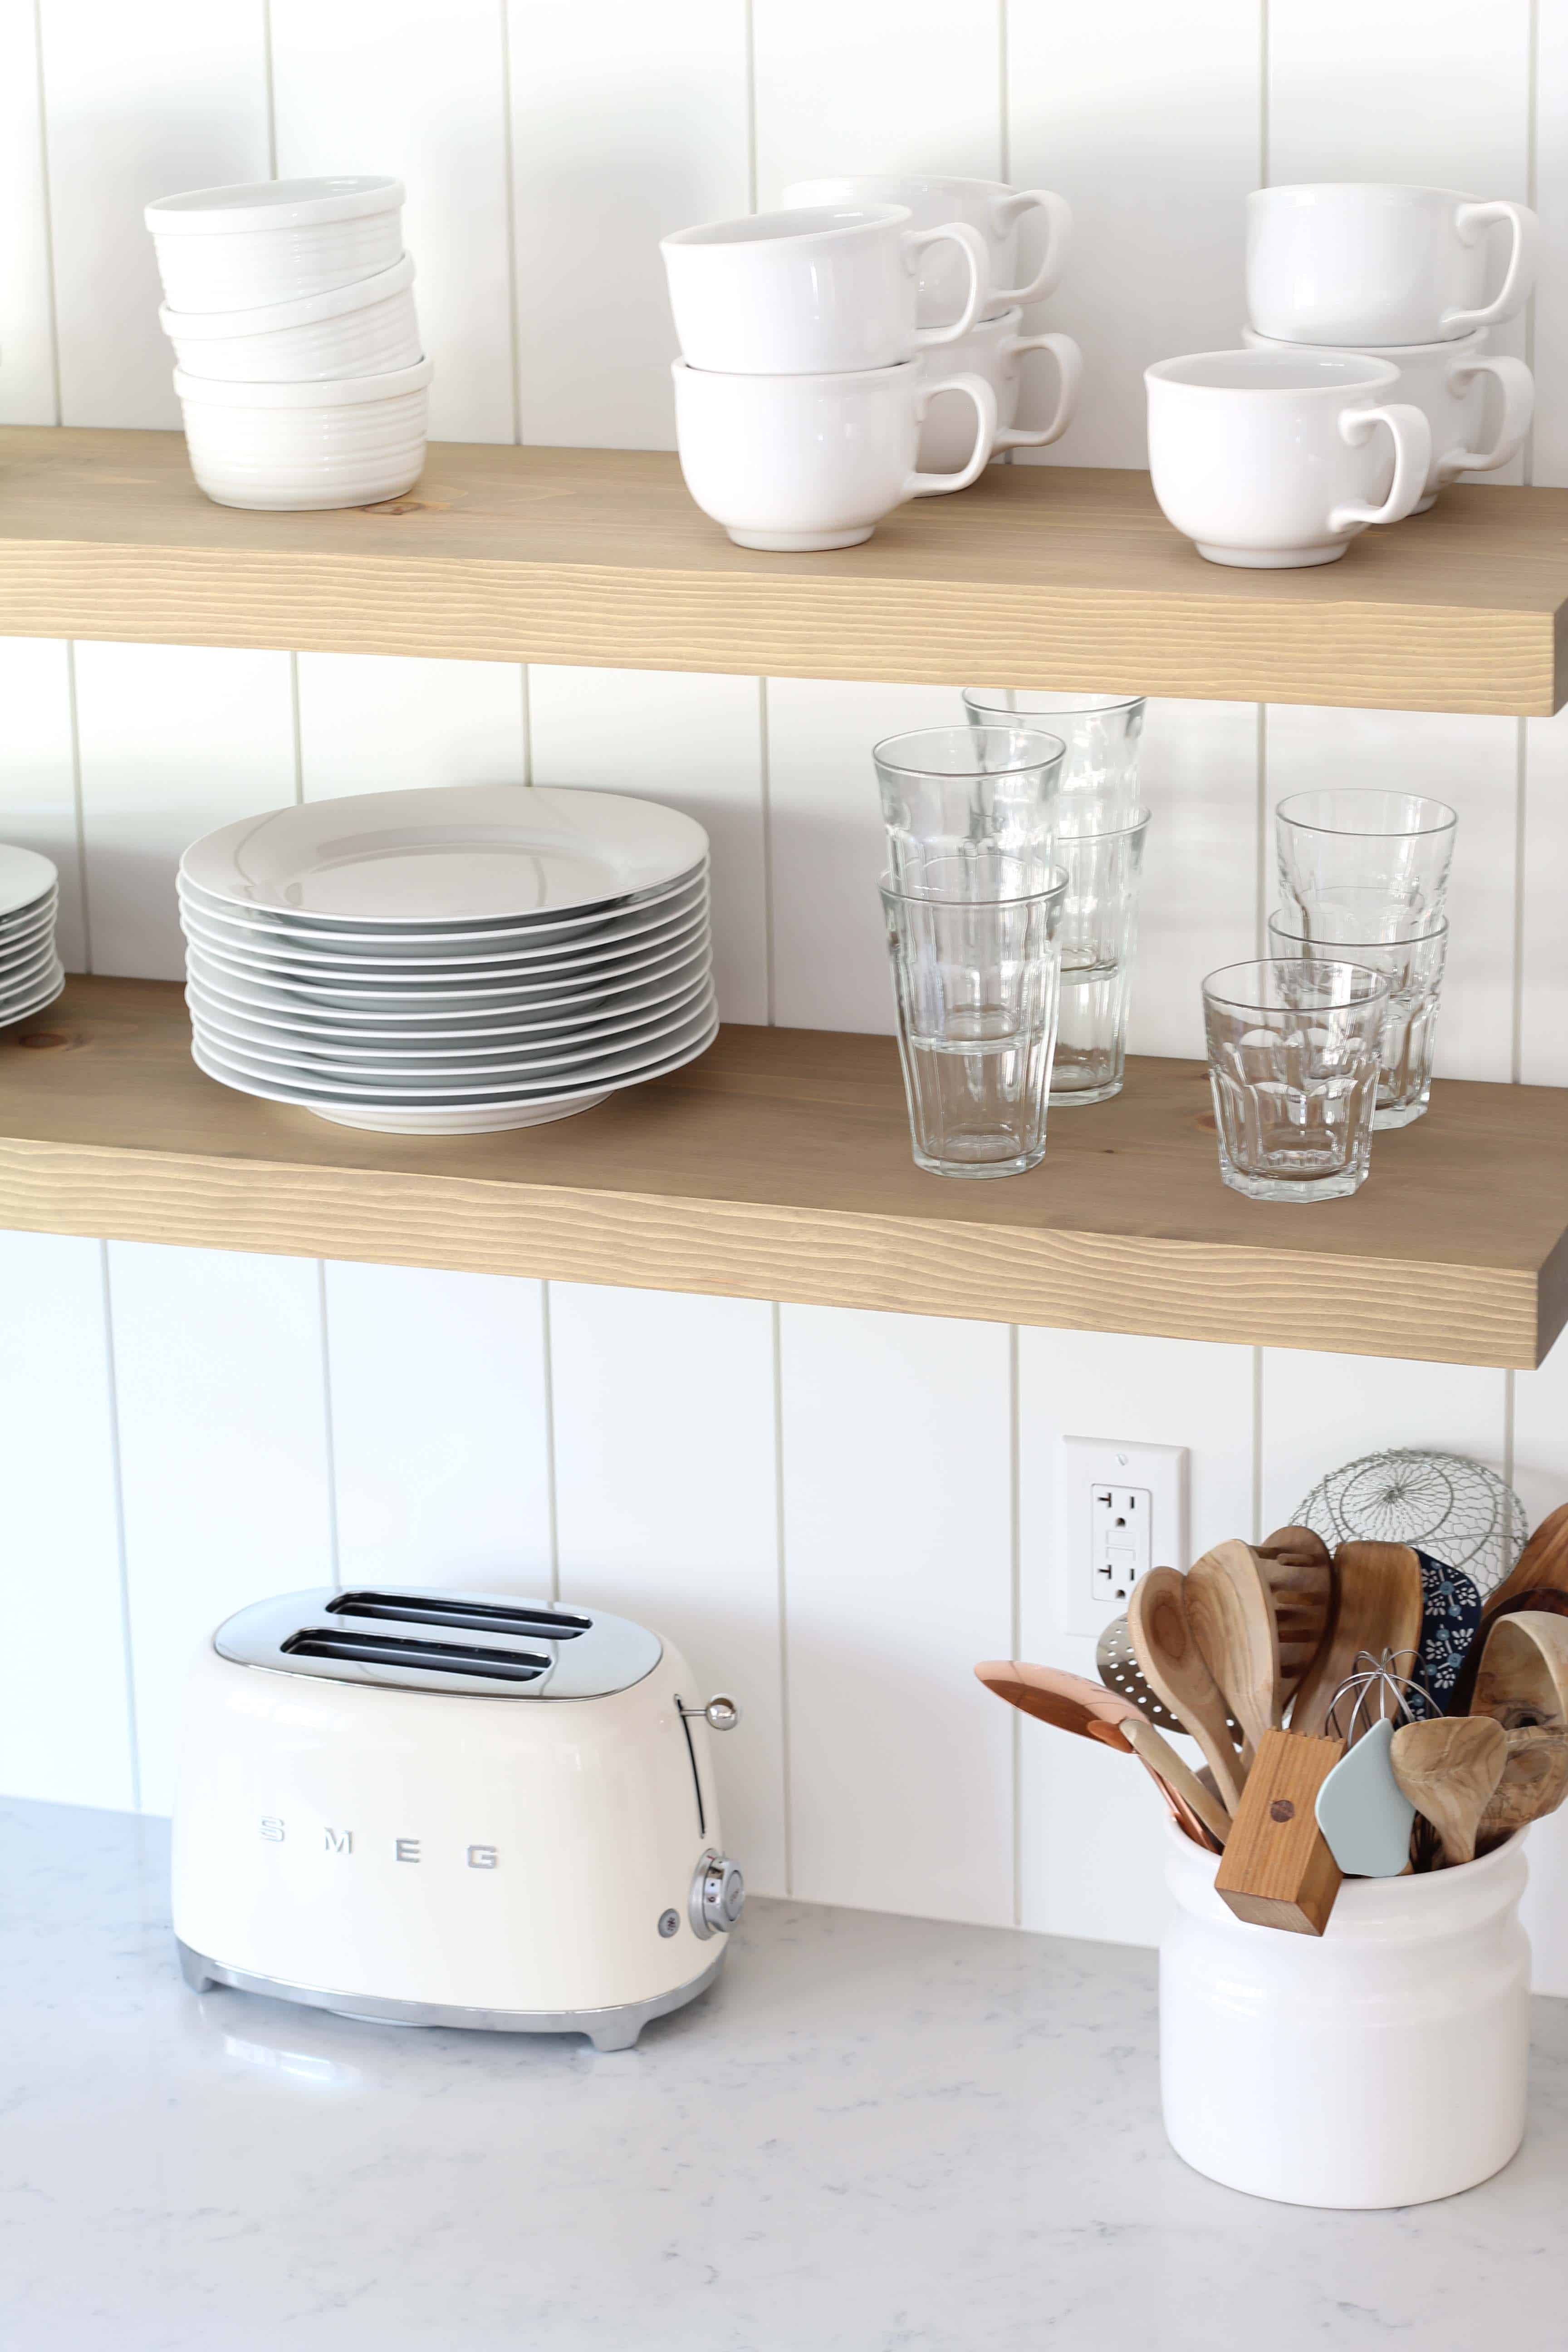
Side note, if you’re thinking about doing floating shelving in your kitchen it should be one of the first things you figure out in your kitchen design. Floating shelves (if they’re going to have any type of weight on them) require brackets, which have to be secured to the studs in your wall. This is kind of a messy business, especially if you’re having to cut out drywall like we did. If you can figure out your shelving placement and stud locations before you plan anything with your backsplash you’ll save yourself a lot of headaches.
Where To Caulk
We used the Metire caulk that matched the already pre-painted boards in color (also found in the same aisle at Lowes as the shiplap). We caulked where any board met a wall and the corner where our two walls of shiplap met. This helped even out the gap where the two walls meet, since rarely is any wall completely square (as I’ve found out over and over).
Once the glue had cured overnight, we started caulking the base of the shiplap where it meets the countertop. Originally my plan was to do a trim piece on the bottom, but after we put the first piece up I realized I didn’t like how it was looking. Plan B turned into just caulking it. It was definitely a tedious job because of all of the little grooves. Another option (if you’re still in the planning phases) would be to add a couple of inches of backsplash up from the countertop in the same material as your countertop. Then start your shiplap up from there.
Pros & Cons
We are a year into using this backsplash in our kitchen. Here are a few things I’ve noticed that are both pros and cons after using it for this period of time:
Pros:
- I still love how simple and open it make our kitchen feel.
- It adds great character at very little (relative) cost.
- Keeps things visually simple when you have open shelving (i.e. not competing with a tile pattern)
- It was easier to add open shelving to versus adding open shelving to a tile backsplash.
Cons:
- I can already tell there will need to be some routine maintenance (paint touch-ups, dings, etc.)
- Along those same lines – it is not impervious to heat, water, banging things into it, etc. We retrofitted our stove to have a higher vent guard to protect the wall from heat but if you put anything right up against it that emits a lot of heat (like a toaster) the paint and board can blister. This can leave your beautiful backsplash with a burn mark (ask me how I know).
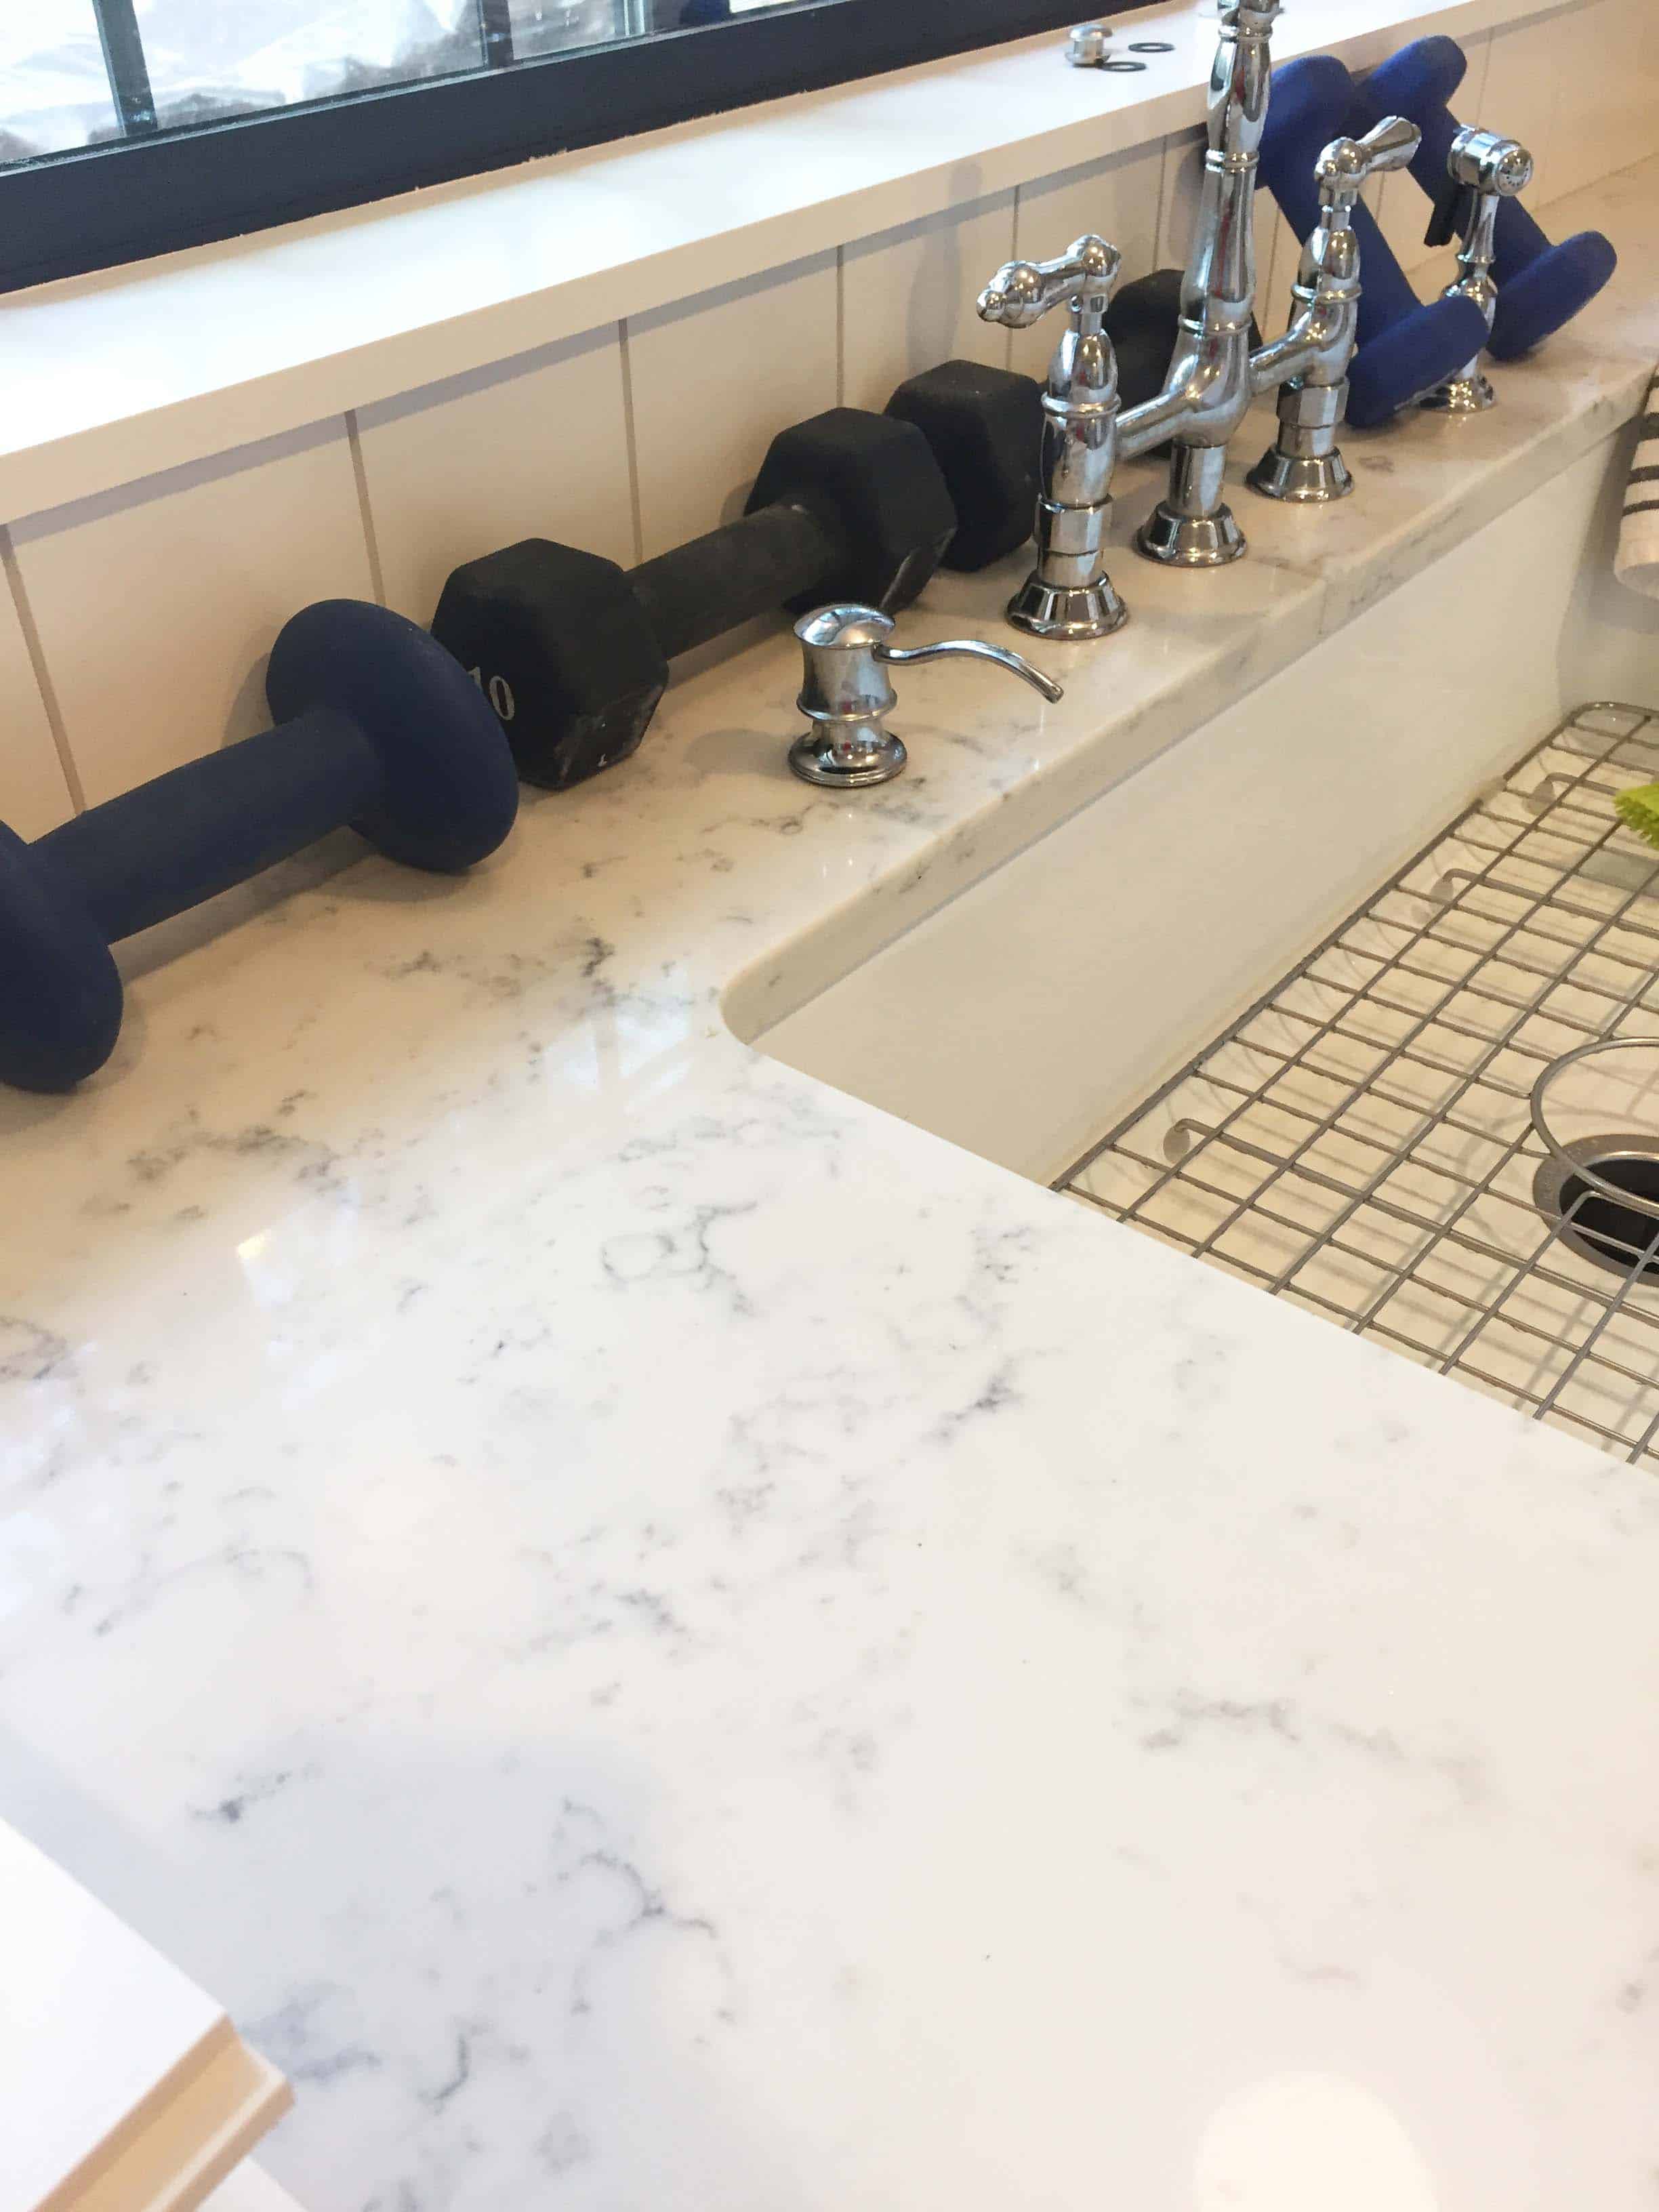
- If you splash a lot around your sink and leave standing water on the counter, it can be a problem. Water is inherently the enemy of Wood and MDF, so keep that in mind. A low level splash guard in the same material as your counter many be a good solution to this if you’re worried about water.
I hope this post help you if you’ve been thinking about doing your own vertical shiplap project. Let me know if you have any questions about the process!
Other Posts you Might Enjoy:
Scandinavian Farmhouse Kitchen Reveal
Modern Floral Laundry Room Makeover
Want to save this post? Pin it here!


Hi Tiffany!
The vertical shiplap looks so pretty in your kitchen. It makes such a visual impact. I like the fact that you used caulk instead of trim on the countertops – yay, for plan B’s, huh? You are one of my features this week at Homestyle Gathering. Thanks for sharing your lovely kitchen project. Have a wonderful week!
>>> Kim
Thanks so much, Kim! Plan B’s working out really are the best 🙂
This looks beautiful! I’m looking at doing vertical shiplap in our kitchen but wondering how the long term clean up has been, food/stains in the cracks, etc. Any thoughts since your further down the road now?
Hi Crystal! I would say it’s definitely more labor intensive than tile is clean up wise. We had subway tile in our last kitchen and I loved it – it was impervious to just about anything! The vertical shiplap does take a little more work and I foresee having to do some touch-up paint in the future (especially around the sink area). I’m not a super messy cook, so it’s worked out well for me, but I think tile is better if you’re worried about upkeep. I have seen vertical shiplap kitchens done in a concrete type material for the shiplap and that sounds like the best of both worlds, but I don’t have any experience with that type of material (might be something to research). Hope that helps!
Hi Tiffany! Wow, this turned out so well! I love how it’s a more modern spin on shiplap. I’m a big fan of clean lines and floating shelves. You should be proud of your makeover. I’m sharing this as one of my features on Tuesday Turn About this week!
Thanks, Crissy! I’m happy with how it turned out…and that it’s done;)
Love your vertical shiplap backsplash, Tiffany. The way it goes completely up the wall is perfect and I think really compliments the rest of your kitchen!
Thanks, Julie! it’s always nice when something actually turns out the way you envisioned it in your head!
I love the vertical use of this popular wall treatment! It adds a coastal feel 🙂 . Thanks for sharing your tips!
Thanks, Cindy!
Hi Tiffany,
Thanks for this tutorial. It looks so great! We are starting a similar project soon. With regard to the open shelving, did you install the shelves first and cut the shiplap to fit around them? Or did you shiplap first and mount the shelves on top of it?
Thanks in advance!
Hope
Hi Hope! If you are doing floating shelves that attach to studs in your wall (which is what we did) then you need to install the shelf brackets before you do any shiplap (you can see how our brackets looked sticking out of the drywall in the fourth picture down from the top). Once you have the brackets installed you cut the shiplap to fit around the brackets that are sticking out of the drywall. The floating shelves then slip over those brackets and over the finished shiplap (or tile). This tutorial on installing brackets might help you too: https://biggerthanthethreeofus.com/install-heavy-duty-floating-shelves-kitchen/
Hi Tiffany,
The kitchen looks great!! Is there a way you can give us the make and model of the range hood in the photo?
Hi Elizabetta! Here is a link to the one we bought https://amzn.to/3otE0Nm
We are considering this as an option . Did you not paint the boards at all? I’m thinking a good satin paint would make it a bit easier to clean .
Hi Mandy! The boards we bought were already pre-painted in what looks like a semi-gloss.