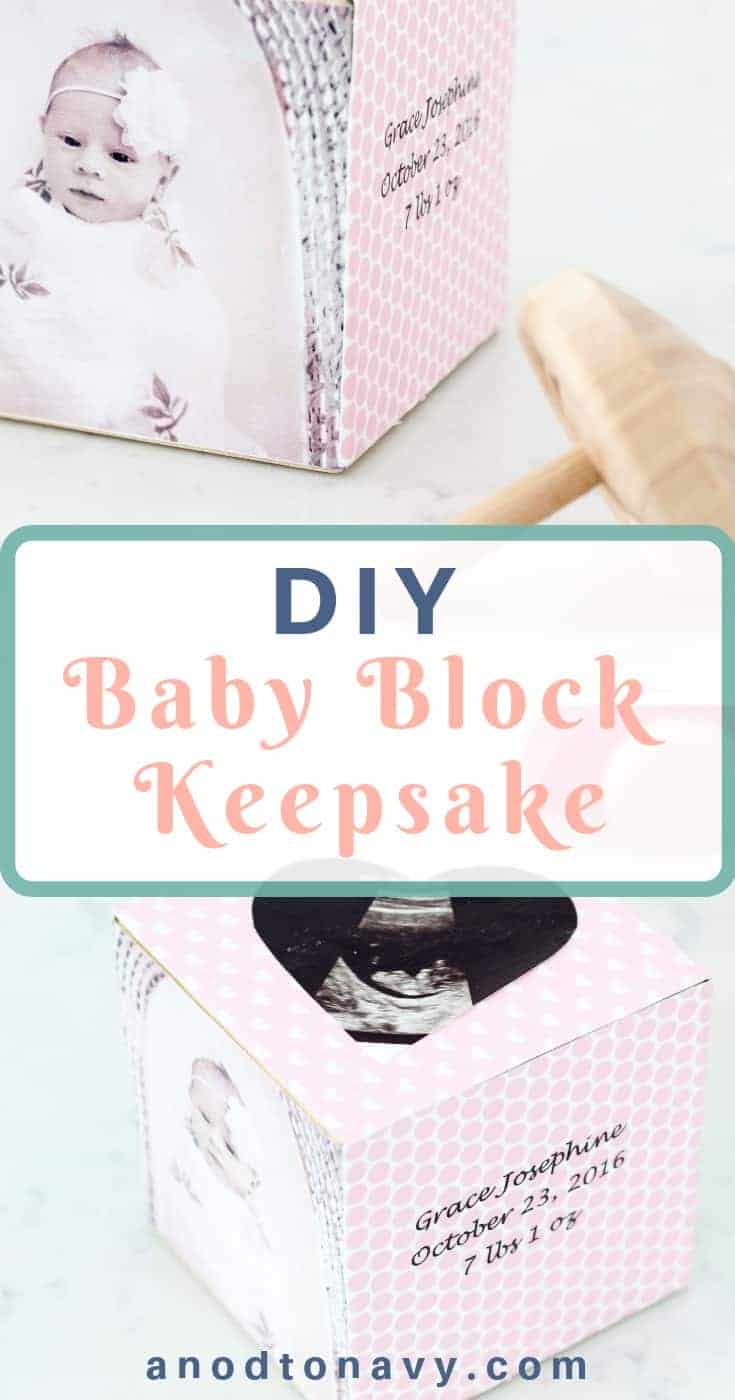
This wooden baby block keepsake is a fun way to commemorate milestones and perfect for a baby shower or newborn gift!
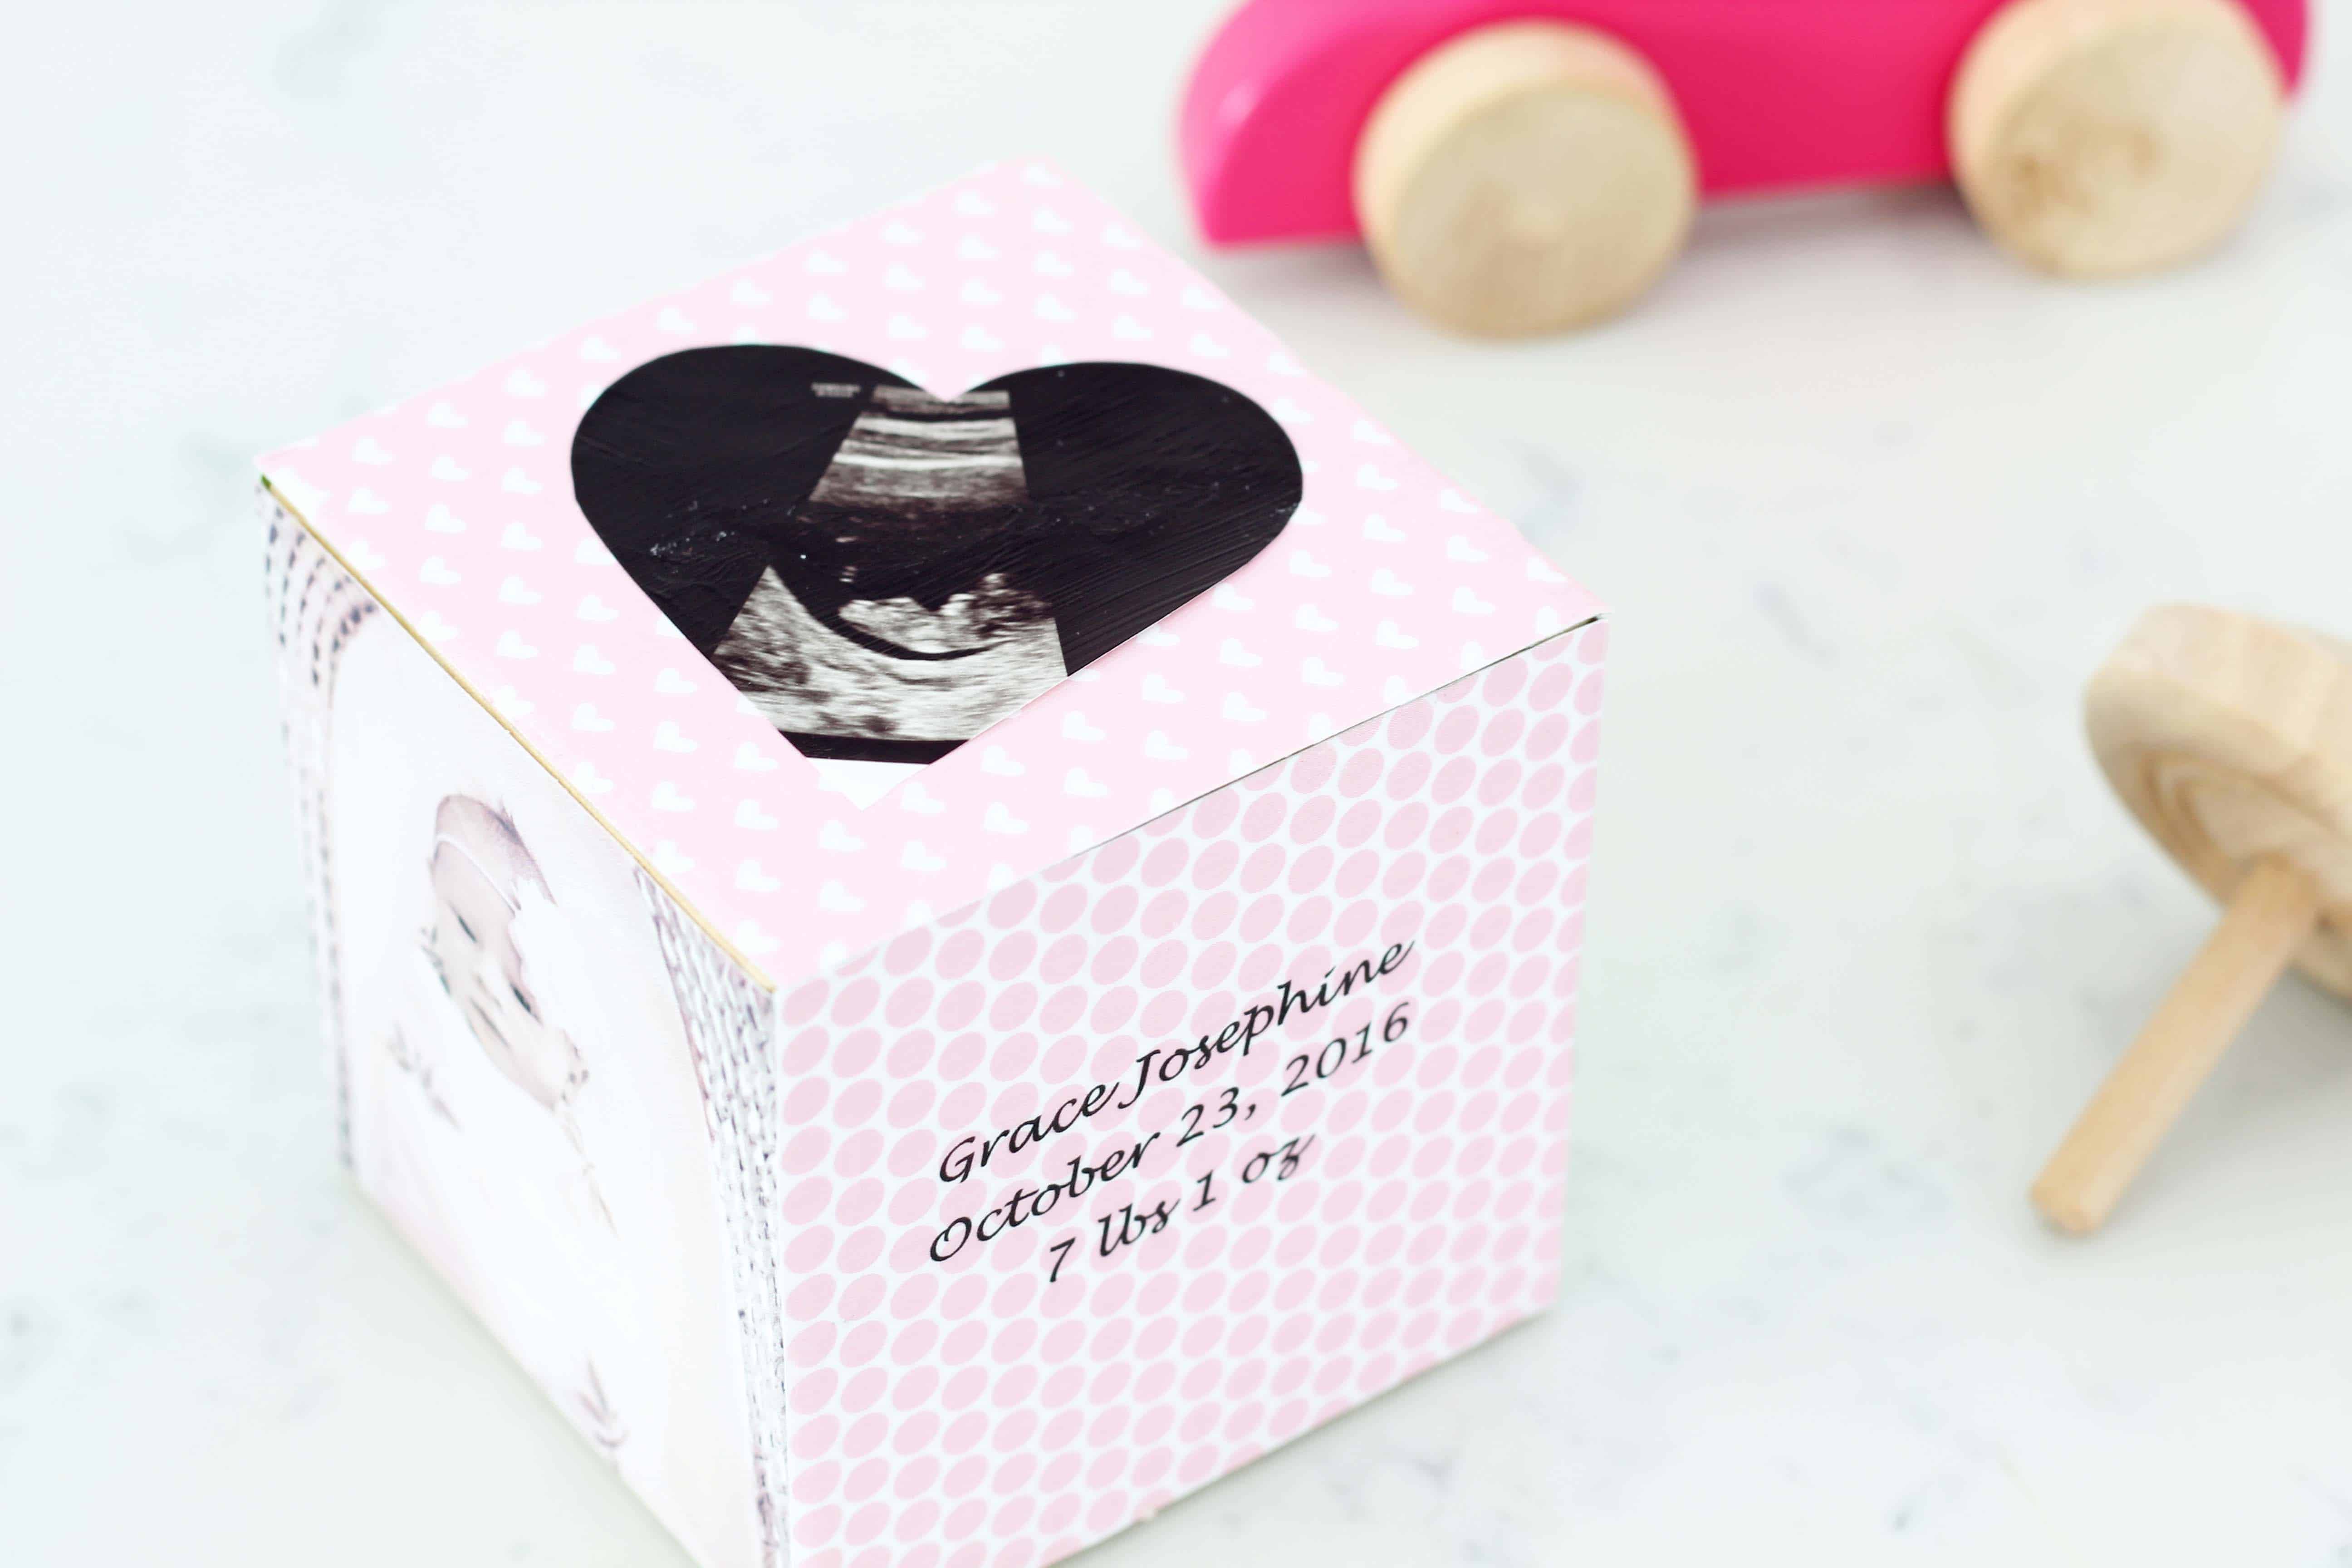
I’ve been meaning to make a newborn baby block keepsake for our daughter for quite a while (which makes me really behind since she’s now two!) Better late than never though, right? There are so many things that I meant to do or make but never got around to as a new mother….because who has the time or patience for these things when you’re sleep deprived?
Which is why this DIY project would be so perfect to make for a new mom who doesn’t have the time or energy to make it herself! When I go through all of the things I was gifted when Grace was a baby (or before she was born) I’m always amazed at the thoughtfulness of handmade items. They just have a certain sentimental attachment to them that you just can’t buy.
Wooden Baby Block Keepsake
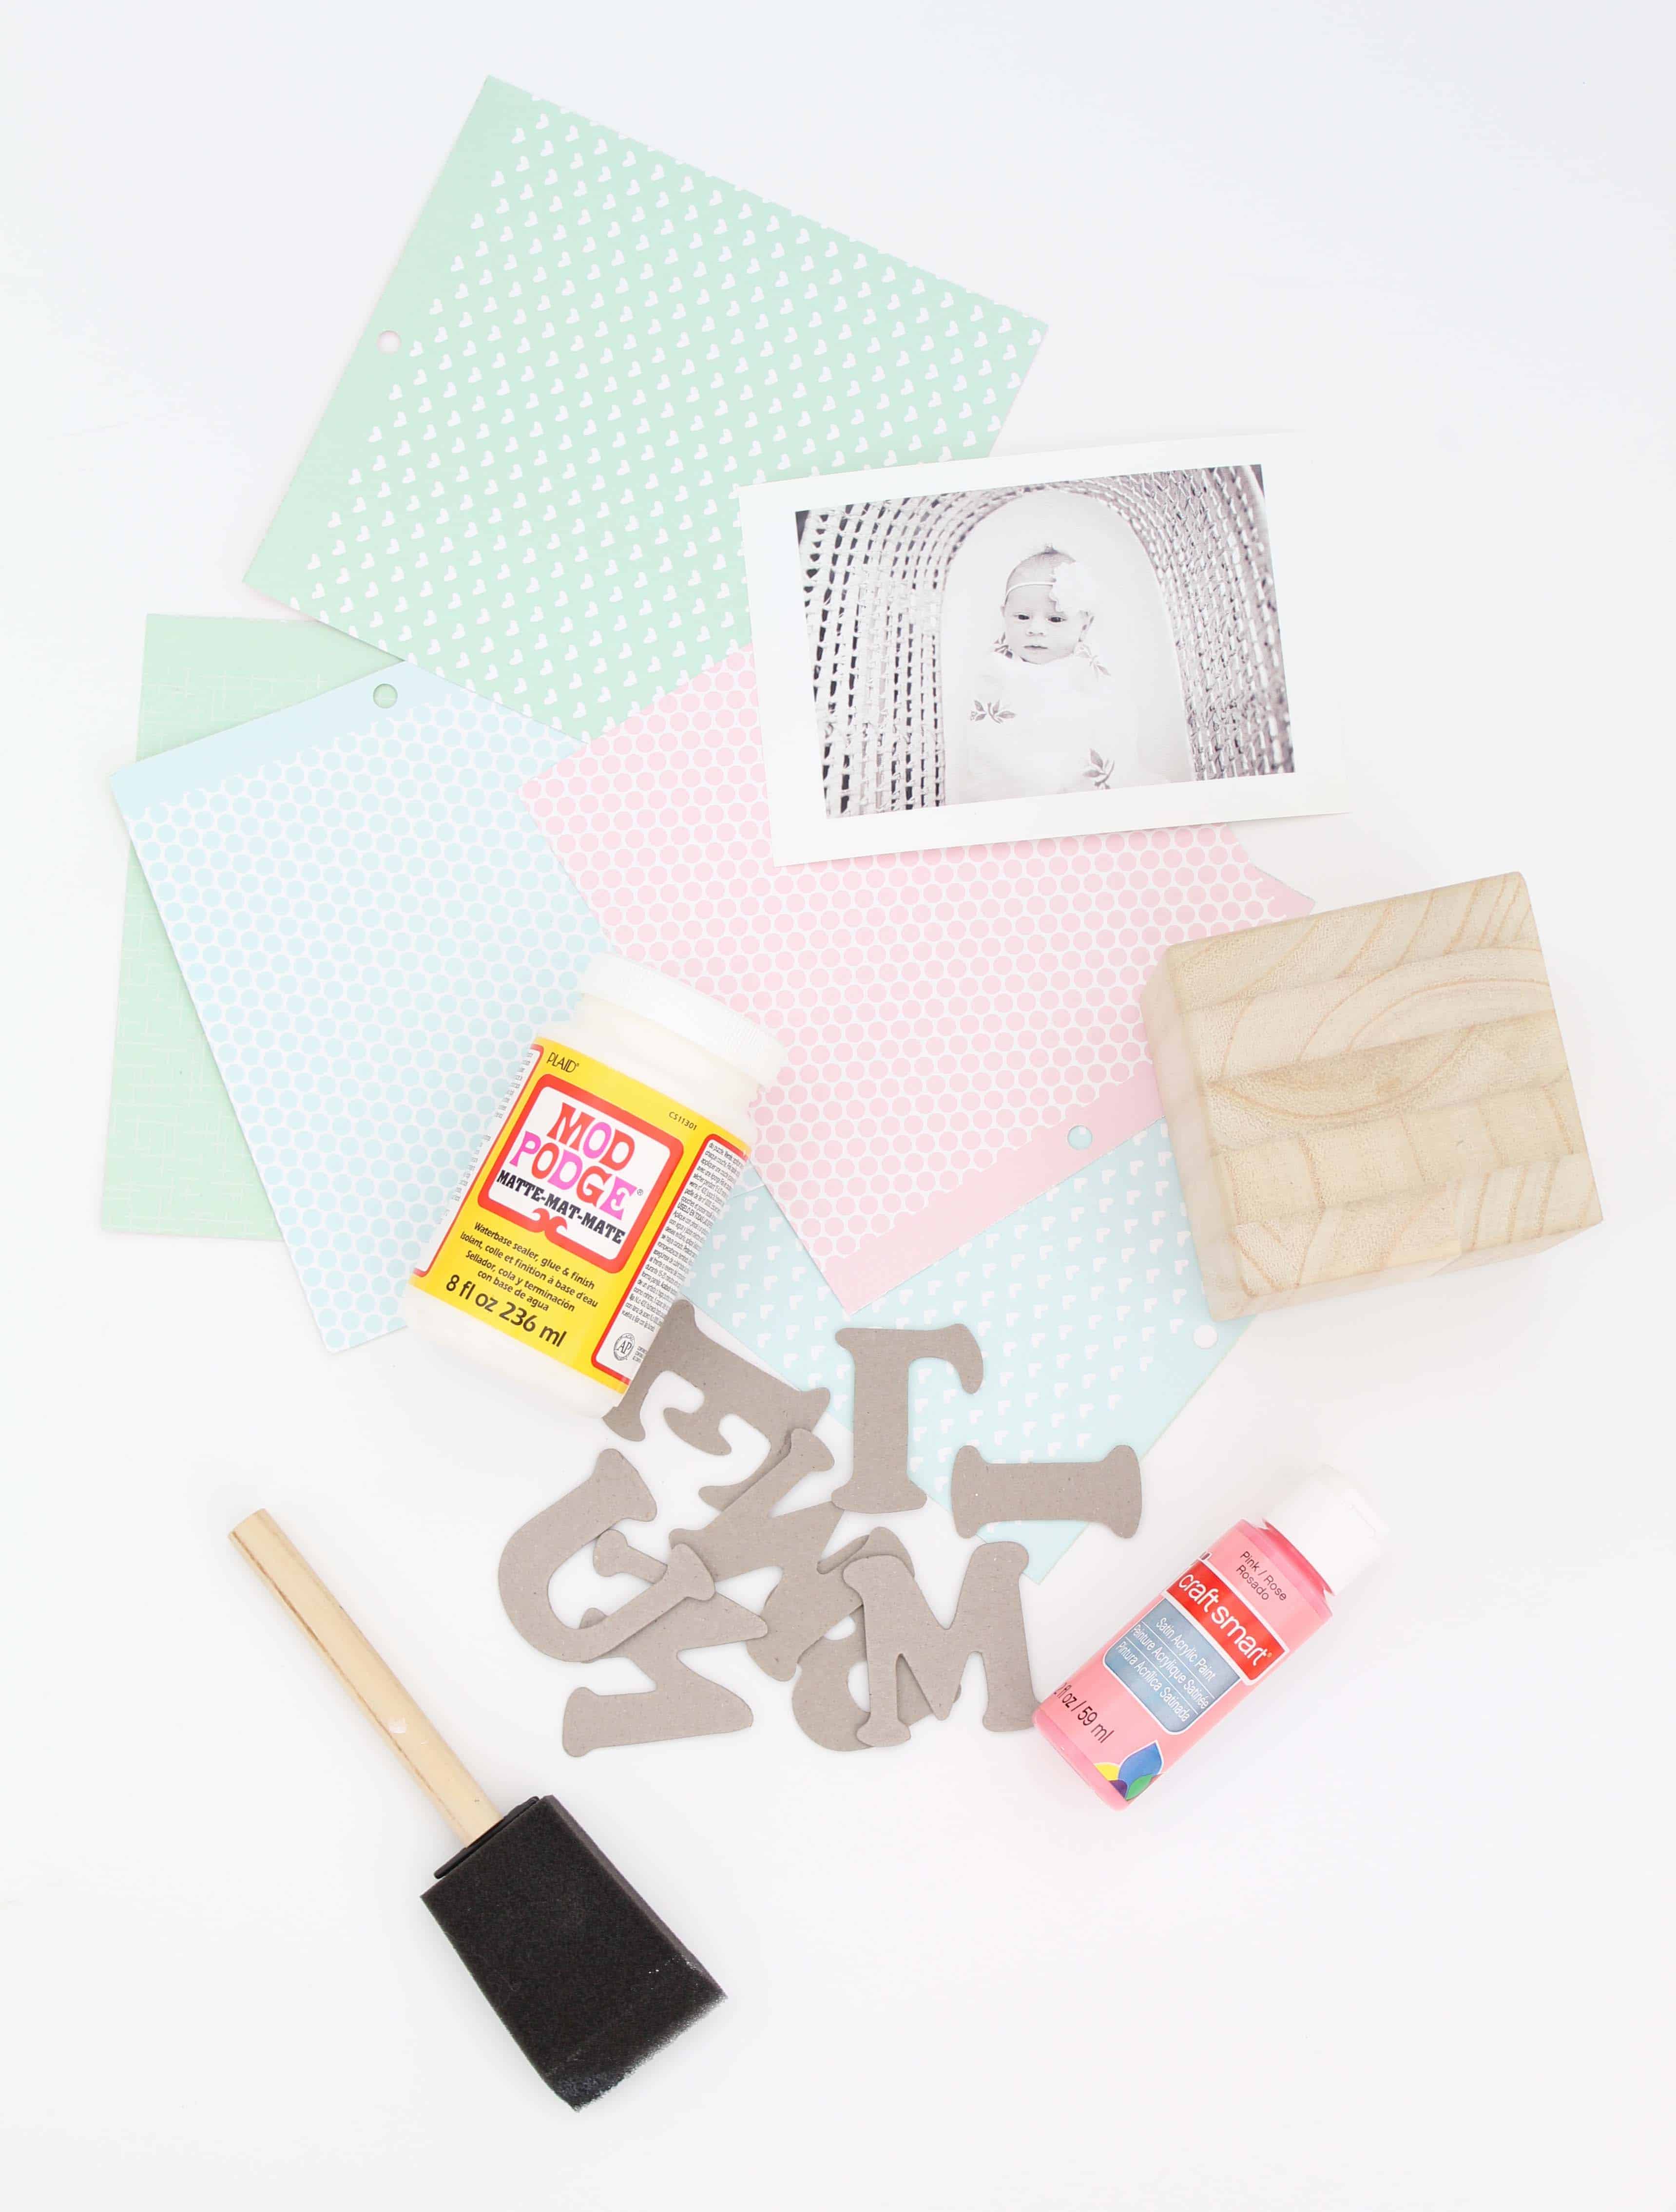
What You Need: (I bought my supplies at a local craft store, but I’ve linked to a few available online.)
- Large Unfinished Wood Block
- Pattern Cardstock Paper
- Matte Modge Podge
- Chipboard Letters
- Foam Brush
- Acrylic Paint
- Baby Picture, or you’re choice of keepsake items.
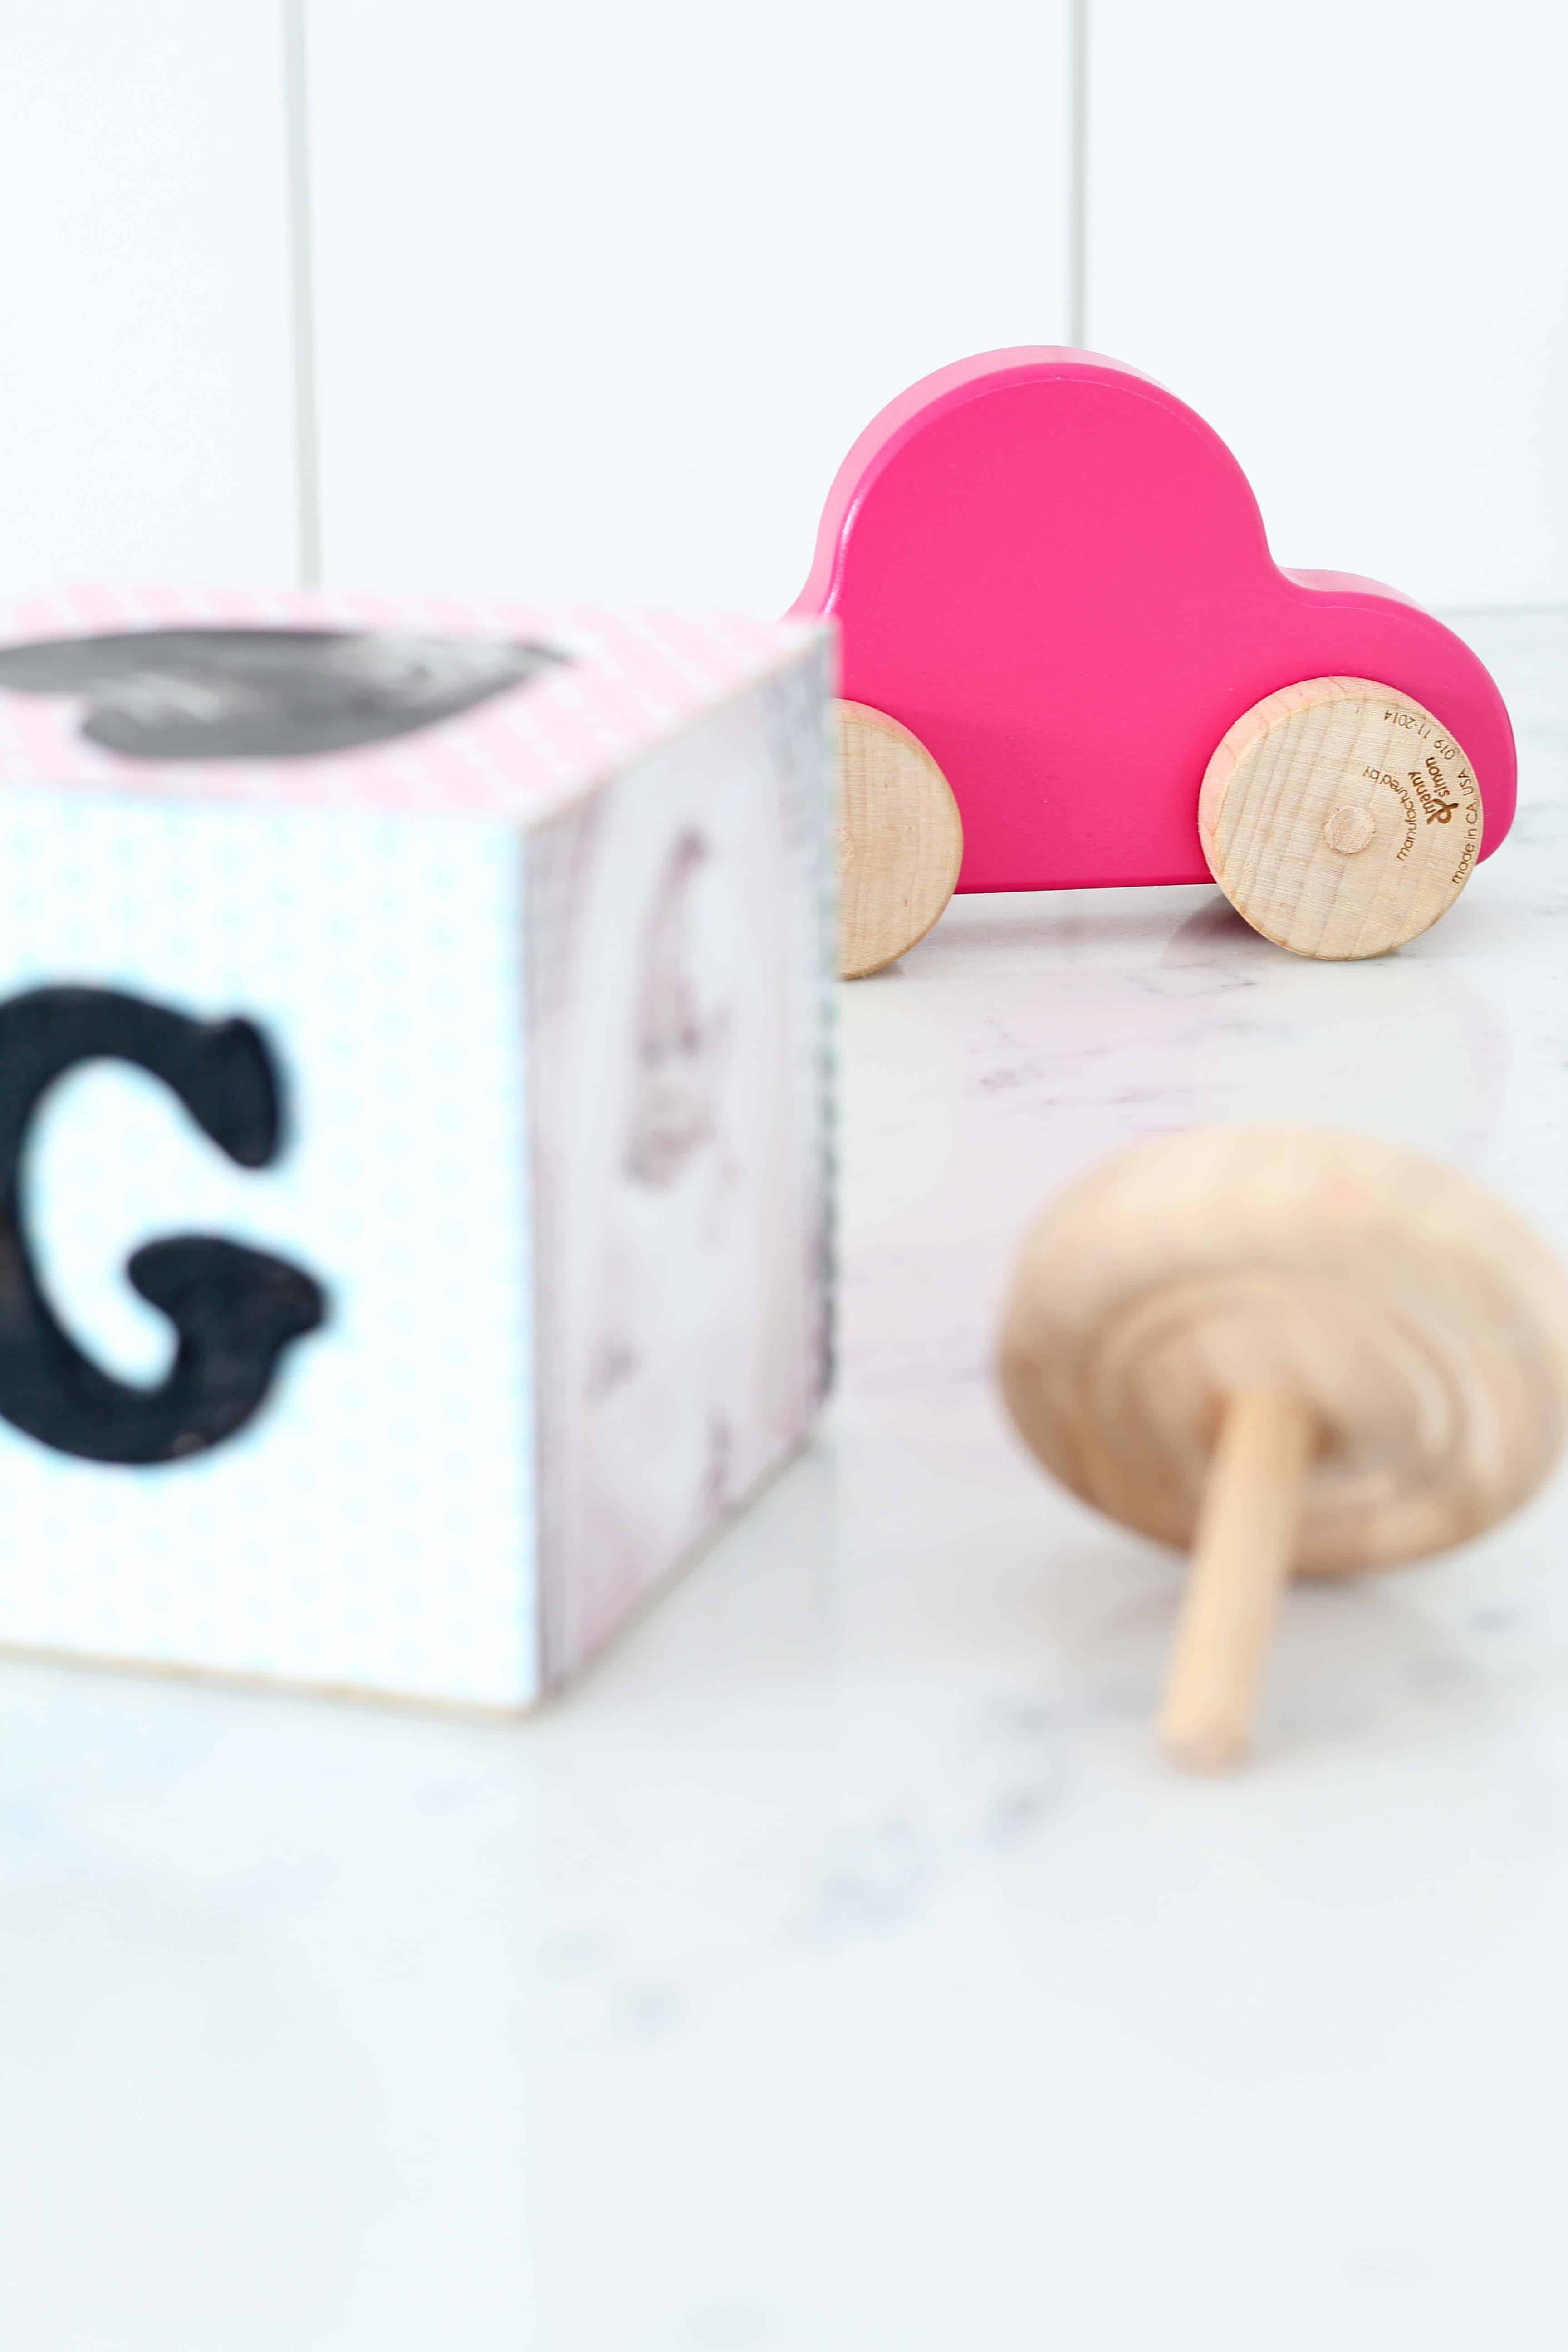
I made this keepsake block using a large wooden block (mine is probably around 3.5 inches). I wanted it to have enough surface space for a baby picture, ultra sound picture, and a 2 inch chipboard initial that I painted black. (You may notice that I started out with pink acrylic paint in the materials picture above, but once I got started black seemed like a better choice.)
The best part about this project is the endless possibilities. It’s totally customizable, so you can put whatever means the most to you on the block faces. It’s also great because you don’t necessarily have to use it as a newborn keepsake block. You could do a 1 year old keepsake, 1st Birthday, or really any life event that you wanted to document and remember!

How to Make It
- Start by deciding on what type of color theme or patterns you want to use for your card stock. The card stock is the base or “wallpaper” for your block that will showcase your memento items.
- Make a template for your card stock using the outline of the face of the wooden block. To do this, I placed a piece of card stock on the face of the block and pressed around the edges to get an indented outline and then cut along that indentation line to get my initial template piece.
- Once you cut the template out, hold it up to the block face to make sure it lines up and covers the face so that you’re happy with it. If you are, cut 3 more pieces of card stock out using the template as your guide. Using the same template, cute out your baby picture. (A note on the name, date, and birth weight you see on my block: I just typed those out in MS Word and then printed it on a piece of the card stock before I cut it out.)
- Using your Modge Podge, glue the individual pieces of card stock you cut out to the faces of the block. Wait about 20 minutes until they have dried.
- Start gluing down your memento items. Again, these can be anything you want them to be, an initial, a favorite quote, a date, etc.
- Once you have all of your mementos on, apply a light finish coat of Modge Podge to the whole block for a little added protection. Allow to dry.
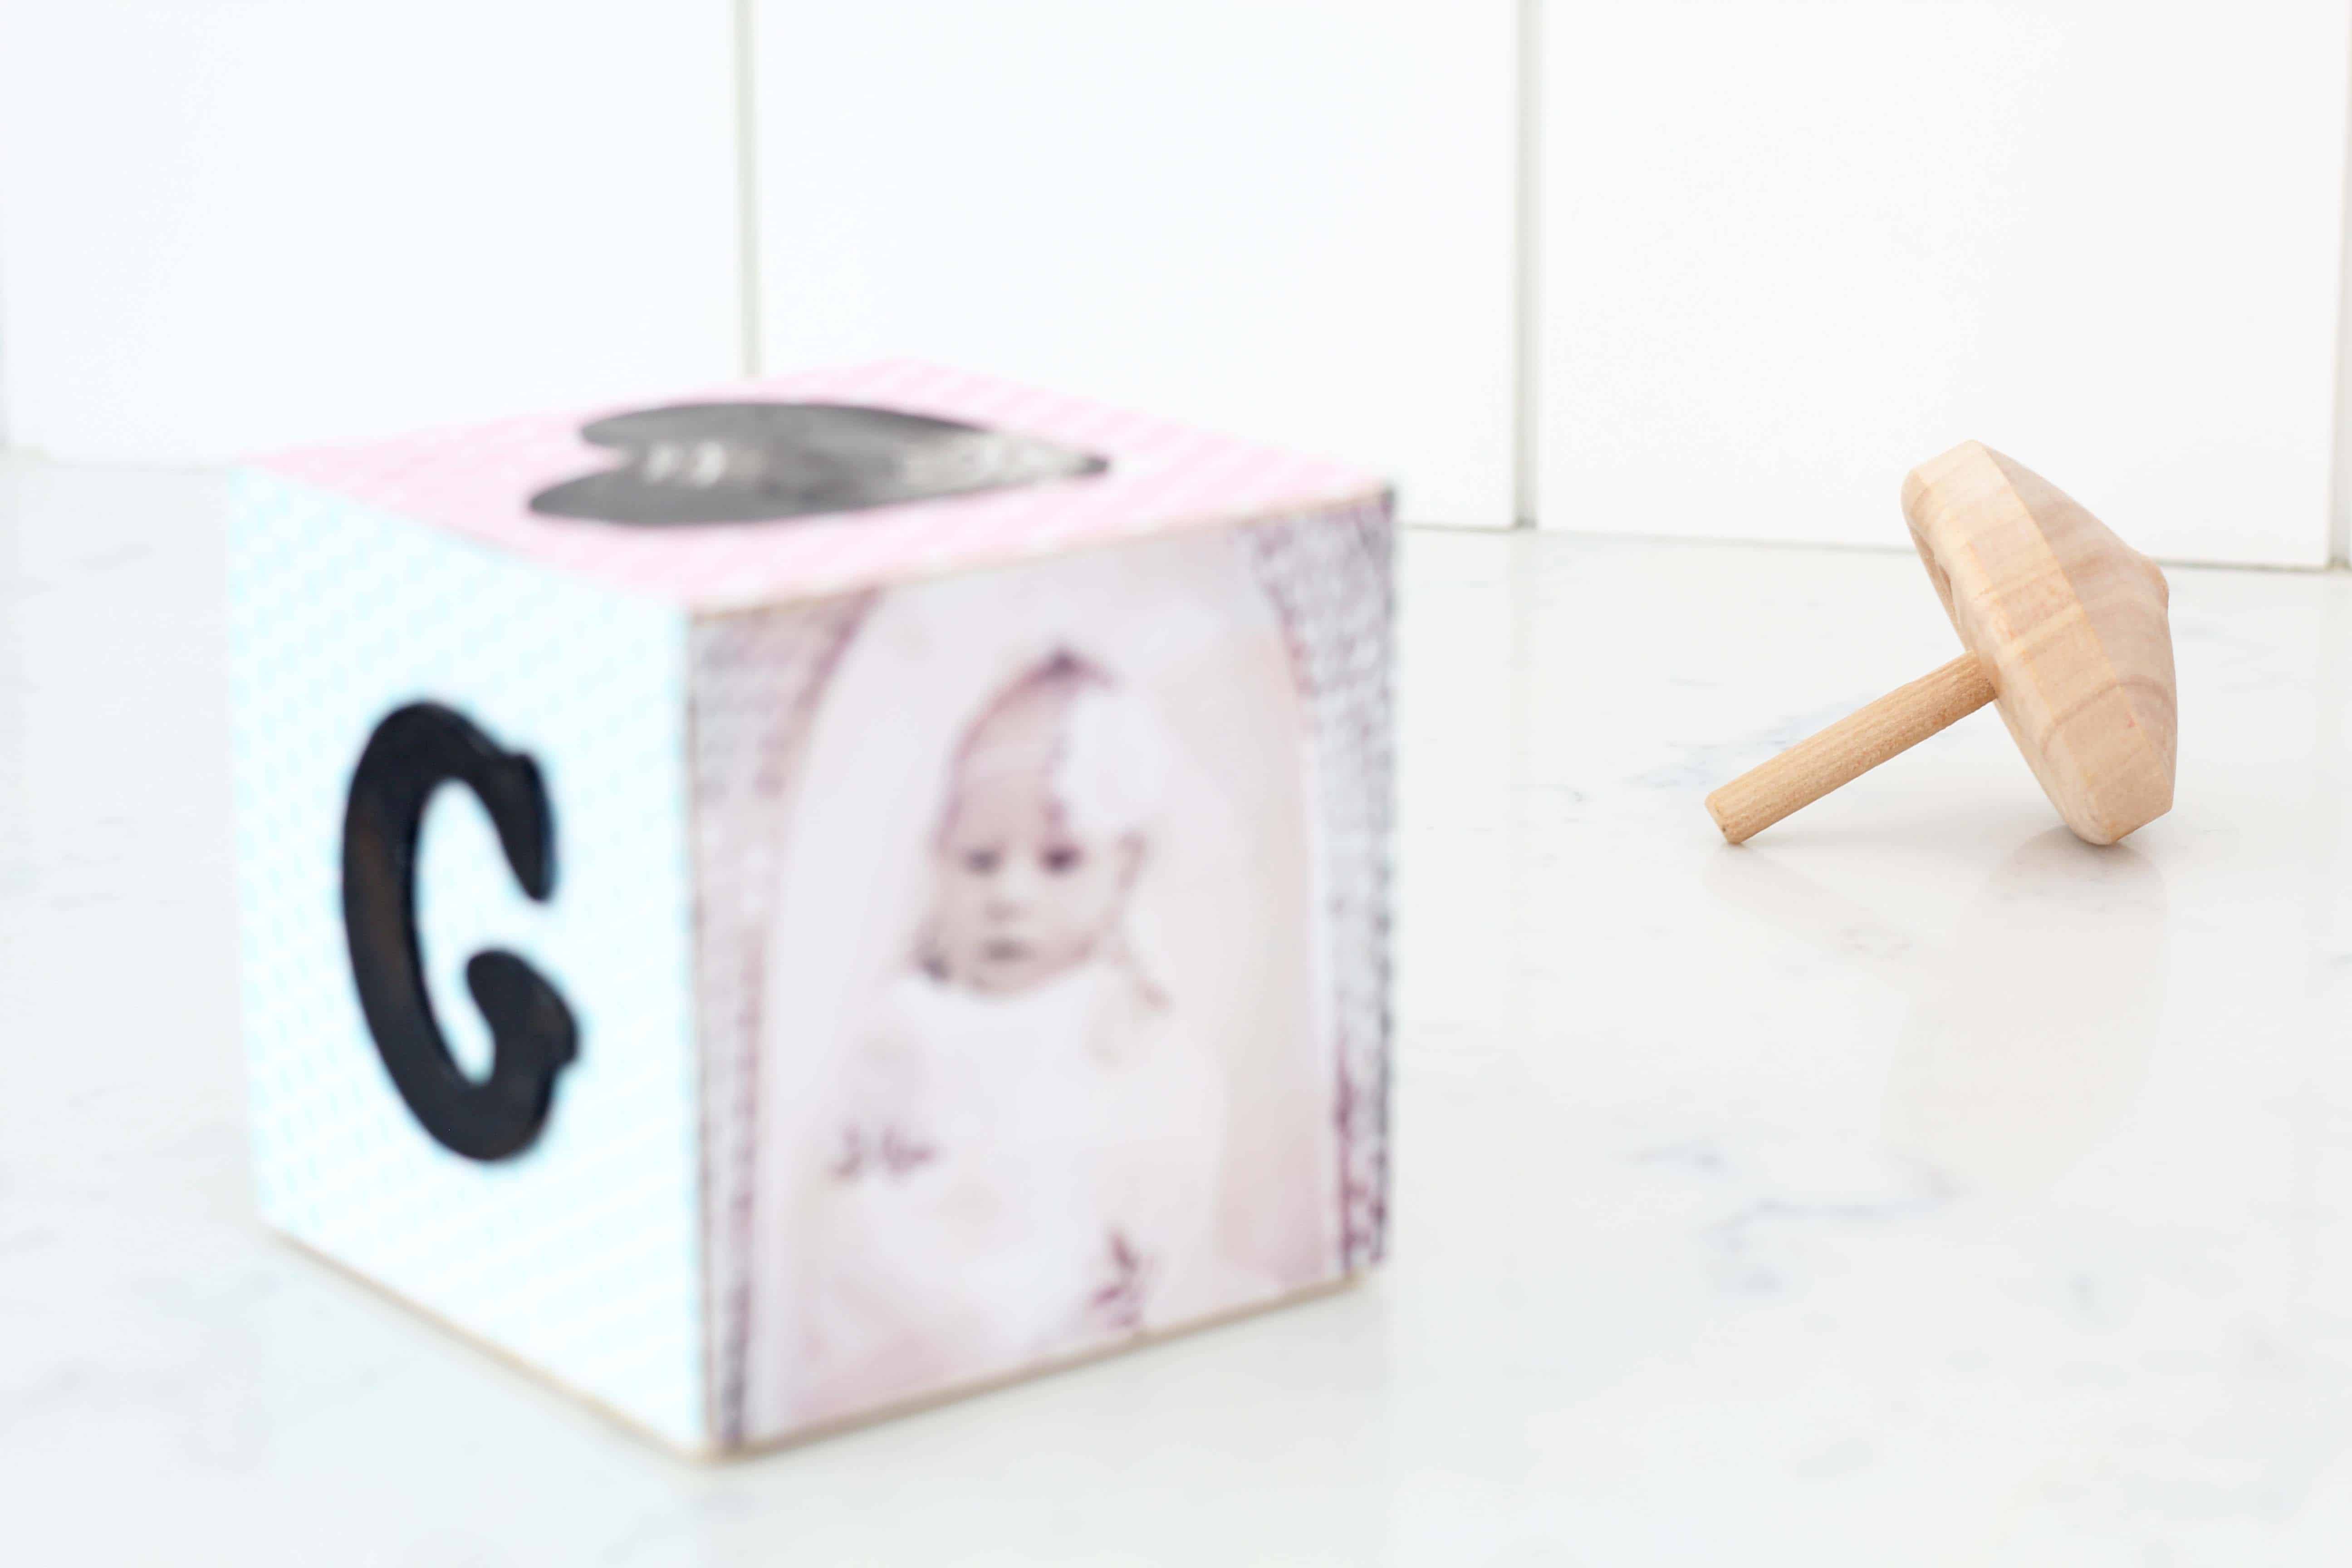
I’m so glad I finally got around to this project! Capturing those early newborn days is something I want to hold onto forever. I also think it would be really cute to do one completely of pictures, wouldn’t that be perfect for a desk or bookshelf?!
Happy crafting, friends!
This post contains some affiliate links for your convenience. Click here to read my full disclosure policy.
Want to save this post? Pin it here!

Such an adorable project, and such a memorable keepsake! Love this, Tiffany! So glad you joined us at Homestyle Gathering. Hope to see you each week!