Welcome to week 4 of the One Room Challenge. We are finishing up installing the vertical shiplap as well as starting on the floating shelves!
One Room Challenge Kitchen: Week 4
Hello! Welcome back for week 4 of our One Room Challenge kitchen remodel. This week and last week have all been about the vertical shiplap and floating shelf brackets. I’m happy to report that the brackets are all installed…. and I may have even tested out a couple of the shelves just to see how they look 😉 . If you missed any of the previous week’s posts, you can read them here: Week 1 , Week 2 , Week 3 .
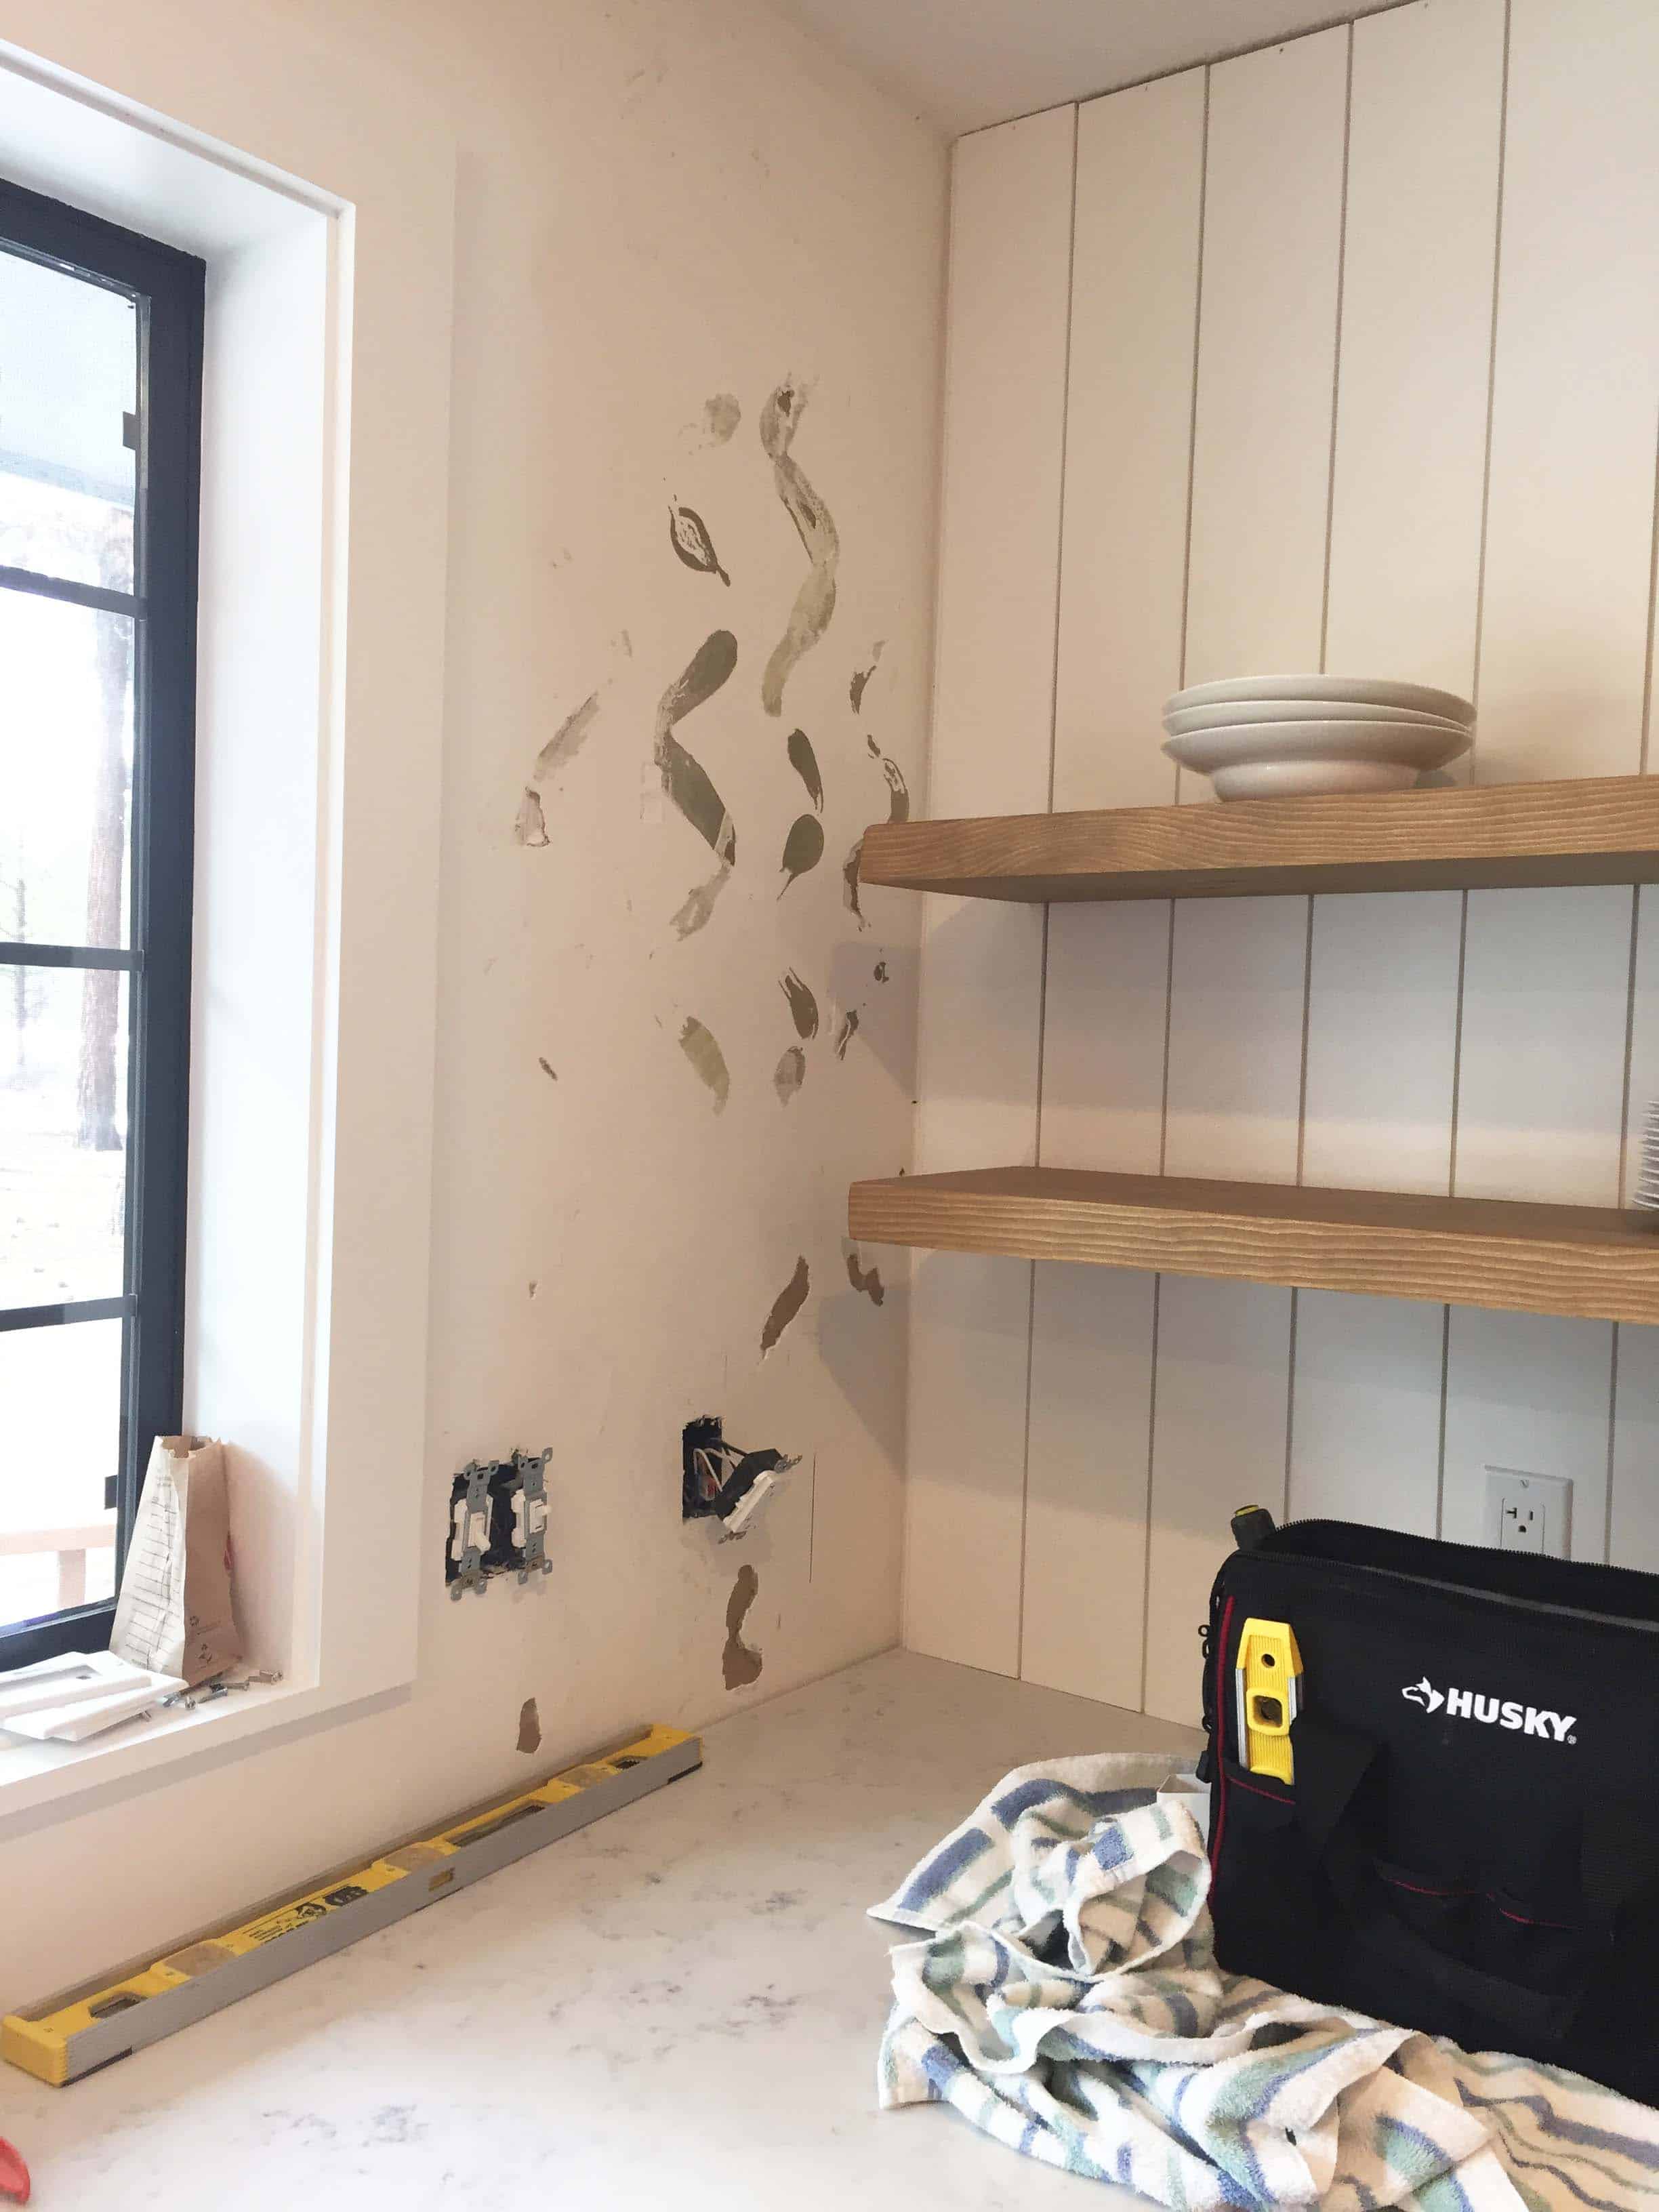
As you can see in the picture above, we ran into a little snag while we were installing the vertical shiplap. You may remember one of the major reasons we chose to do shiplap was because it would allow us to account for some of the wonky curves in our walls. For this part of the plan to work, the shiplap needed to be glued only at the tops and bottoms. This allows the middle part of the board to stay in line and cover any wows in the middle of the wall.
Unfortunately, there was a little bit of miscommunication and we ended up gluing the entire board to the wall. Good news, we realized what had happened pretty early on. Bad news, we ended up having to tear 5 boards off the wall. Let me just say, liquid nails really do live up to their name. Those boards were tough to get off!
The Details
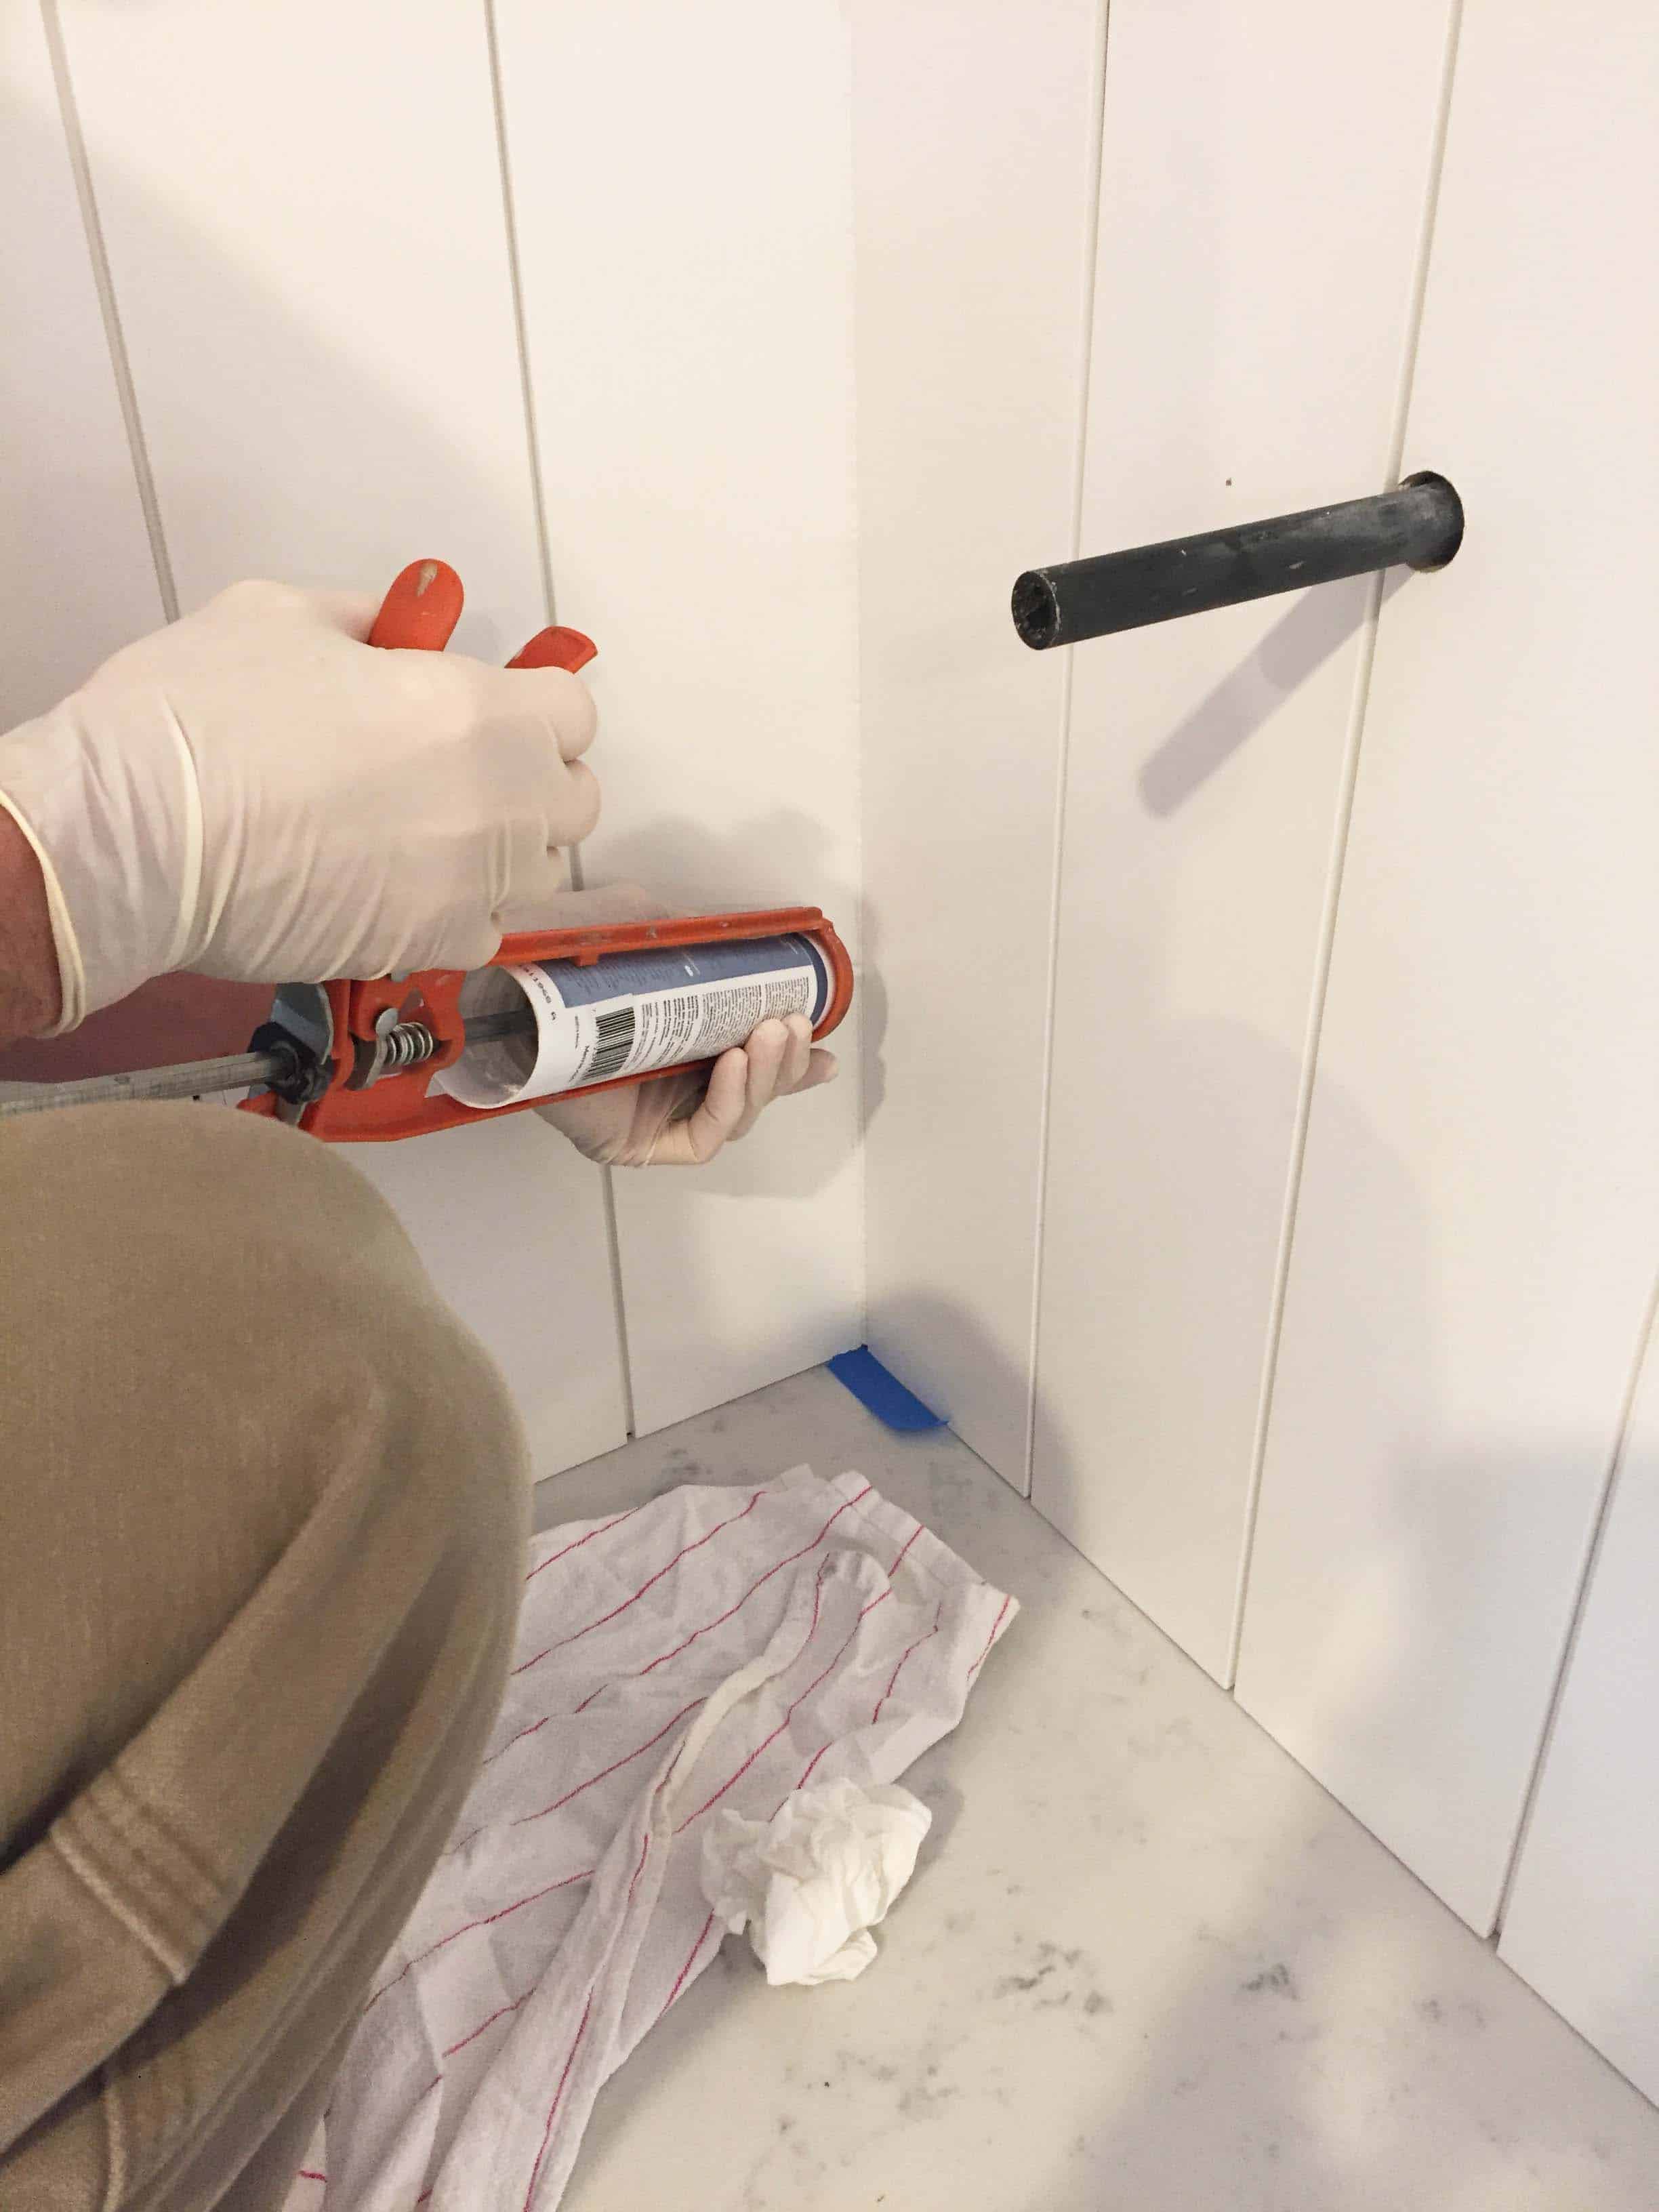
Now that the vertical shiplap is installed, it’s all about the finishing details. My goal is for this vertical shiplap to have a more polished and refined look (rather than rustic). Part of the way I’m trying to achieve this is through the details. Making sure we caulk everything carefully and keeping a uniformed appearance are my main goals.
I’m also still a bit undecided on the finish trim. I know we’re going to do a small, basic crown moulding where the shiplap meets the ceiling, but I’m a little stumped on what to do where the shiplap meets the countertops. There are quite a few options out there. Some people use a small trim piece, and I’ve seen quite a few use whatever material their countertop is to create a small 3-4 inch backsplash. Currently I’m not loving the look of the small trim we picked out to go along the bottom, so I’m still brainstorming ideas for that part.
Overall, we’re thrilled with the progress we’ve made and I’m really happy we ended up making that last minute change on the backsplash. We were fortunate everything we needed was in stock at our local hardware store! For week 5 we plan on getting the vent hood and pot filler installed, as well as all of the pretty stuff 🙂 . Stay tuned for more updates next week and don’t forget to check out the other One Room Challenge participants here!




Your space is looking great! Looking forward to seeing your reveal!
Thanks so much, Lauren! It’s been a slow process, but I know it will be worth it in the end!