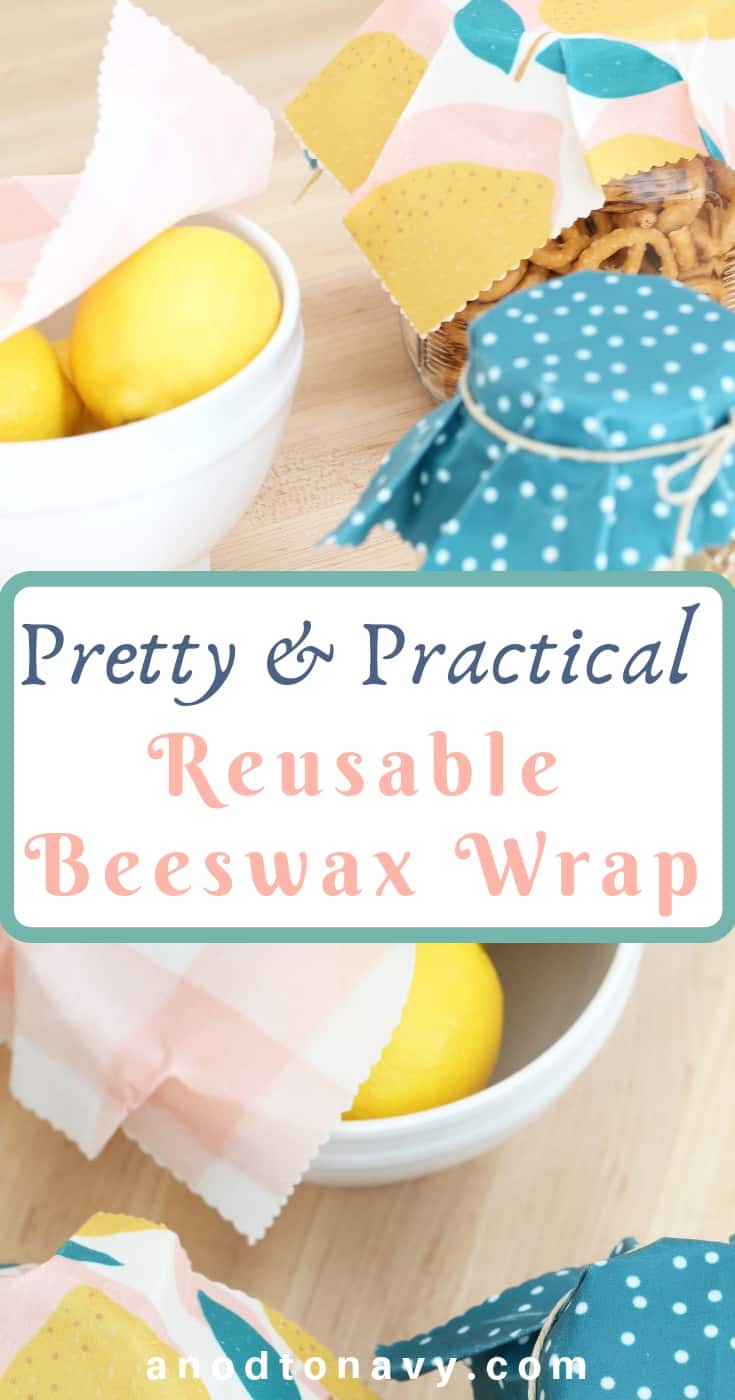
This pretty & practical reusable beeswax wrap is a cute and cost effective way to help cut down on kitchen waste and toxins in your home.
One of the first posts I did back when I started blogging was about my efforts to make our home as toxin free as I could. I had been working on doing this little by little for the past four years or so, but having a baby really lit a fire under me to buckle down and get all those things related to home health checked off my list.
While nobody is perfect (especially me!) I feel like we’ve made pretty good progress as a family over the last few years accomplishing this. We’ve changed out almost all of our household cleaning supplies and personal care items for non-toxic ones we either buy or make. I can’t tell you how much peace of mind it has given me to know that what we’re using on a daily basis is safe and free from chemicals that could potentially harm us in the long term.
Pretty + Practical Reusable Beeswax Wrap
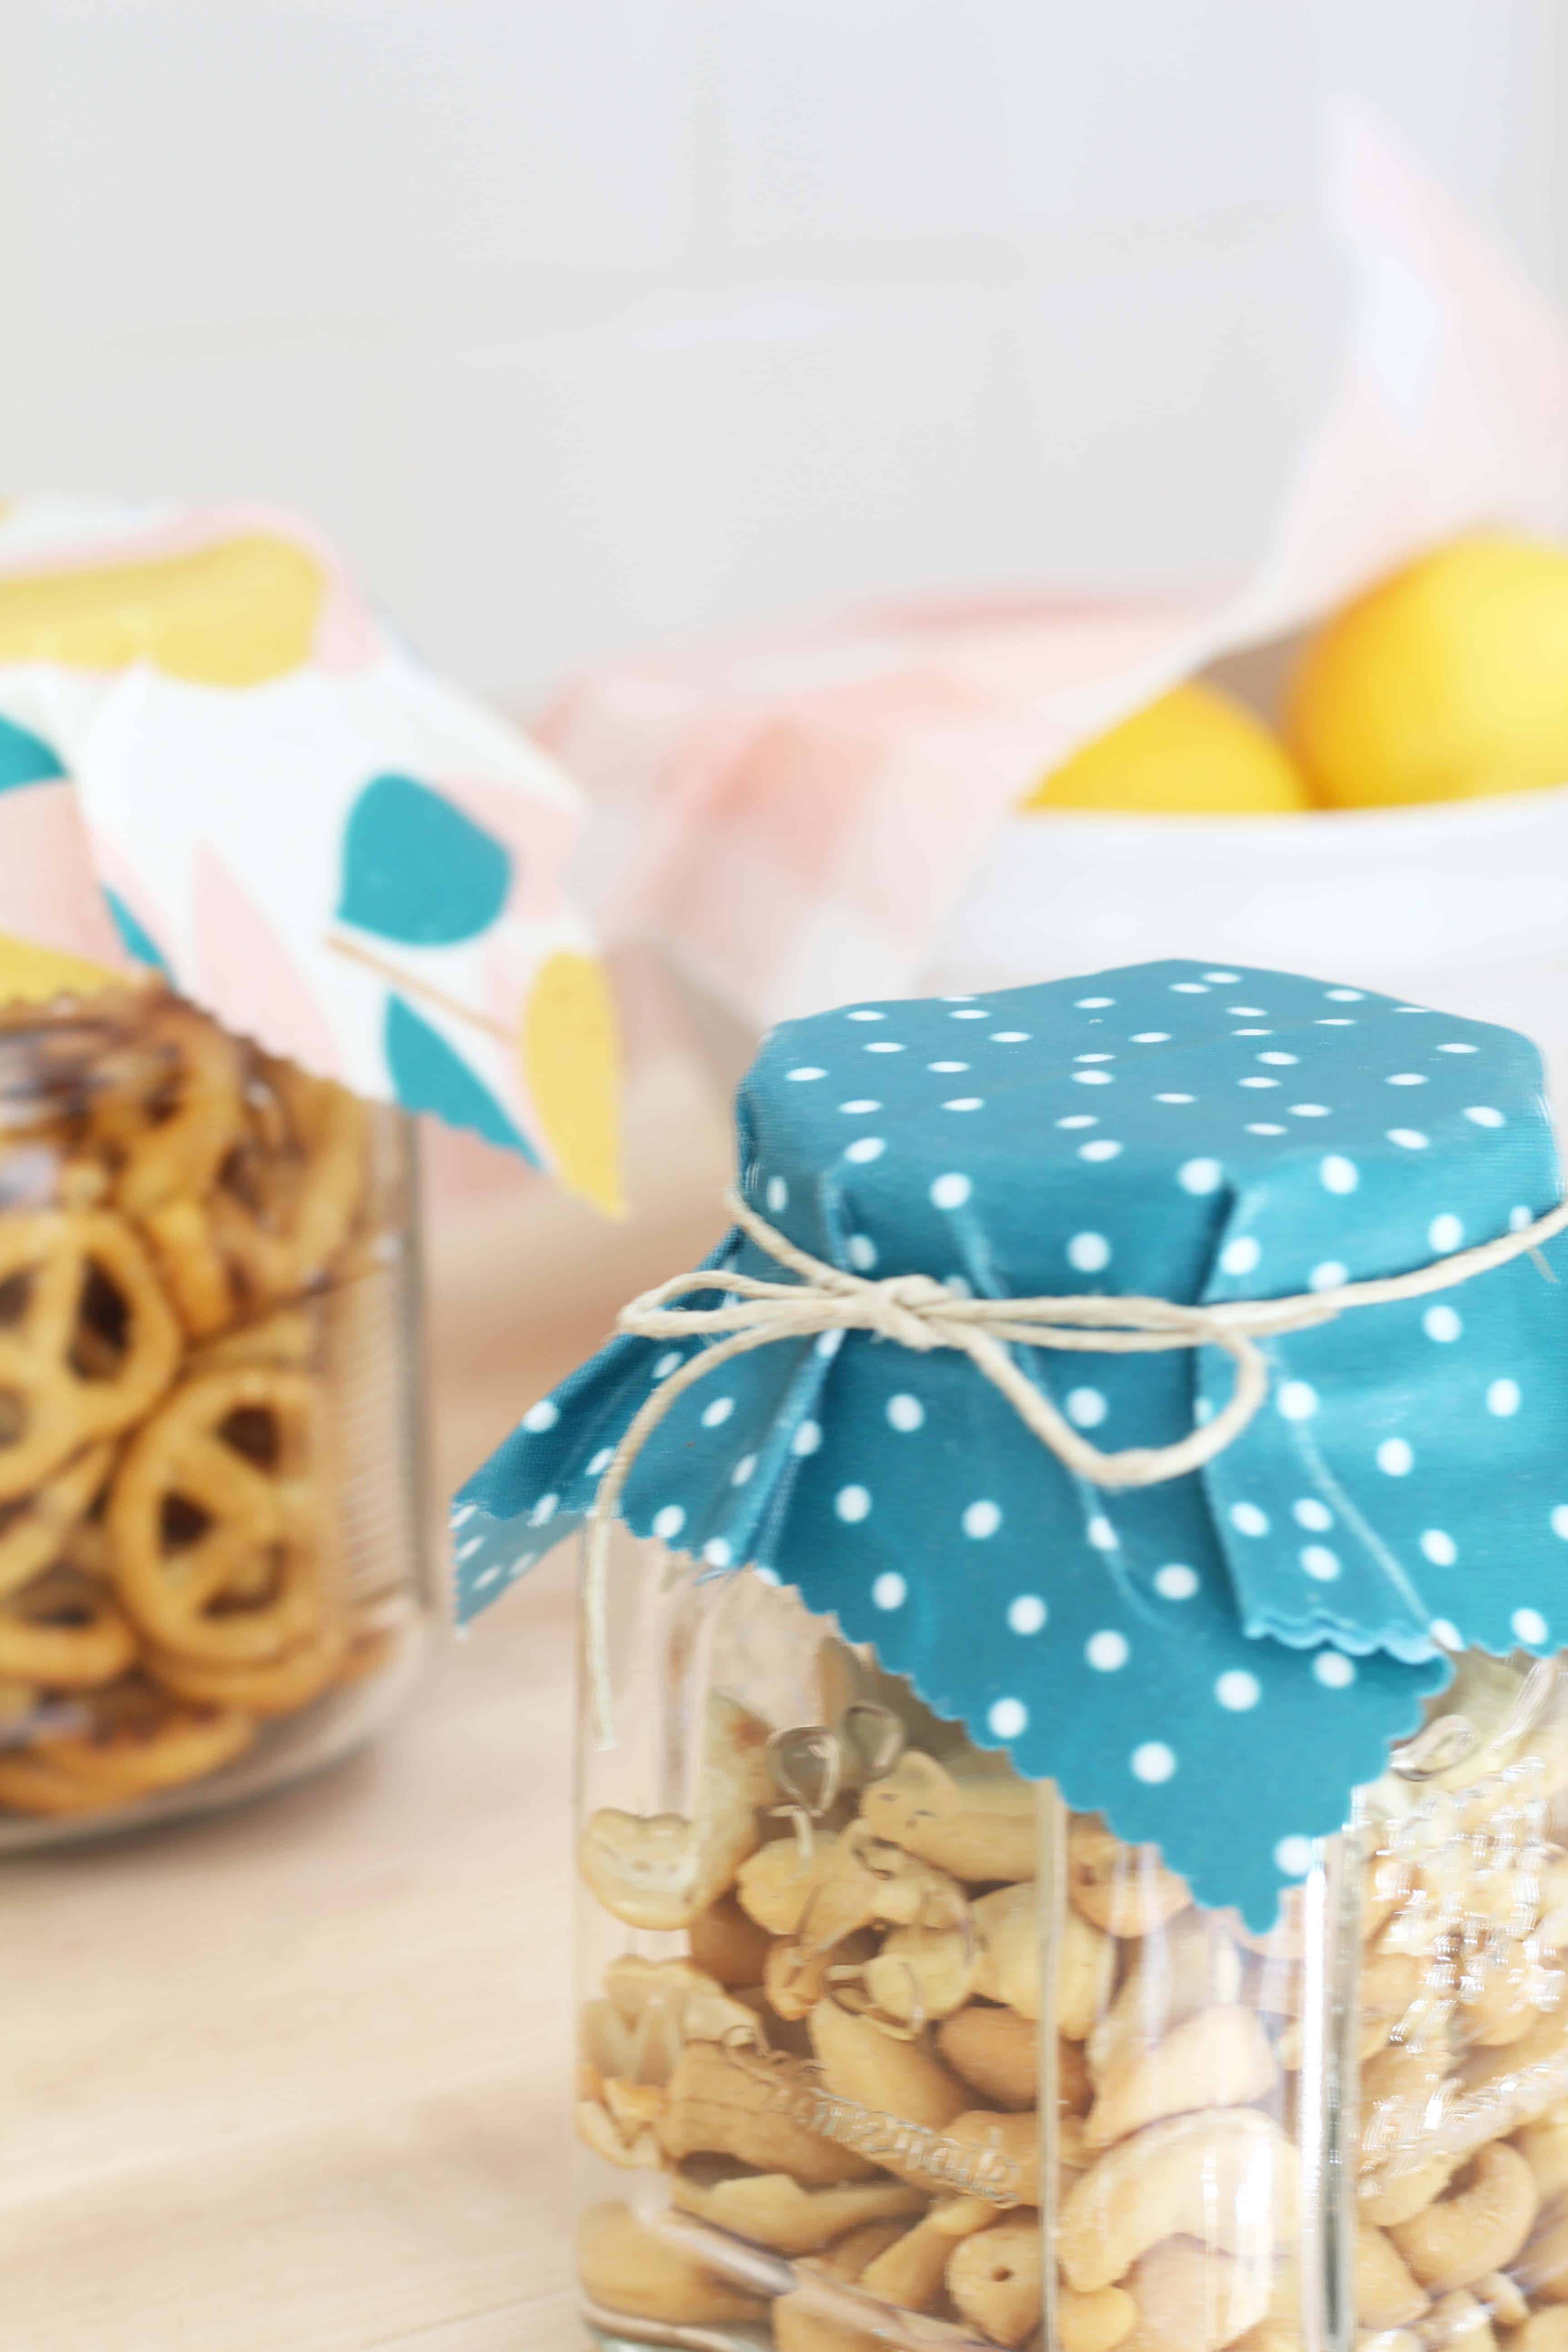
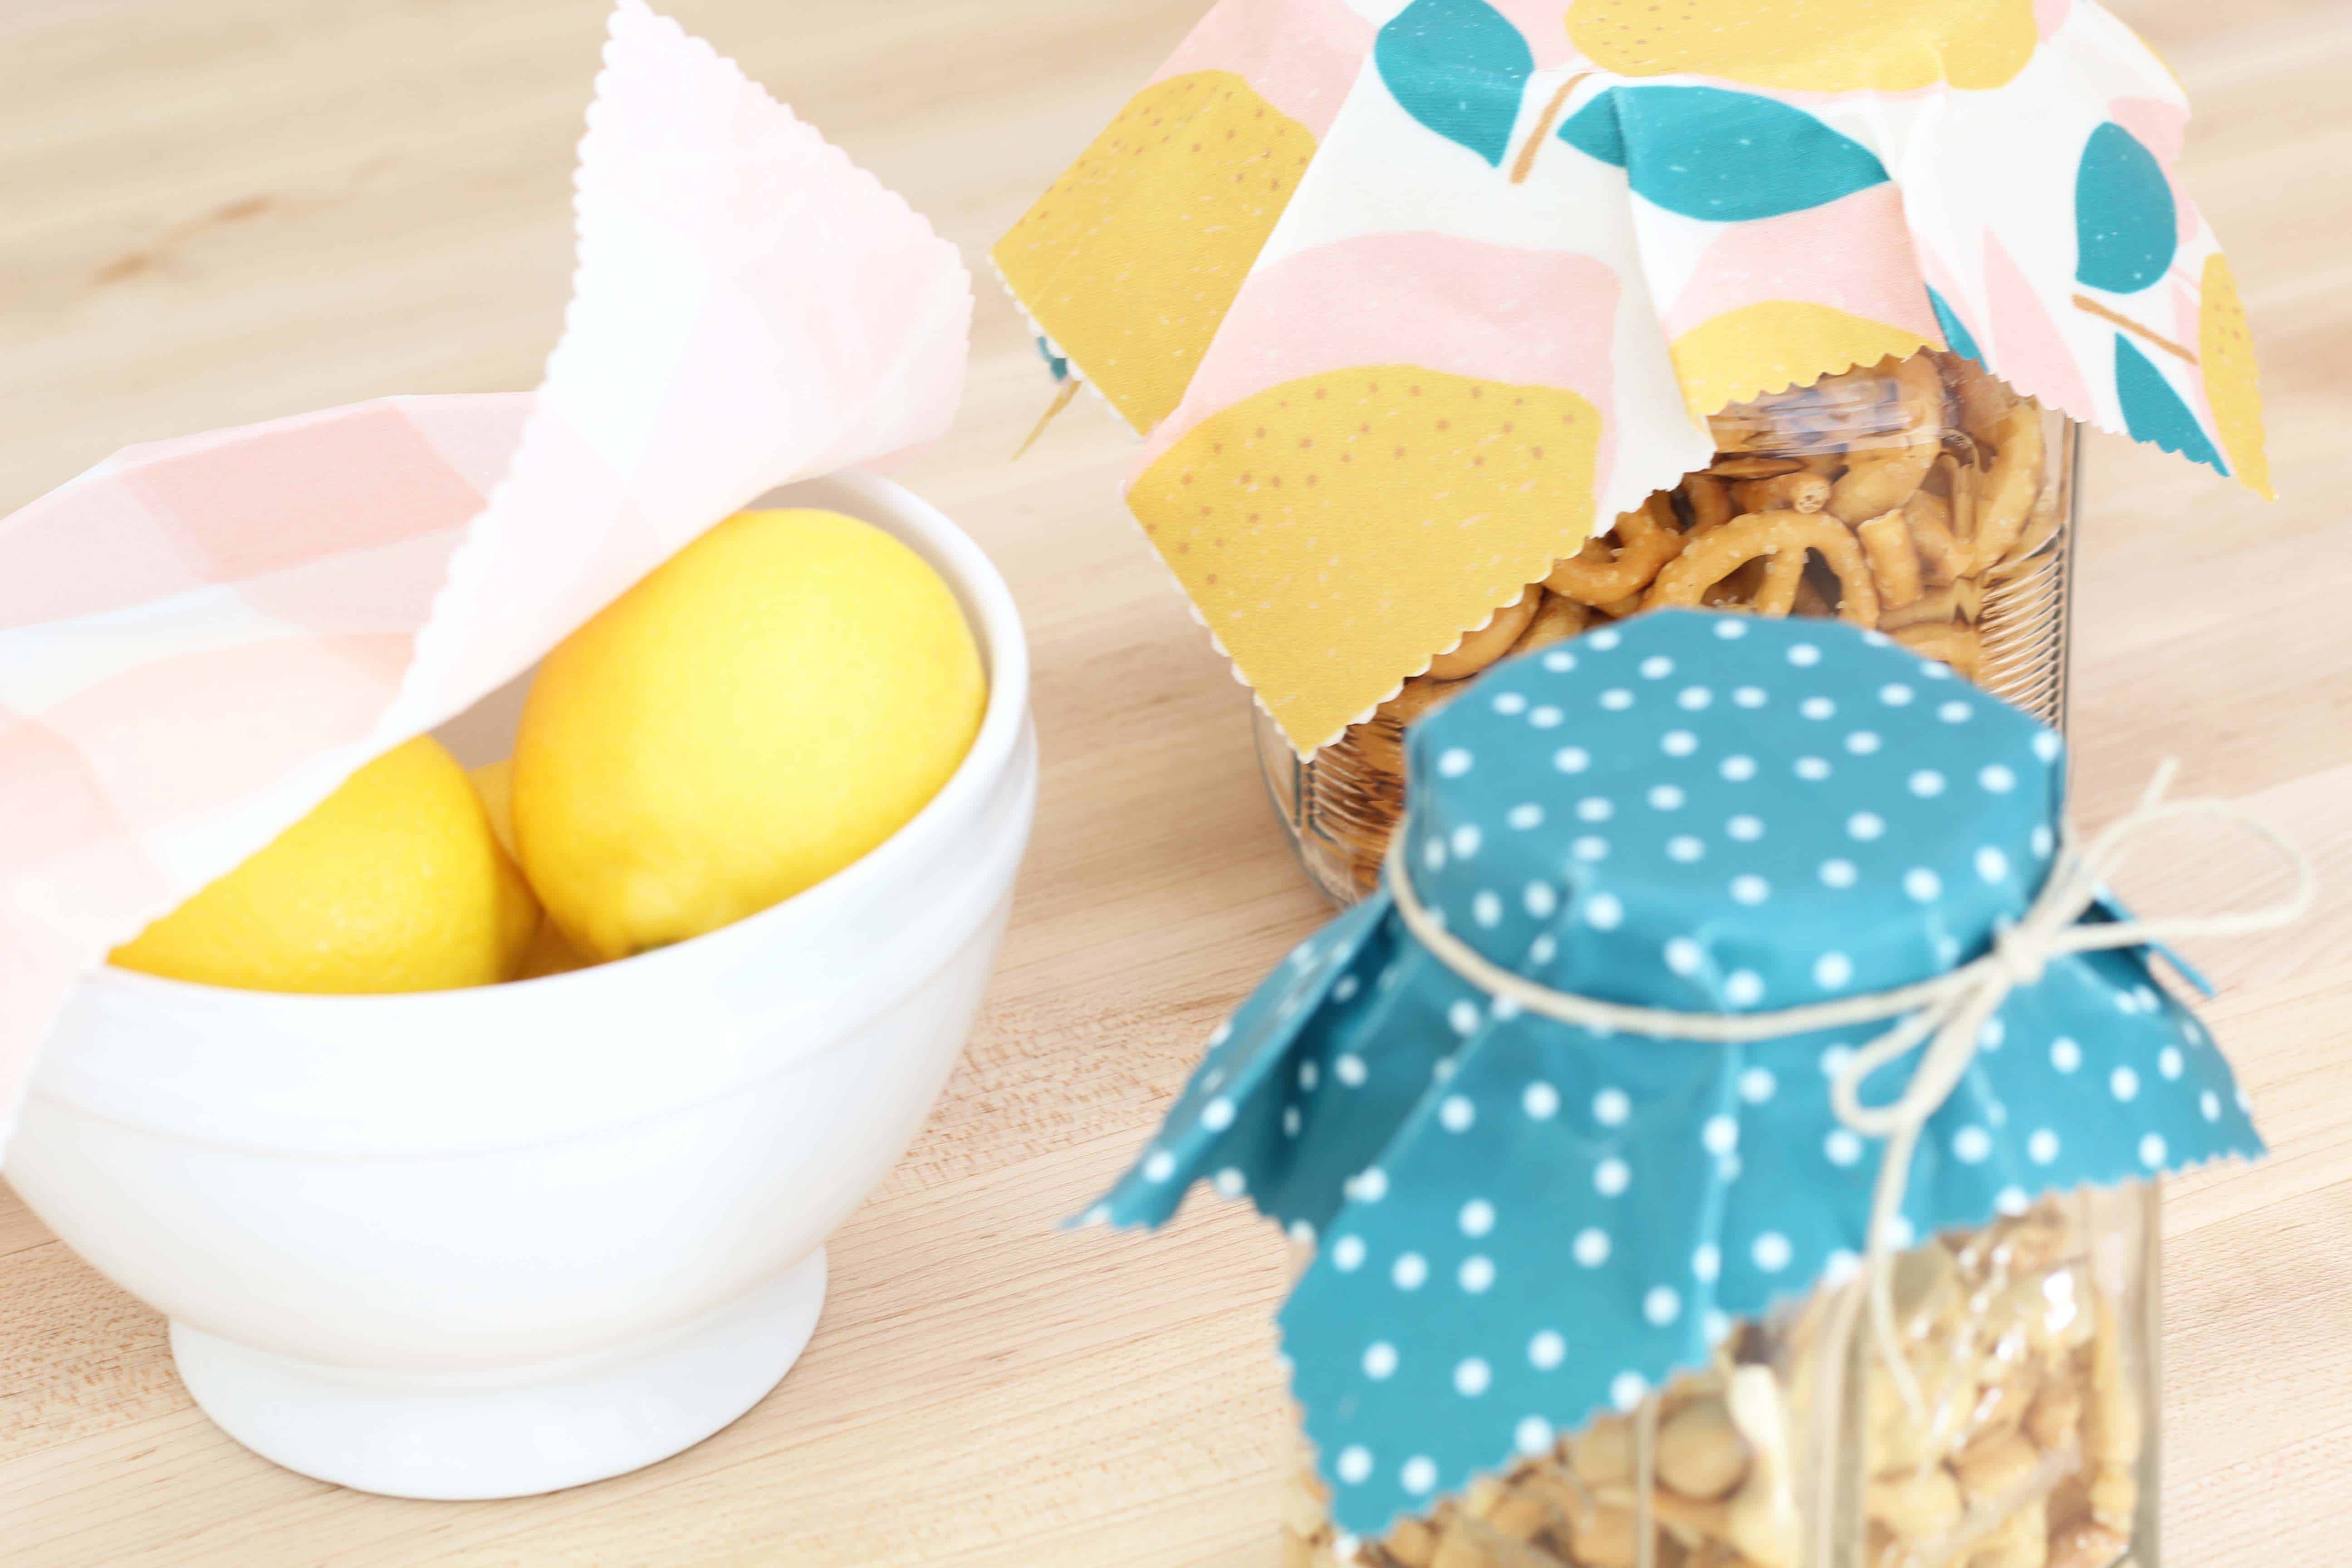
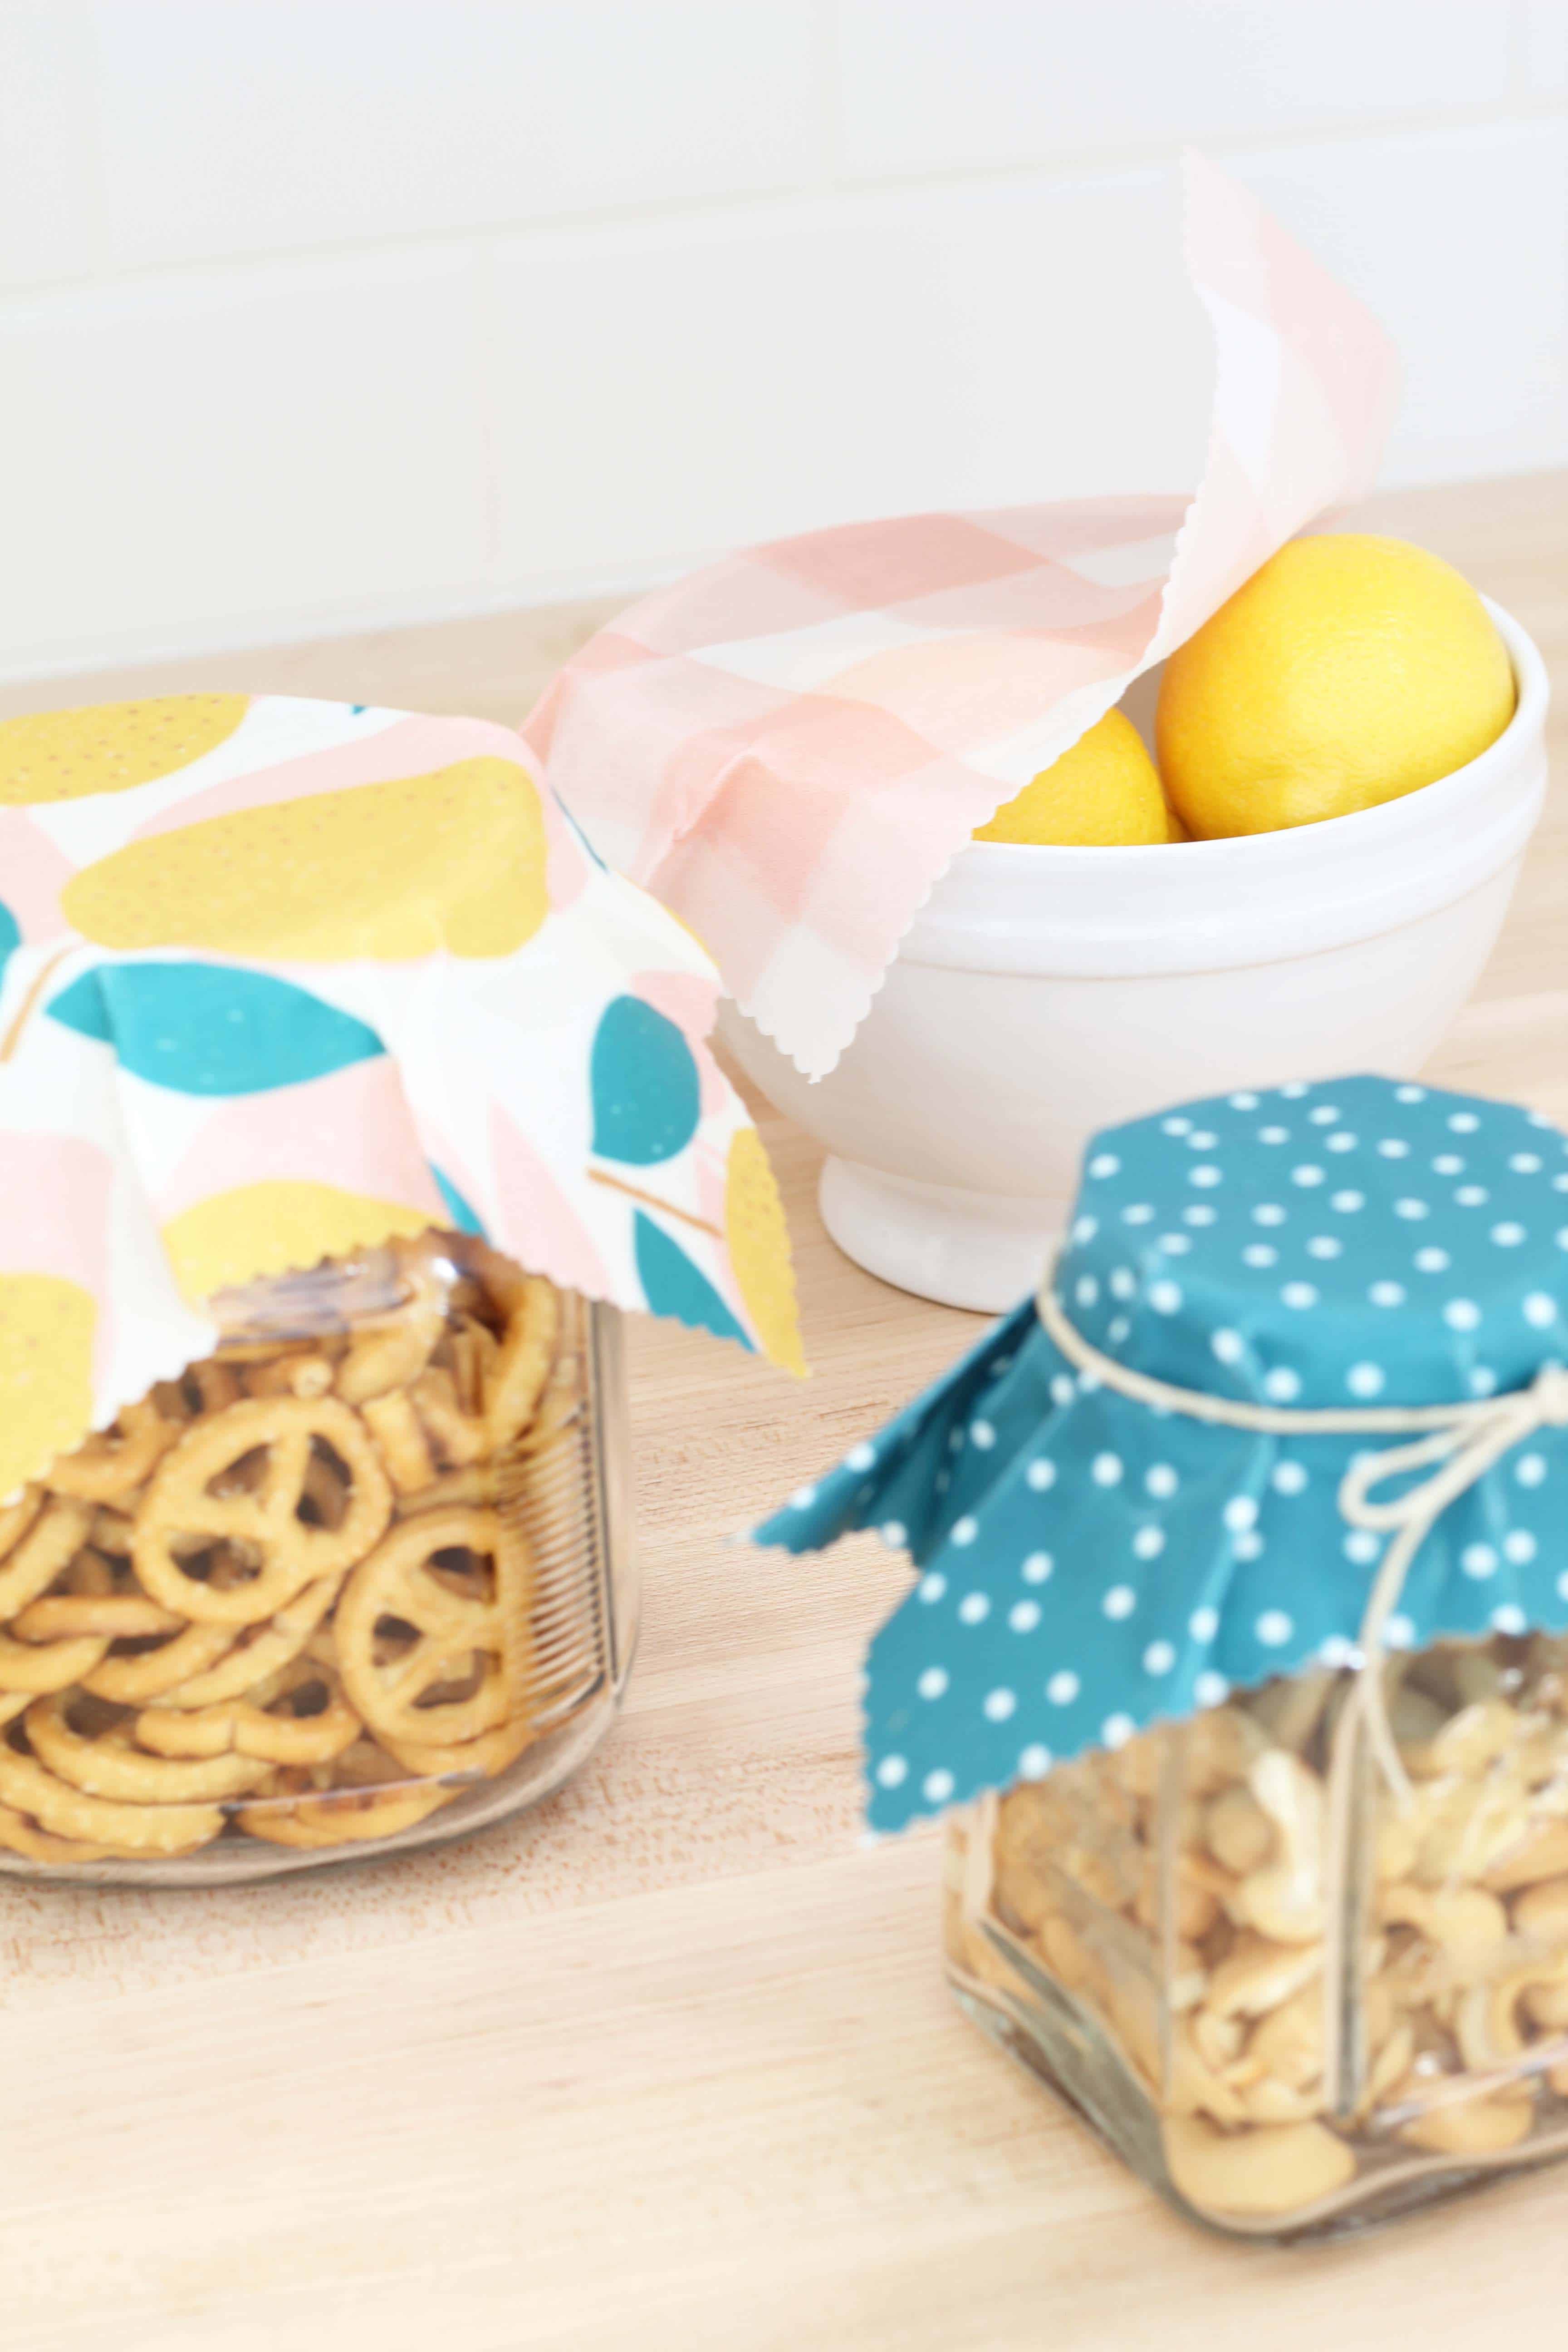
Part of this ongoing detoxifying of the home has also involved getting rid of our dependency on plastic. I think plastic is an amazing product that has many uses, but I prefer not to use it for storing or cooking food in if I can help it. One of the ways we’ve reduced our use of it is by using beeswax wrap as a replacement for plastic wrap. If you’ve never heard of beeswax wrap, it’s basically a throw back to the good old days before plastic wrap existed. It’s essentially just cotton cloth coated in beeswax. The malleable natural of beeswax allows you to use it to cover almost any type of dish or jar, creating a natural barrier.
Beeswax wrap has become more popular and available over the past few years (I use this kind when I need extras), but making your own is more cost effective. Plus, you get to choose cute fabrics to use that make you smile every time you open your fridge up. 🙂
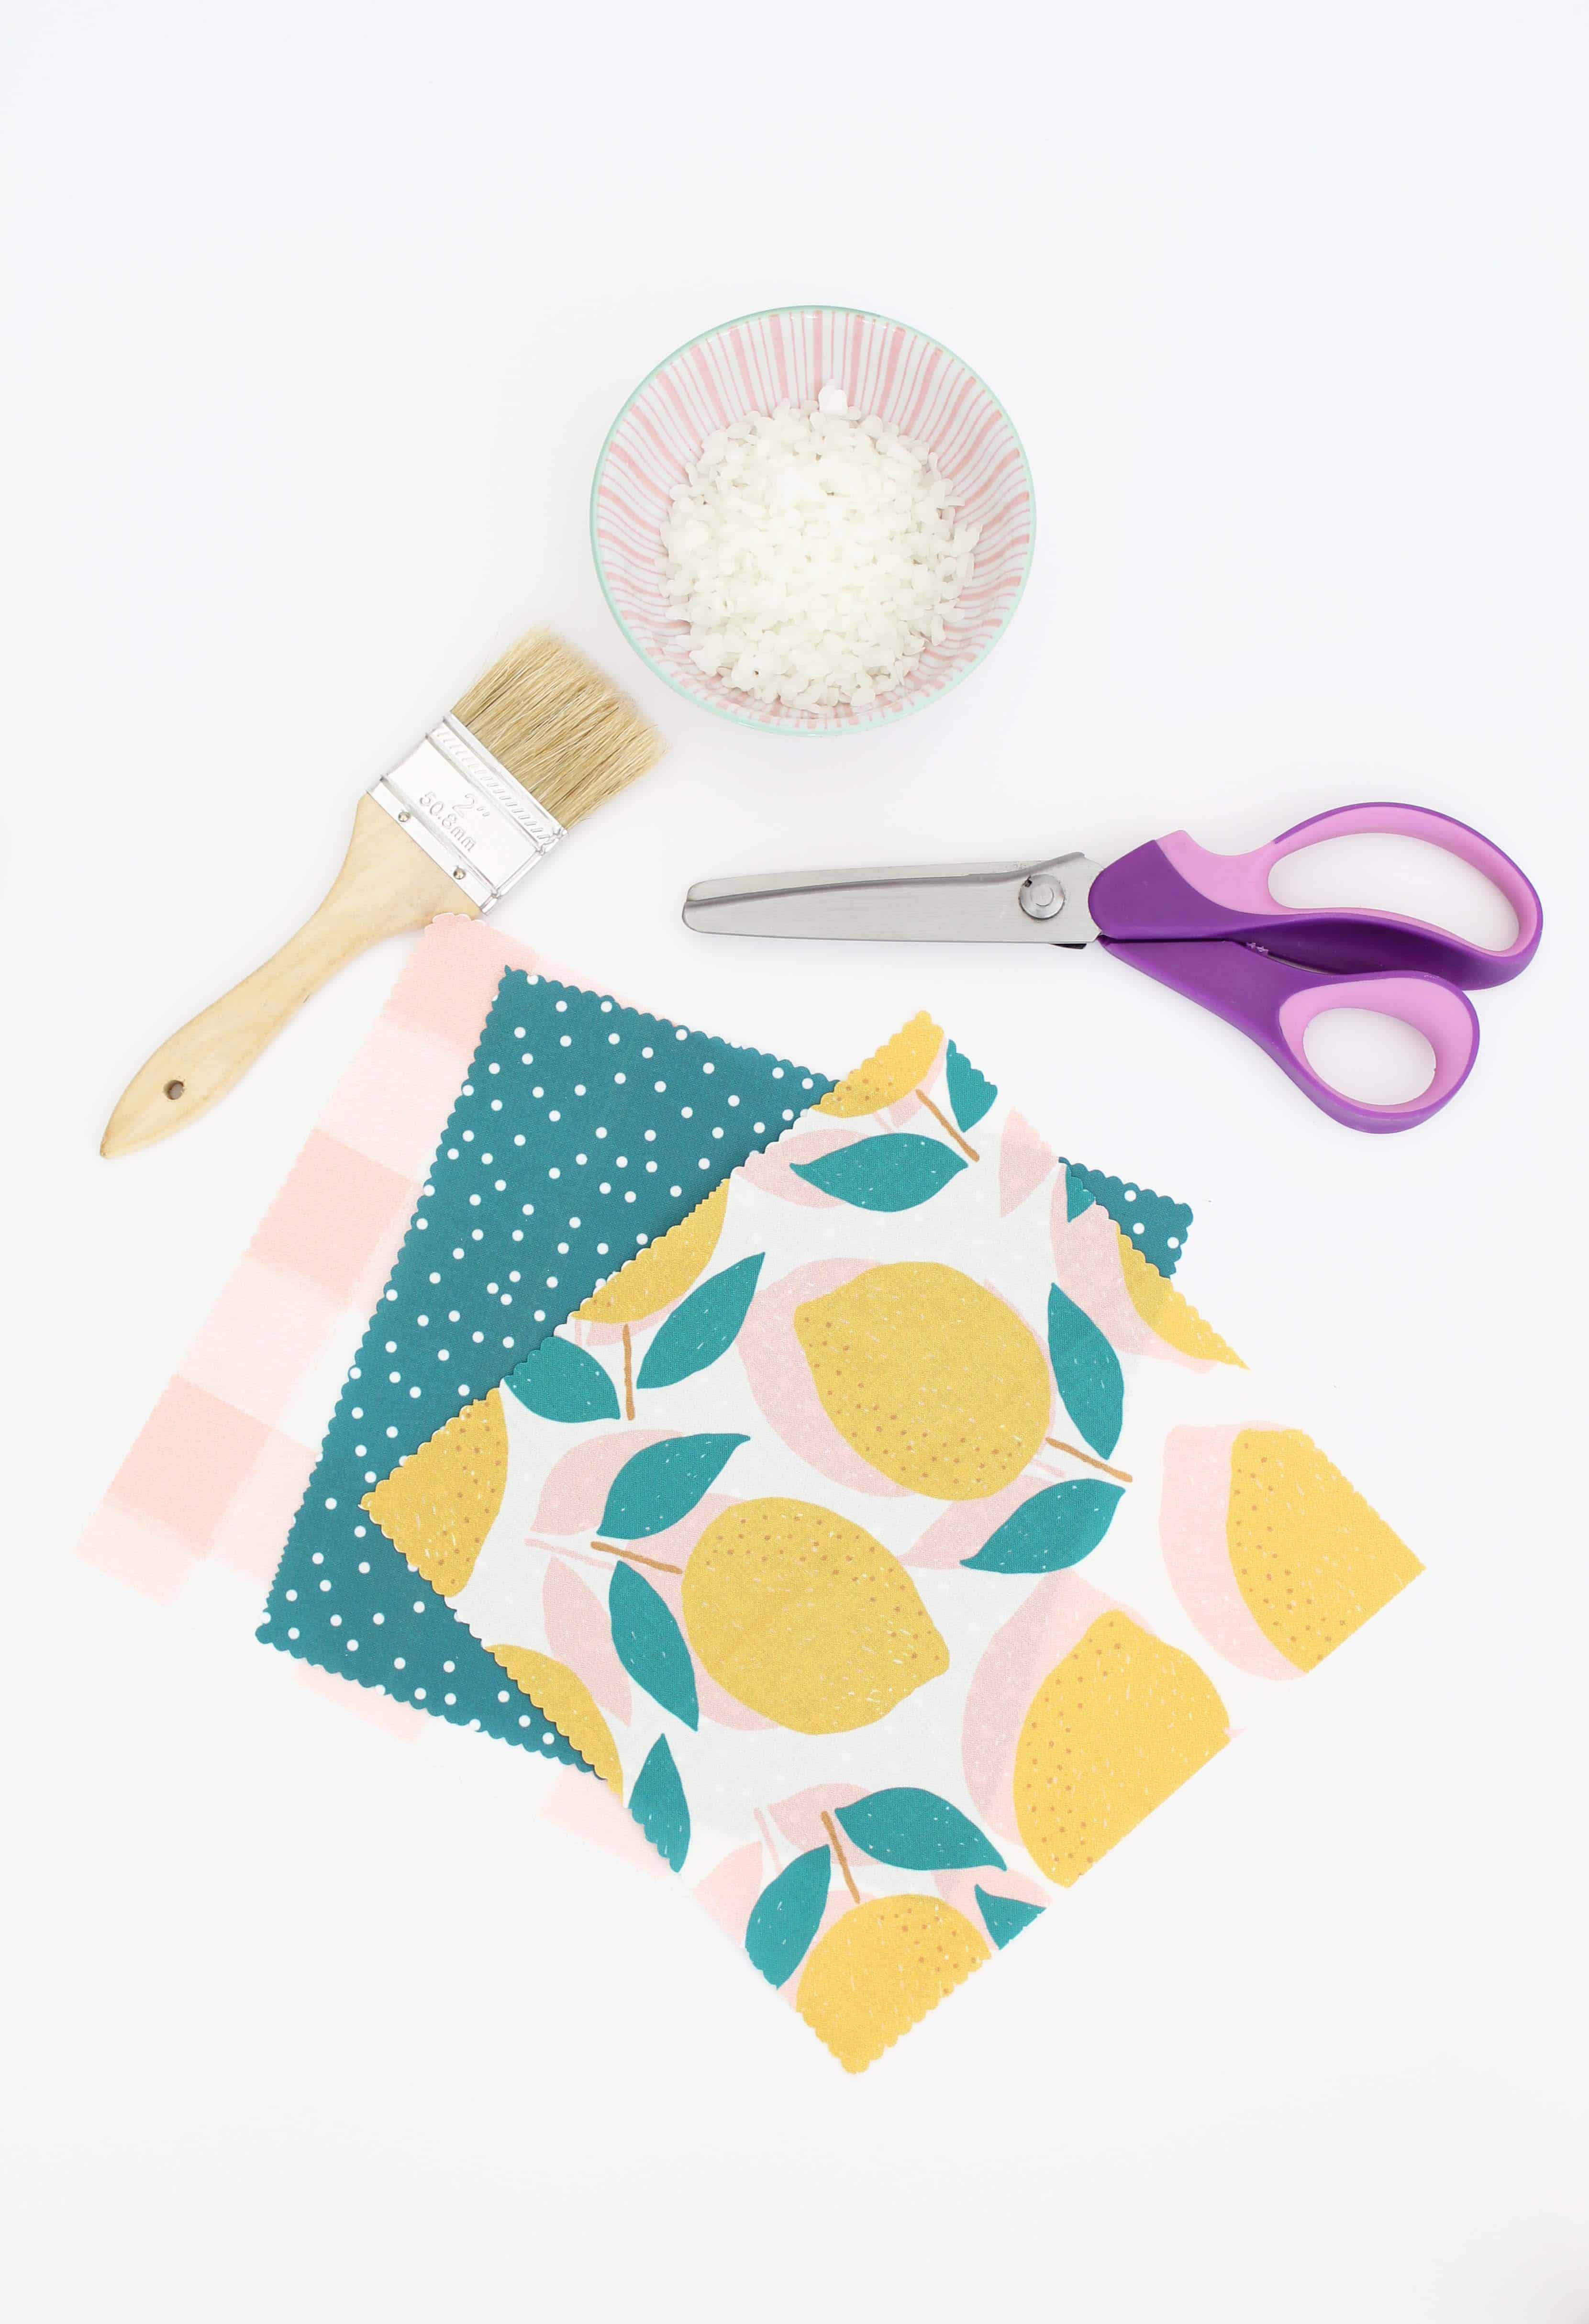
What You’ll Need
- Fabric of your choice
- Beeswax Pellets
- Pinking Shears
- Paint Brush
For the purposes of this project, I picked out three fabric swatch samples I had leftover from an old Spoonflower order. You’ll want to use a medium weight fabric (similar to a bedsheet thickness) for making beeswax wrap. After I had my fabric picked out I used my pinking shears to cut a scalloped border in the shape and size I wanted my beeswax wrap to be. The pinking shears created a cute scalloped edge and also keep the fabric from unravaling since it doesn’t have a hem.
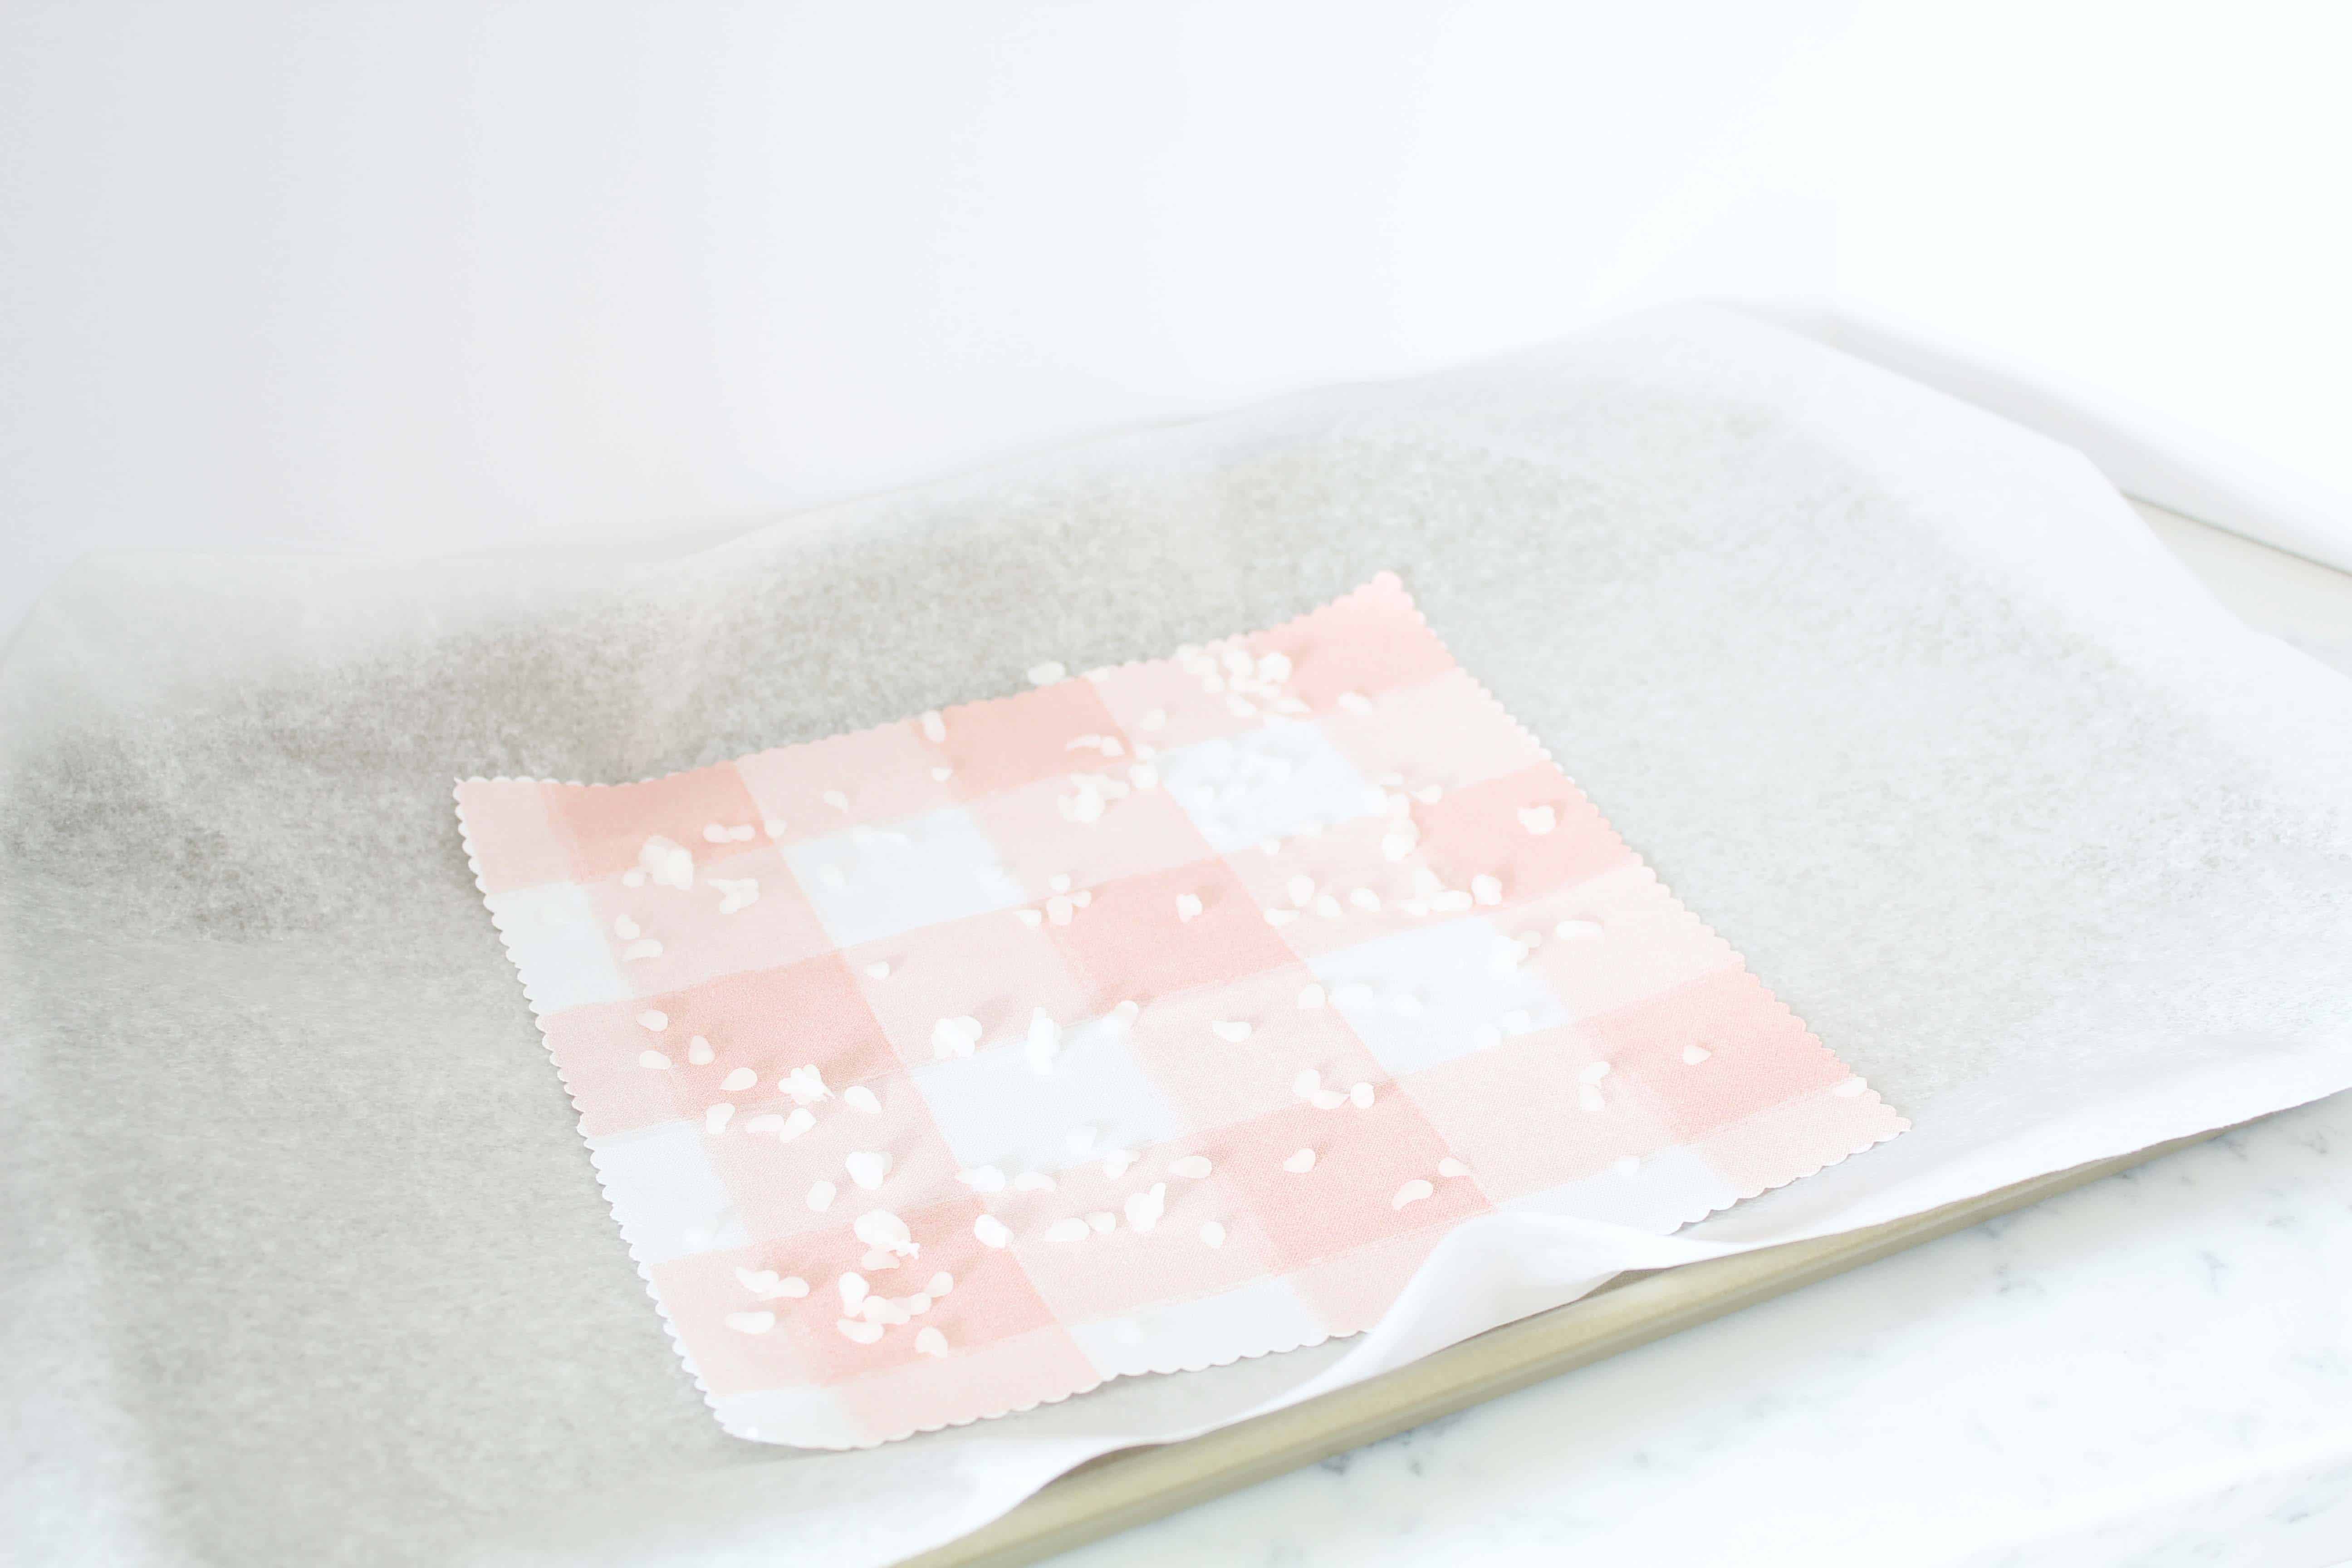
Once I had the fabric cut, I placed each piece on a baking sheet lined with parchment paper and liberally sprinkled beeswax pellets all over it. Important: unless your parchment paper is already lined with foil, make sure you put a layer of tin foil under the parchment paper. Otherwise the wax will leak as it melts and (as I learned) coat your baking sheet in wax. Trust me, not fun to scrape off later.
Next heat your oven to 200 degrees and pop your baking sheet in. Wait about 15 minute for the wax to melt completely and then remove from oven. Use your paint brush to gently spread the wax around the fabric until it’s completely coated in wax. Let it cool off and dry for a couple of hours.
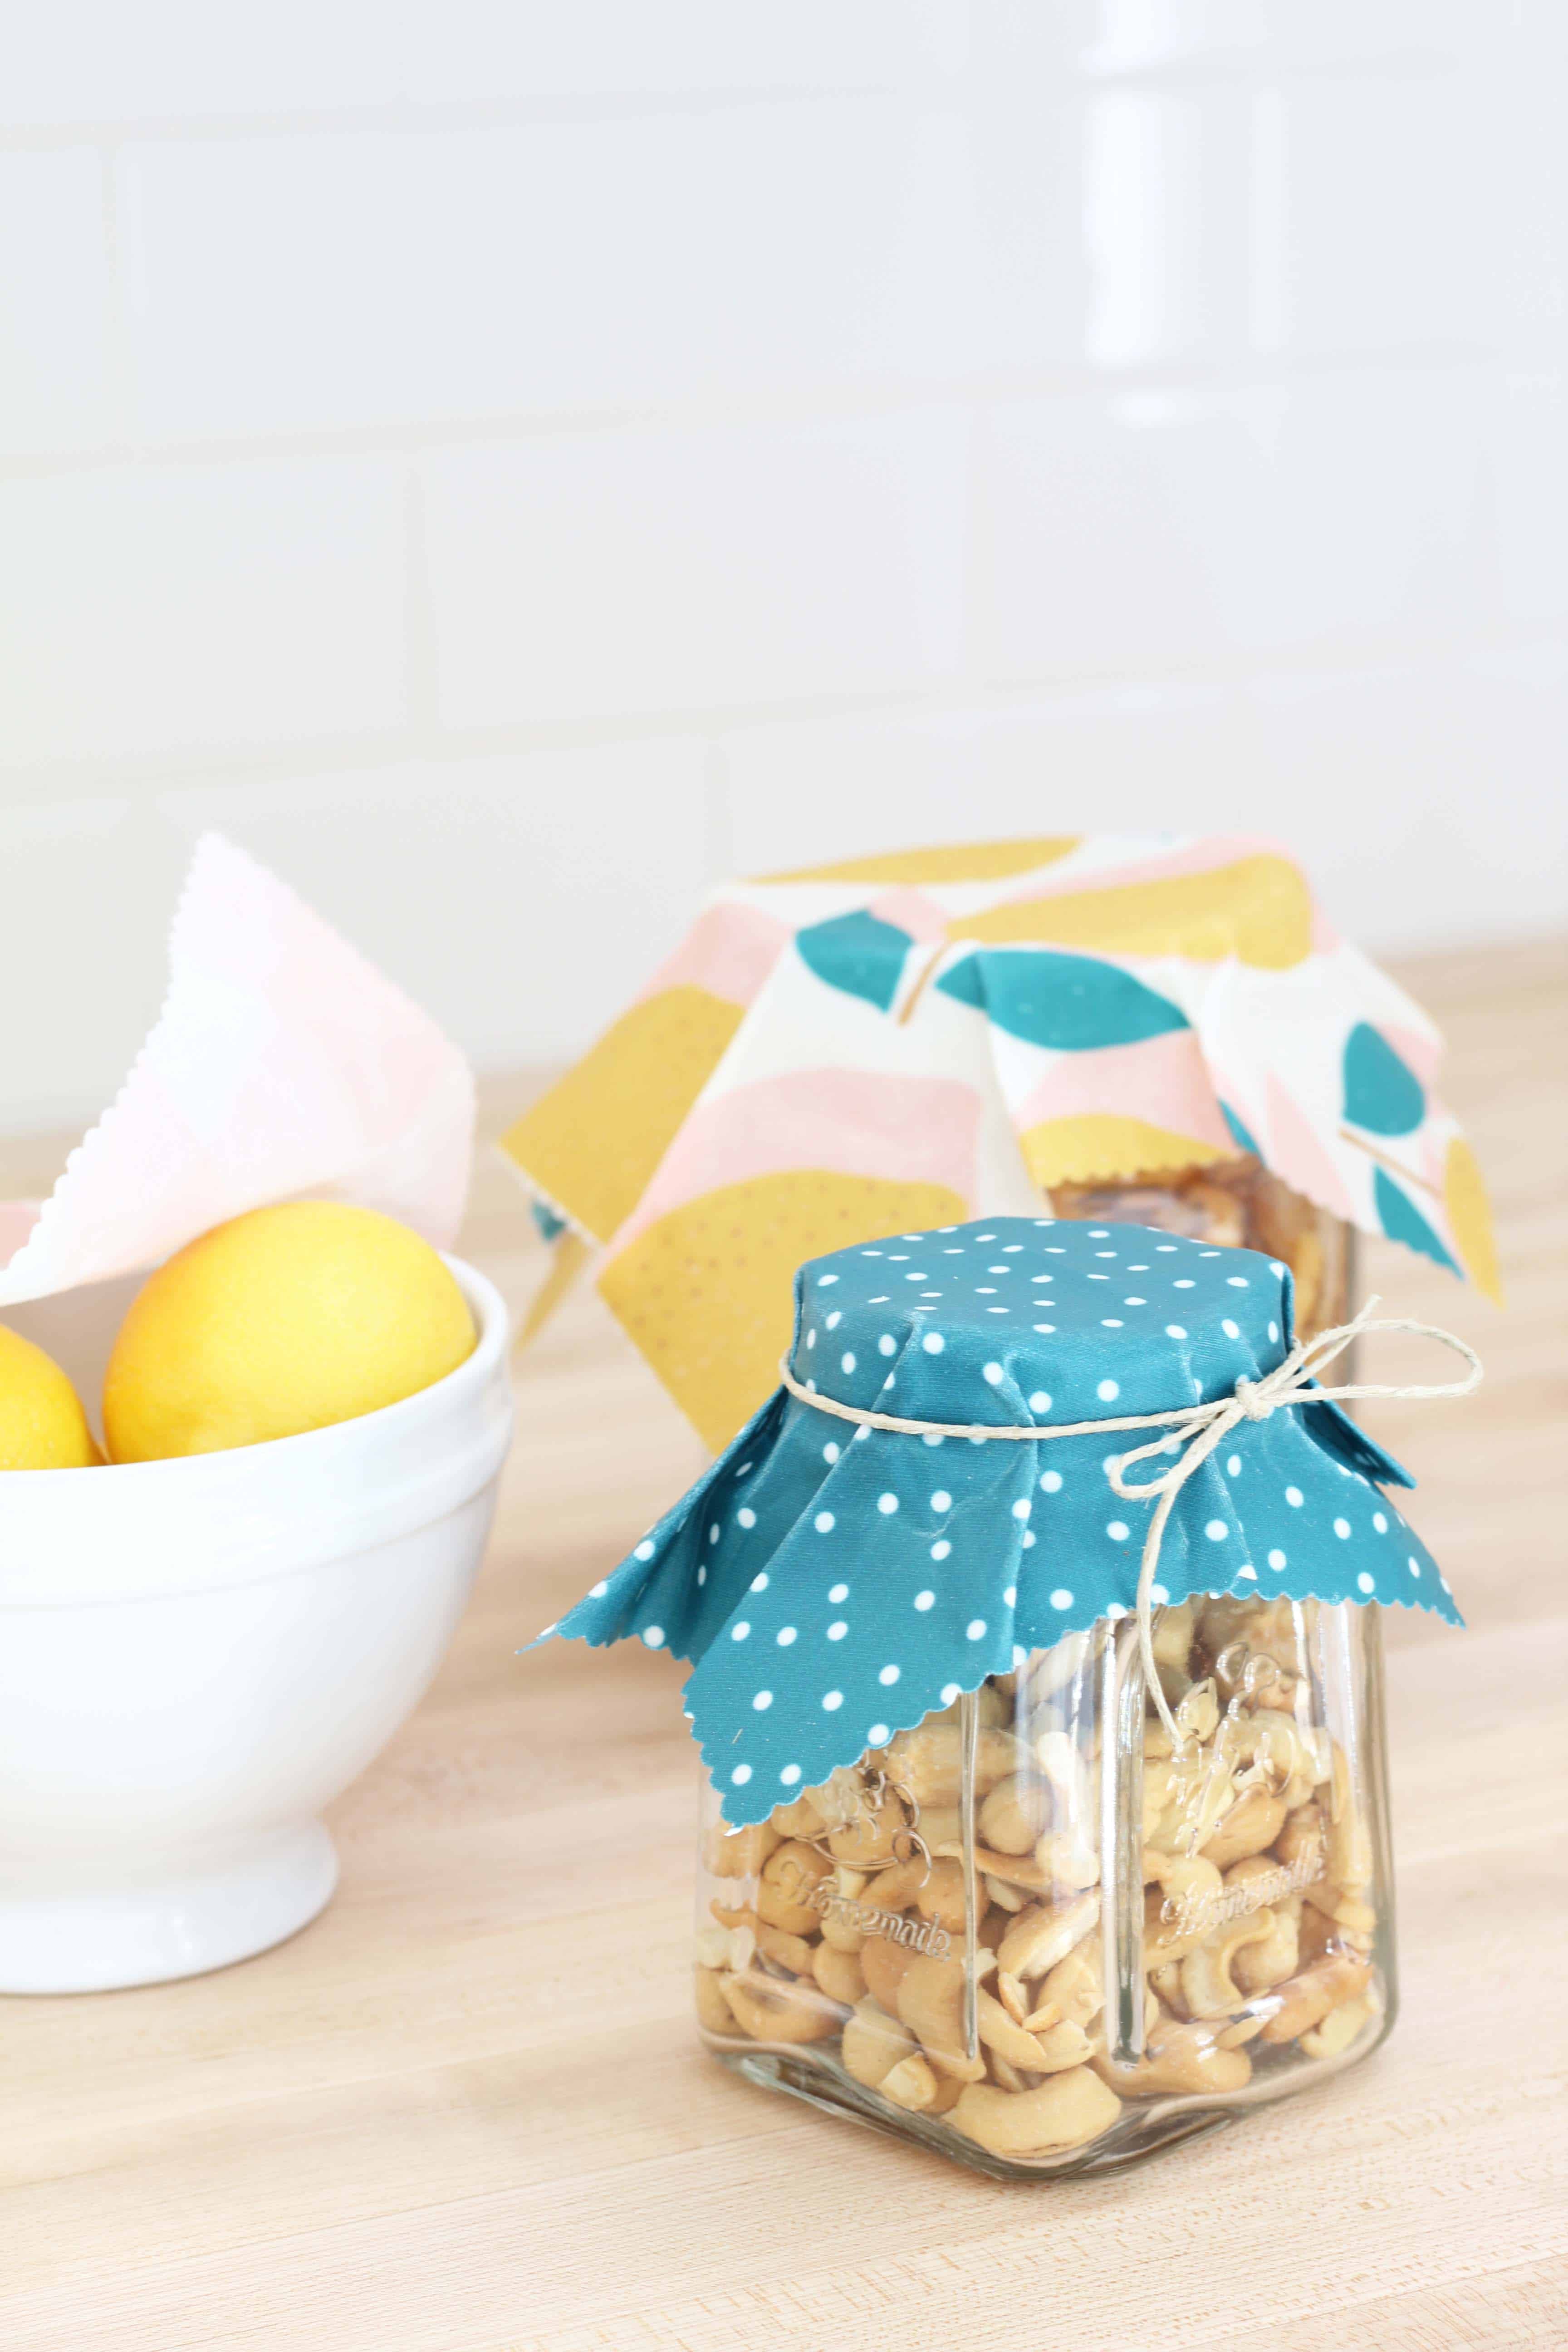
Which leaves you with some pretty and practical beeswax wrap ready to work hard in your home!
Tips For Using Beeswax Wrap
A few tips to keep in mind when using beeswax wrap:
- Beeswax wrap is completely washable (by hand) with cool soapy water. Just lay it flat to dry.
- While it is washable, I wouldn’t recommend wrapping meat in it since it’s not something you can put in the dishwasher and completely sanitize. If you’re looking for an alternative for meat storage, we use these glass storage containers and have been really happy with them.
- I’ve read some reviews with complaints about beeswax wrap not adhering well to the sides of bowls, jars, etc. In my experience if you rub your thumb briskly along the edge of whatever container you want it to adhere to this creates friction and warmth, which soften the beeswax and helps it stick to whatever you want it to stick to.
Overall this a really easy project that results in something beautiful, practical, and healthy for your home. Plus, by choosing your own fabric, you get to personalize it in a way that is unique to you (can you tell that’s one of my favorite parts?!) 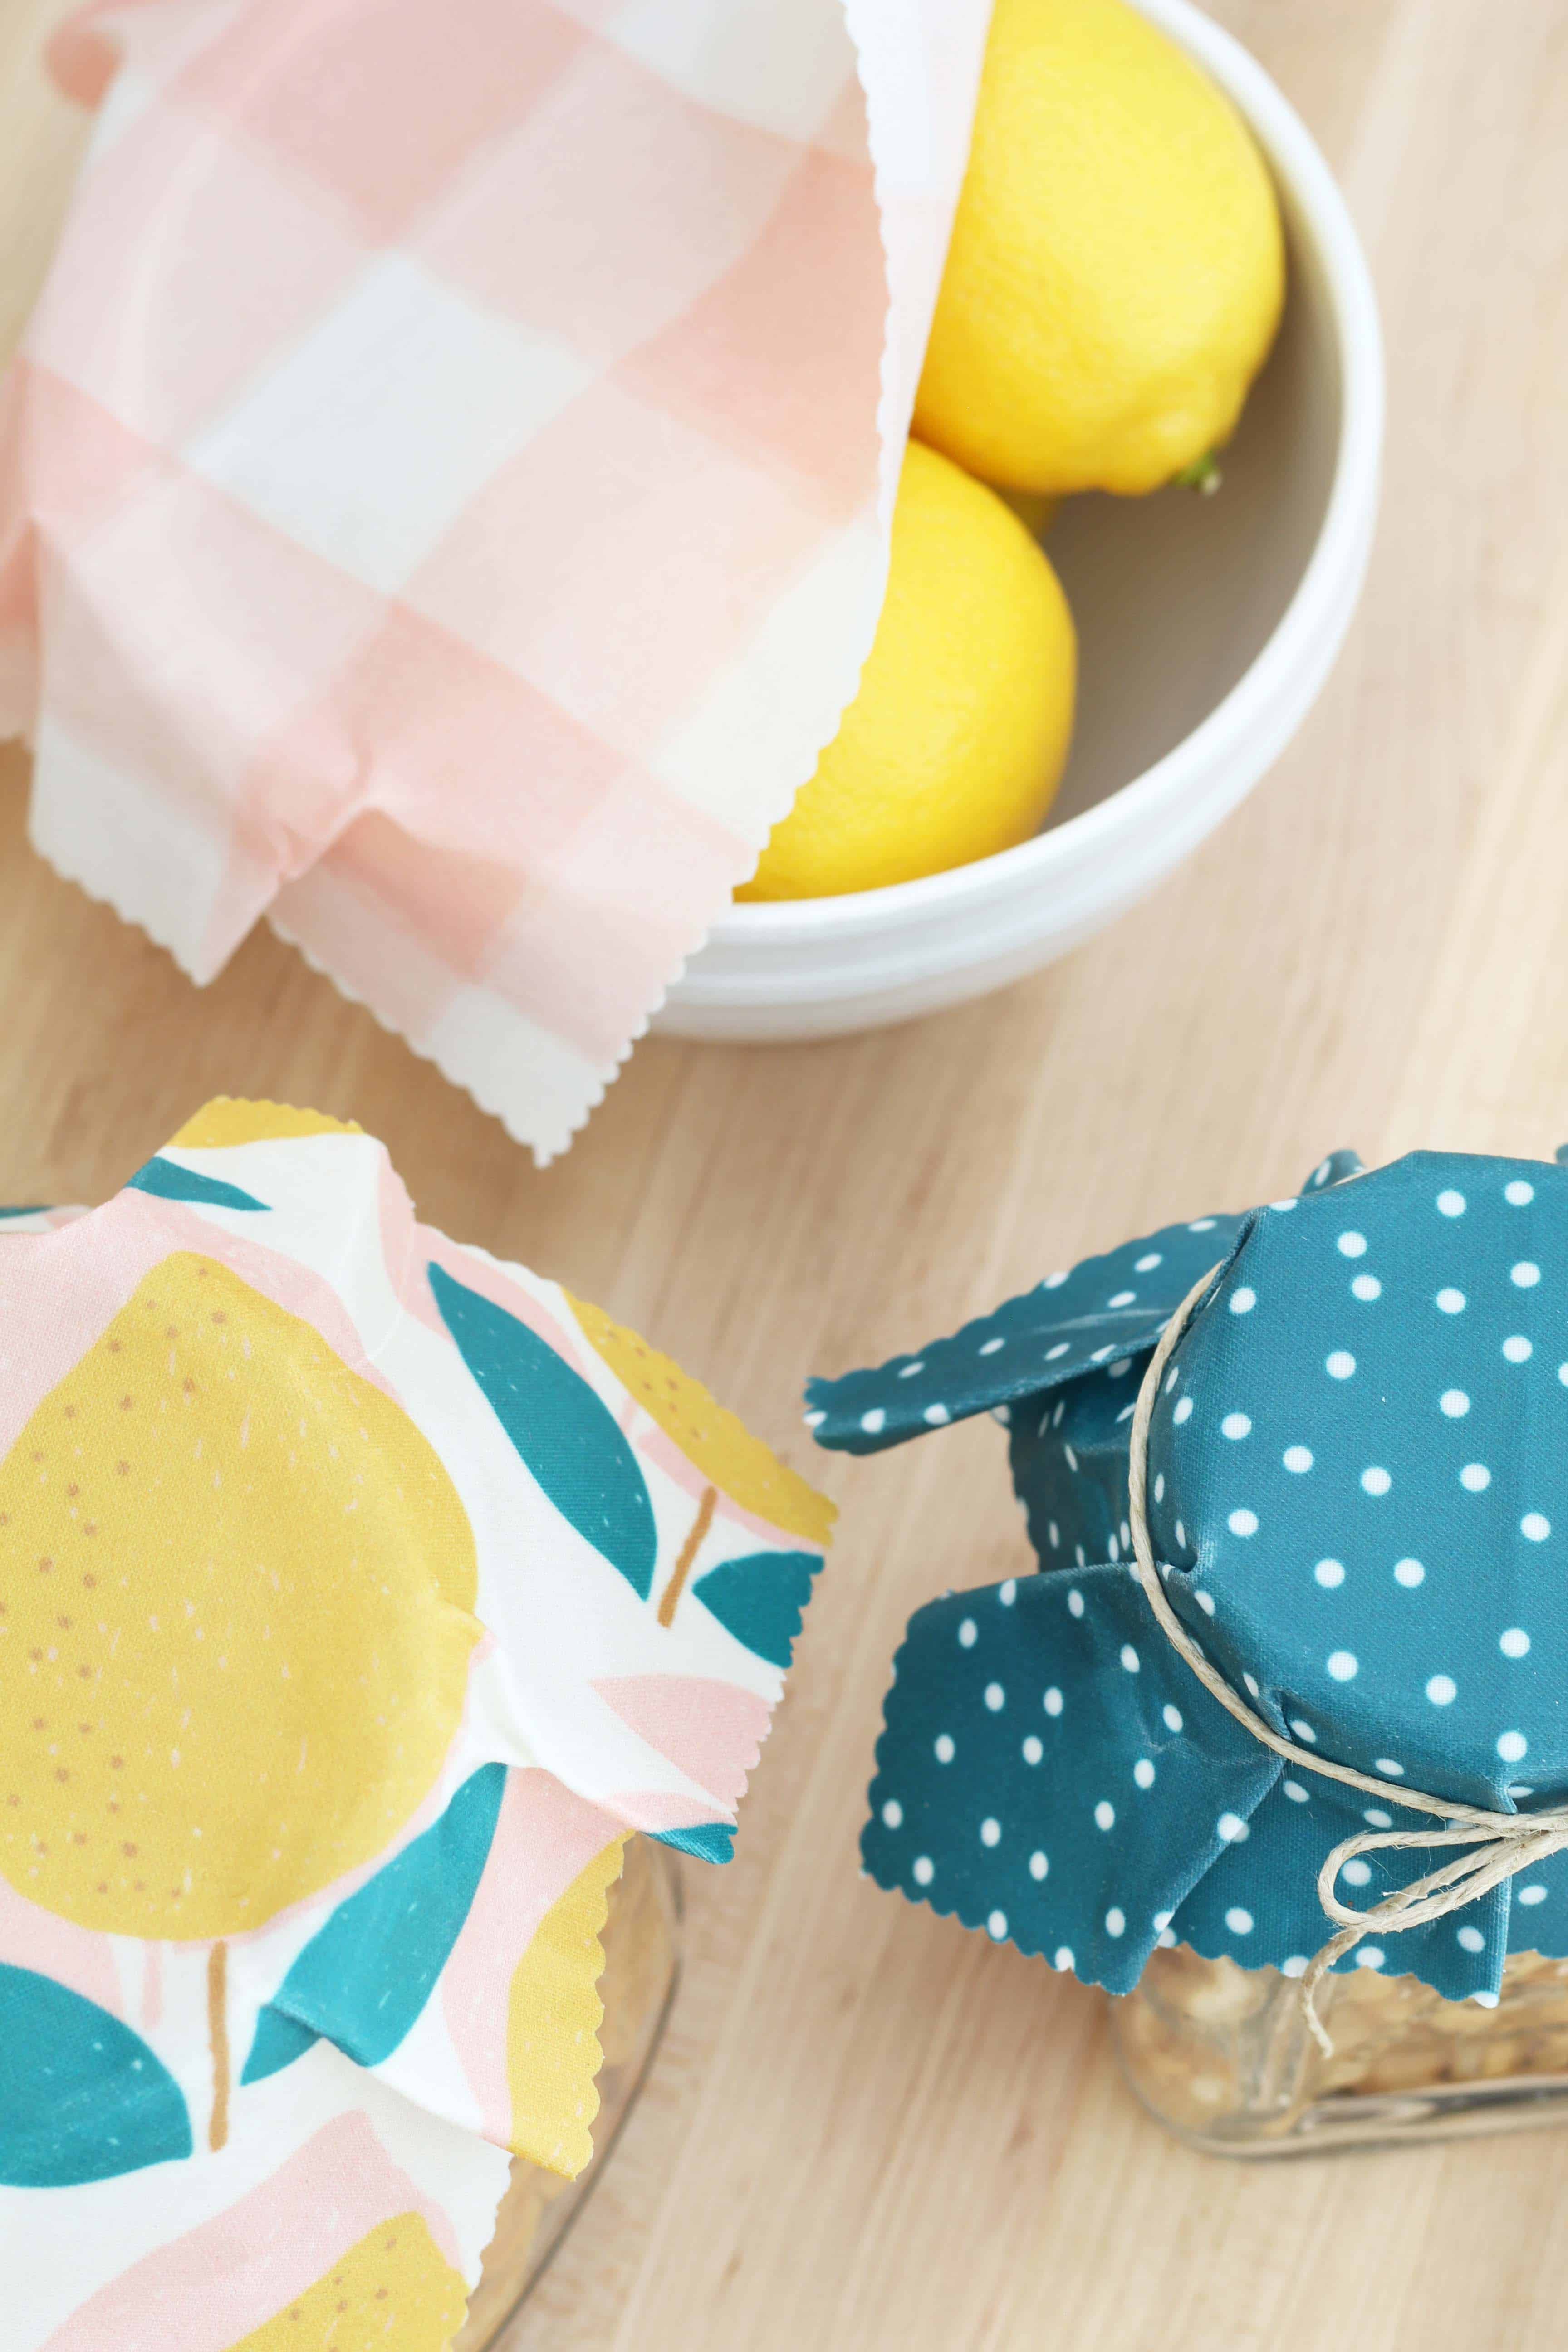
I would love to hear your thought on beeswax wrap and if you use it or not! And if you have any other tips for using it or making it, do share!
This post contains some affiliate links for your convenience. Click here to read my full disclosure policy.
Want to save this post? Pin it here!


Love these, Tiffany! So pretty and practical! Be sure to share at Homestyle Gathering!
They’re gorgeous Tiffany and I love how easy they are to make too. The oven and I aren’t friends at the best of times but I think I can manage to melt wax 😉
Thanks so much, Michelle! They were surprisingly simple to make!