Wondering how to organize a small nursery space? Take a tour of this tiny nursery for organizational tips and space saving tricks!
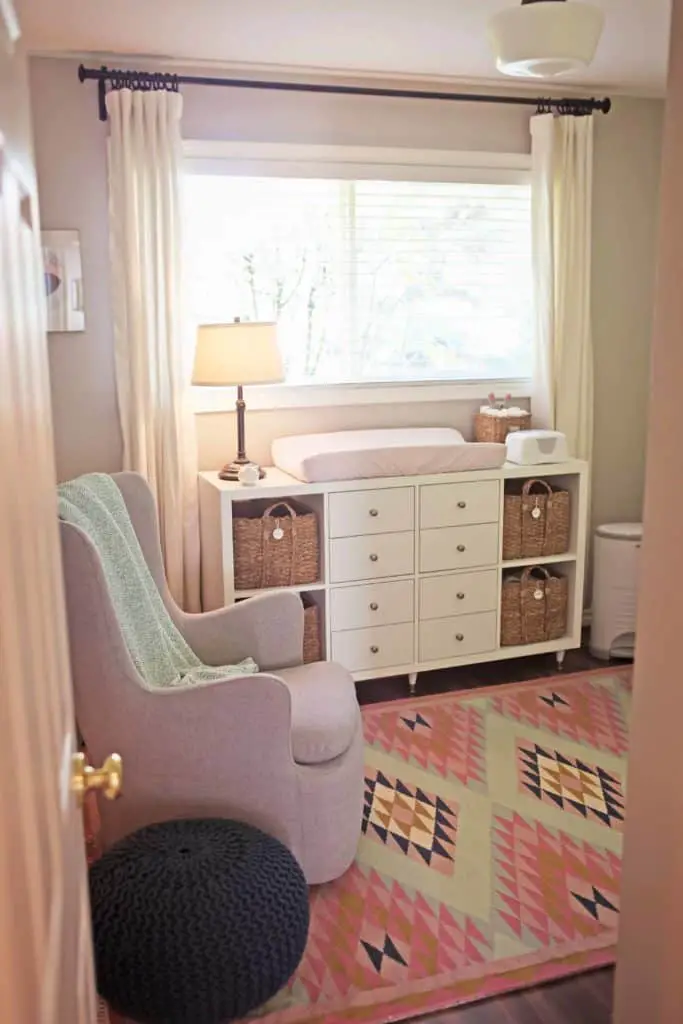
Hello! Remember our small nursery tour? Well, I’m back with some more in-depth, specific tips and tricks on how to save space in a small nursery. And by small nursery space I mean no closet, not big enough for a regular size crib, 8′ x 9′ room.
If you don’t have a full room to dedicate as a nursery, live in an apartment, or just need ideas on how to maximize your nursery space, you’re in the right place! Below are my best tips for maximizing space in your nursery, I hope they help you!
We didn’t have room for a full size dresser, so we converted the Ikea Kallax into a dresser/changing table, making it work double duty for us. The open shelving allowed us to customize it specifically to our needs.
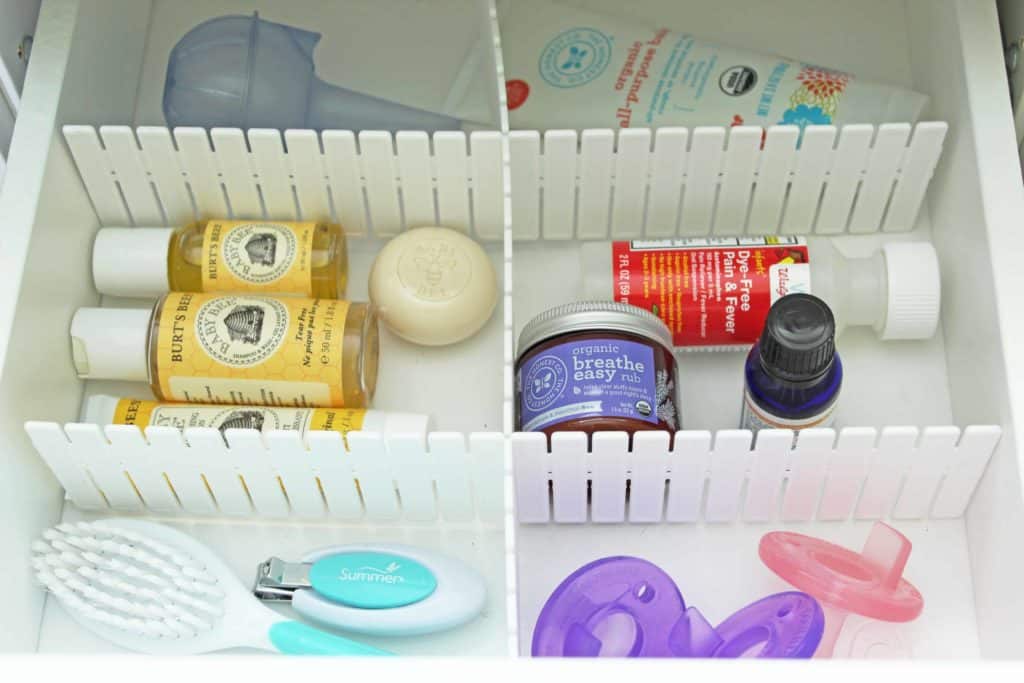
We used these shelving inserts and these baskets for storage. I then used these dividers to organize the drawers where I needed to corral smaller items. The best part about them is you can break them off at any point to make them fit your specific drawer size (which made my little organizing heart sing).
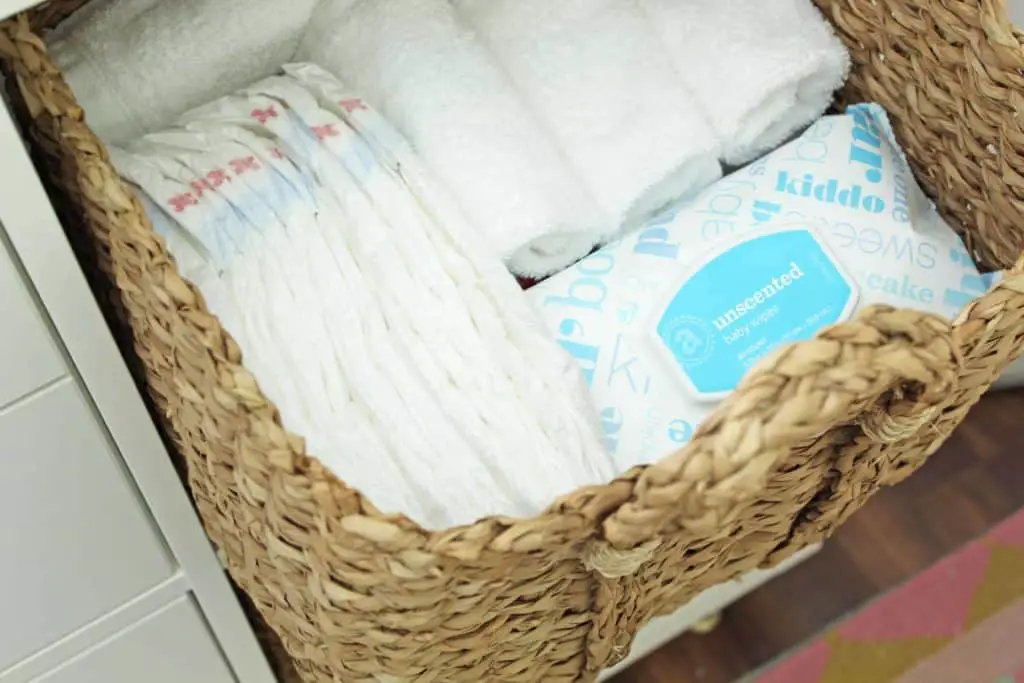
The baskets provide space for all the “extra” stuff, diapers, wipes, washcloths, etc. Bonus: They’re easy to pull out and haul around, so I can take one out to the garage, fill it up with extra diapers or wipes and bring it straight back to the shelf where it lives. It totally eliminates the extra steps normally a part of restocking nursery essentials.
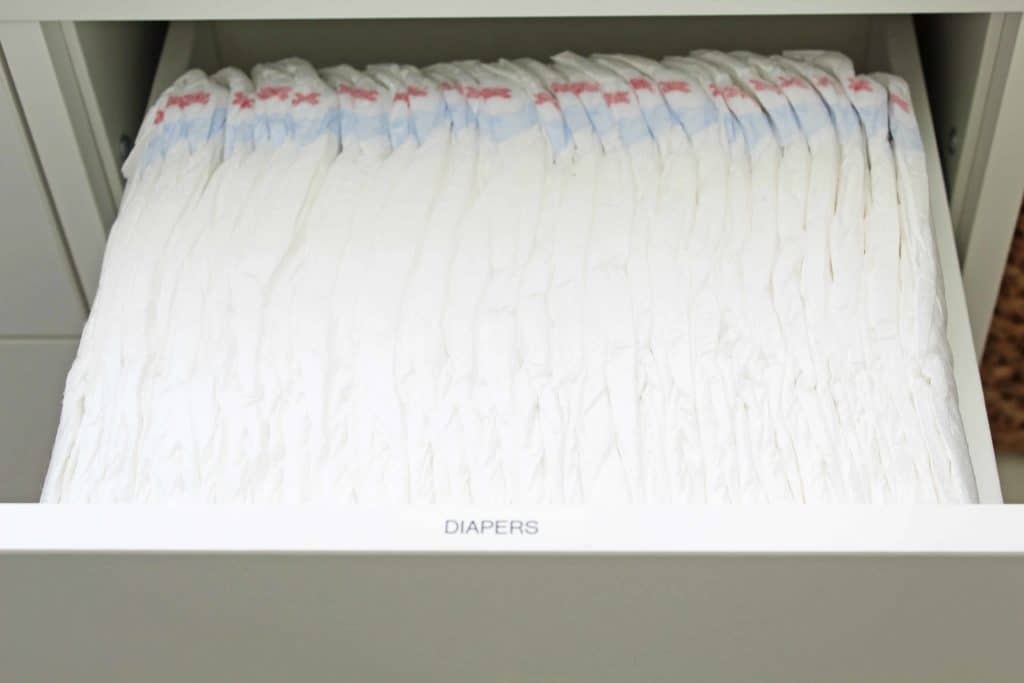
The drawers inserts for the Ikea Kallax are pretty small and wouldn’t work very well for a regular dresser, for baby items though, they are perfect. Because of the limited surface space taken up by the changing pad, lamp, and wipe warmer, I dedicated the top right drawer to diapers.
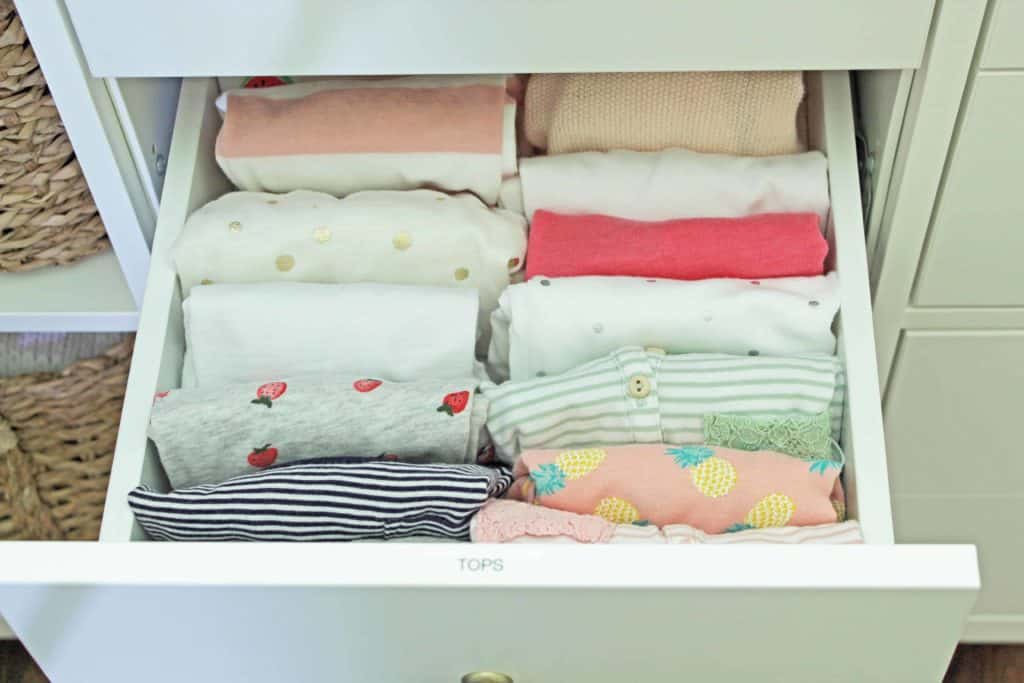
Fold Clothes Using The KonMari Method
The rest of the drawers are used for baby clothes since there isn’t a usable closet in this room. I use the KonMari Method for folding baby clothes. Basically that means I fold the pieces of clothing into thirds so they stand up rather than lay in stacks. This way I can see everything in the drawer immediately when I open it, rather than having to dig through clothes piled 4 or 5 deep. It really makes such a difference!
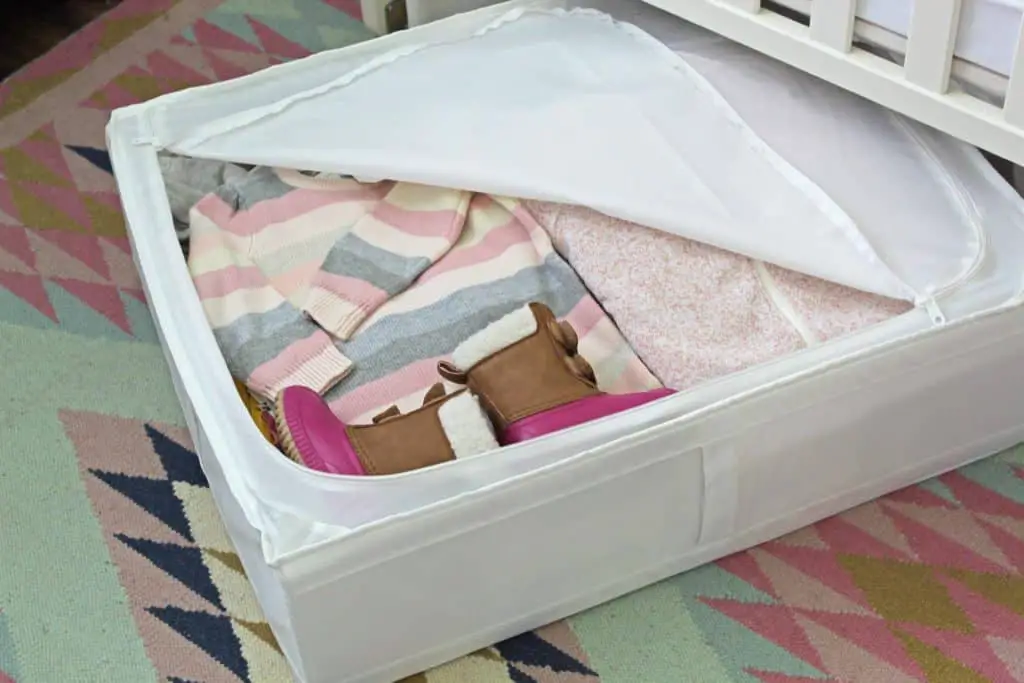
Utilize the space under your crib! We actually had to go with a mini crib because a full size crib wouldn’t fit in this room. I found these Scubb Storage Cases at Ikea, and they fit perfectly under a crib, and at a great price! This gives me space to store out of season clothing and items my daughter hasn’t grown into yet.
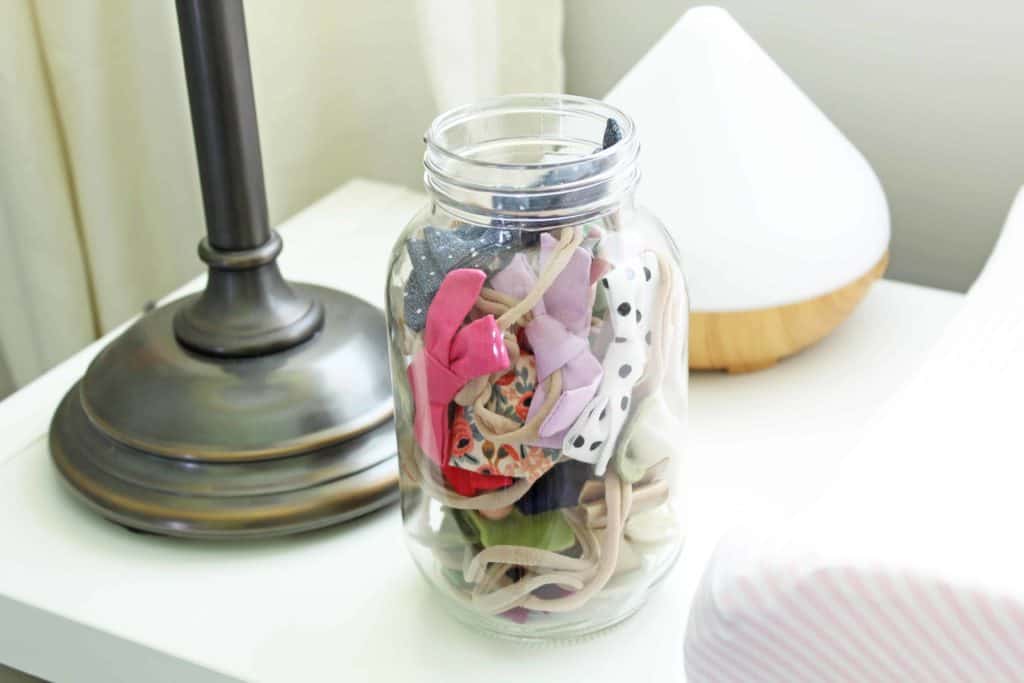
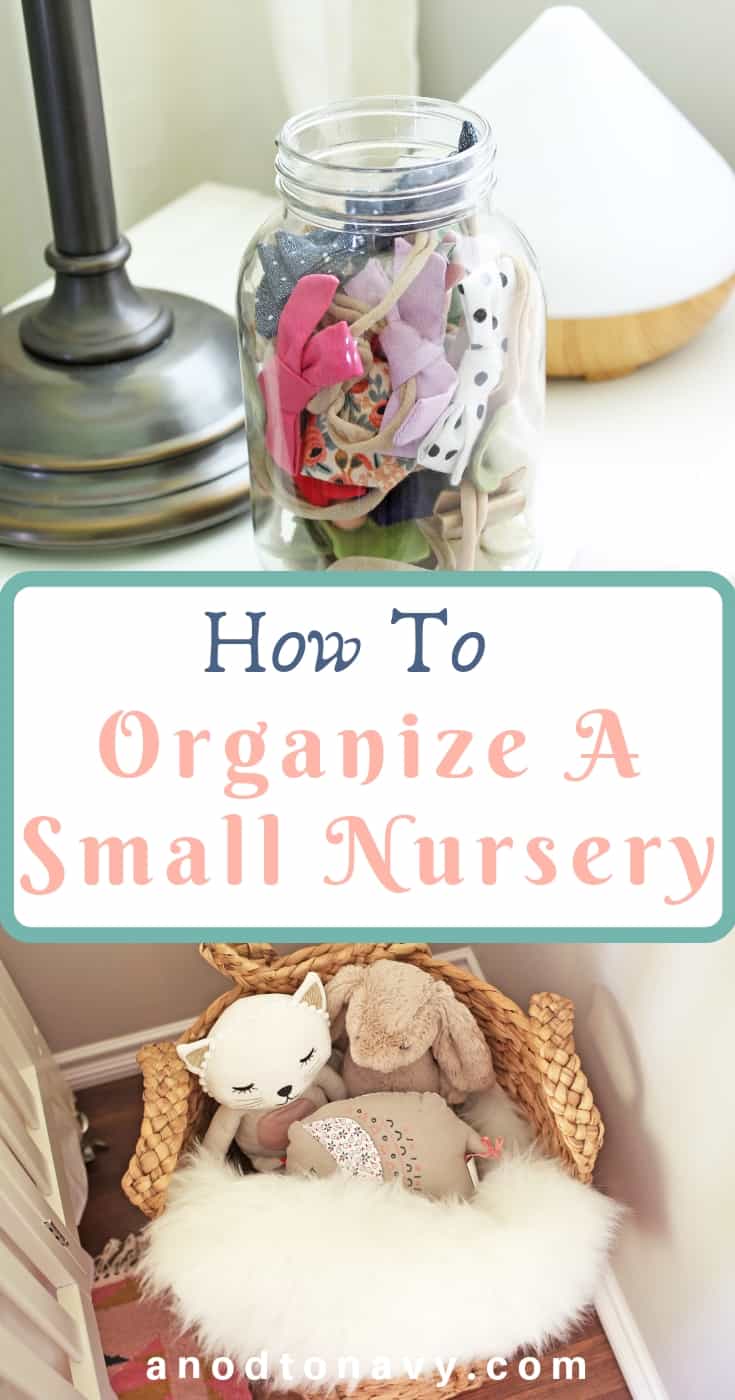
Think outside the box and use unconventional containers to store baby items. I ended up using an old glass jar to corral hair bands. It’s functional, easily accessible, and looks unexpectedly pretty sitting on top of the changing table.
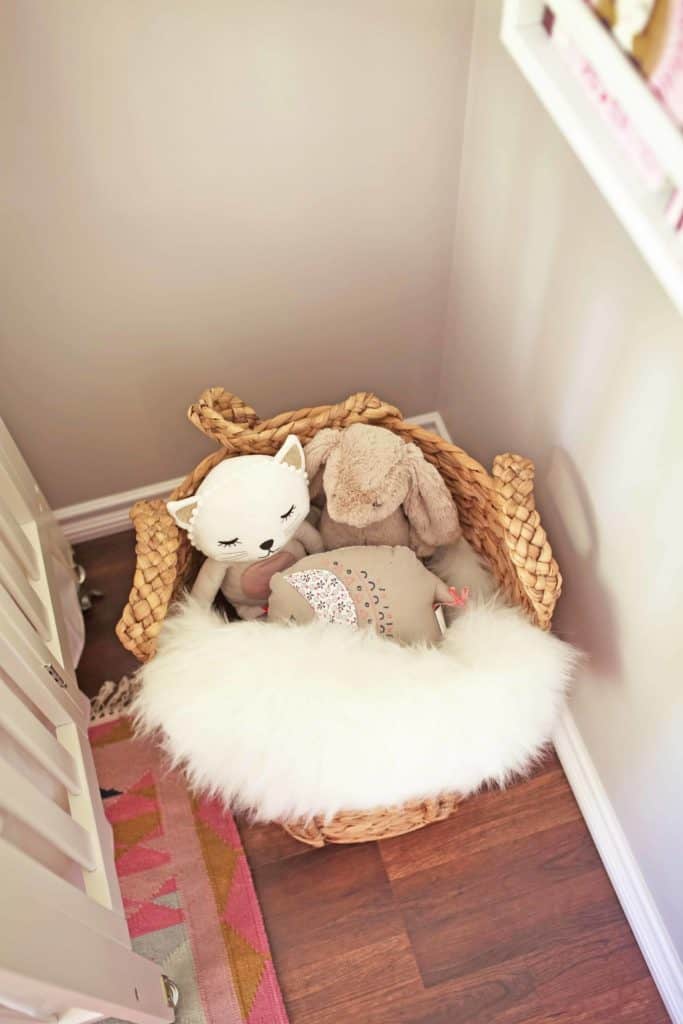
Use baskets. If I had a personal motto, it would probably be this one. Baskets are so useful in your home for elevating what you own and making it both beautiful and functional. In the nursery and around the rest of our house we use them to help contain toys and keep us from feeling like we live in a Toys R Us.
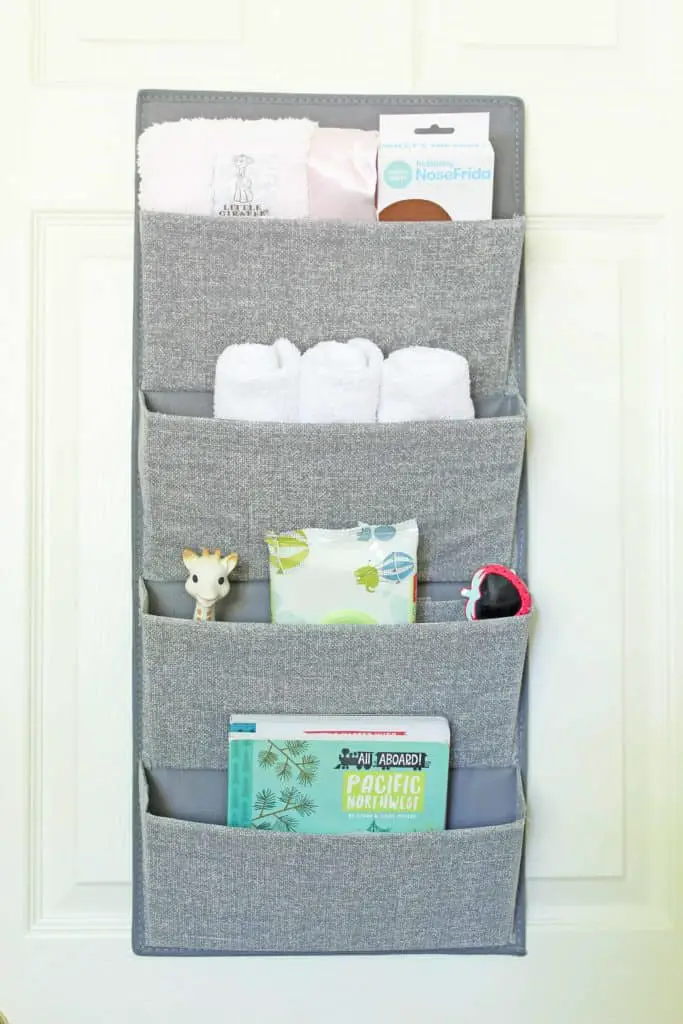
Utilize Unexpected Space
Utilize the back of the door. You could use the back of a closet door, or like we did, the back of the bedroom door. I attached this door organizer using command strips to create storage for yet more little baby odds and ends (where does it all come from?) It’s easy to grab stuff on the way out the door and out of sight when the door to the nursery is open, so no visual clutter.
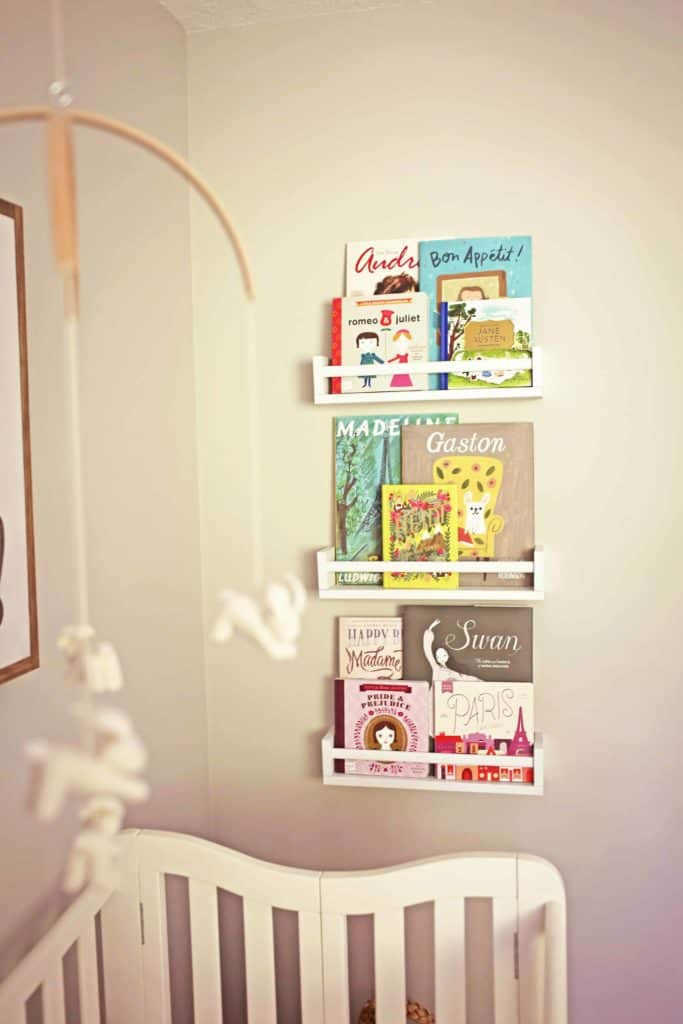
Lastly, If you don’t have space, try going vertical. There was no room for a bookshelf in this room, but there was space on the wall for some Ikea spice racks I painted and attached to the wall as mini bookshelves. It turned out to be a budget friendly way to add not only storage space, but character and interest to the room as well.
Whew! I hope these ideas help you and inspire you to make your nursery work hard for you. If you have any space saving tips or tricks, I’d love to hear about them!
Want to see more? Check out the original nursery tour here for more information and sources.
This post contains some affiliate links for your convenience. Click here to read my full disclosure policy.
Want to save the post? Pin it here!


Love the IKEA shelf hack! How did you do the legs?
Thanks, Lisa! The legs are some pre-made ones I bought at Home Depot, painted, and attached to the bottom.
Gorgeous!! Did you just glue the legs on? I’m tall so I’m not sure the Kallax alone would be tall enough for diaper changing. Thank you for any response!
Hi Candice! We screwed the legs into the kallax. I’m not very tall (5’3) so it was a great height for me, but If you’re taller, it could be a little short for you – unless you attach taller legs, maybe? We have ours anchored to the wall so it doesn’t tip with the added height. hope that helps!