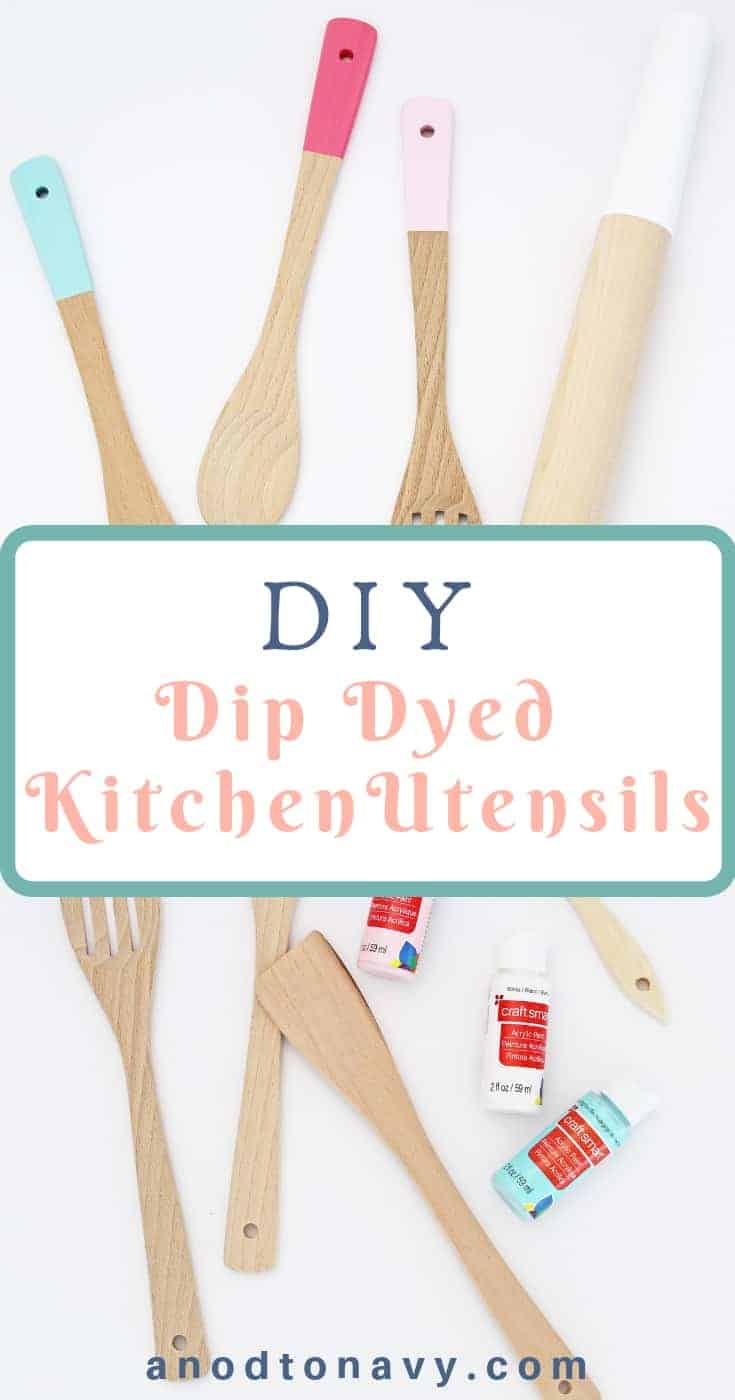
These dip dyed kitchen utensils are an easy and affordable DIY you can do in about 10 minutes!

At some point last year I was perusing the McGee & Co website (always a dangerous thing) when I came across these dip dyed french rolling pins. I fell in love with them, or should I say the idea of them. Did I really need a french rolling pin? No. But it also wasn’t just about the rolling pin, it was about the beautiful lifestyle it represented. Do you know what I mean? Have you ever really loved an item because you could picture yourself using it?
So here we are roughly a year later, and I was still thinking about that rolling pin (I know, weird). The only issue was the price point. So I started to look for ways that I could replicate it as a more budget friendly DIY project. I found these french rolling pins for a great price, and since I was planning on painting the french rolling pin anyway, why not add a couple more wooden utensils to the mix?
I love how this project turned out, and I hope you all will give it a try, it’s so easy!
What You Will Need
- Unfinished wood utensils (I got mine at the dollar store)
- Acrylic paint in your choice of colors
- Paint brush or foam brush
- Roll of painters tape
- Shellac finishing spray (I used this kind)


Decide how far up you want to paint the handles on your utensils and wrap painters tape around them. Make sure the line of the painters tape is straight and smooth, you want it to have a good seal so there isn’t any bleed in the paint line.

Next I pulled out the acrylic paint and tested out some colors to see how they looked together. I ended up using four of the five above, minus the darkest pink color.

I started with one coat on each utensil. Make sure you paint all the nooks and crannies around the painters tape line. I let them dry for about 10 minutes and then added a second coat to each. Immediately after adding the second coat, I carefully removed the painters tape. This keeps the paint from cracking or pulling later on.

I used an empty crock to stand them up so the paint could cure. I waited about an hour and then applied this shellac to the painted handle, which helps create a protective coating so they can be hand washed.
I’m so excited about how they turned out, and they were so budget friendly. Plus, these dip dyed utensils are such a cute and easy way to add a pop of color to your kitchen for spring and summer!
Want to try more DIY projects? You might also enjoy making these:
DIY Beeswax Essential Oil Candles
This post contains some affiliate links for your convenience. Click here to read my full disclosure policy.
Want to save this post? Pin it here!


I LOVE this idea! What a fun and easy way to add color to your kitchen! Pinning!
Thanks so much Michele! It’s always fun when a DIY turns out how you hope;)
I recently threw out about half my kitchen! This DIY is just what I need to pretty things up again! =) So easy and cute! =)
I know what you mean, I did that with my kitchen a couple of years ago!