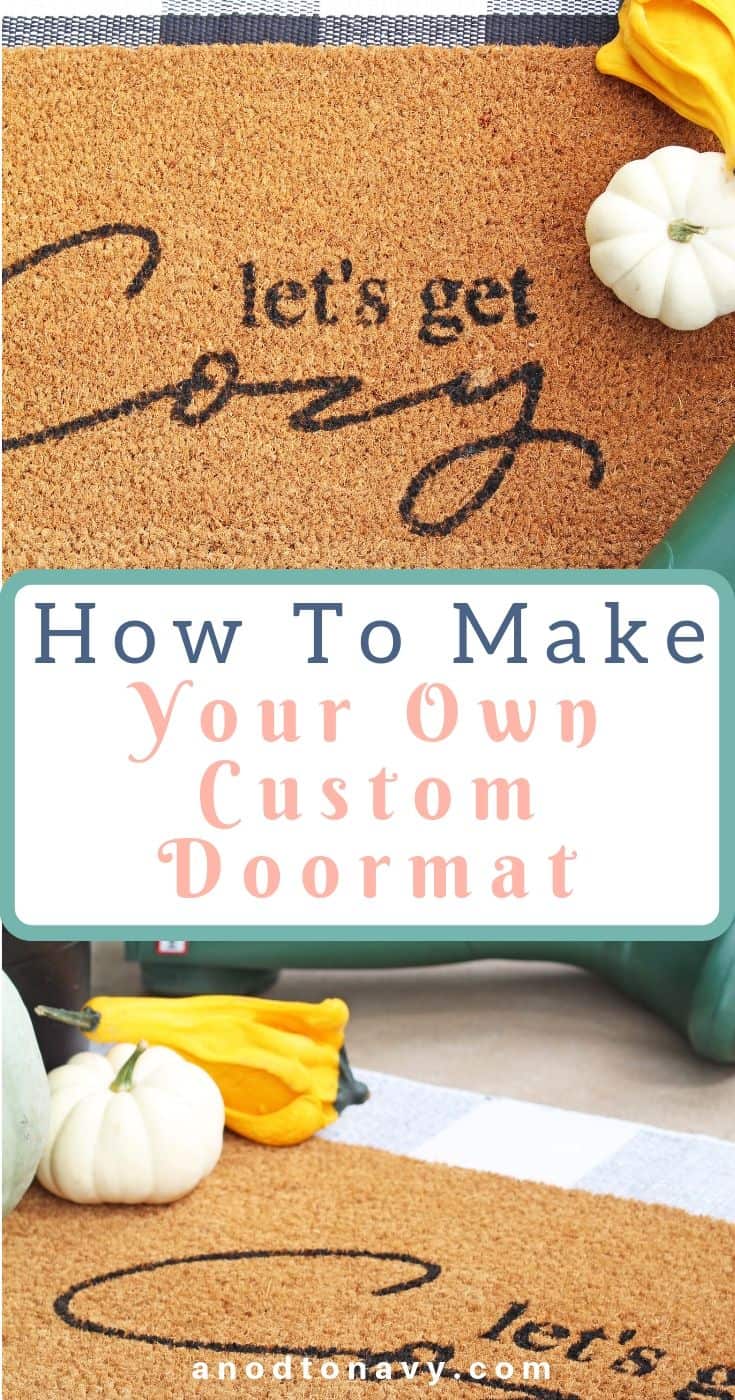
Cleverly worded doormats are a fun way to add some personal style to your front door. Check out this tutorial for tips, trick and ideas for how to make your own stenciled doormat!
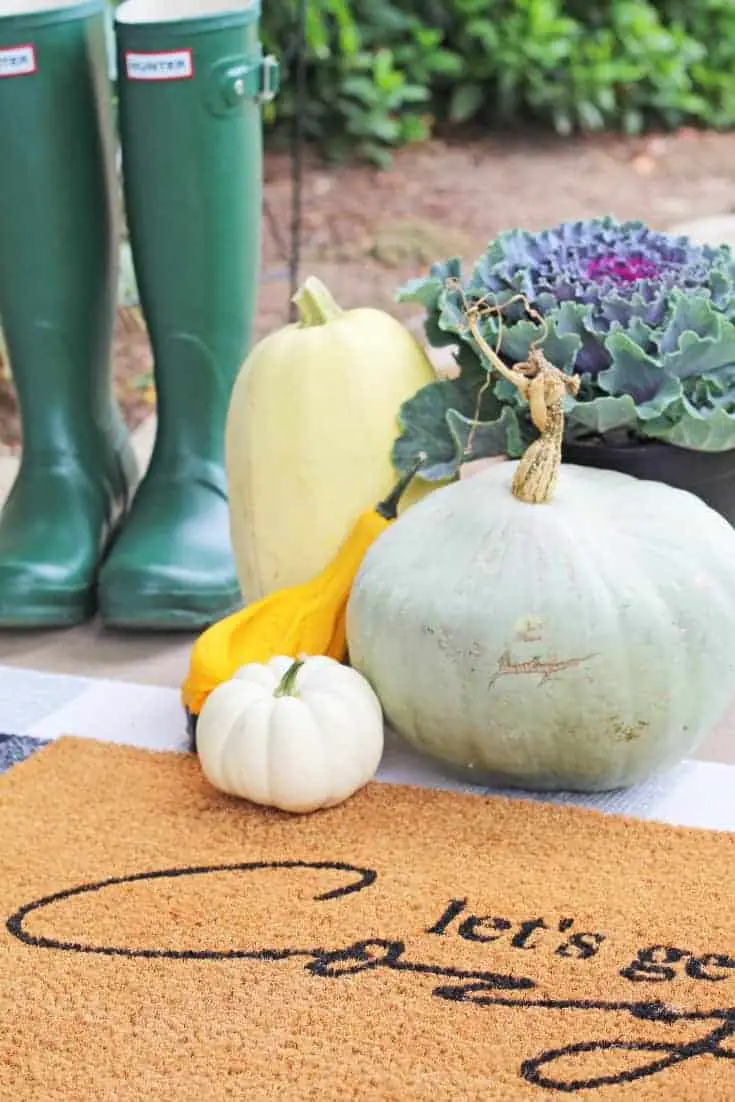
A couple of weeks ago I did a round-up of some affordable fall doormats and most of them featured cute phrases or a play on words to get you in the mood for the fall season. While I was letting my fingers do the walking in my effort to find said cute doormats, I was inspired by all the amazing and creative ideas out there. I mean, you can find a doormat for just about any niche, sense of humor, or hobby under the sun!
I found some really affordable doormats, but I’m kind of picky – I wanted a particular quote, in a script font, without breaking the bank. This is one of those DIY projects that is great if you want to make something really specific or if the doormat you really want is out of your budget. In my case, the doormat I really wanted was around $60 once shipping was added in. Definitely more than I was willing to spend right now.
Post Sources
How To Make Your Own Stenciled Doormat
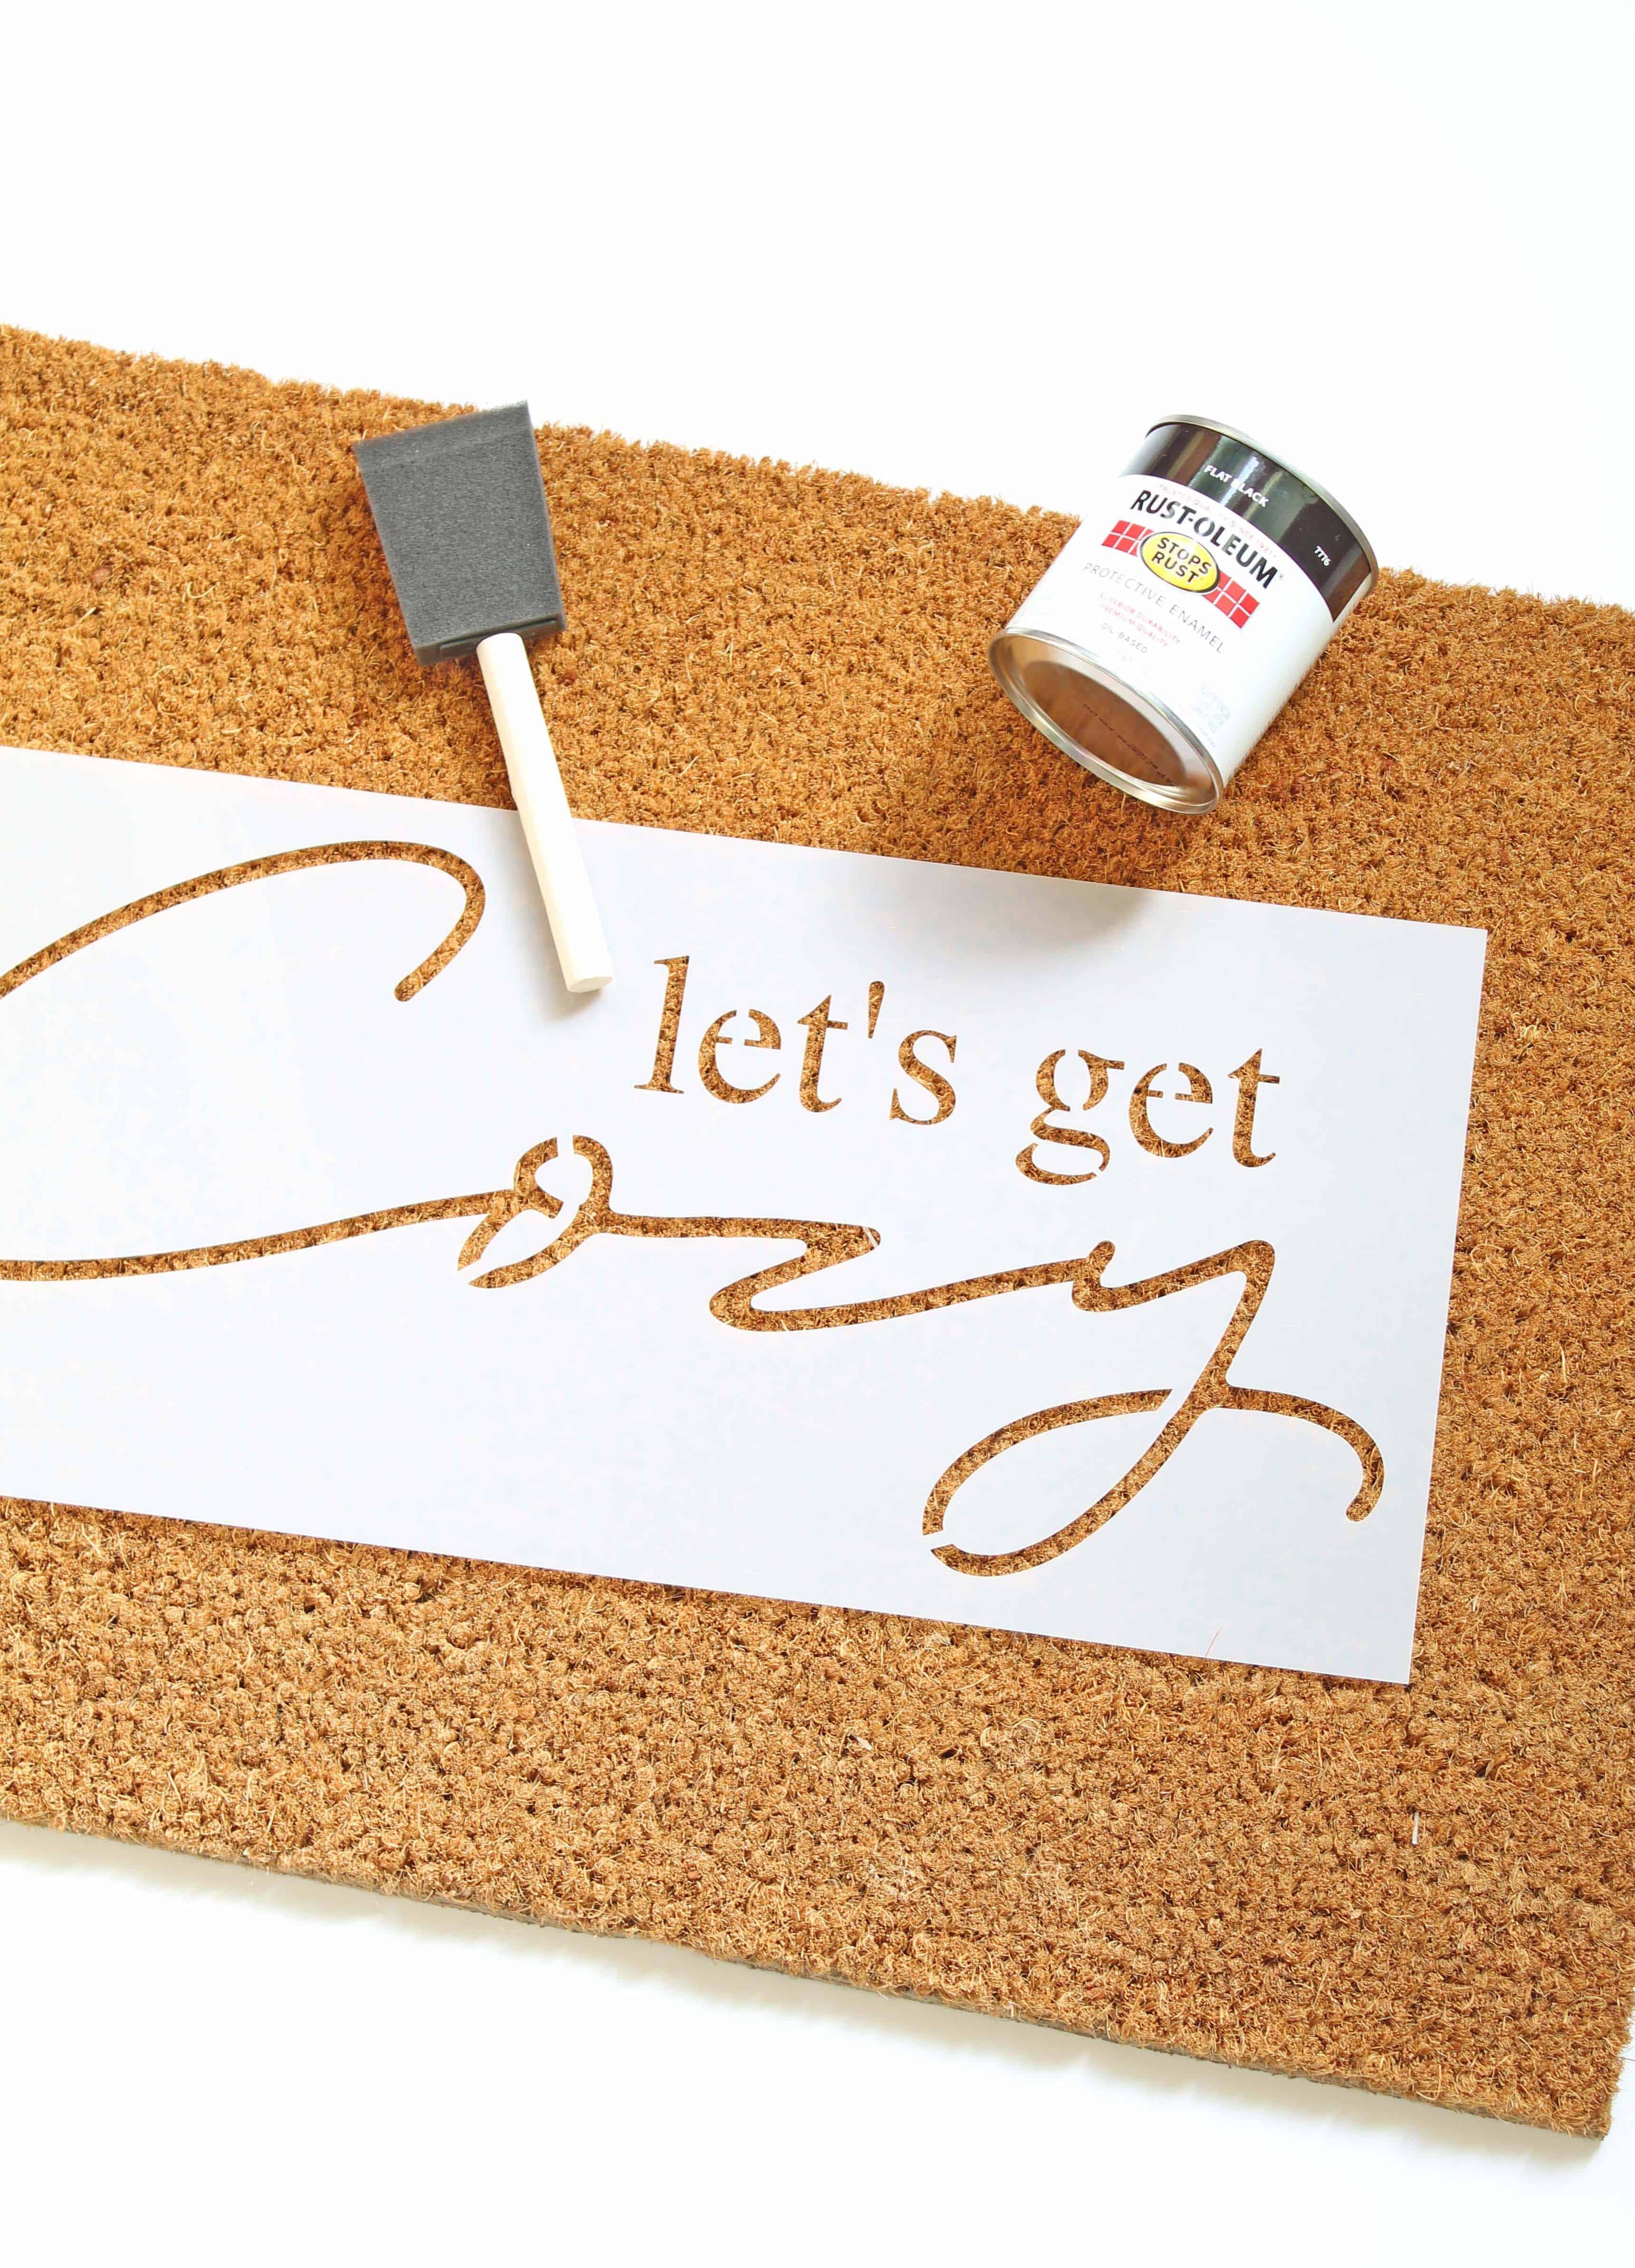
So I decided to try making my own. I started by reading quite a few tutorials, and let me tell you, there is definitely more than one way to stencil a doormat. If you’re super crafty and have a cricut or silhouette you can actually make your own stencil to your own specifications. I don’t own either of those, so that was out for me. So I turned to Etsy, where all of the creative people live, and sure enough, found a stencil with the phrase and style I was looking for (I bought the 17″ x 8″ option) .
Tips For Painting A Coir Doormat
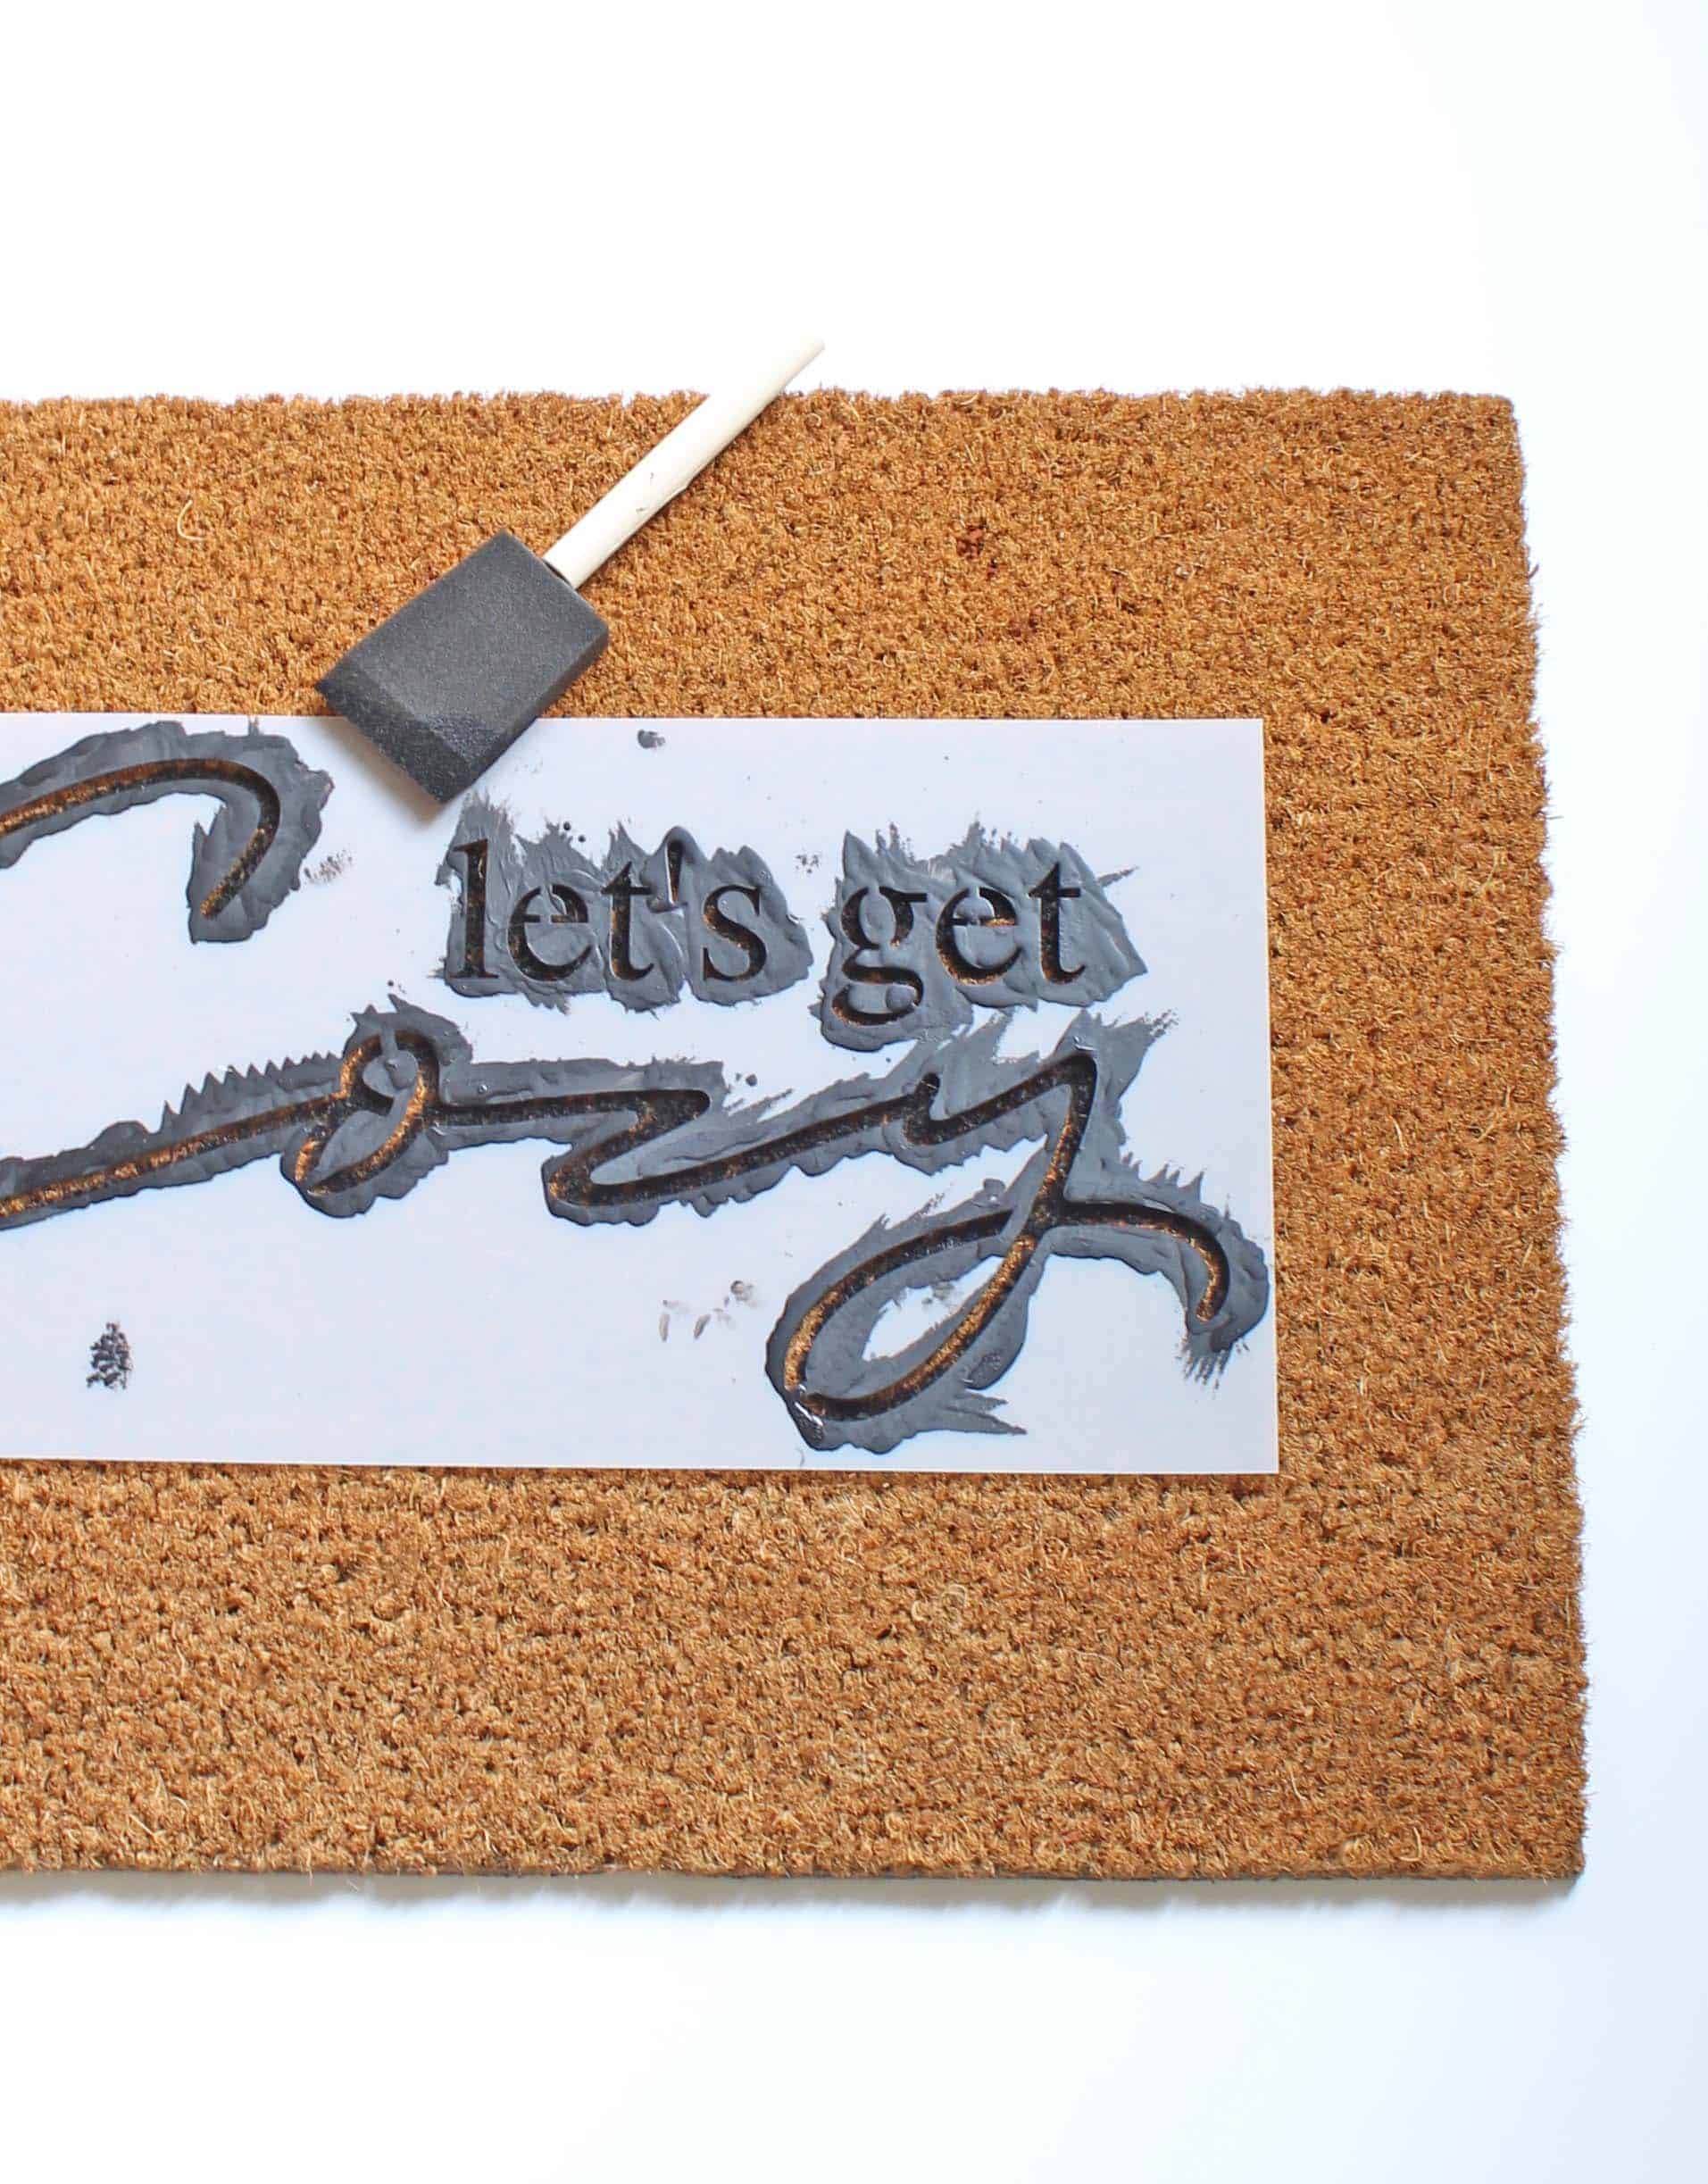
Once I had all of my supplies, the actual painting part was pretty easy. I had read a lot of tutorials where people used spray adhesive to keep the paint from bleeding, or masked the part they weren’t painting off. When it came down to it, I decided to live dangerously and just go for it. I positioned the stencil where I wanted it in the center of the mat and held it there with my left hand. Using my right hand, I carefully dabbed paint through the cutouts in the stencil.
The trickiest part of the whole project was painting the surface of the coir doormat. Coir doormats are normally made out of coconut husks, so the surface isn’t ideal for painting. My best tip for getting an even finish is to dab rather than stroke when you paint. Apply two coats to make sure you catch any uneven patches.
After I applied two coats of paint I let the doormat sit on an even surface and dry for about 24 hours.
Post Sources

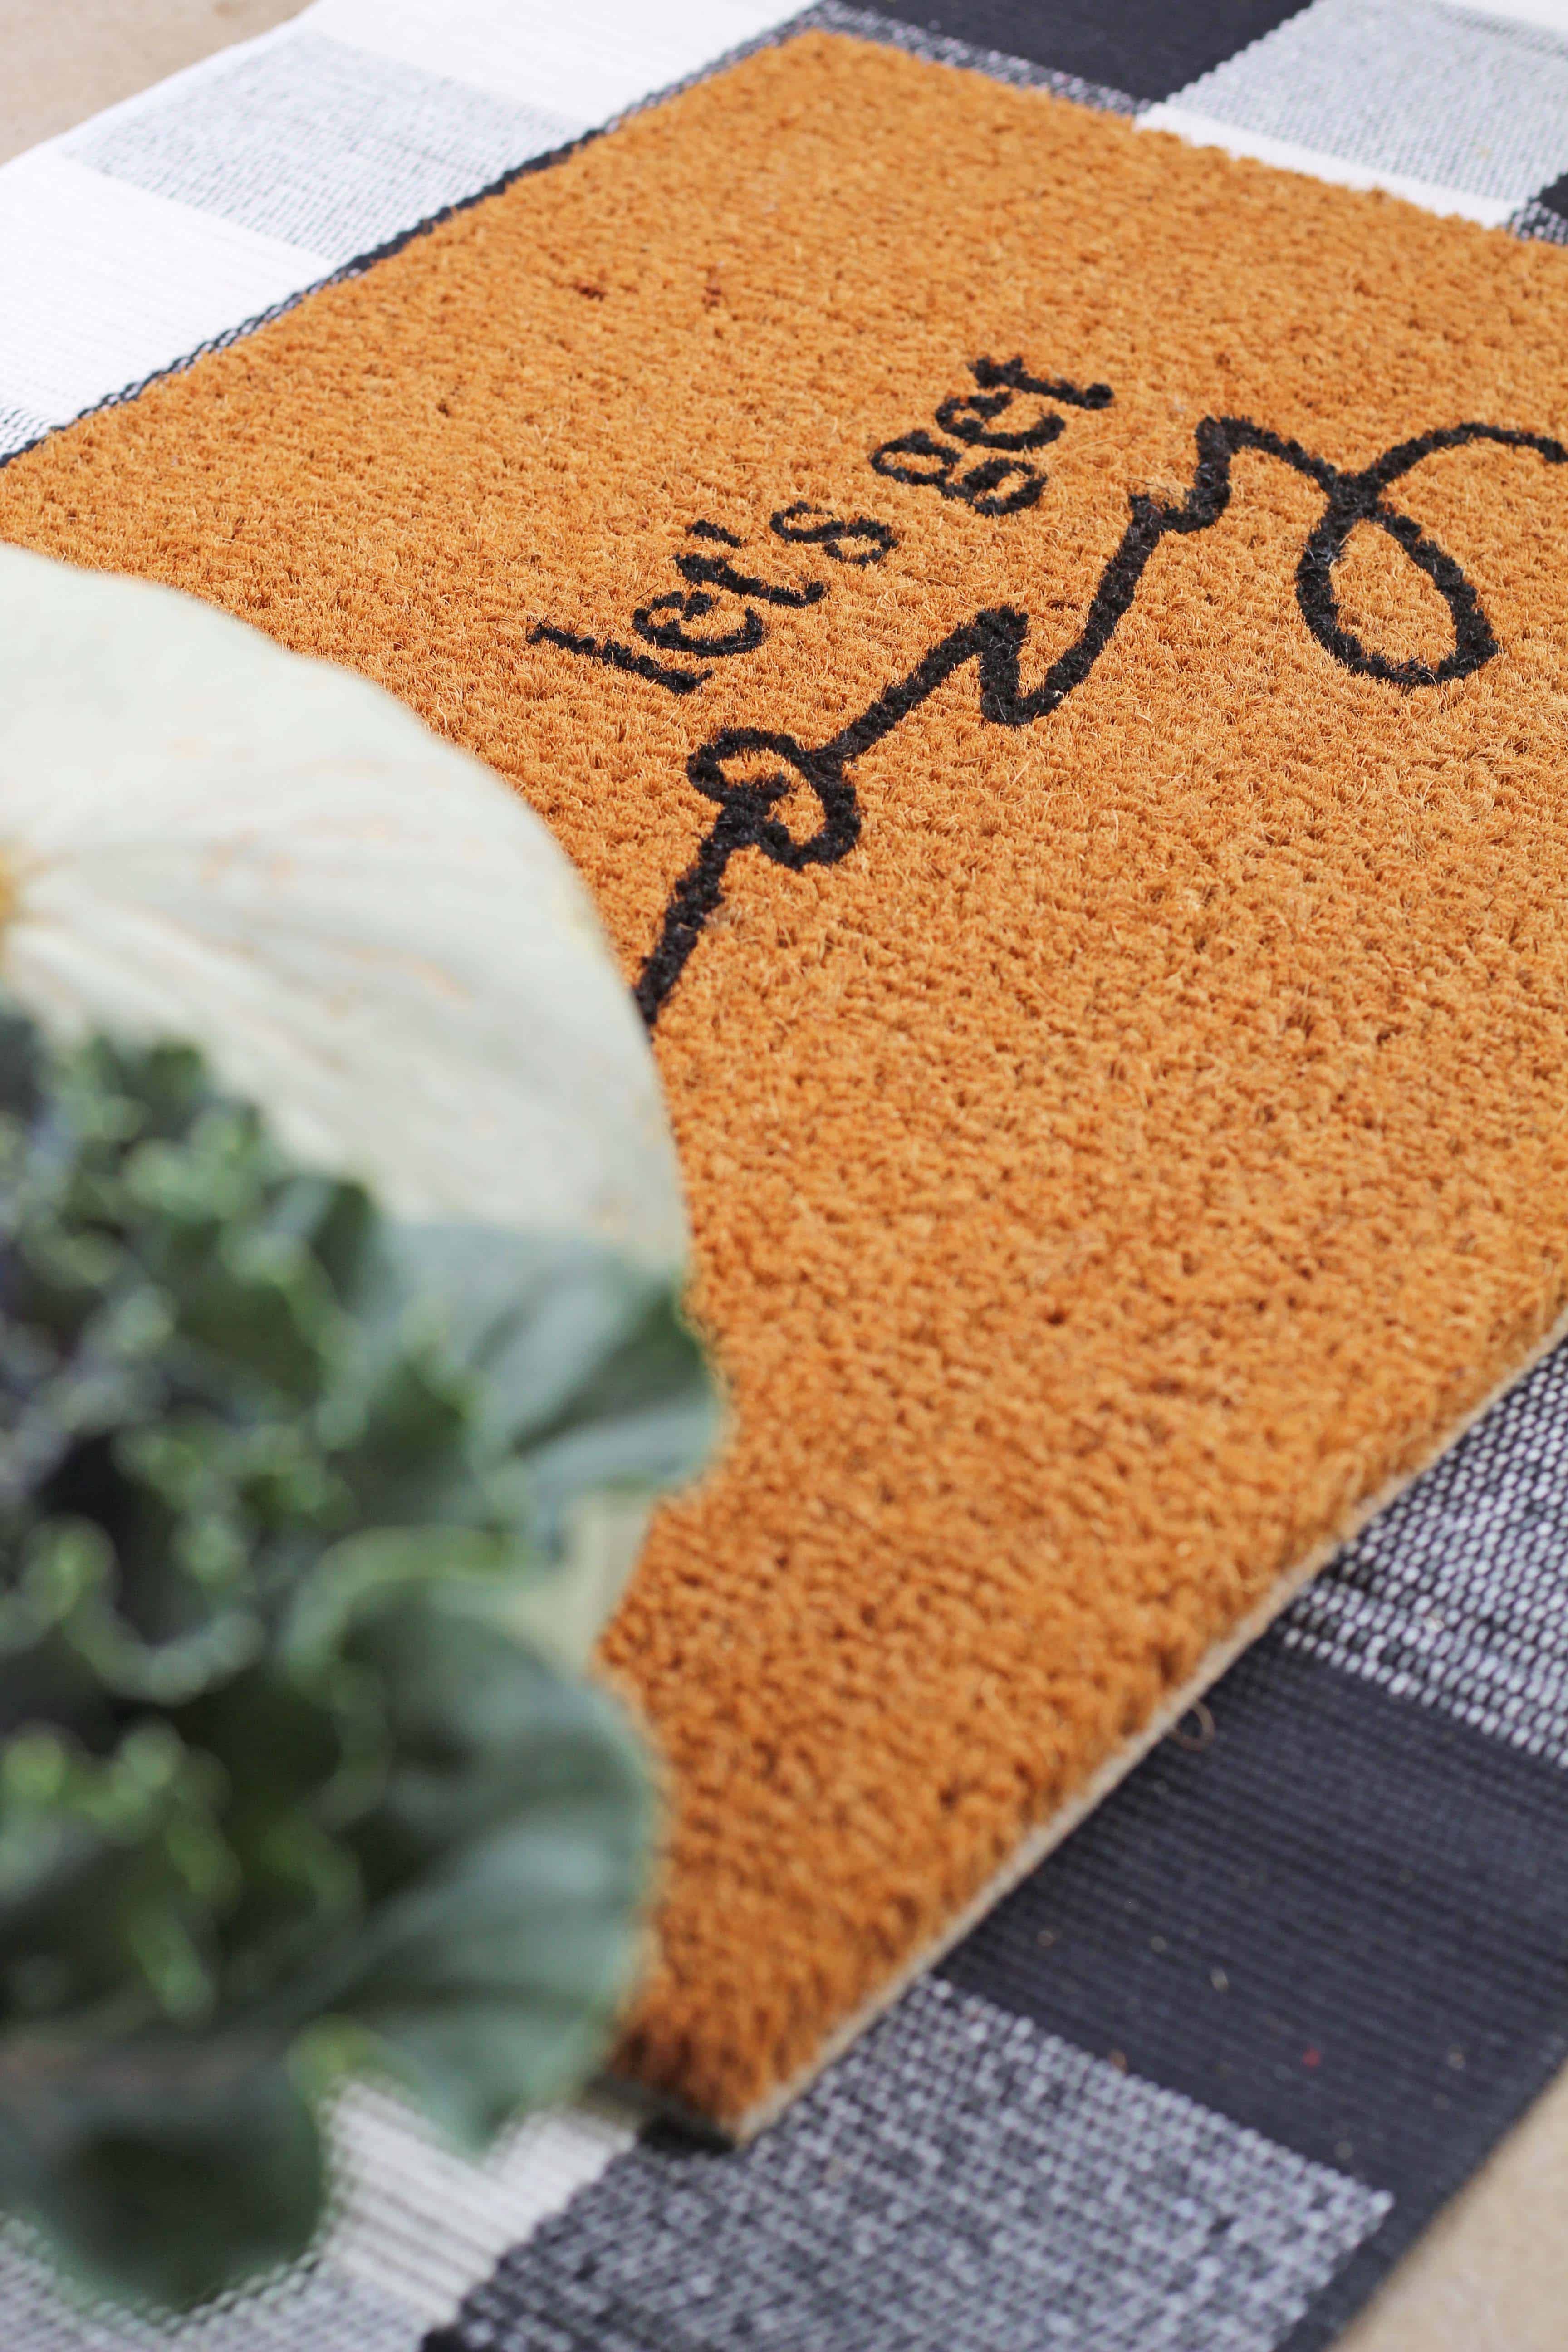
And then because I couldn’t help myself, I layered it over my go-to buffalo check rug for all the fall feels.
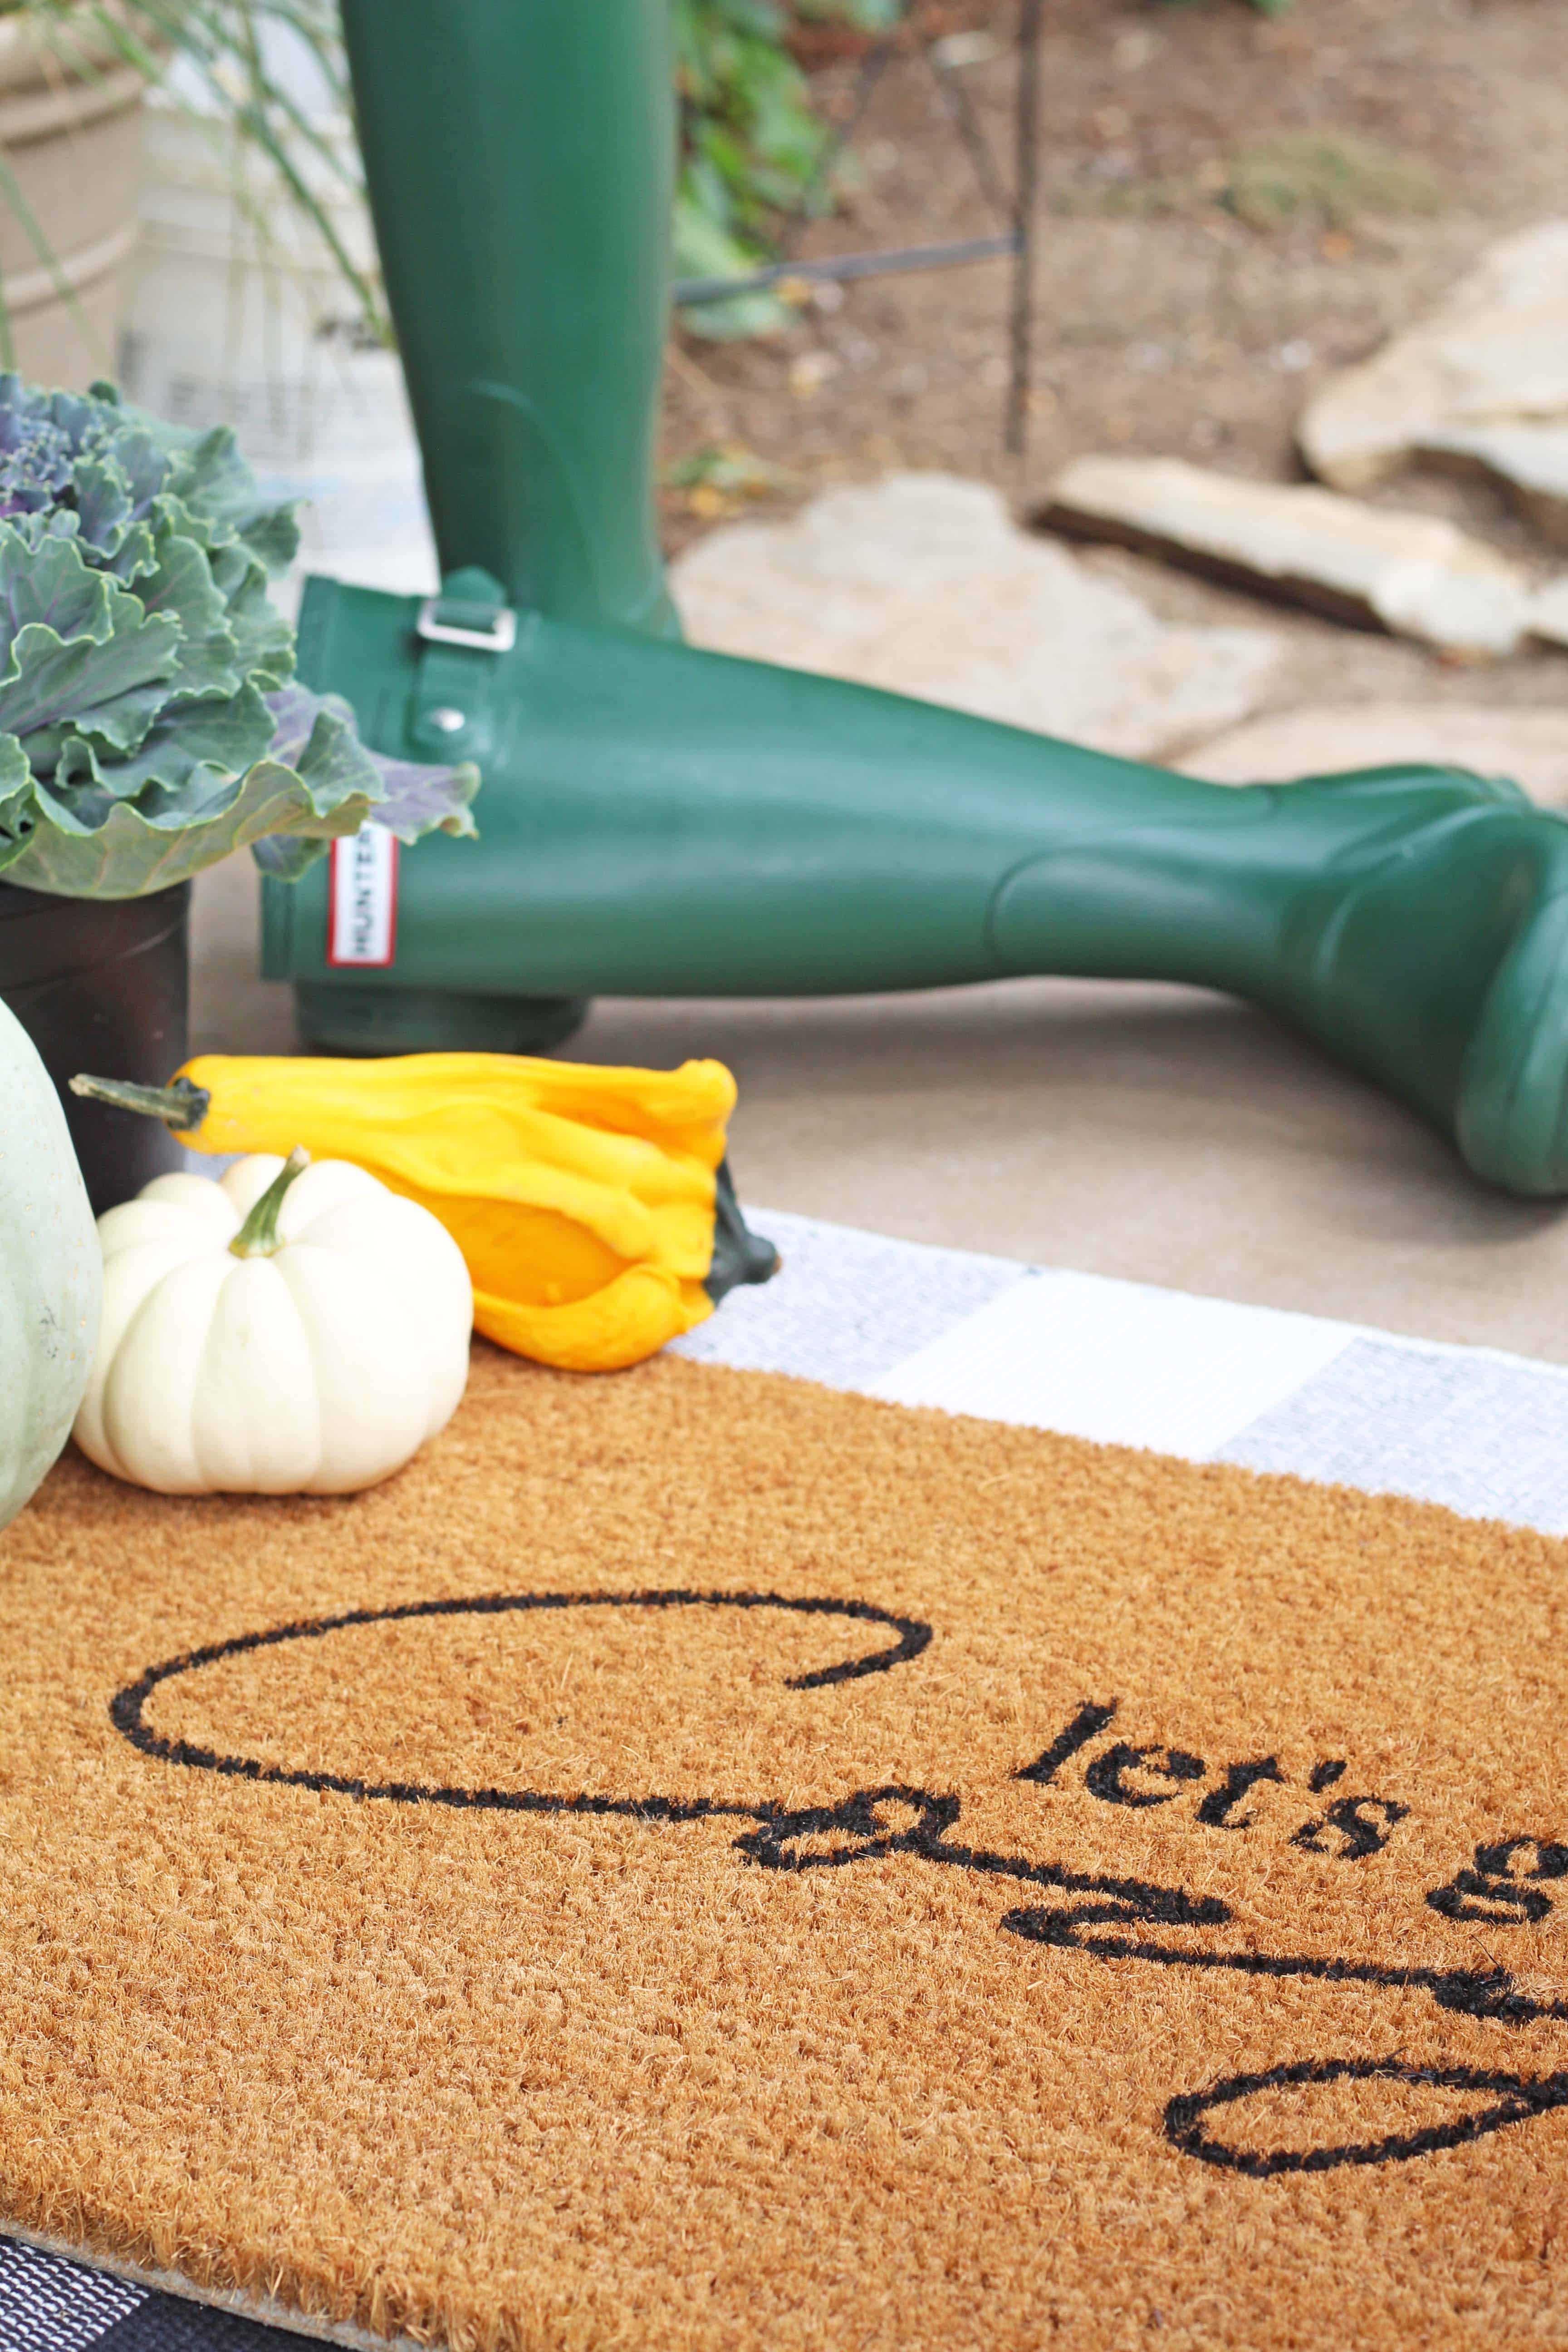
What I love most about the “Let’s Get Cozy” saying is that it can work all through fall, Christmas, and the rest of the winter season without being too holiday specific. No need to change it out!
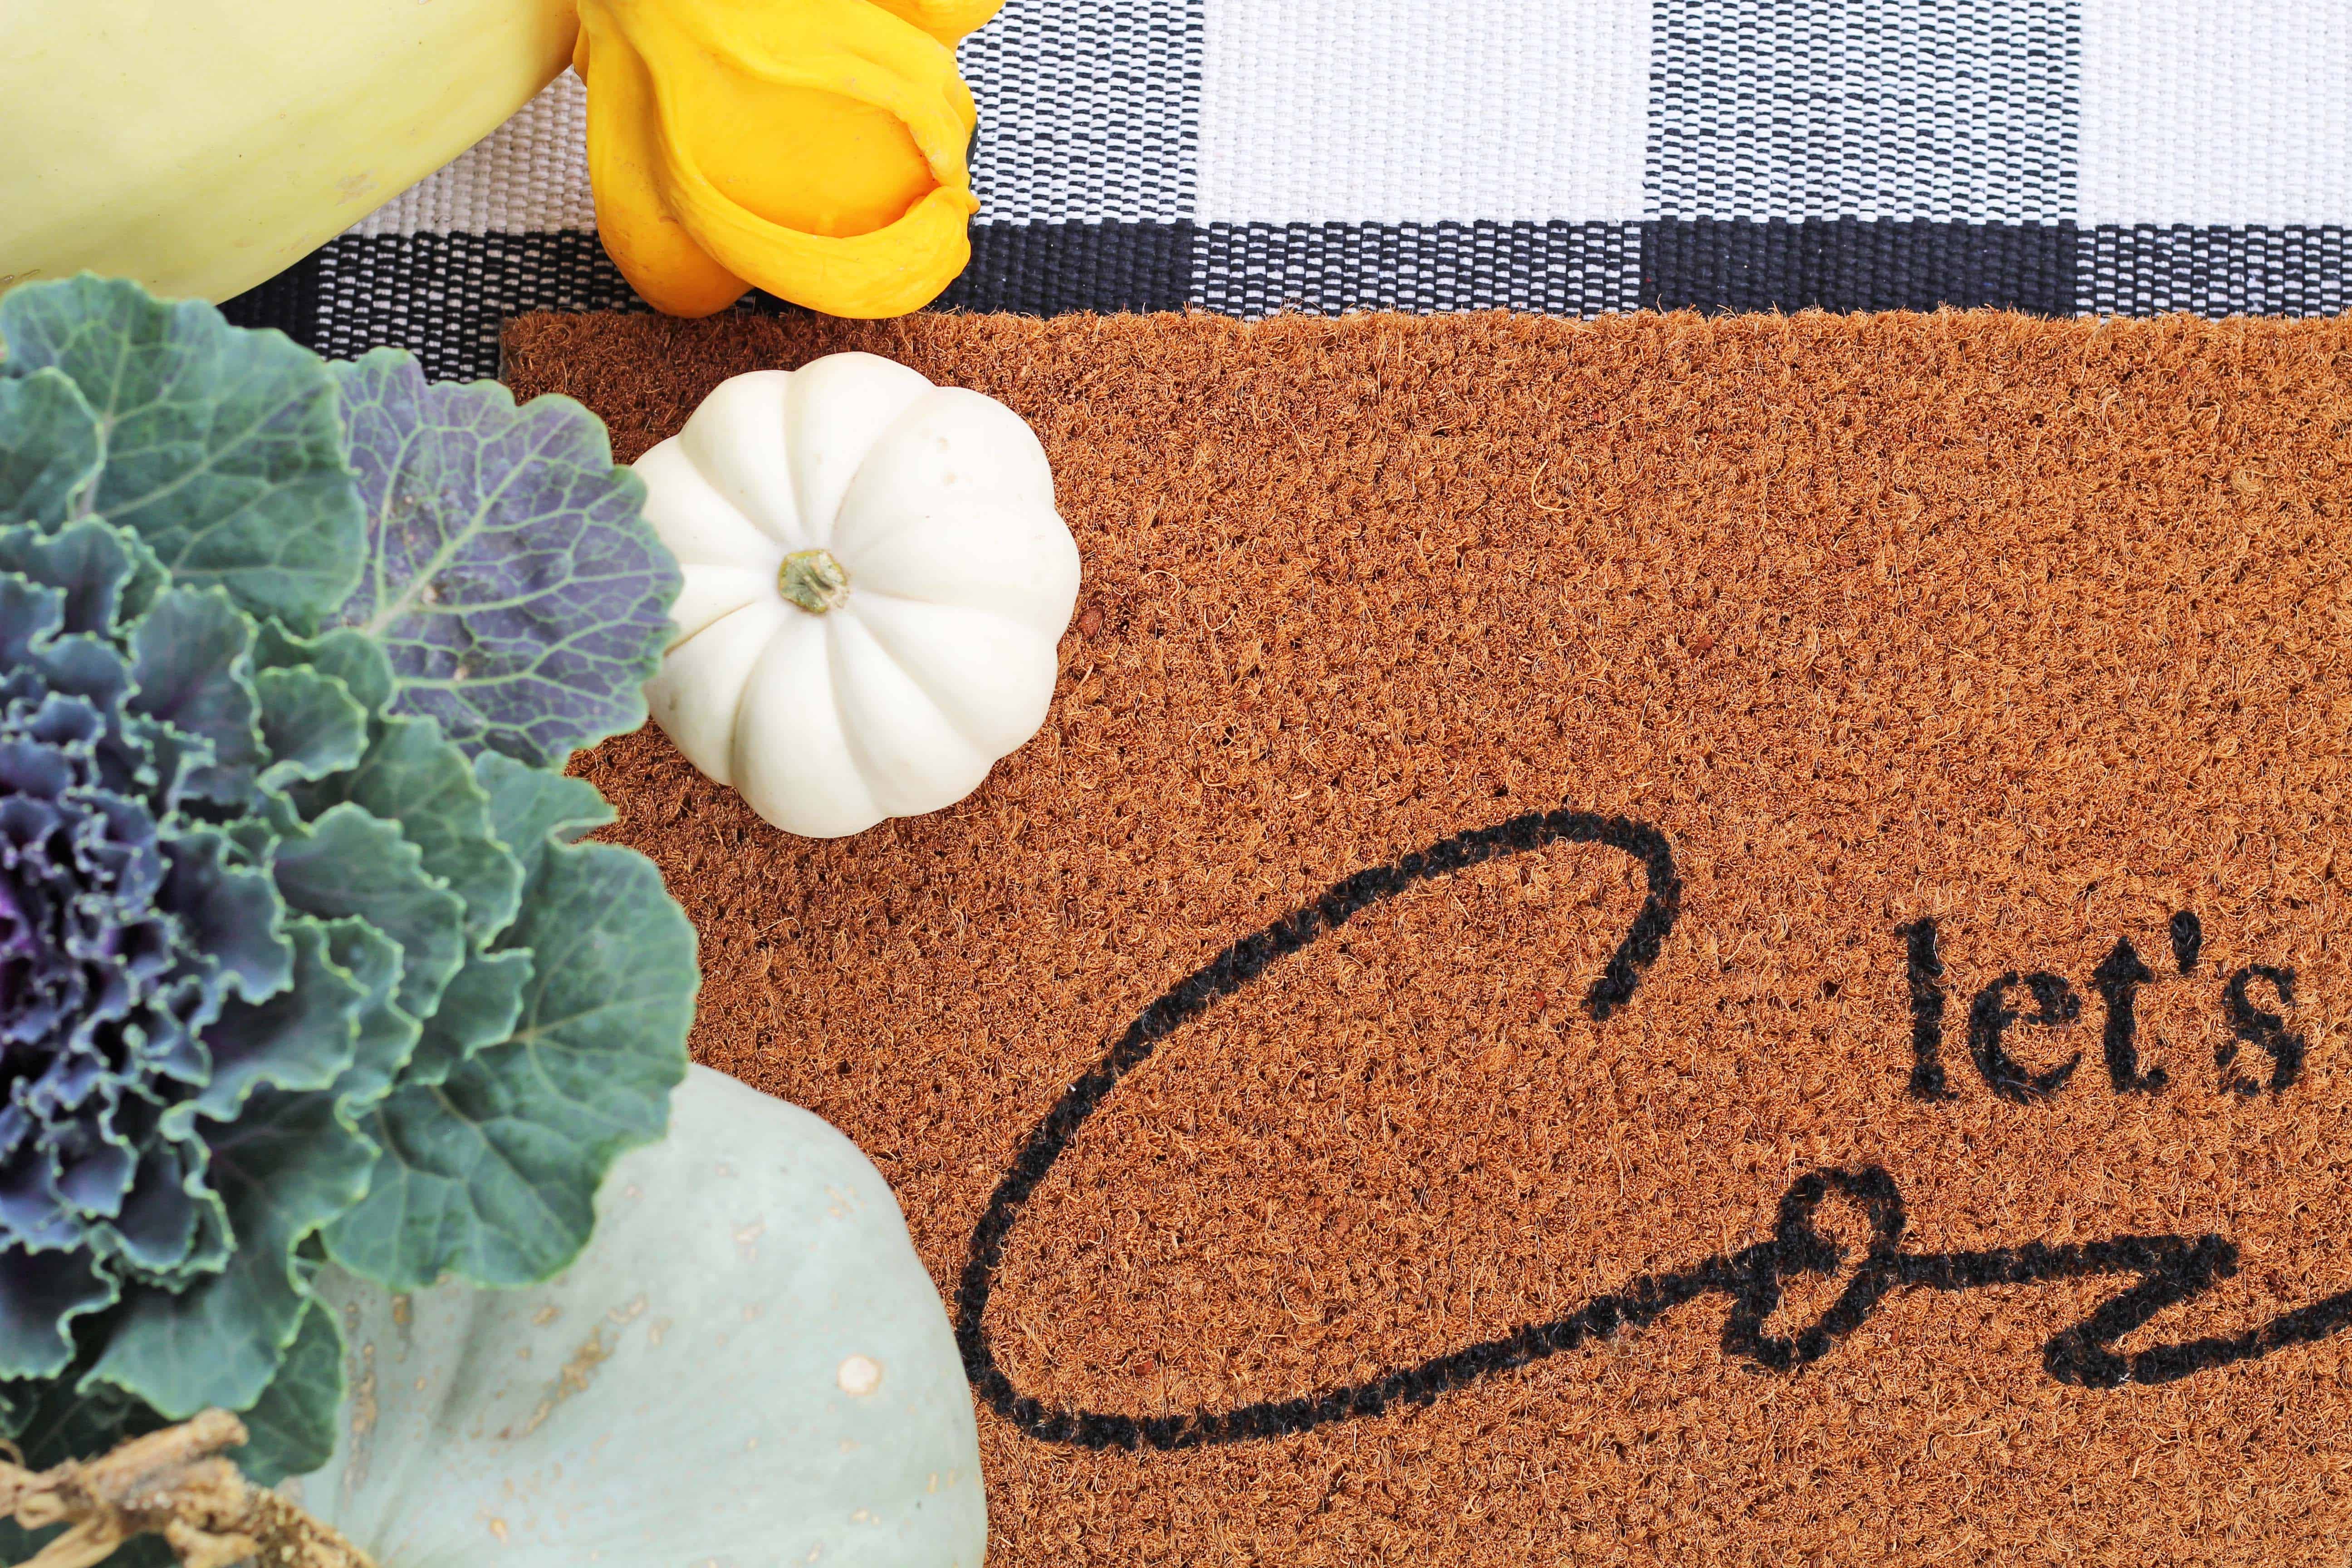
Plus, I got exactly the doormat I wanted for about a 1/3 of the price:)
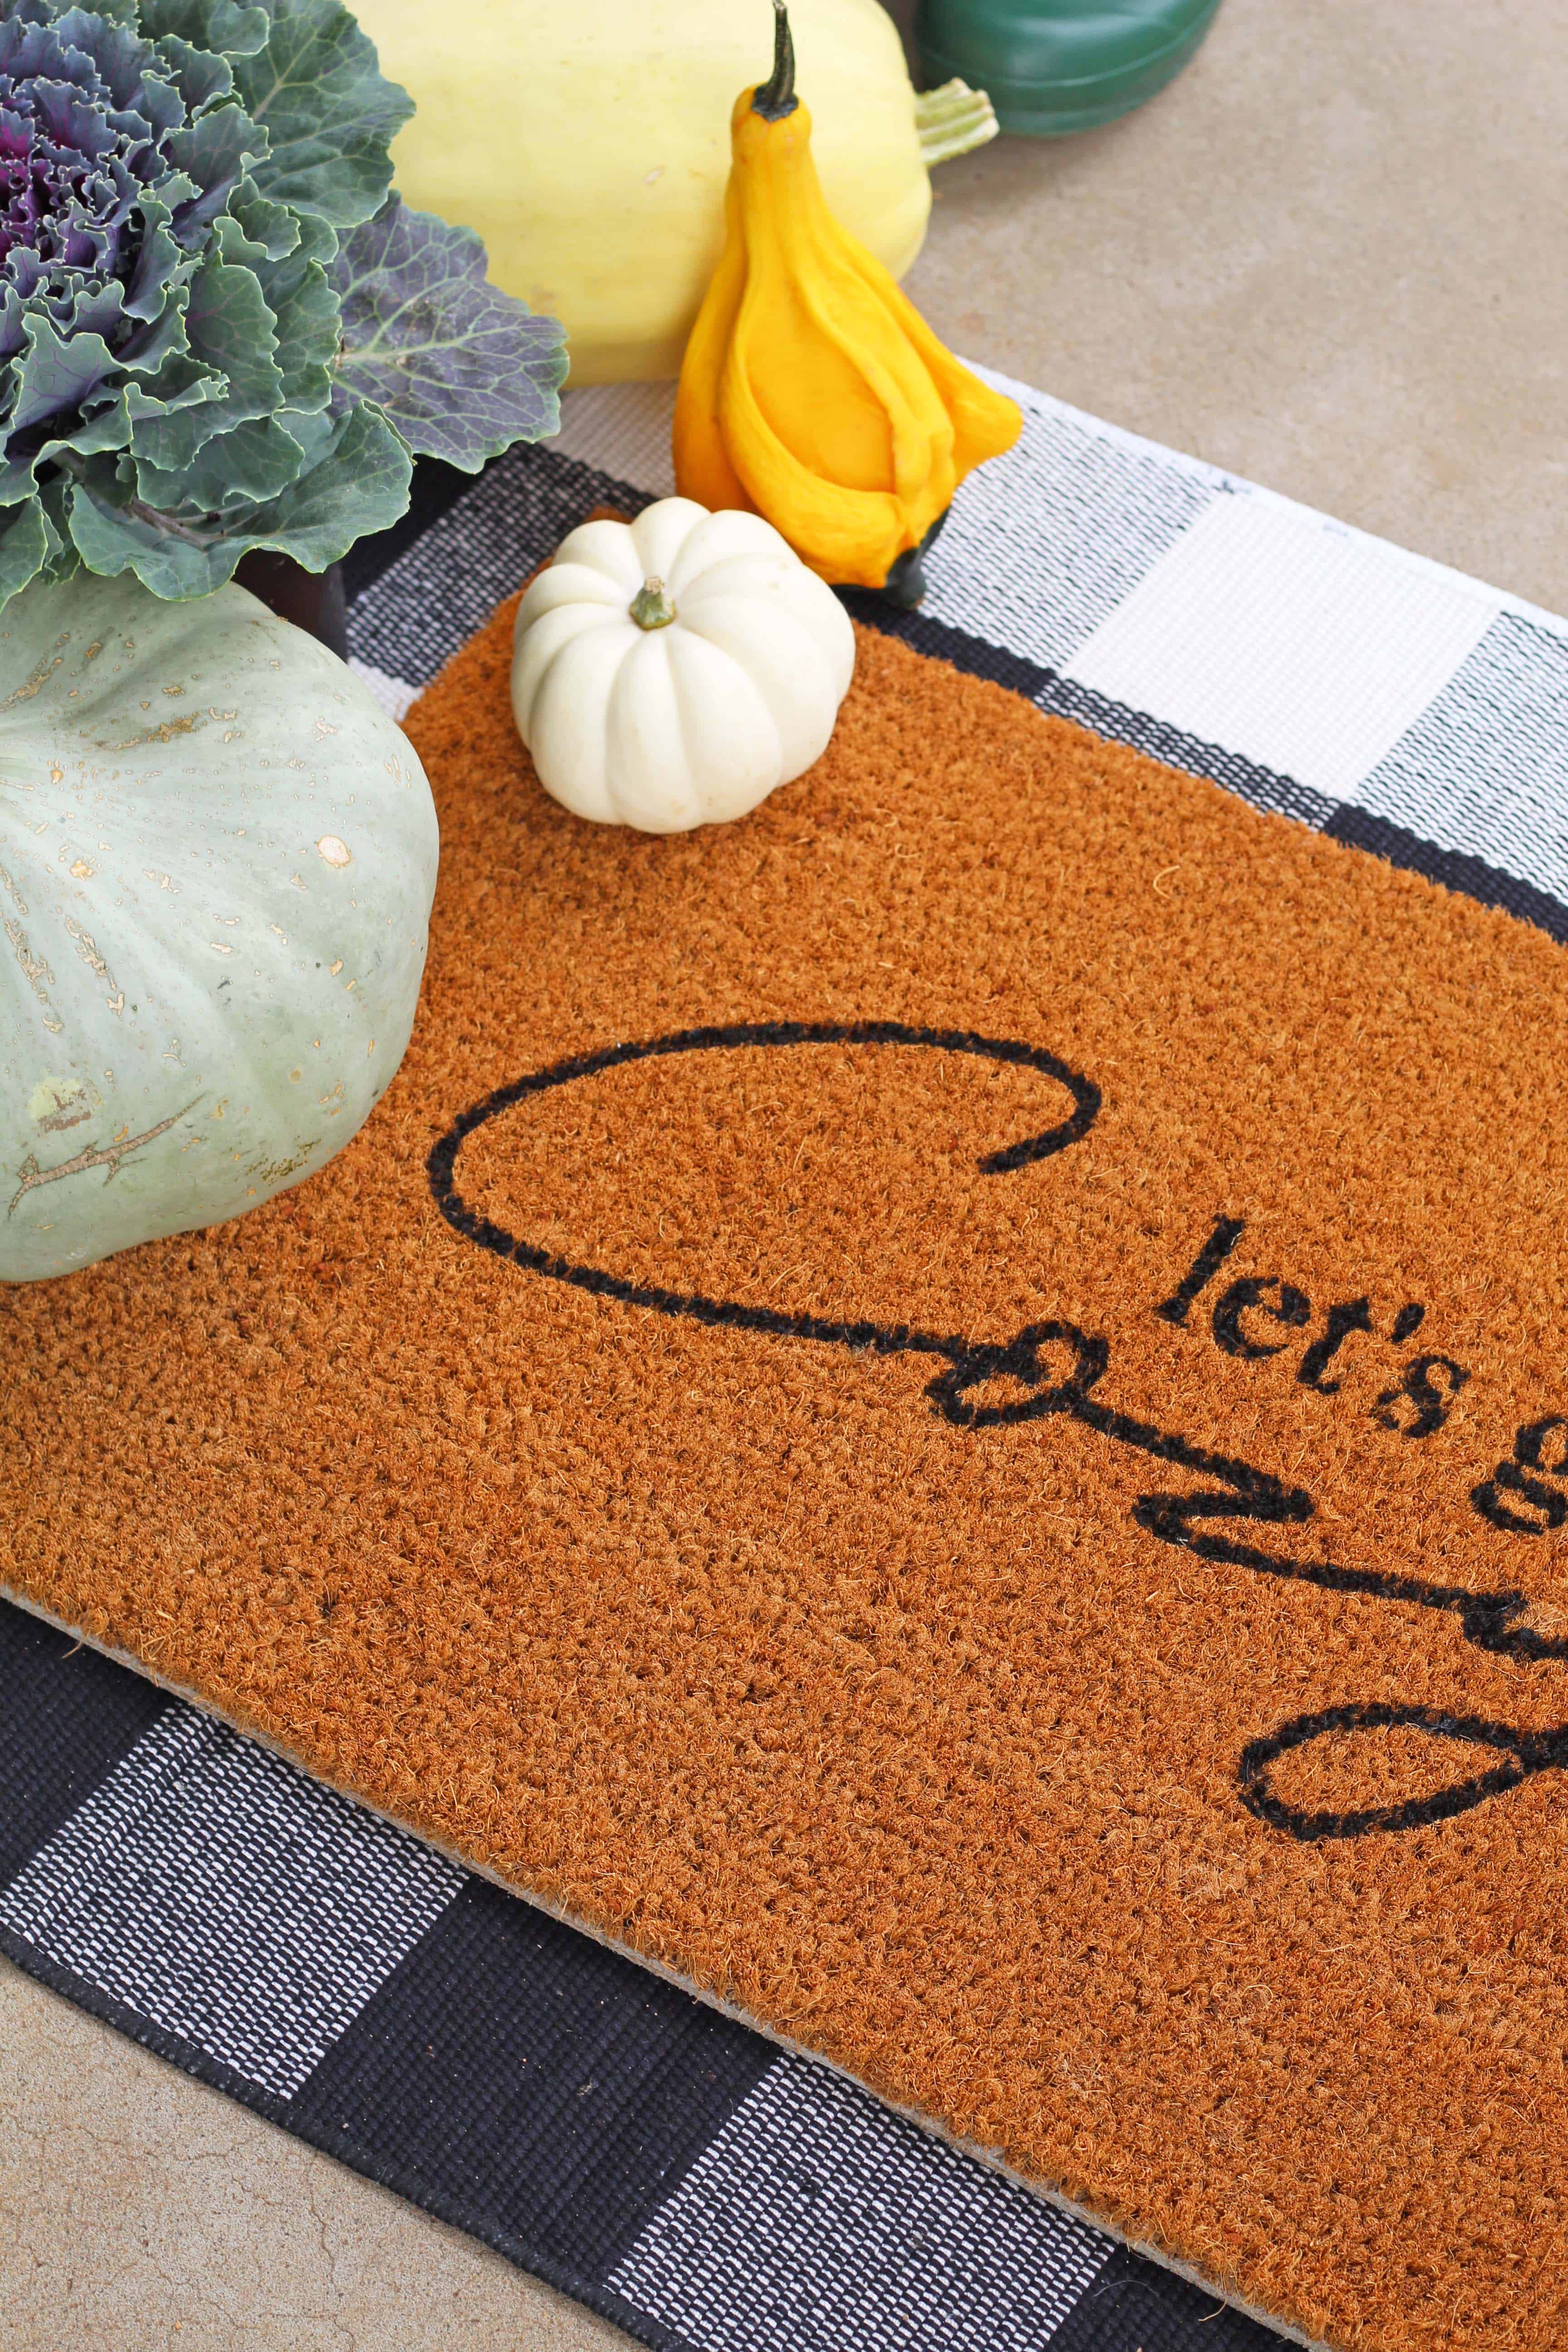
I hope this tutorial helps you if you’ve been looking for ideas on how to make your own stenciled doormat! It was an easy project with the added bonus of getting to put your personal stamp on something that everyone who comes through your front door will see. 🙂
Post Sources
This post contains some affiliate links for your convenience. Click here to read my full disclosure policy.
Want to save this post? Pin it here!


Love this! What a great idea to make your own. I had no idea you could buy stencils like that; thanks for the great idea!
Thanks so much for joining the Grace at Home party at Imparting Grace. I’m featuring you this week!
Thanks so much, Richella!
Okay… I LOVE this… and I DO live by an IKEA, so this is going to happen at My Wee Abode! 😉
Thanks, Julie! It was fun to make, and so much easier than I thought it was going to be!
This is so perfect, I have to try this!! Will look for stencils now 😉