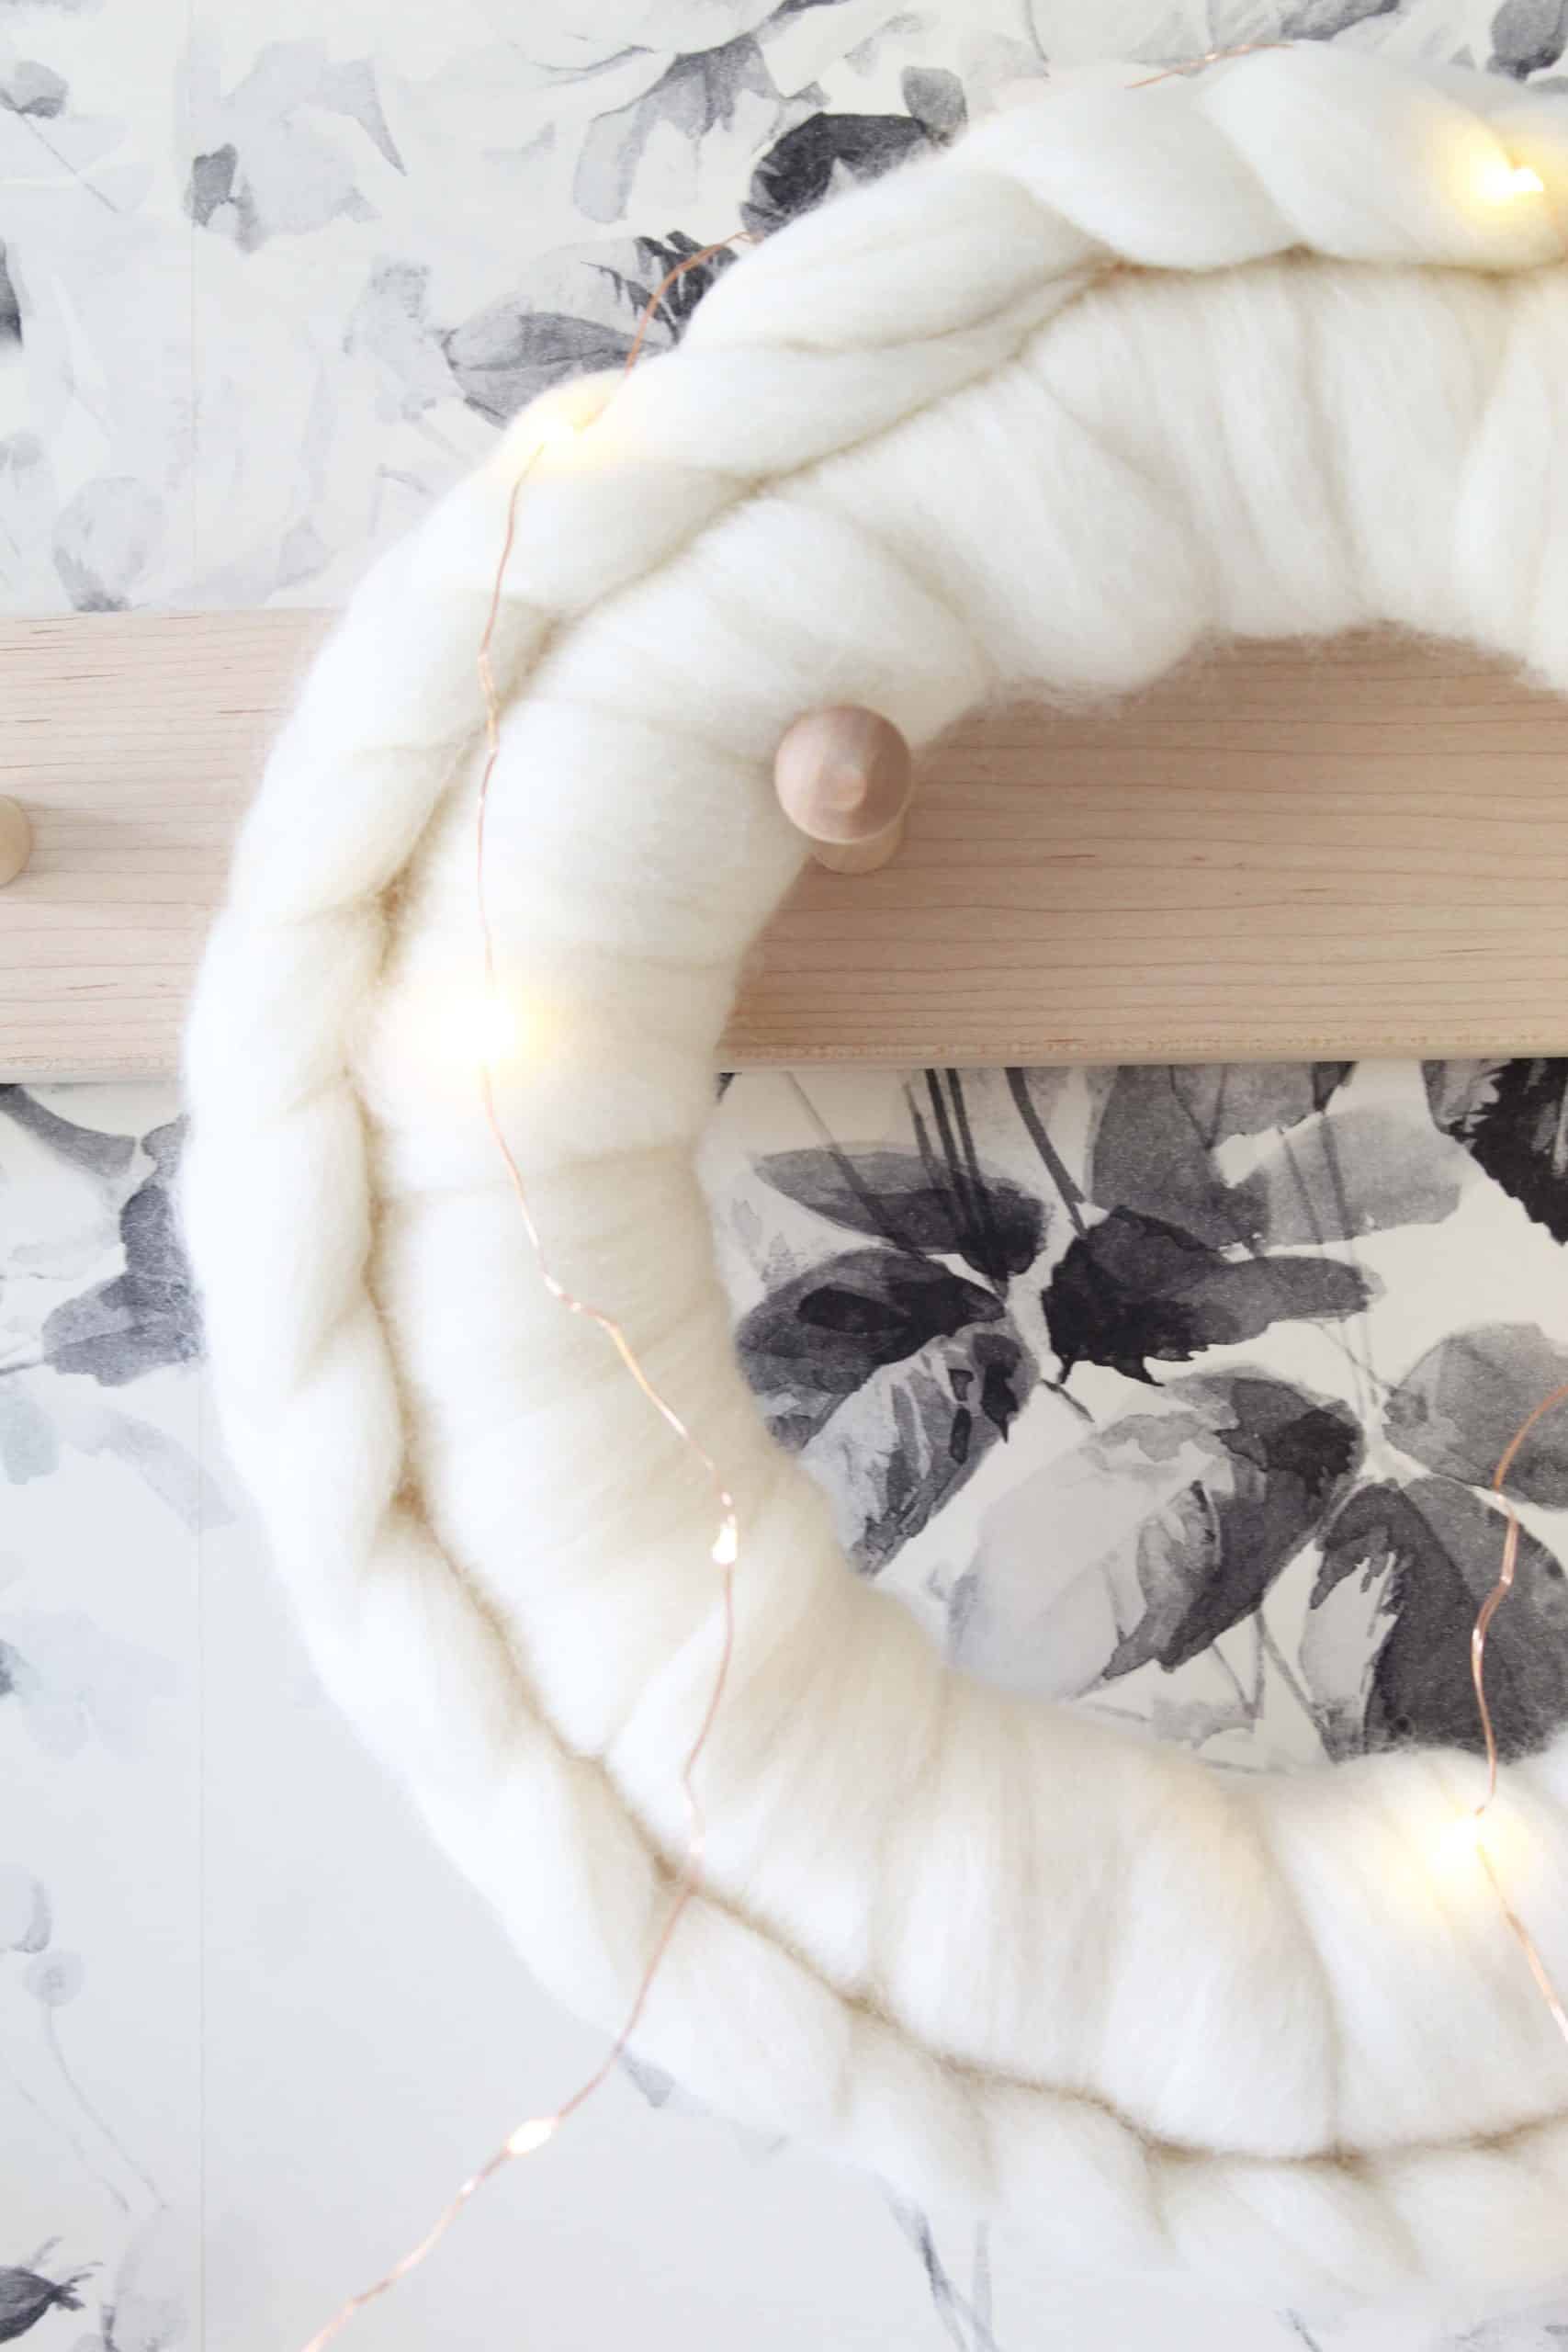
This hygge worthy wool winter wreath is a fun way to welcome the winter season. Best of all? It’s simple winter decor that lasts for more than just the Christmas season!
A couple of weeks ago as I was looking through all of the new winter and Christmas decor that different stores have been putting out. One of my favorite place to shop online is Etsy, I love their handmade items and the fact that it supports small businesses. Sometimes though, I fall in love with something that’s just way out of my budget. Does that ever happen to you?
In this instance it was a beautiful white wool wreath that was just begging to come and cozy up one of my walls. I loved everything about it, the simplicity, the color, and the fact that it could potentially work as cozy fall/winter decor for about six months out of the year. The Scandinavian feel along with the chunky merino wool gives it a classic feel that I think will stand the test of time.
After seeing the price tag, I resigned myself to the fact that it probably wasn’t going to come home with me. Fast forward a few days and more than a few moments staring at that beautiful wreath and it dawned on me that maybe I could just make my own! I priced out ordering some white merino wool and a white foam wreath and realized I could make one for a fraction of what the one I wanted cost.

How To Make A Hygge Worthy Wool Winter Wreath
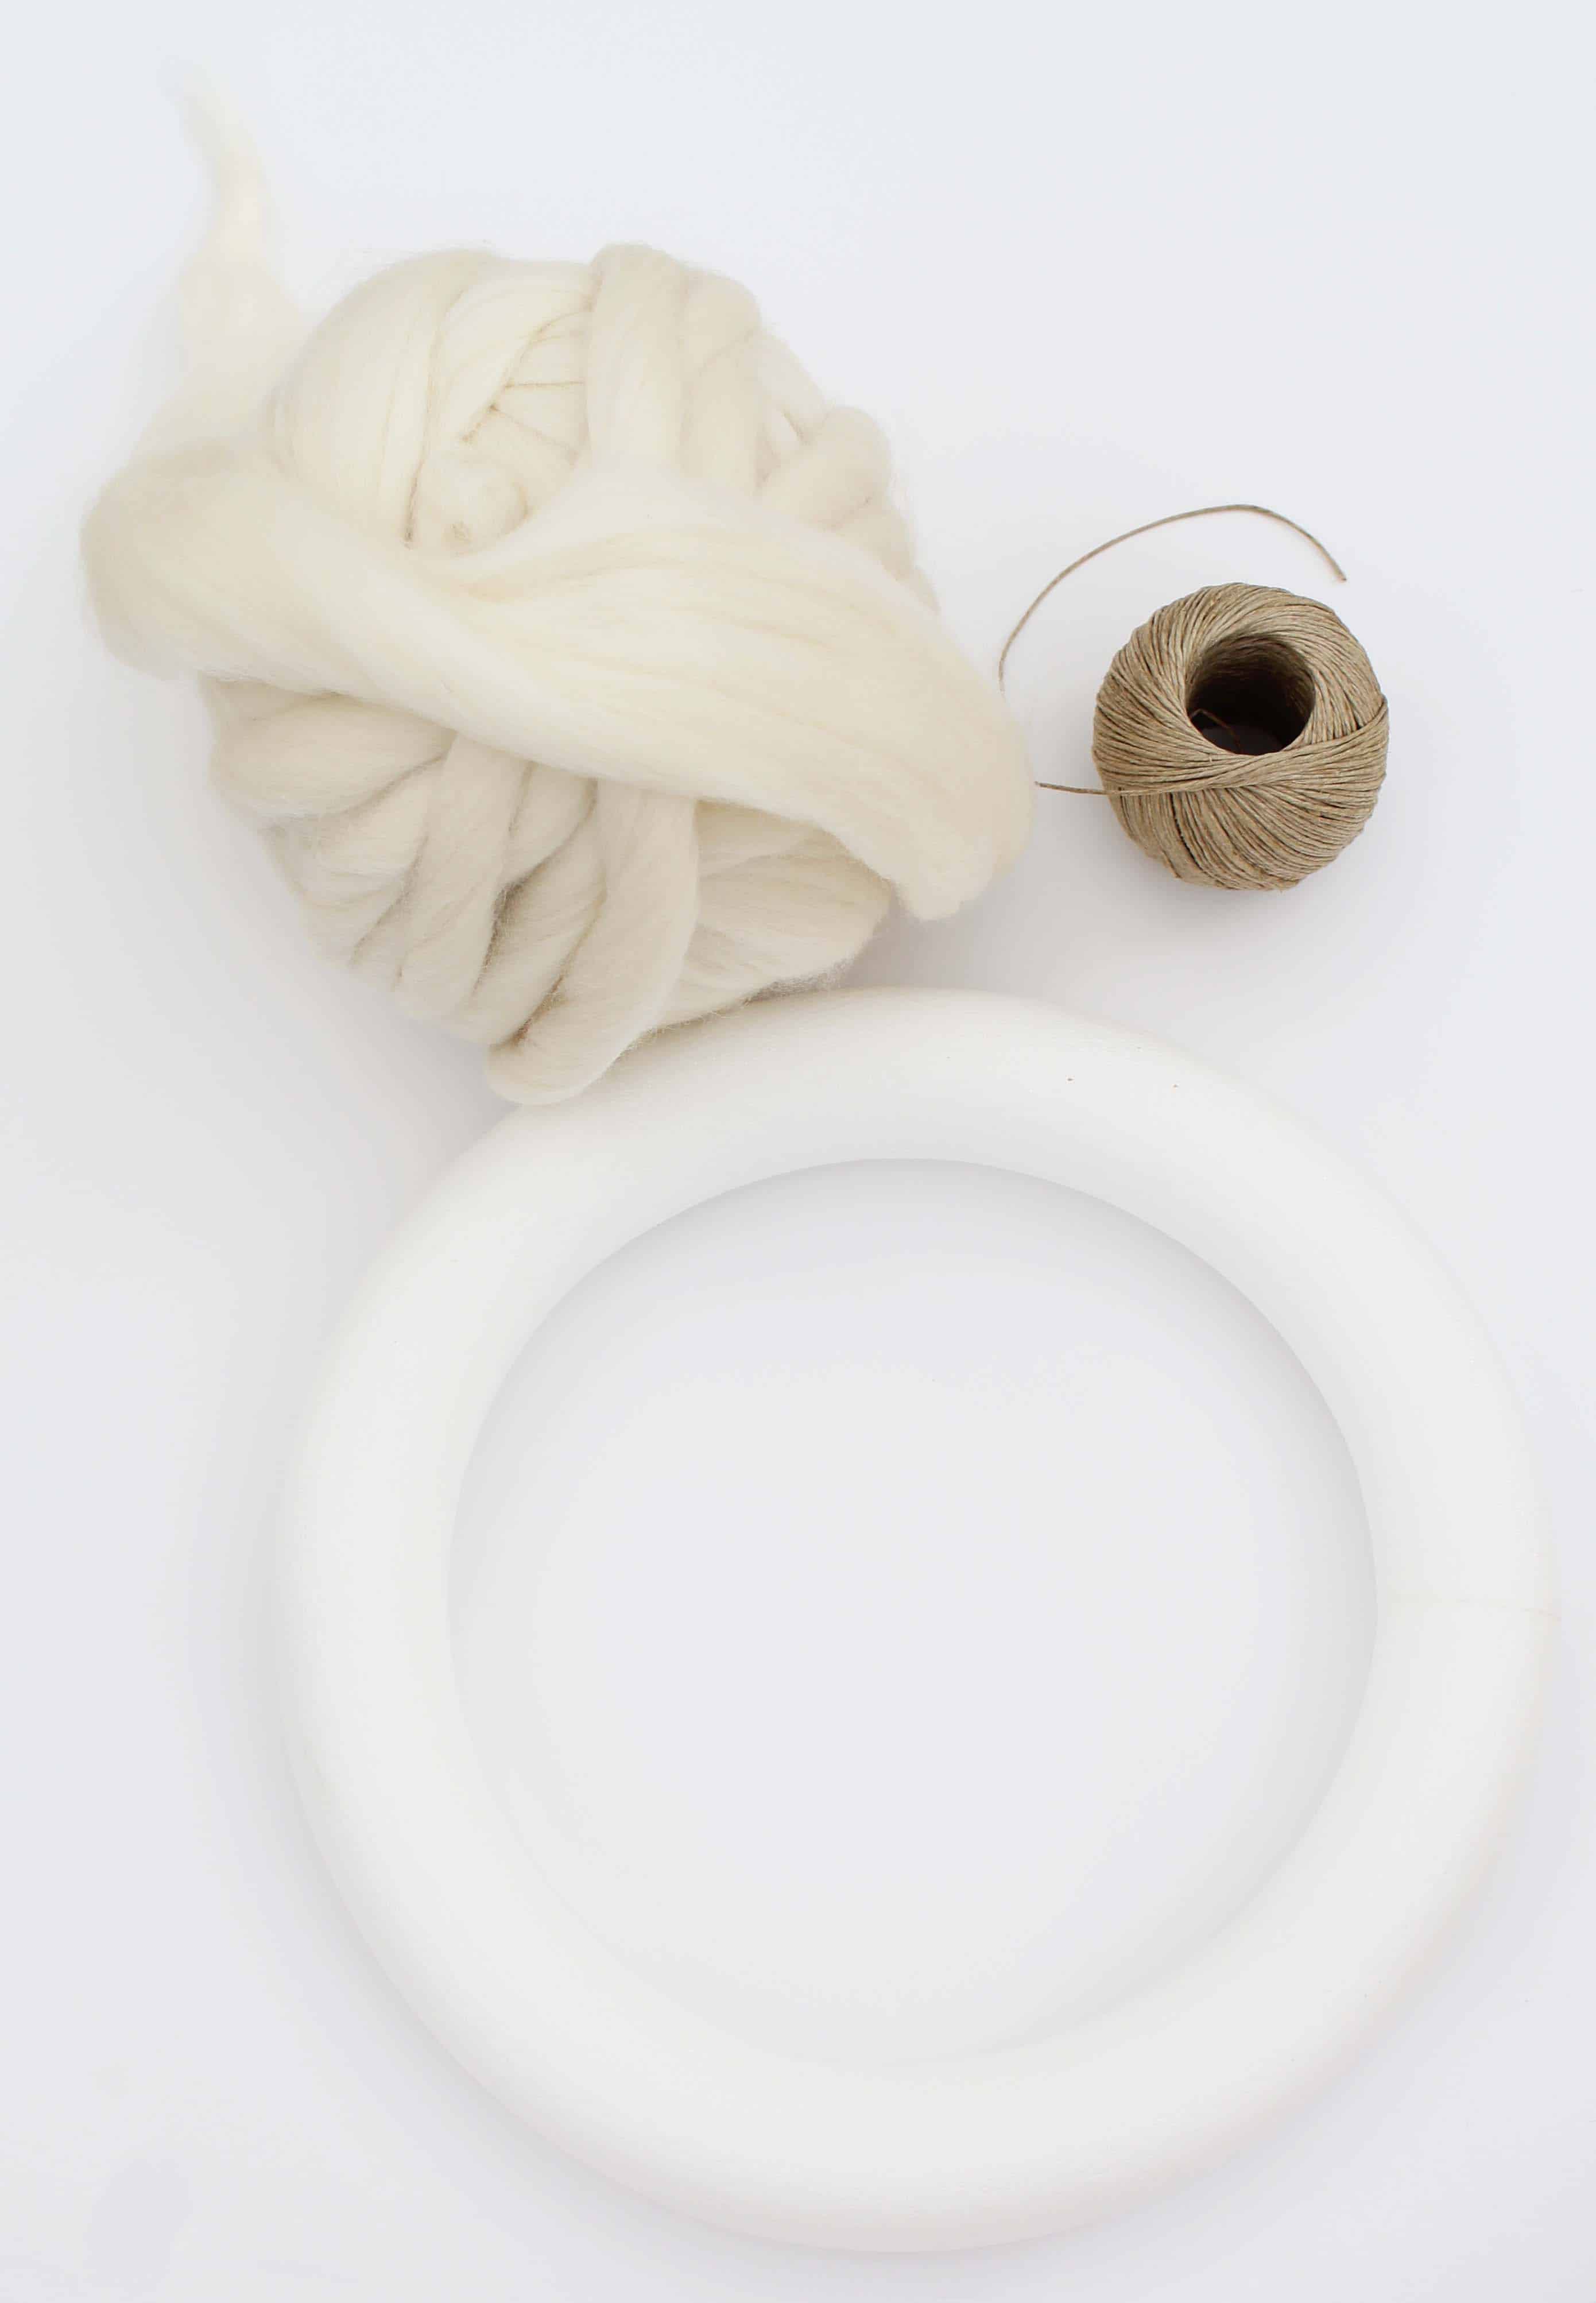
If you’d like to make your own wool winter wreath, here is how I made mine and the supplies you’ll need:
- Chunky White Merino Wool (I bought the Chunky 40 mm in Cream)
- White 12″ Foam Wreath Base
- Jute Twine
- Sewing Pins
Create The Wool Winter Wreath Base
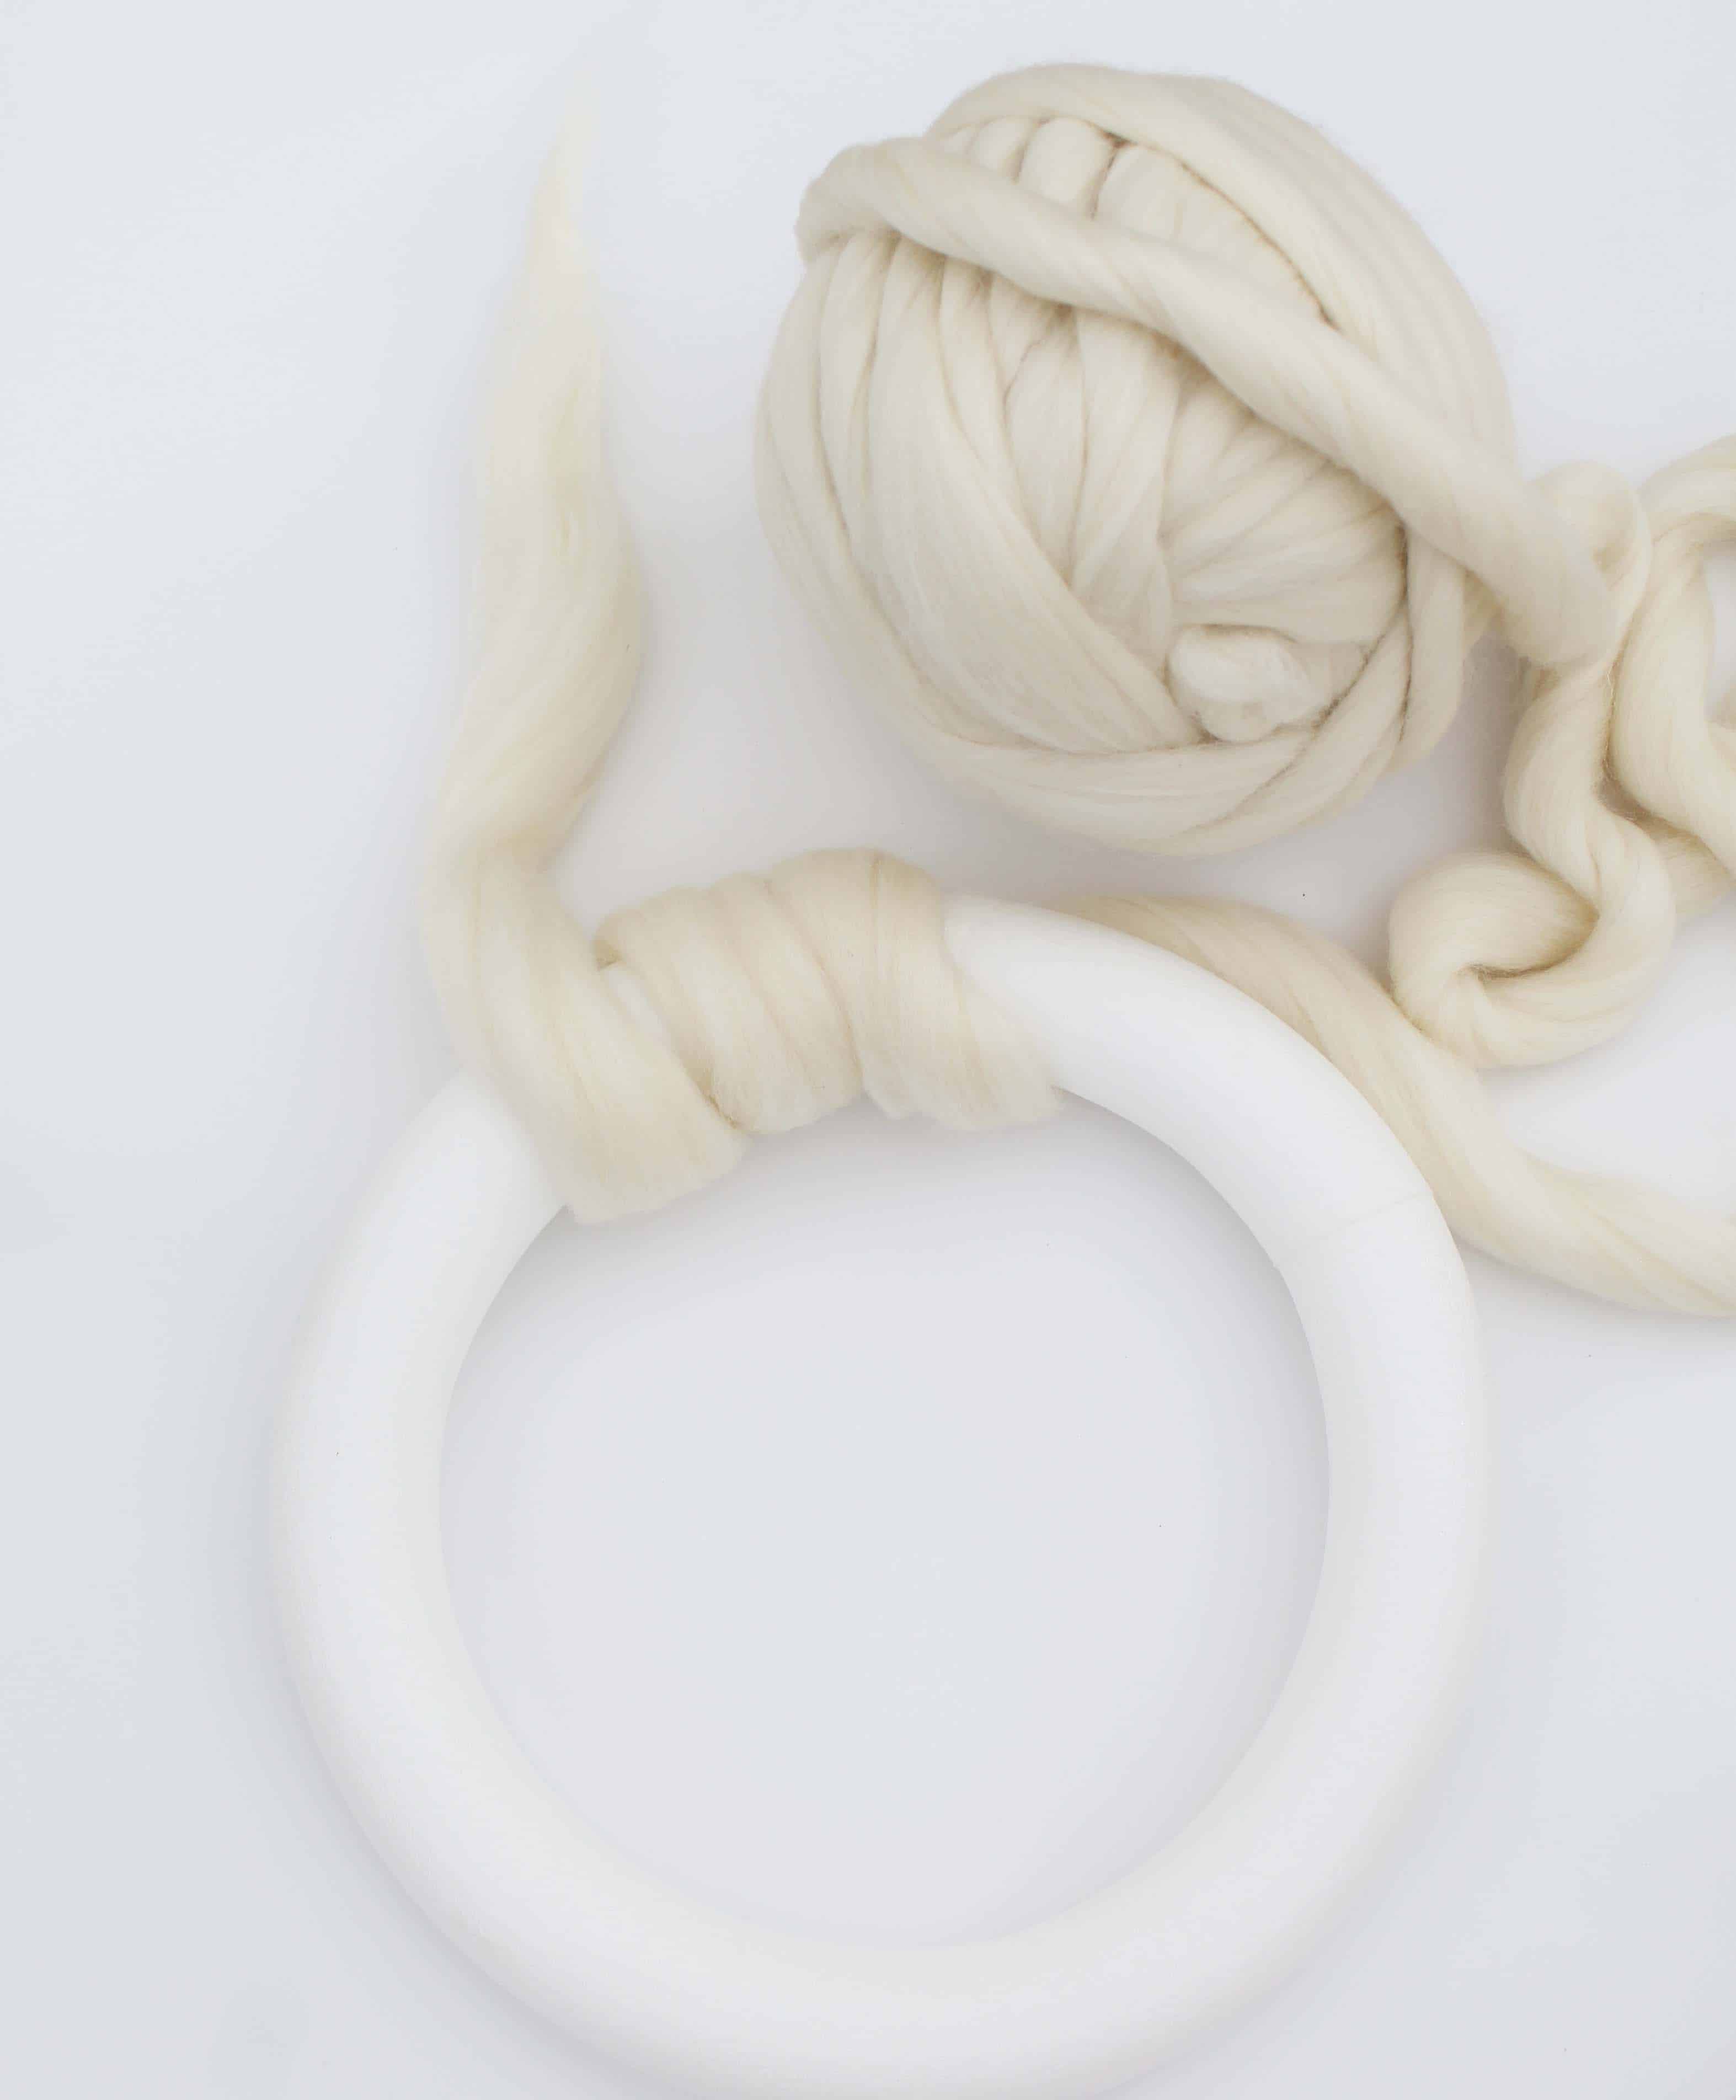
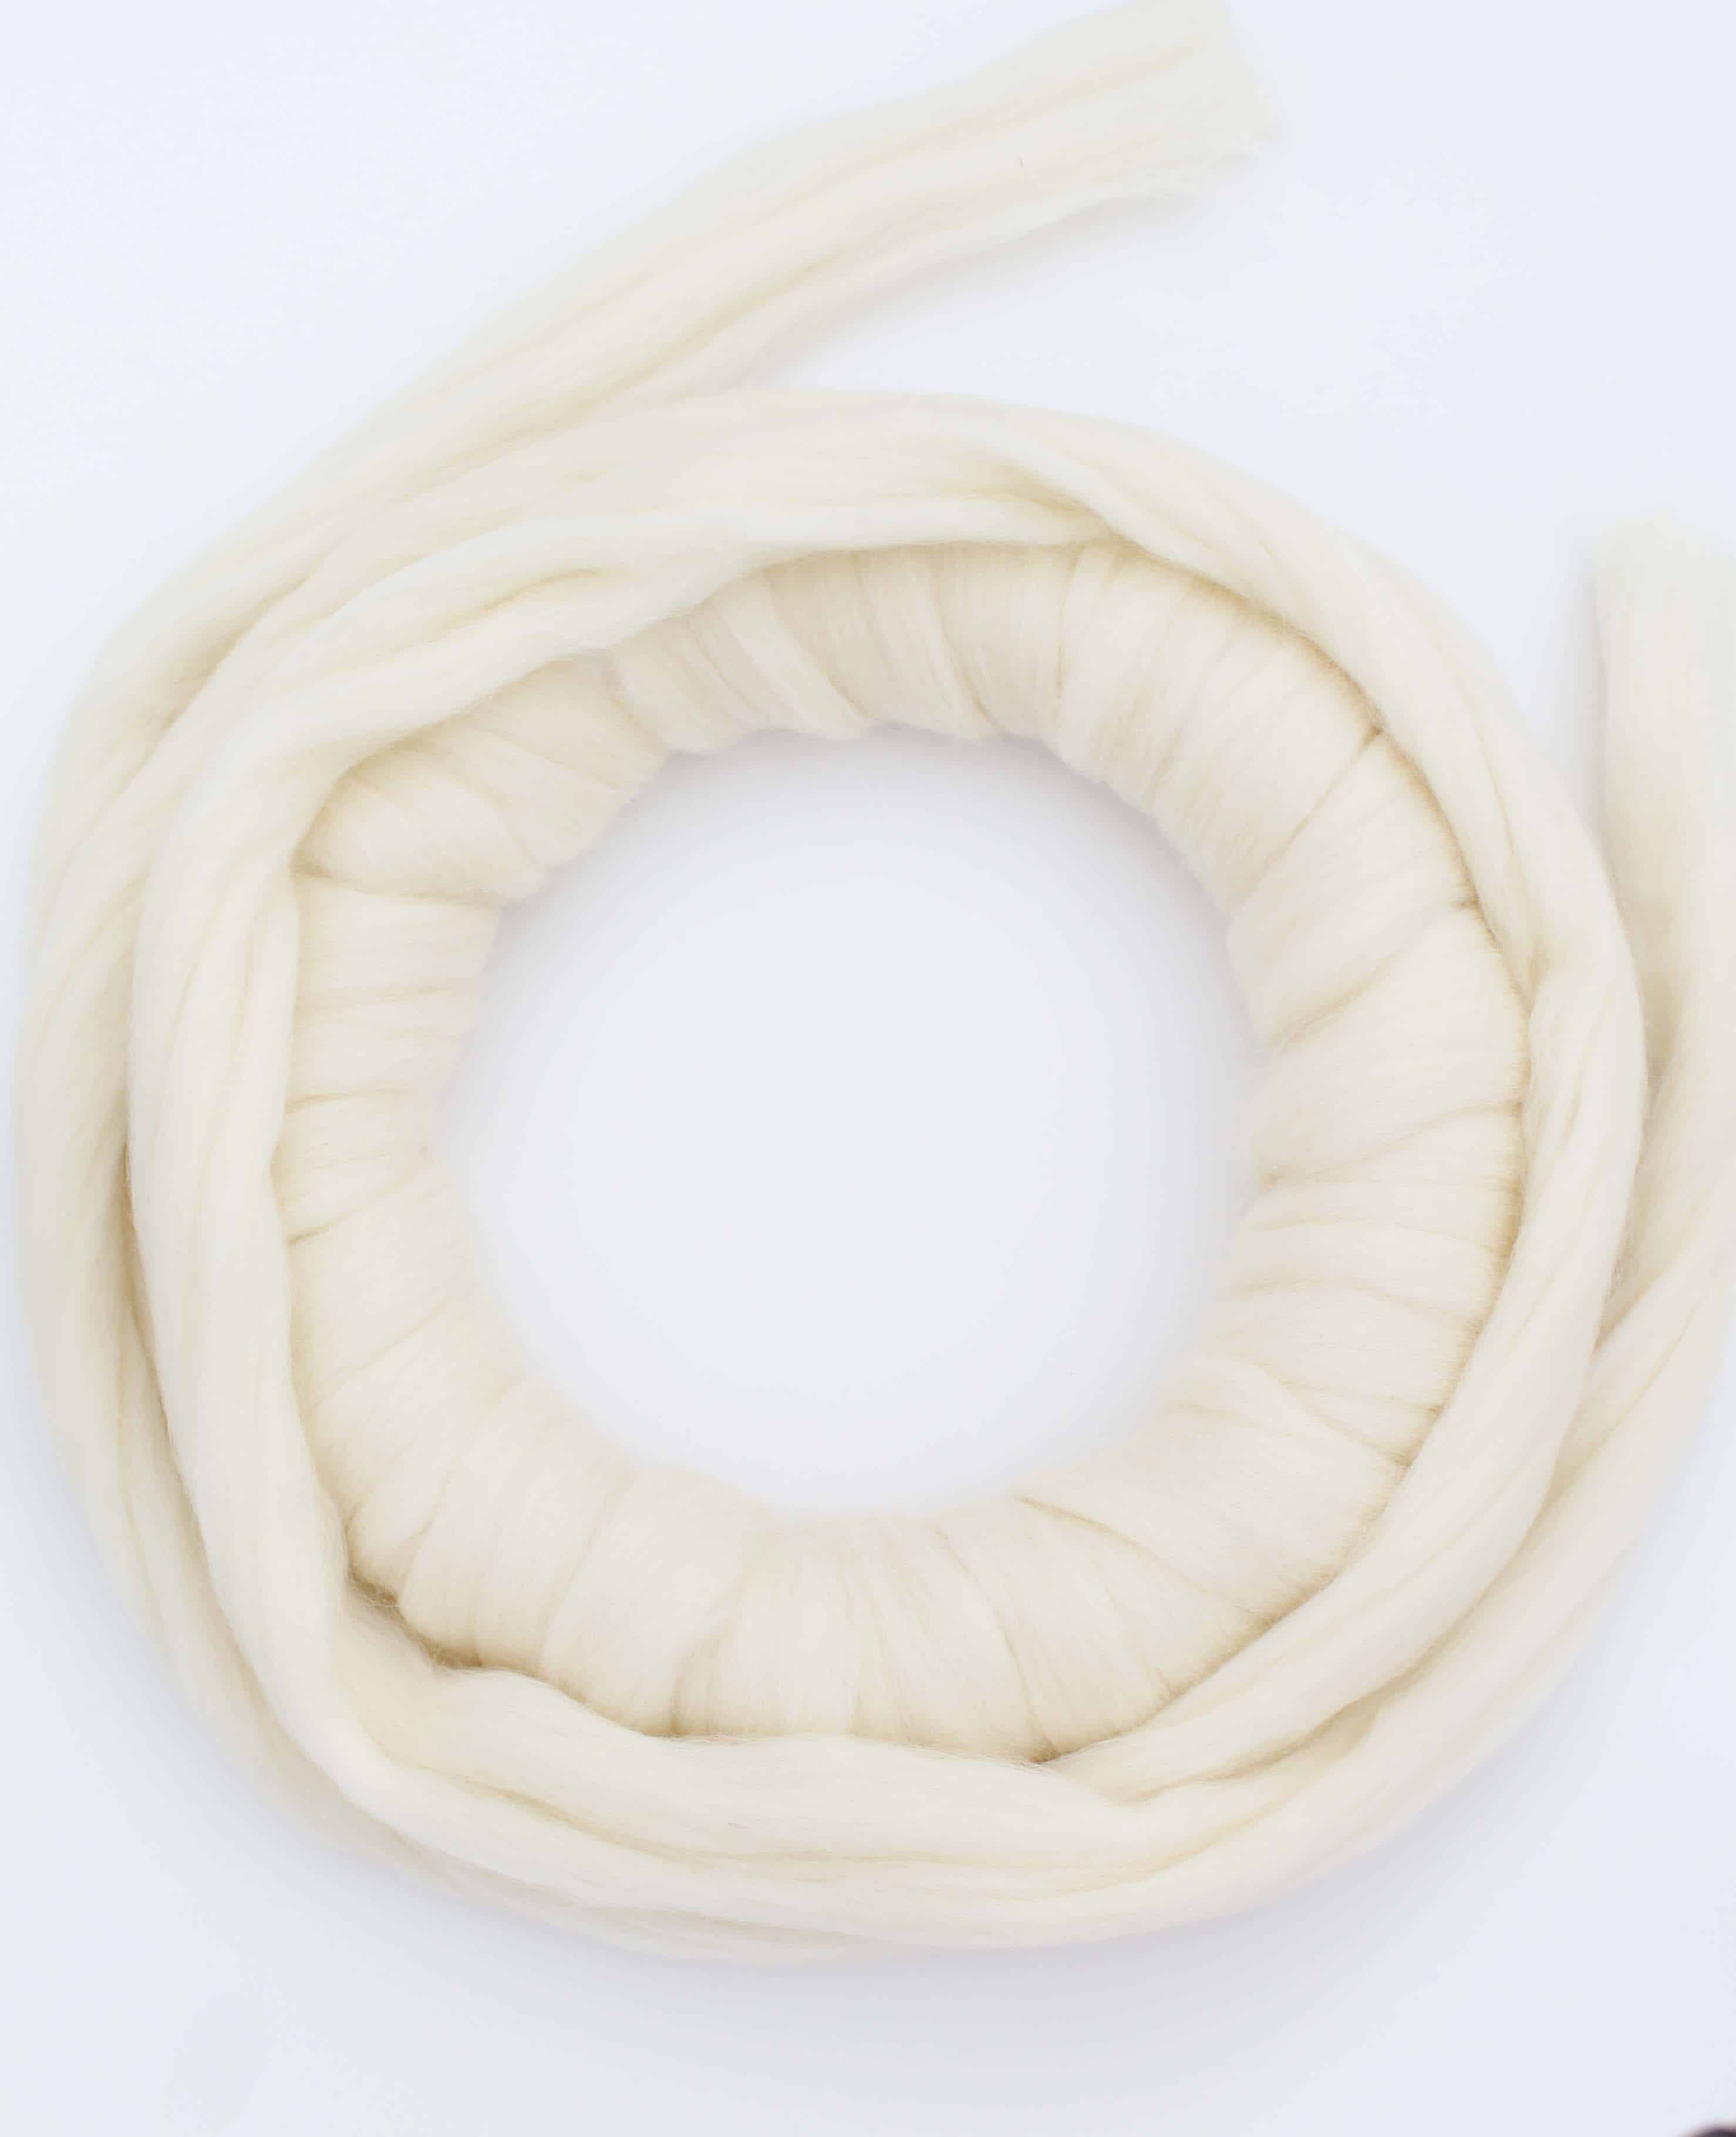
1. Wrap your merino wool around the foam wreath base. Keep in mind that merino wool gets bigger and bigger the more you handle it and may even start to pill. It’s a fine line between fluffing the wool out to get it as big as you want and not over handling it so it looks like your cat got a hold of it. This was my first time working with it and I would say it’s more of an art than a science.
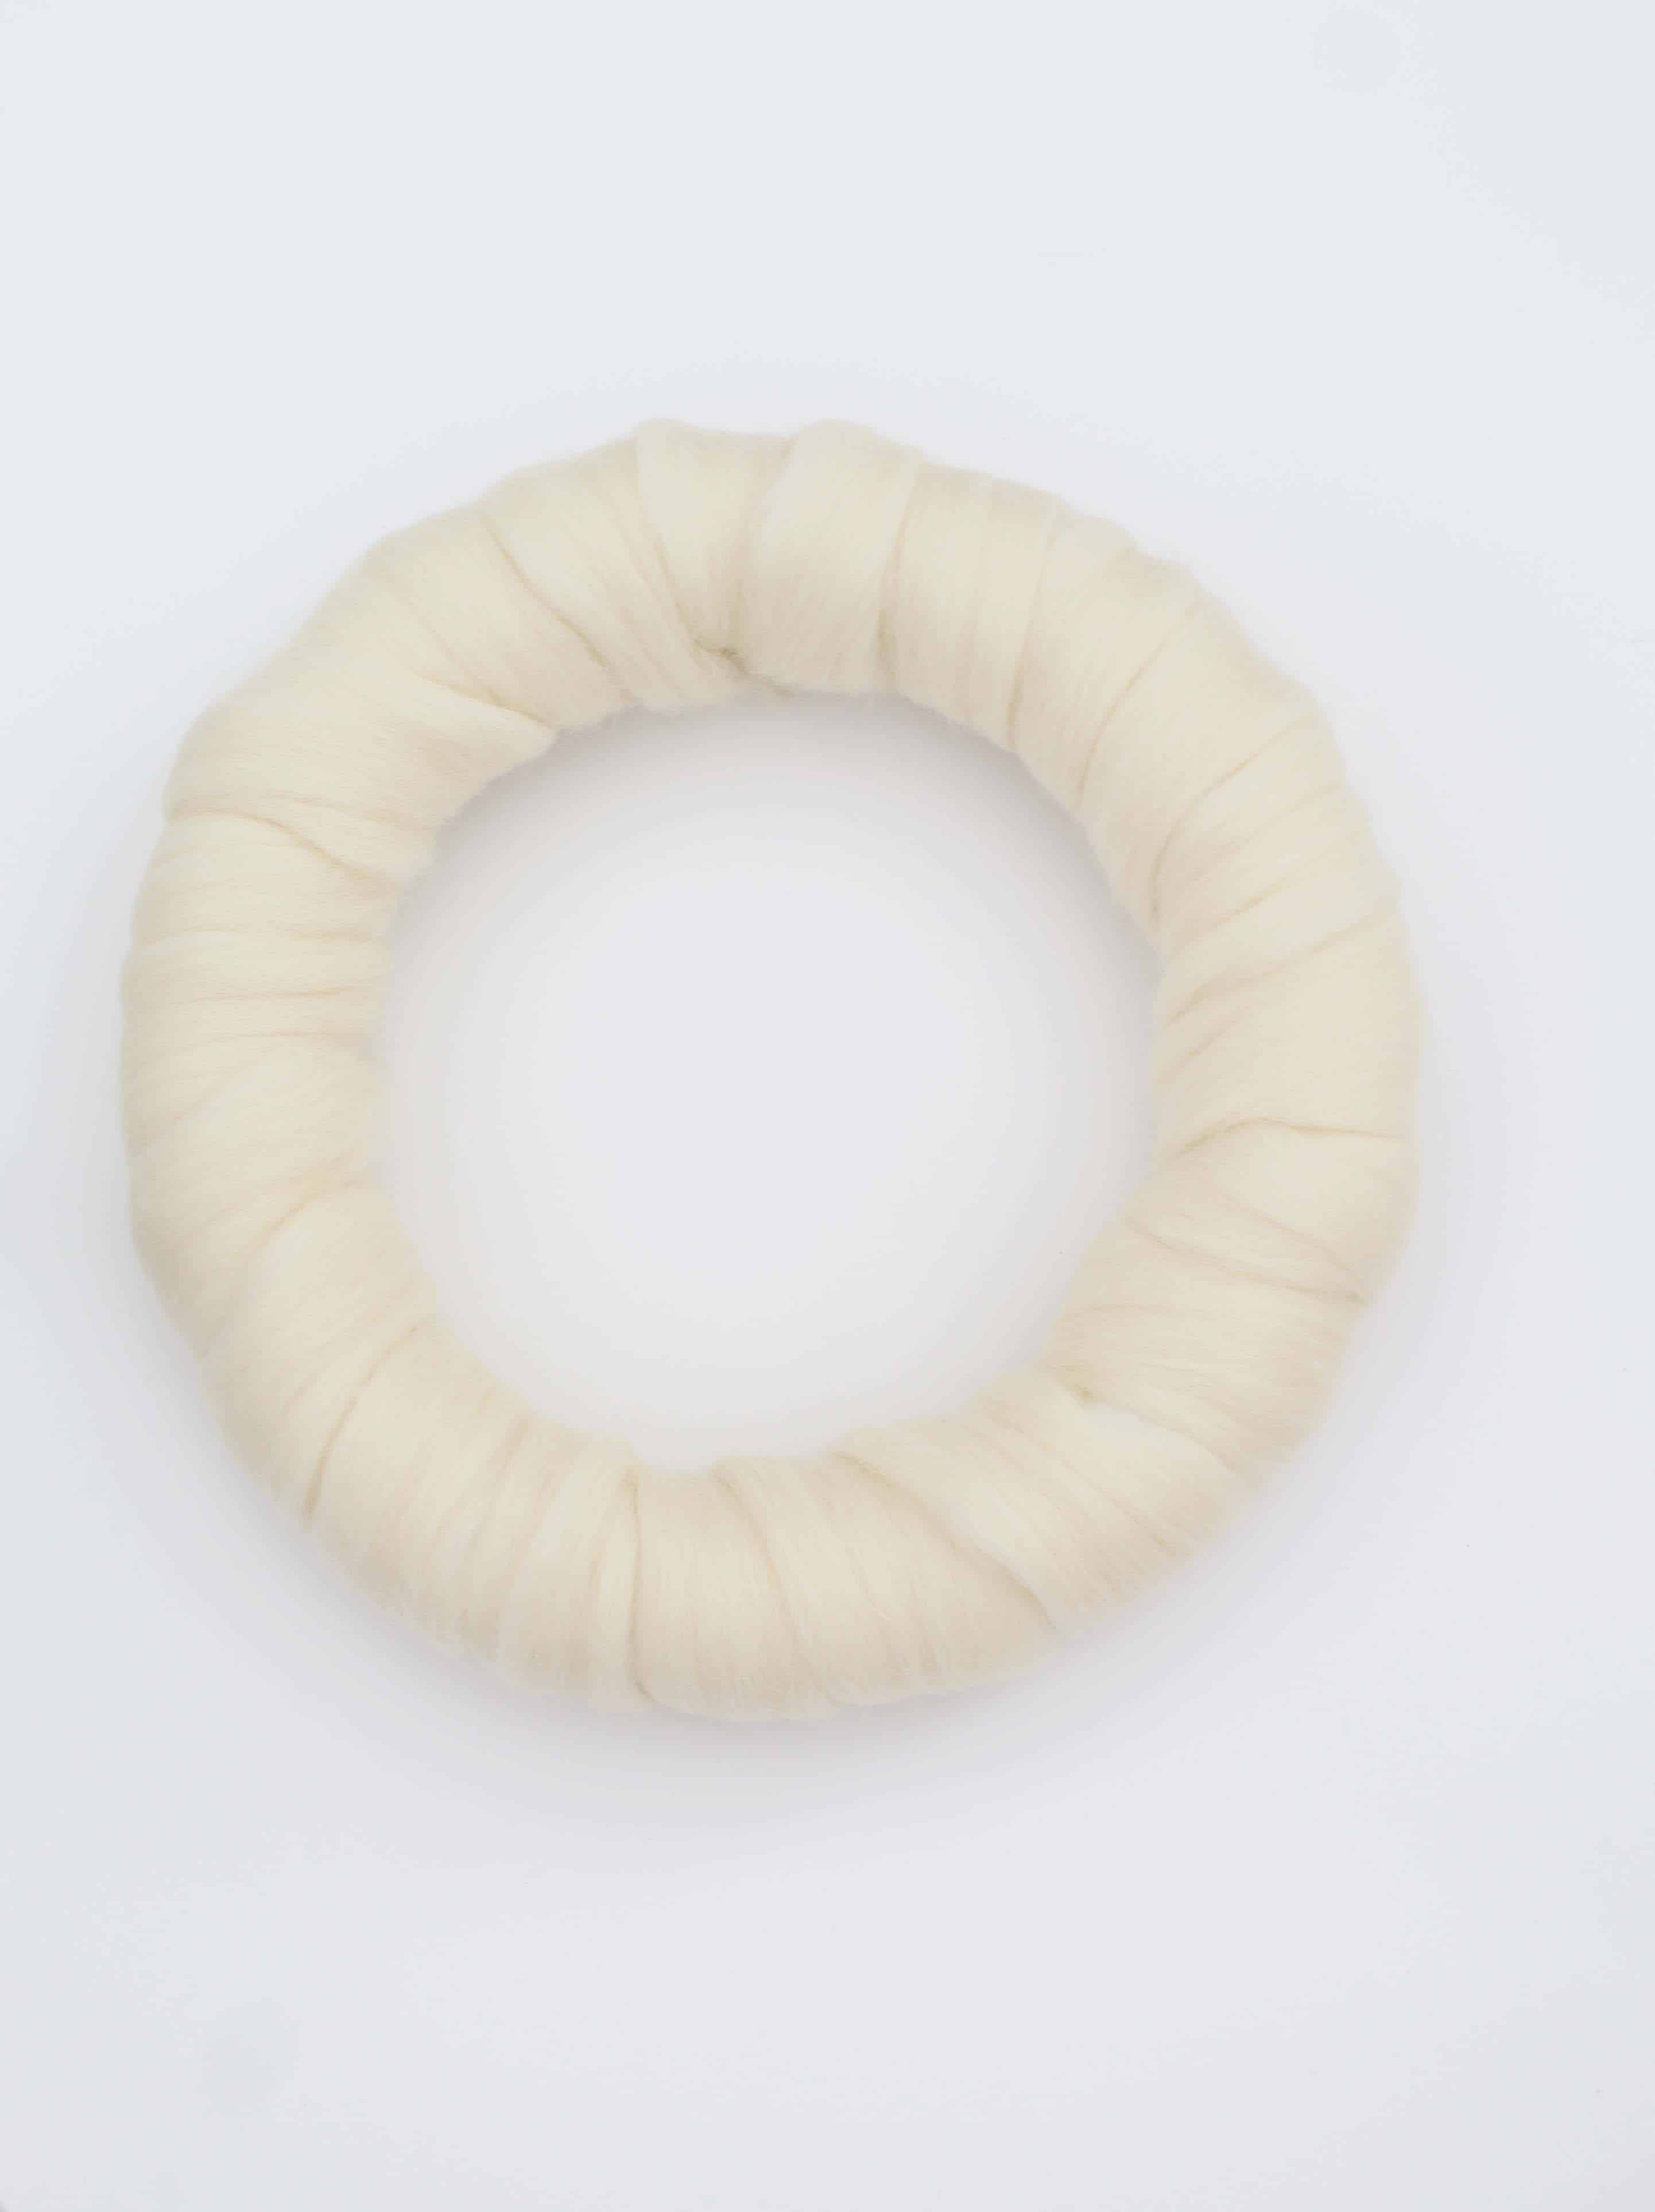
2. Carefully wrap the foam wreath base until you have the entire base covered. I used a sewing pin to secure each end of the wool to the foam base. Make sure it’s fairly snug so it doesn’t move, but not so tight that you lose all of the fluffiness.
Create The Wool Braid
3. This wreath is basically made up of two parts, the wool wrapped base and a braided piece of wool that wraps around it. Once I had the base covered, I measured out the 3 wool pieces I would need to create the braid to go around the outside of the wreath.
This part was a little tricky. To determine the length needed, I wrapped a piece of wool around the outside of the wreath three times and then cut it. I repeated this step until I had three pieces of wool to make into a braid. How big and fluffy you want your braided piece to be will determine how long you cut your wool pieces. It’s mostly about personal preference.
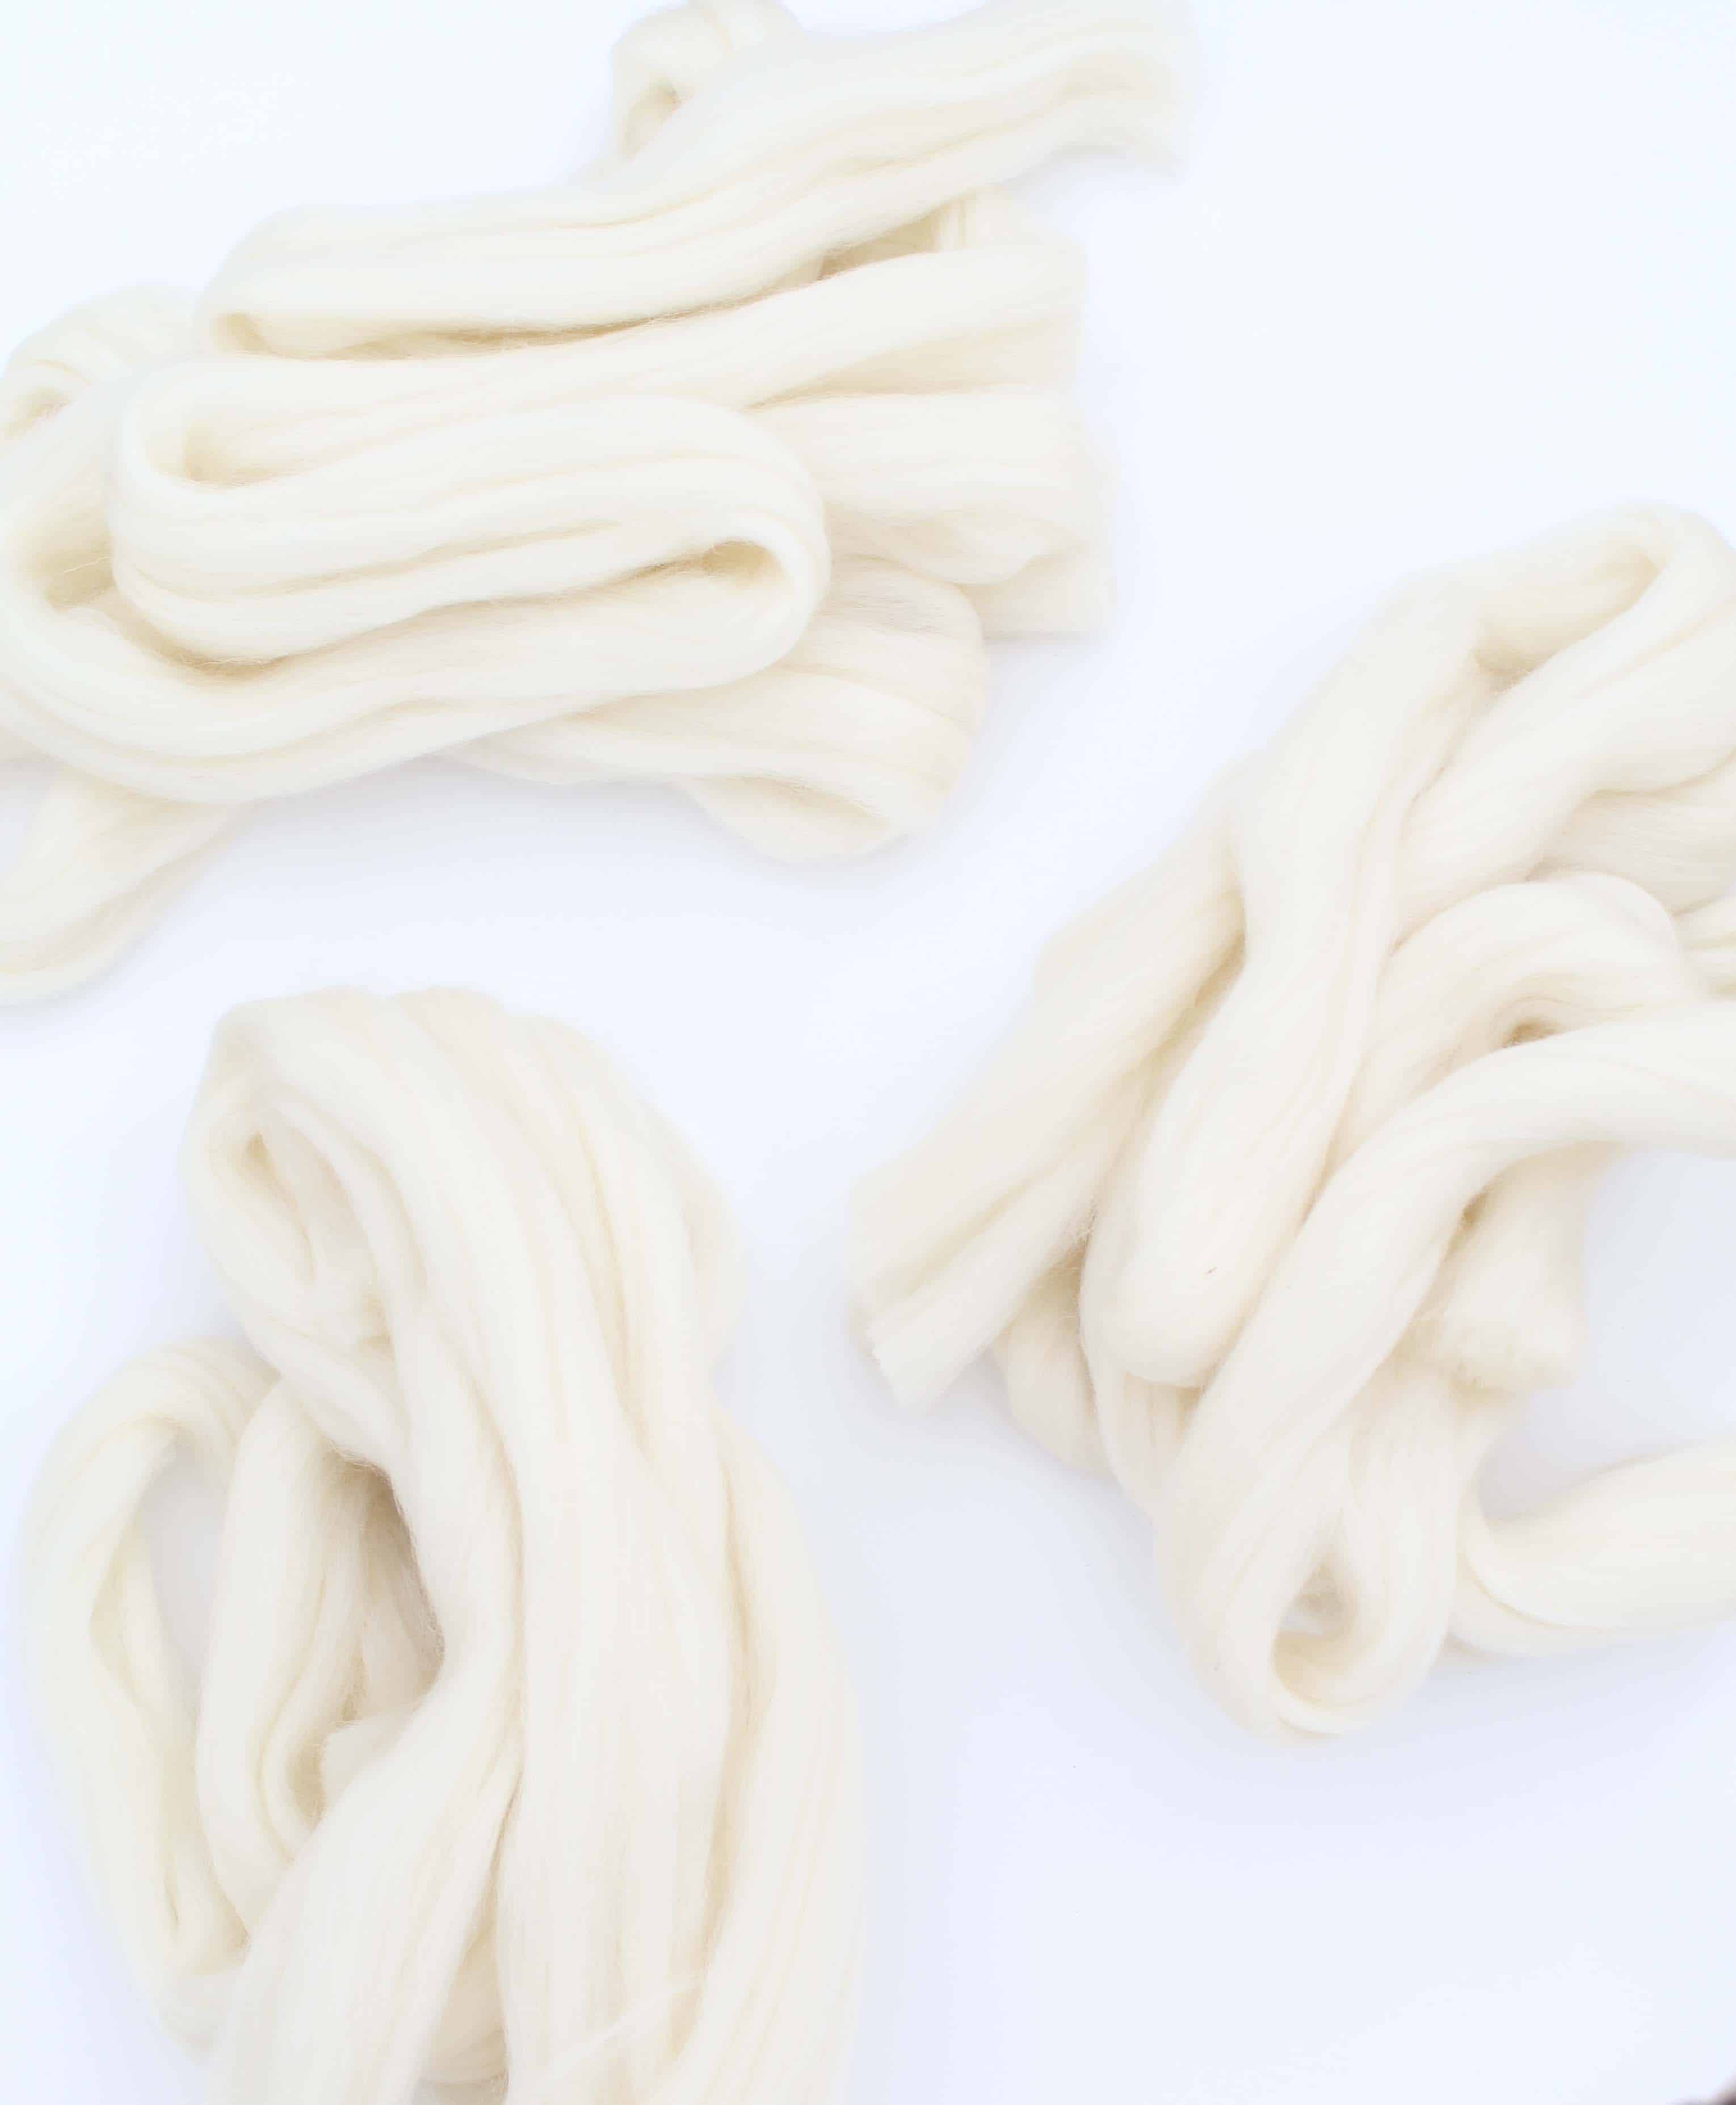
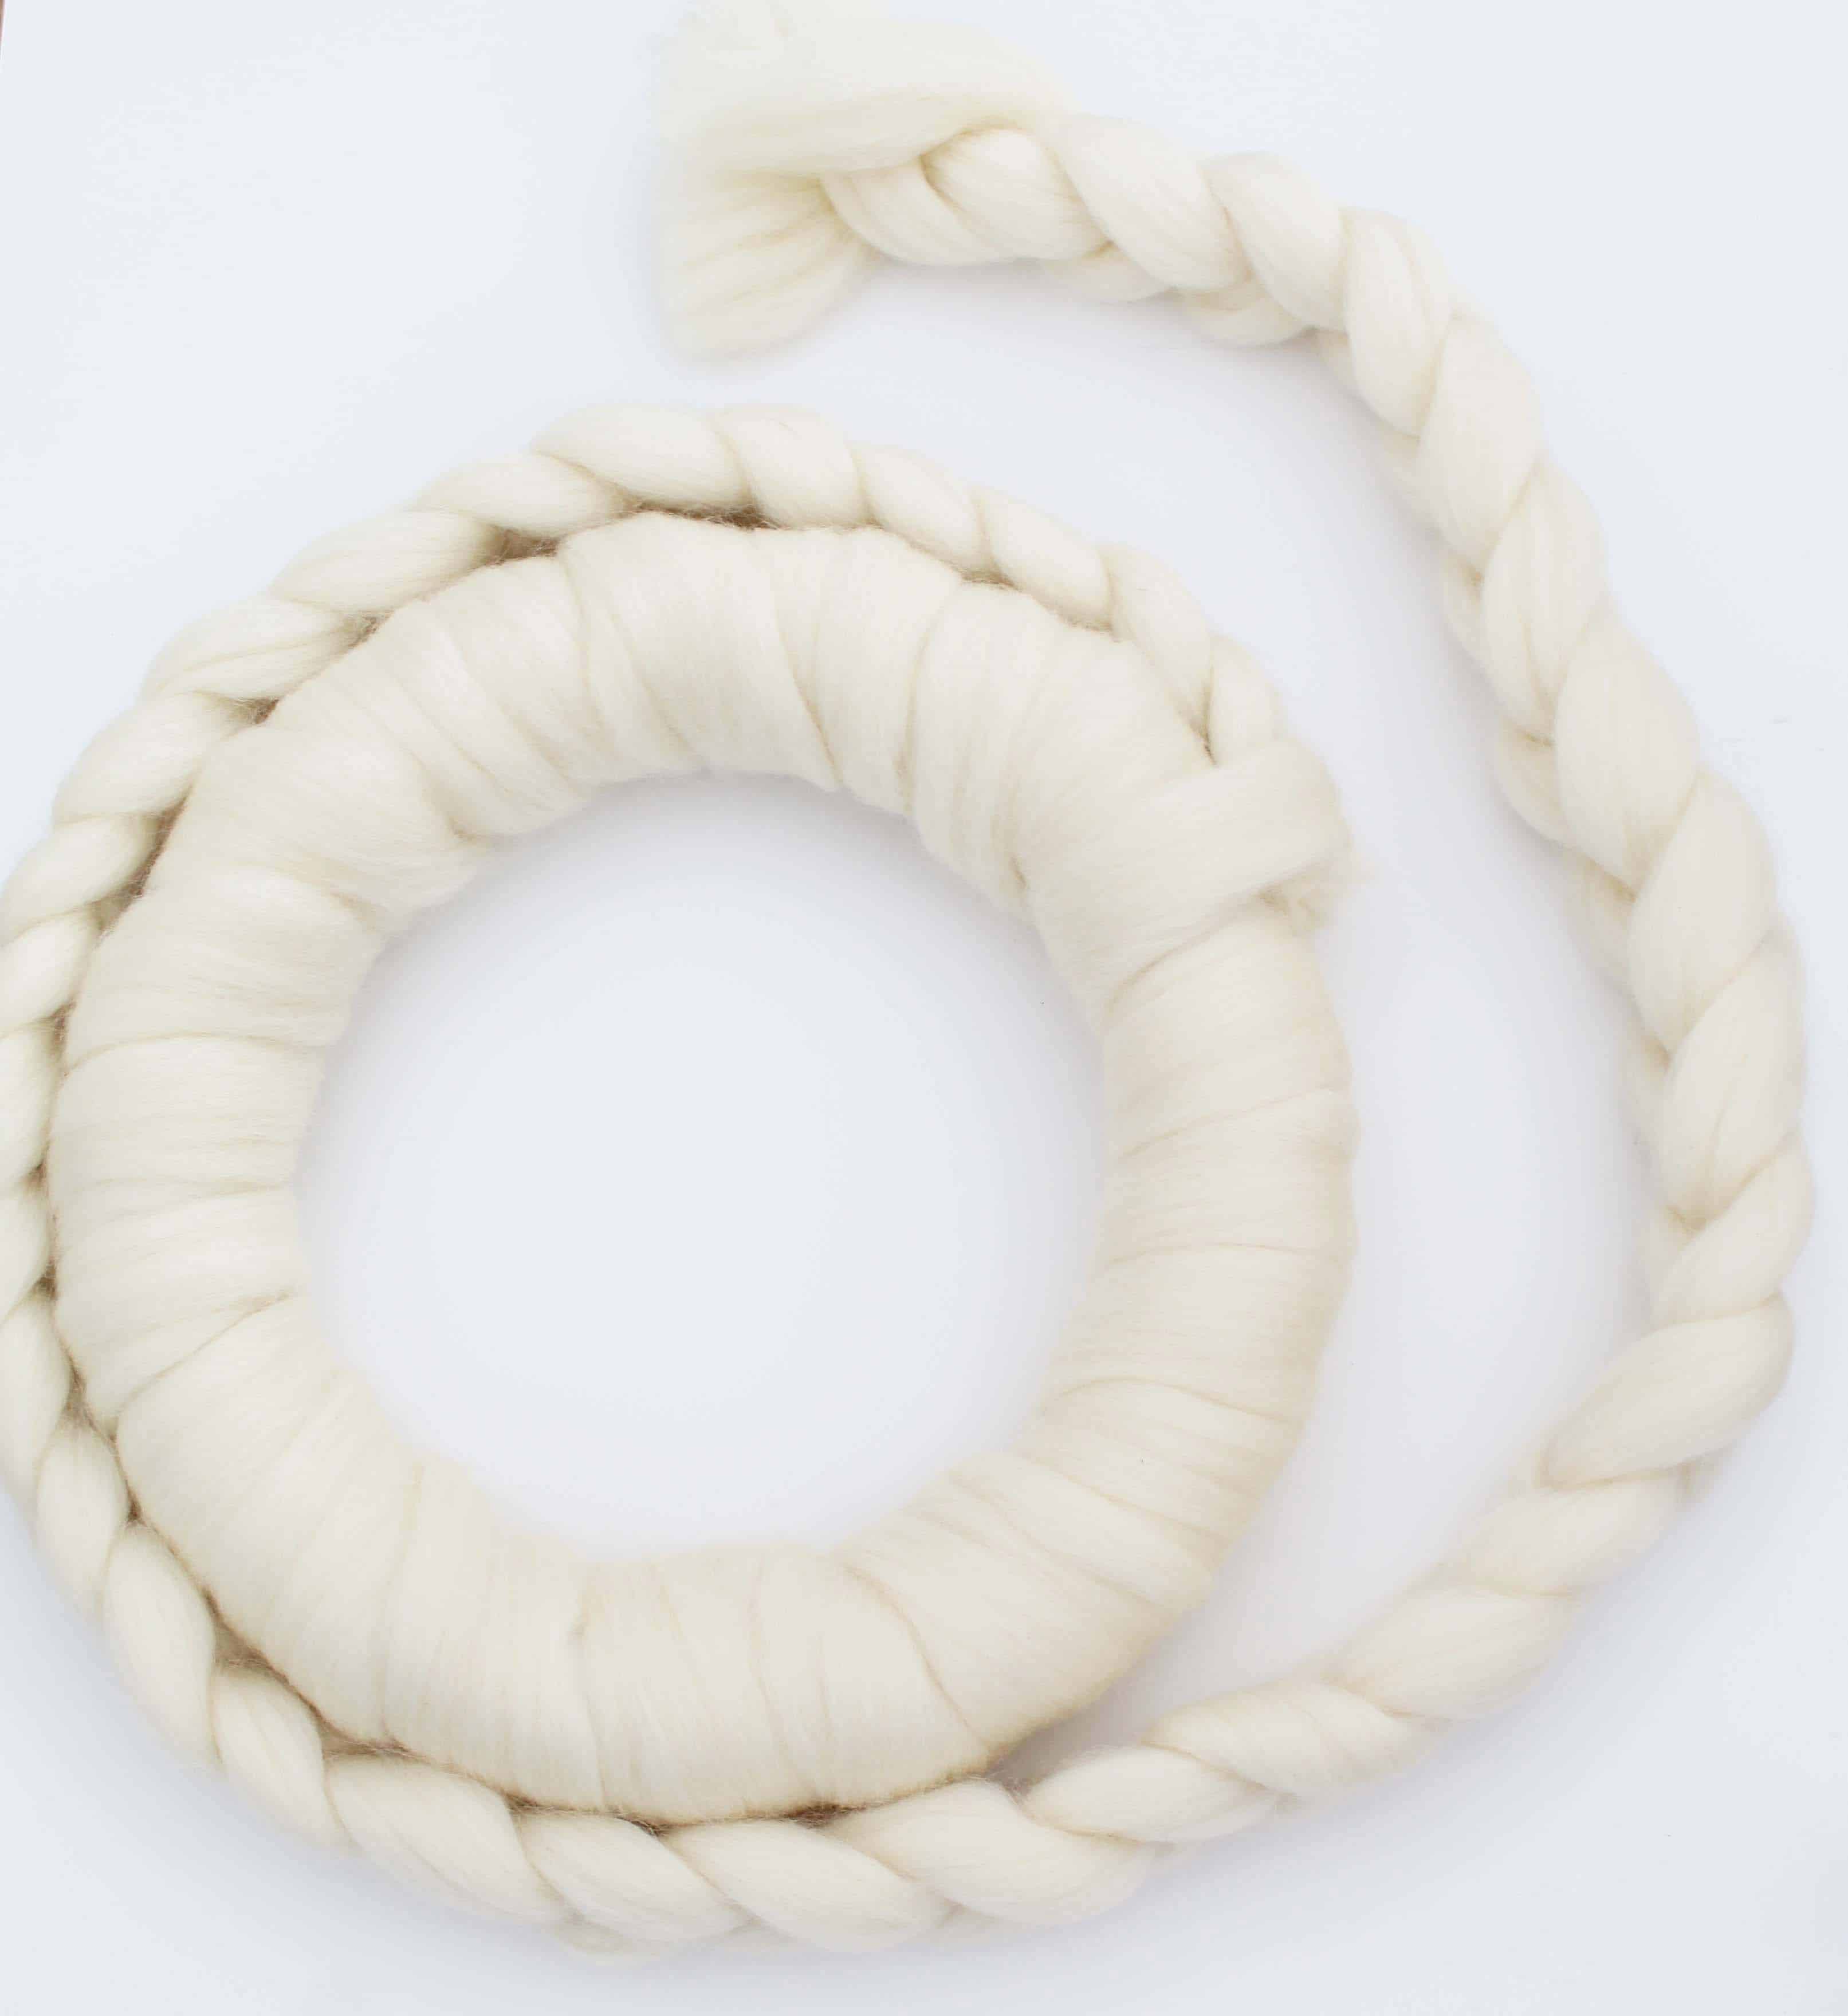
4. Once I had the 3 pieces cut for the braid I laid them out evenly side by side on the floor. I used a heavy book to hold the 3 pieces down at the top. Then I braided them together in a simple braid. Again, not too tight of a braid because you still want it to be fluffy and full looking.
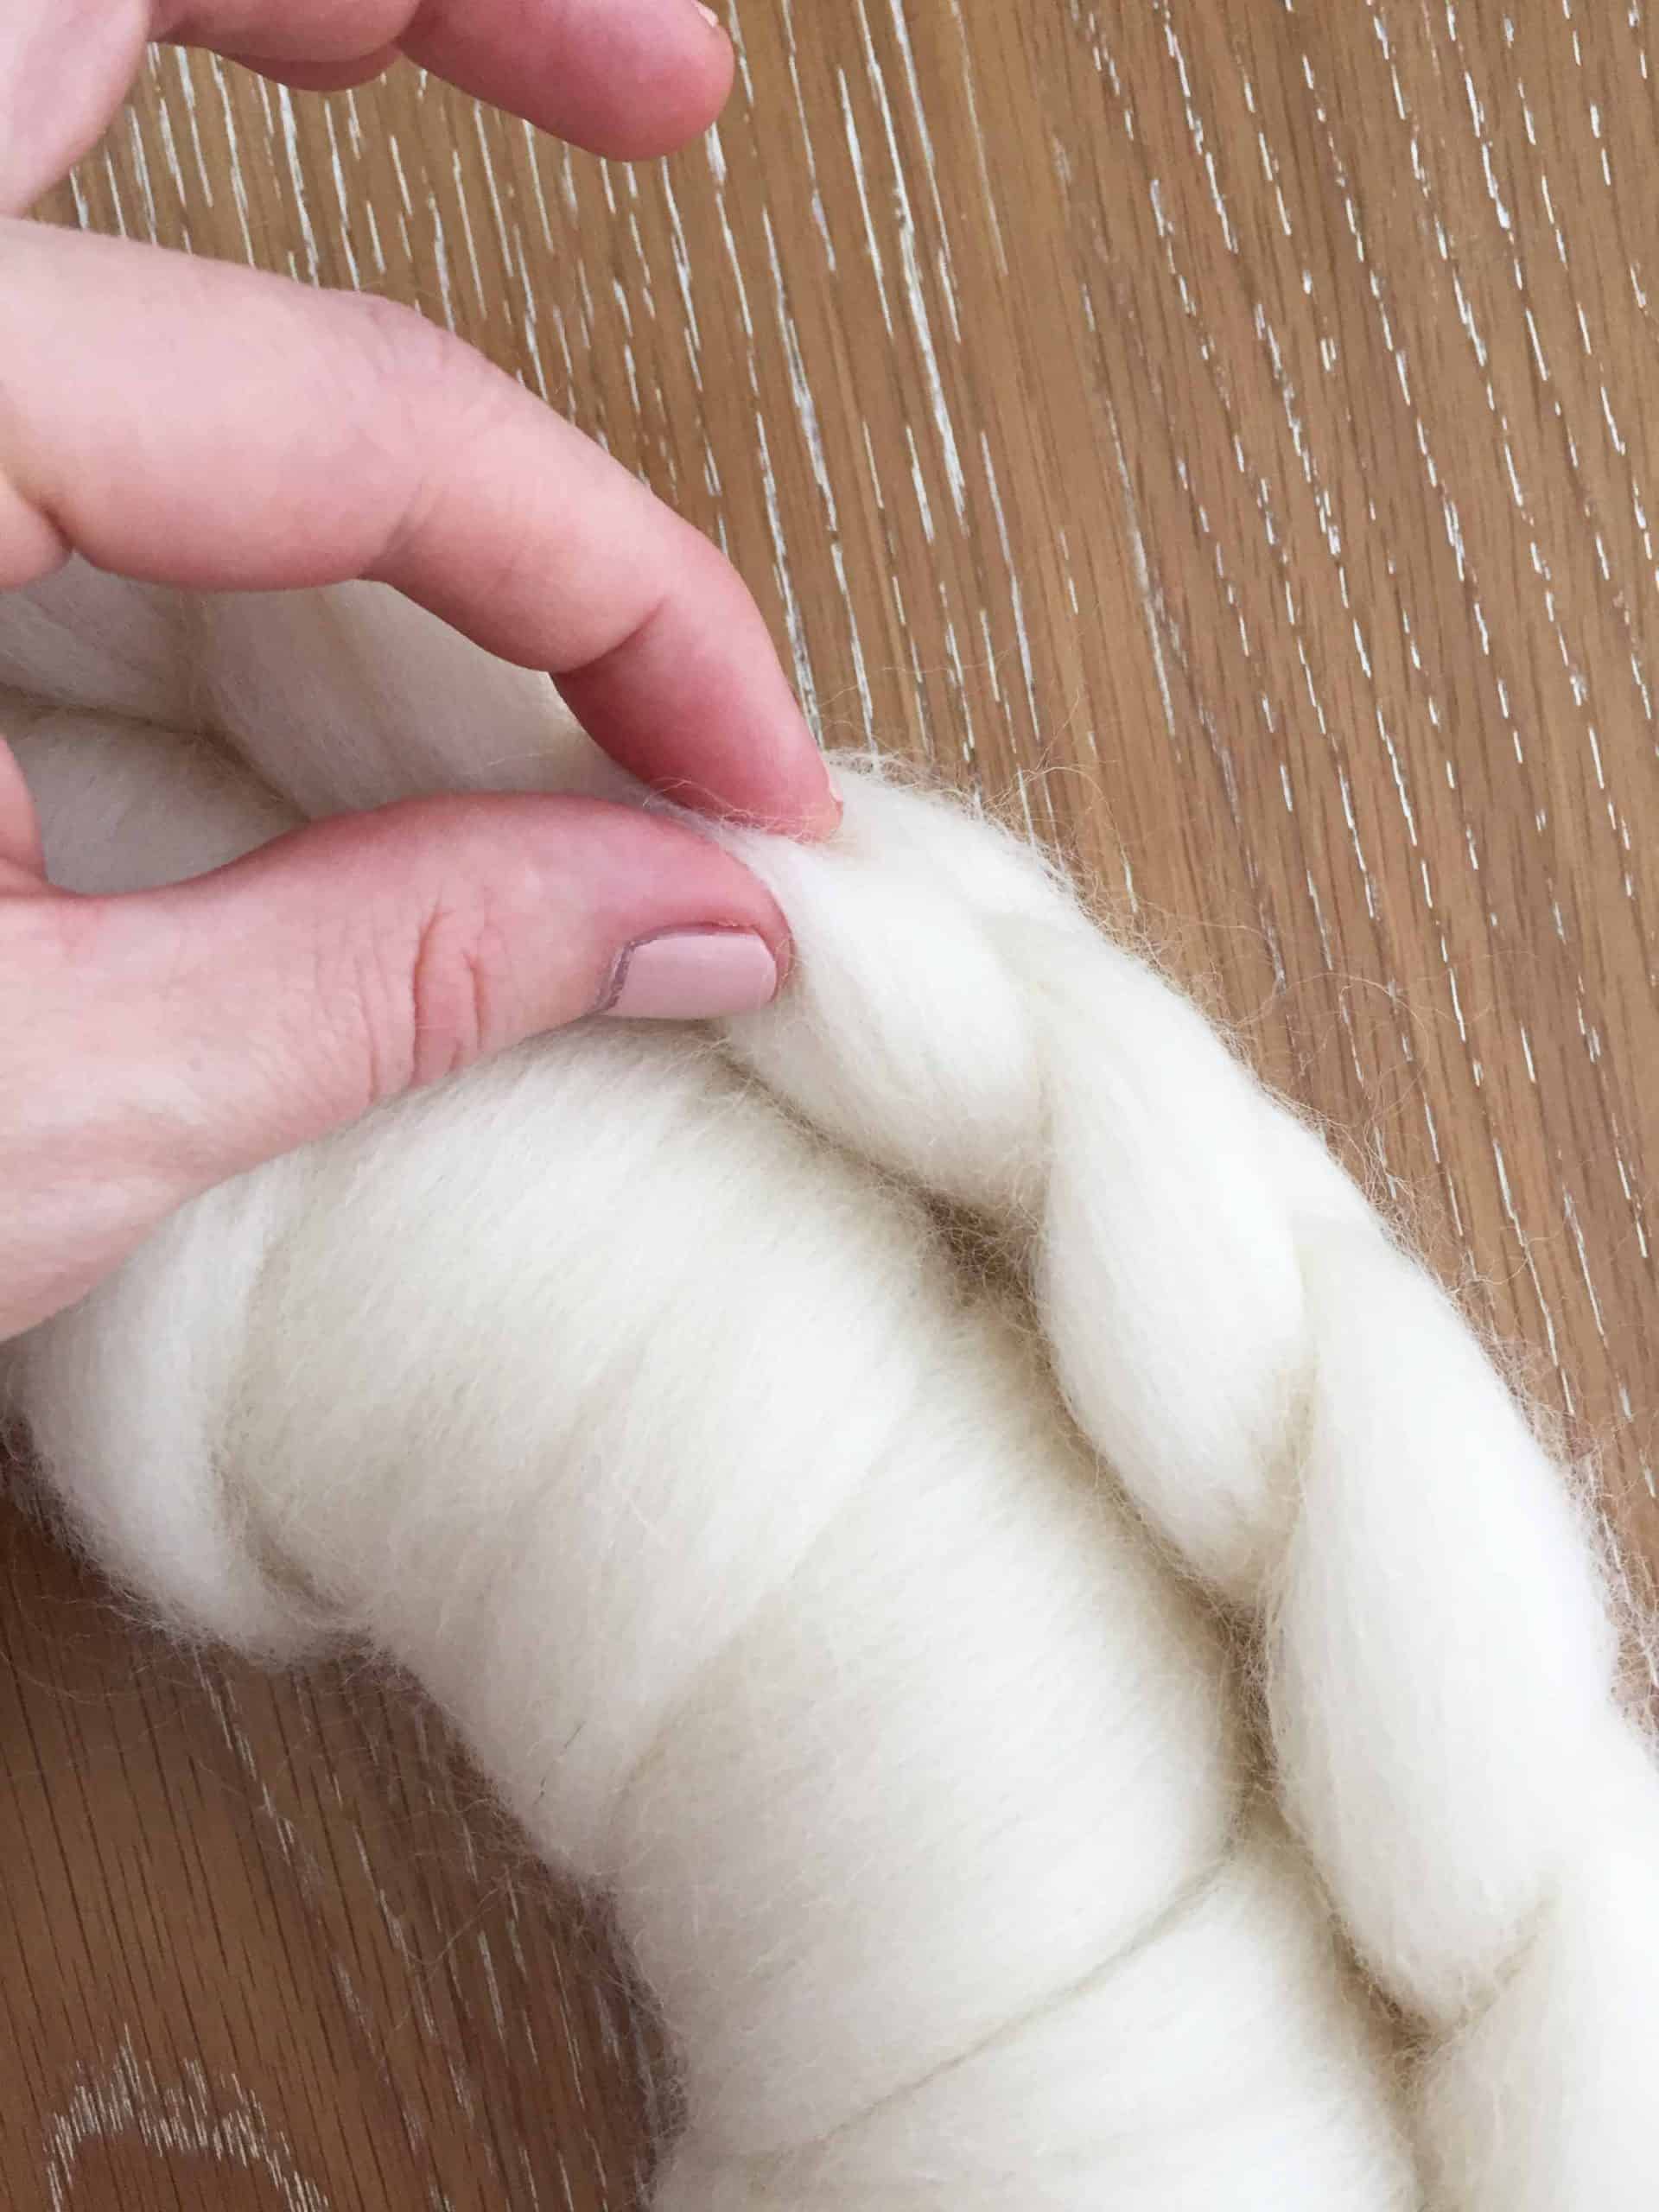
Once the braid is done feel free to go back and tug on any pieces that look like they may have gotten pulled too tight. Wrap the braid loosely around the wreath and cut it so that the two braided ends just barely overlap.
Attach The Braid To The Base
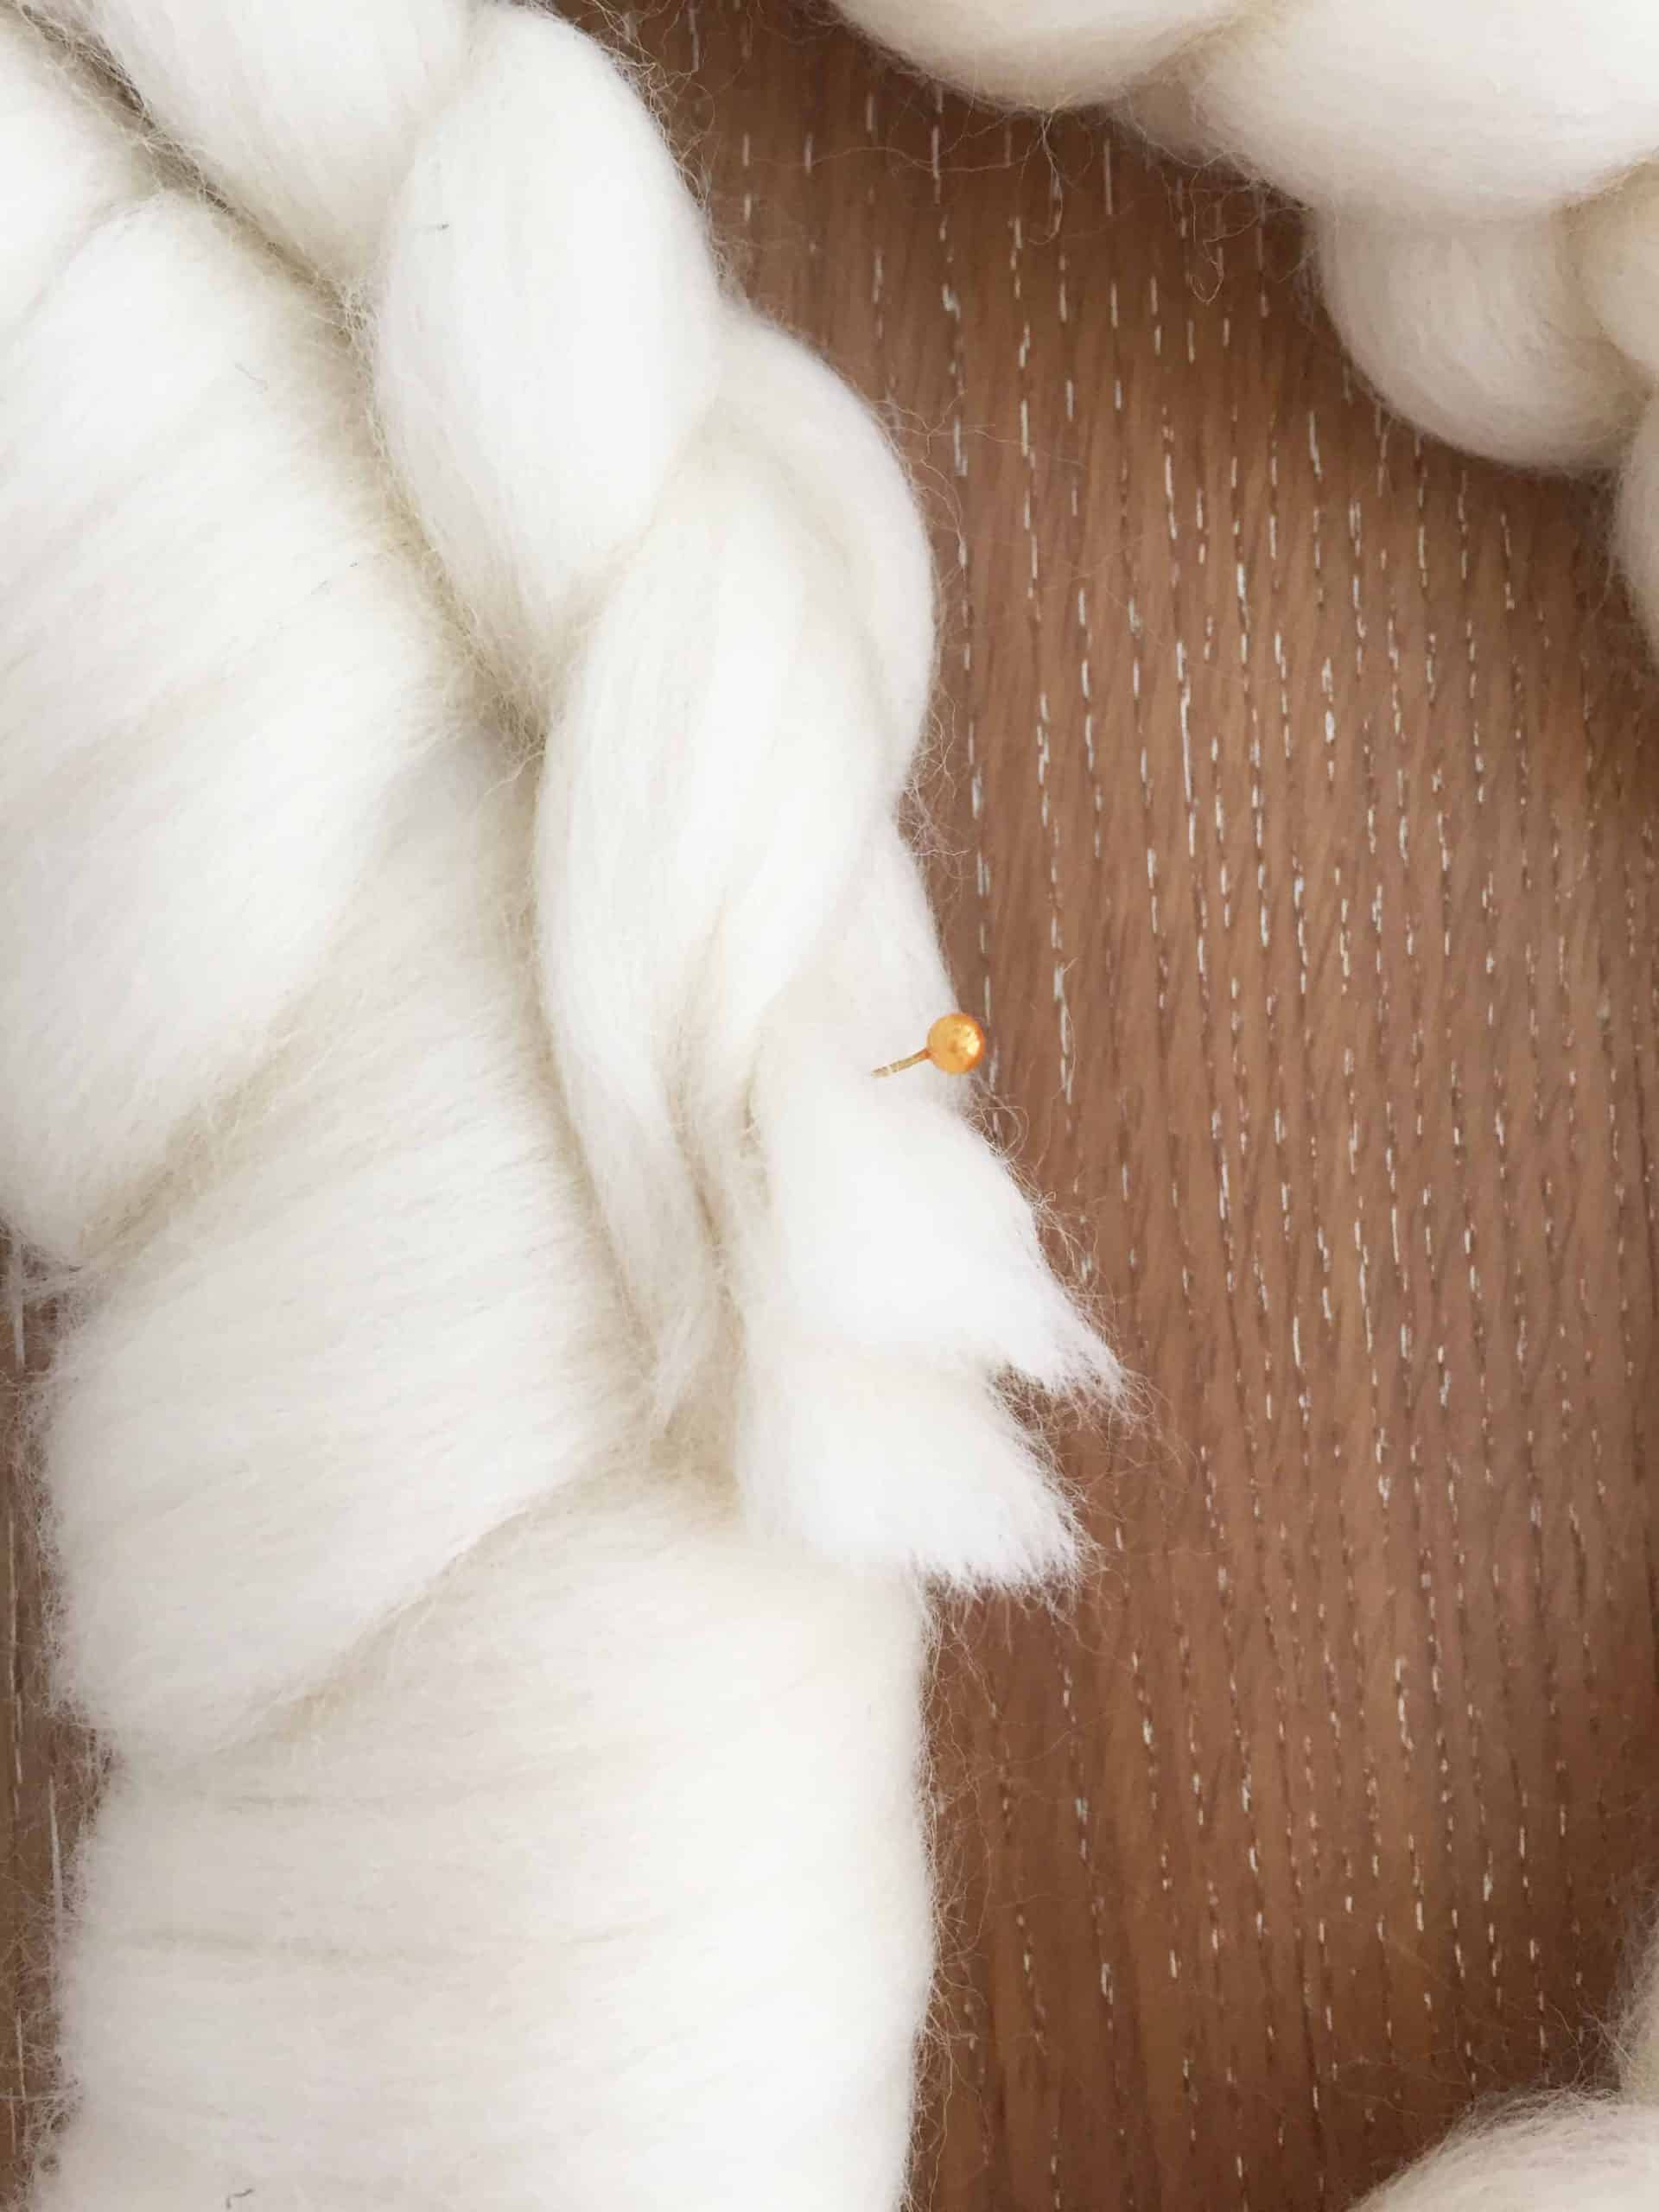
5. The last step is to attach the braid to the base. Using sewing pins, carefully press a pin through the braid and into the foam base to secure it. I used a sewing pin about every 4-5 inches around the wreath. Once you get to where the two ends meet, carefully weave the braids together and use a pin to secure them.
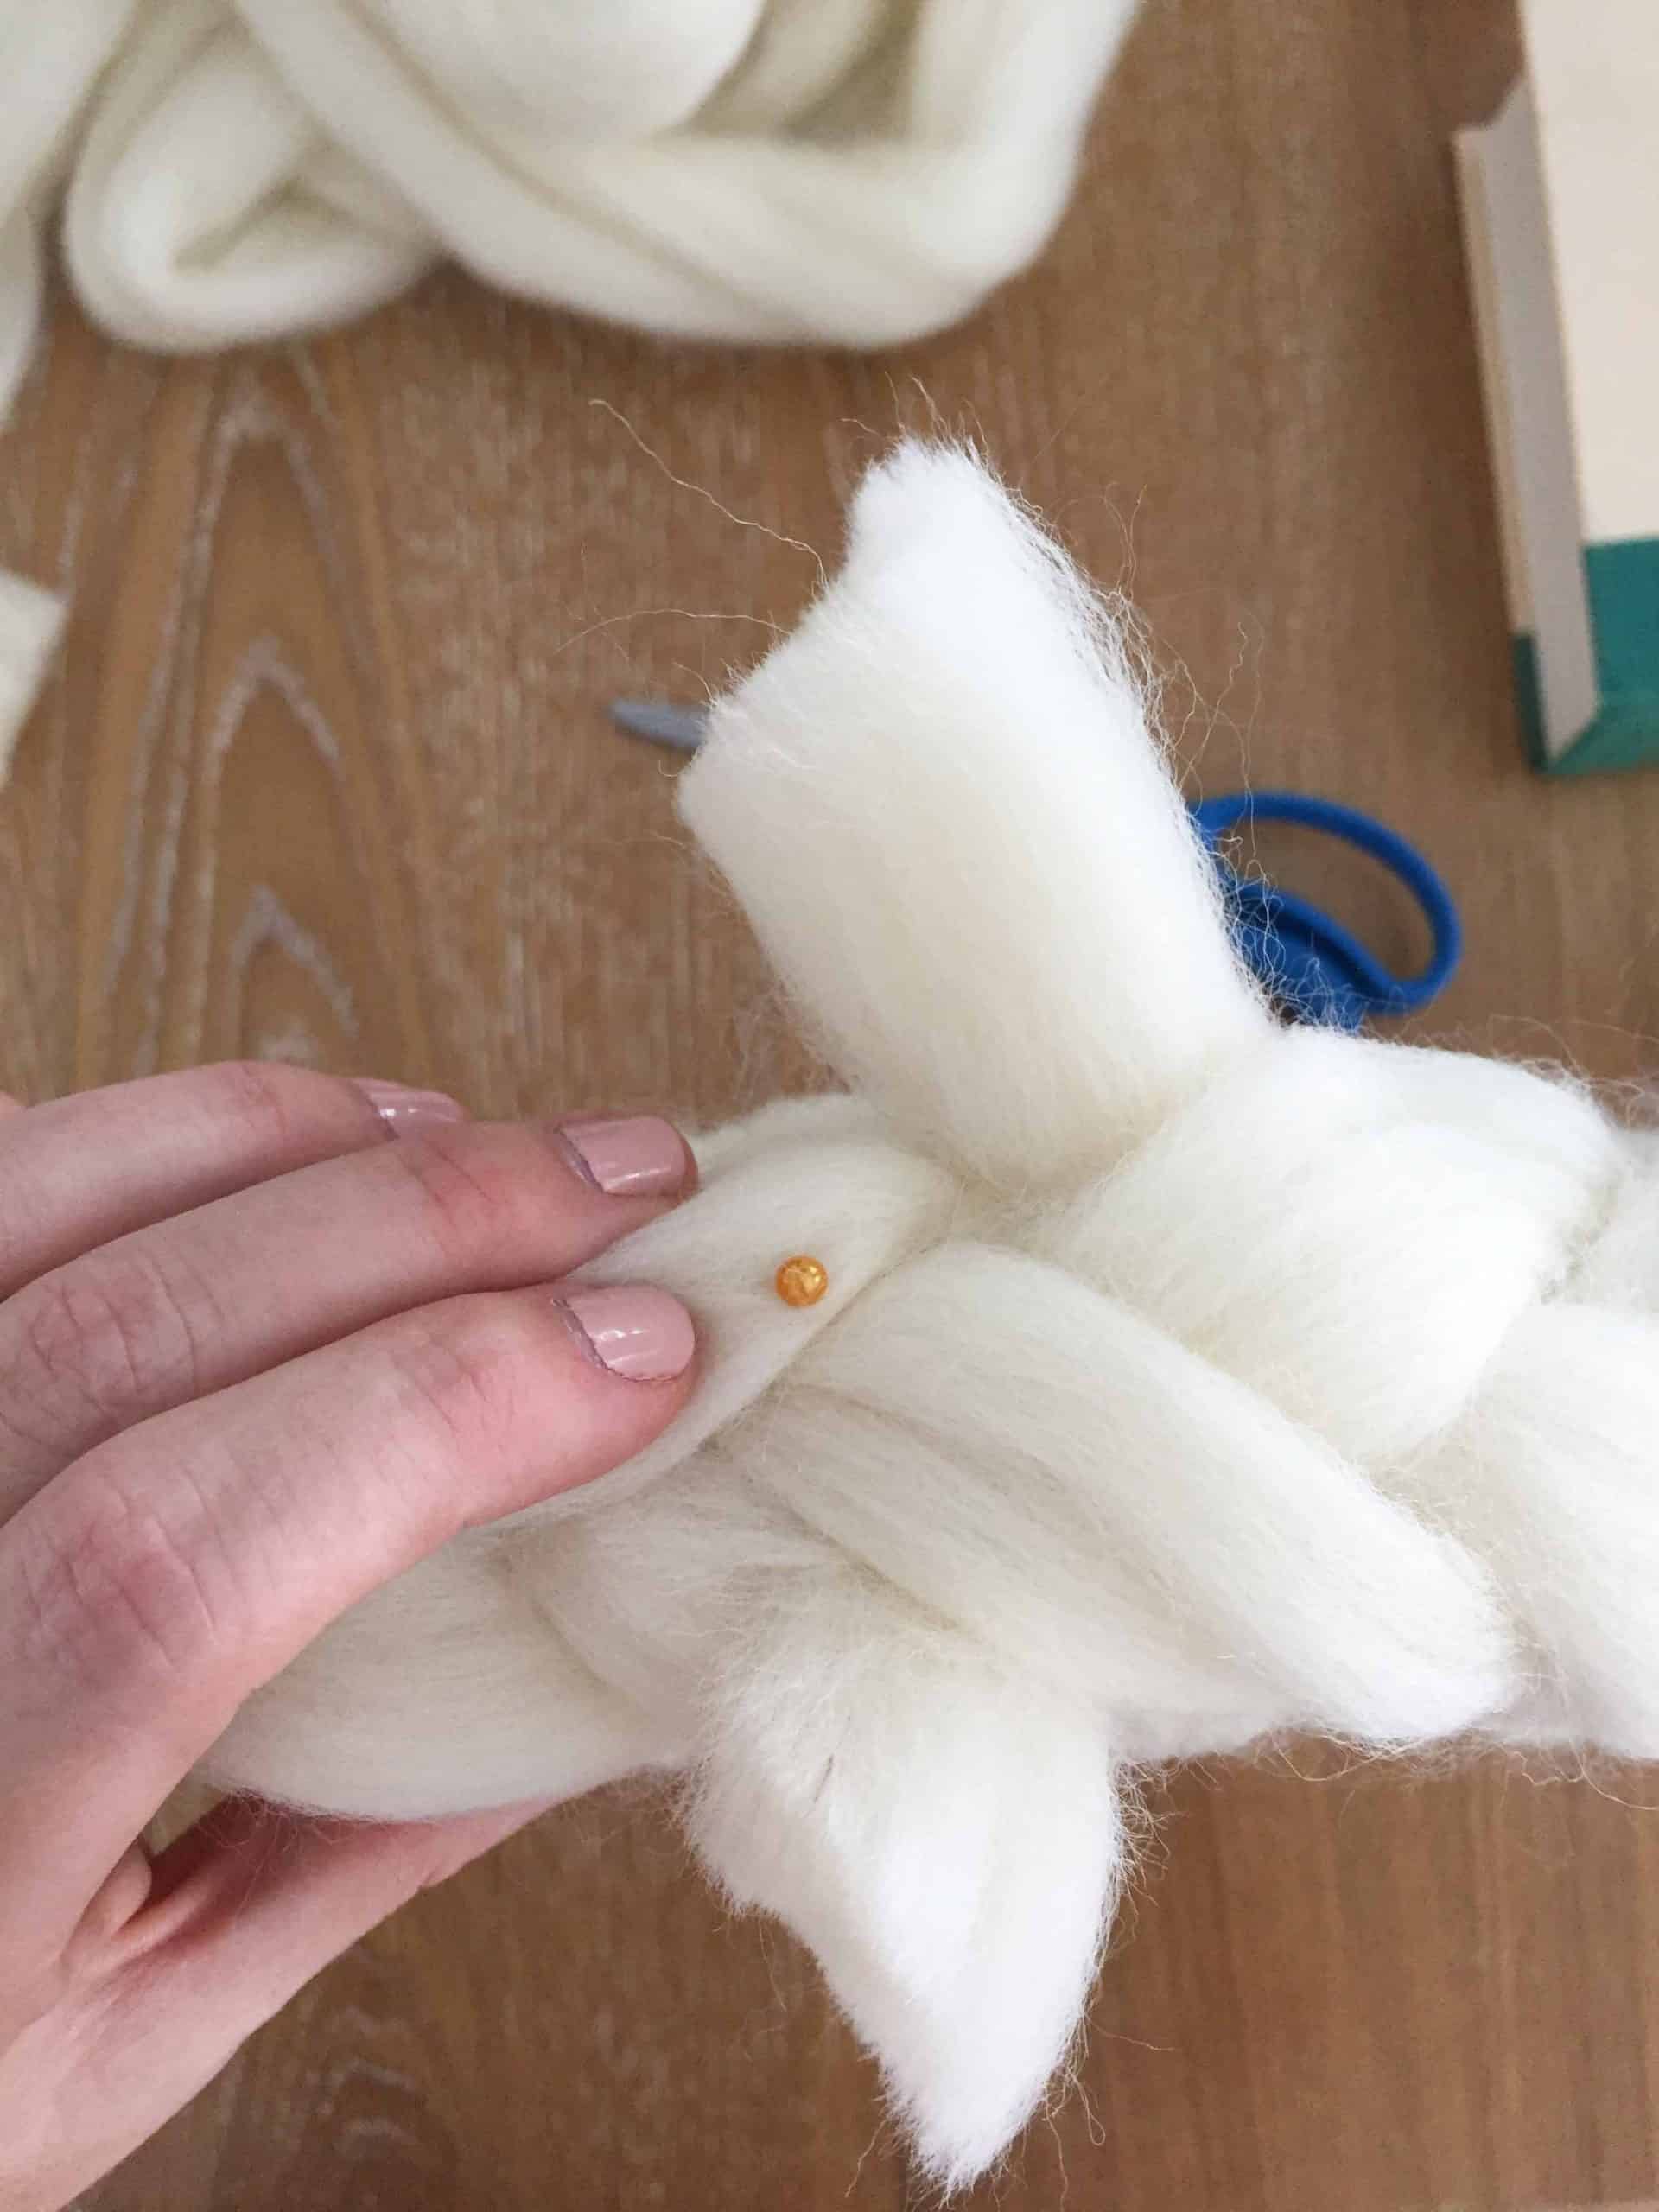
I had some random pieces of wool sticking out after I wove mine, so I just trimmed them off with scissors. Check for any areas that seem loose and add pins if needed. This wool is very forgiving, so after you have all the pins in you can go around and adjust the wool over them so they can’t be seen.
Lastly, use a piece of jute or ribbon to make a hanger. I attached mine just around the base and under the braided part, then tied it in a bow.
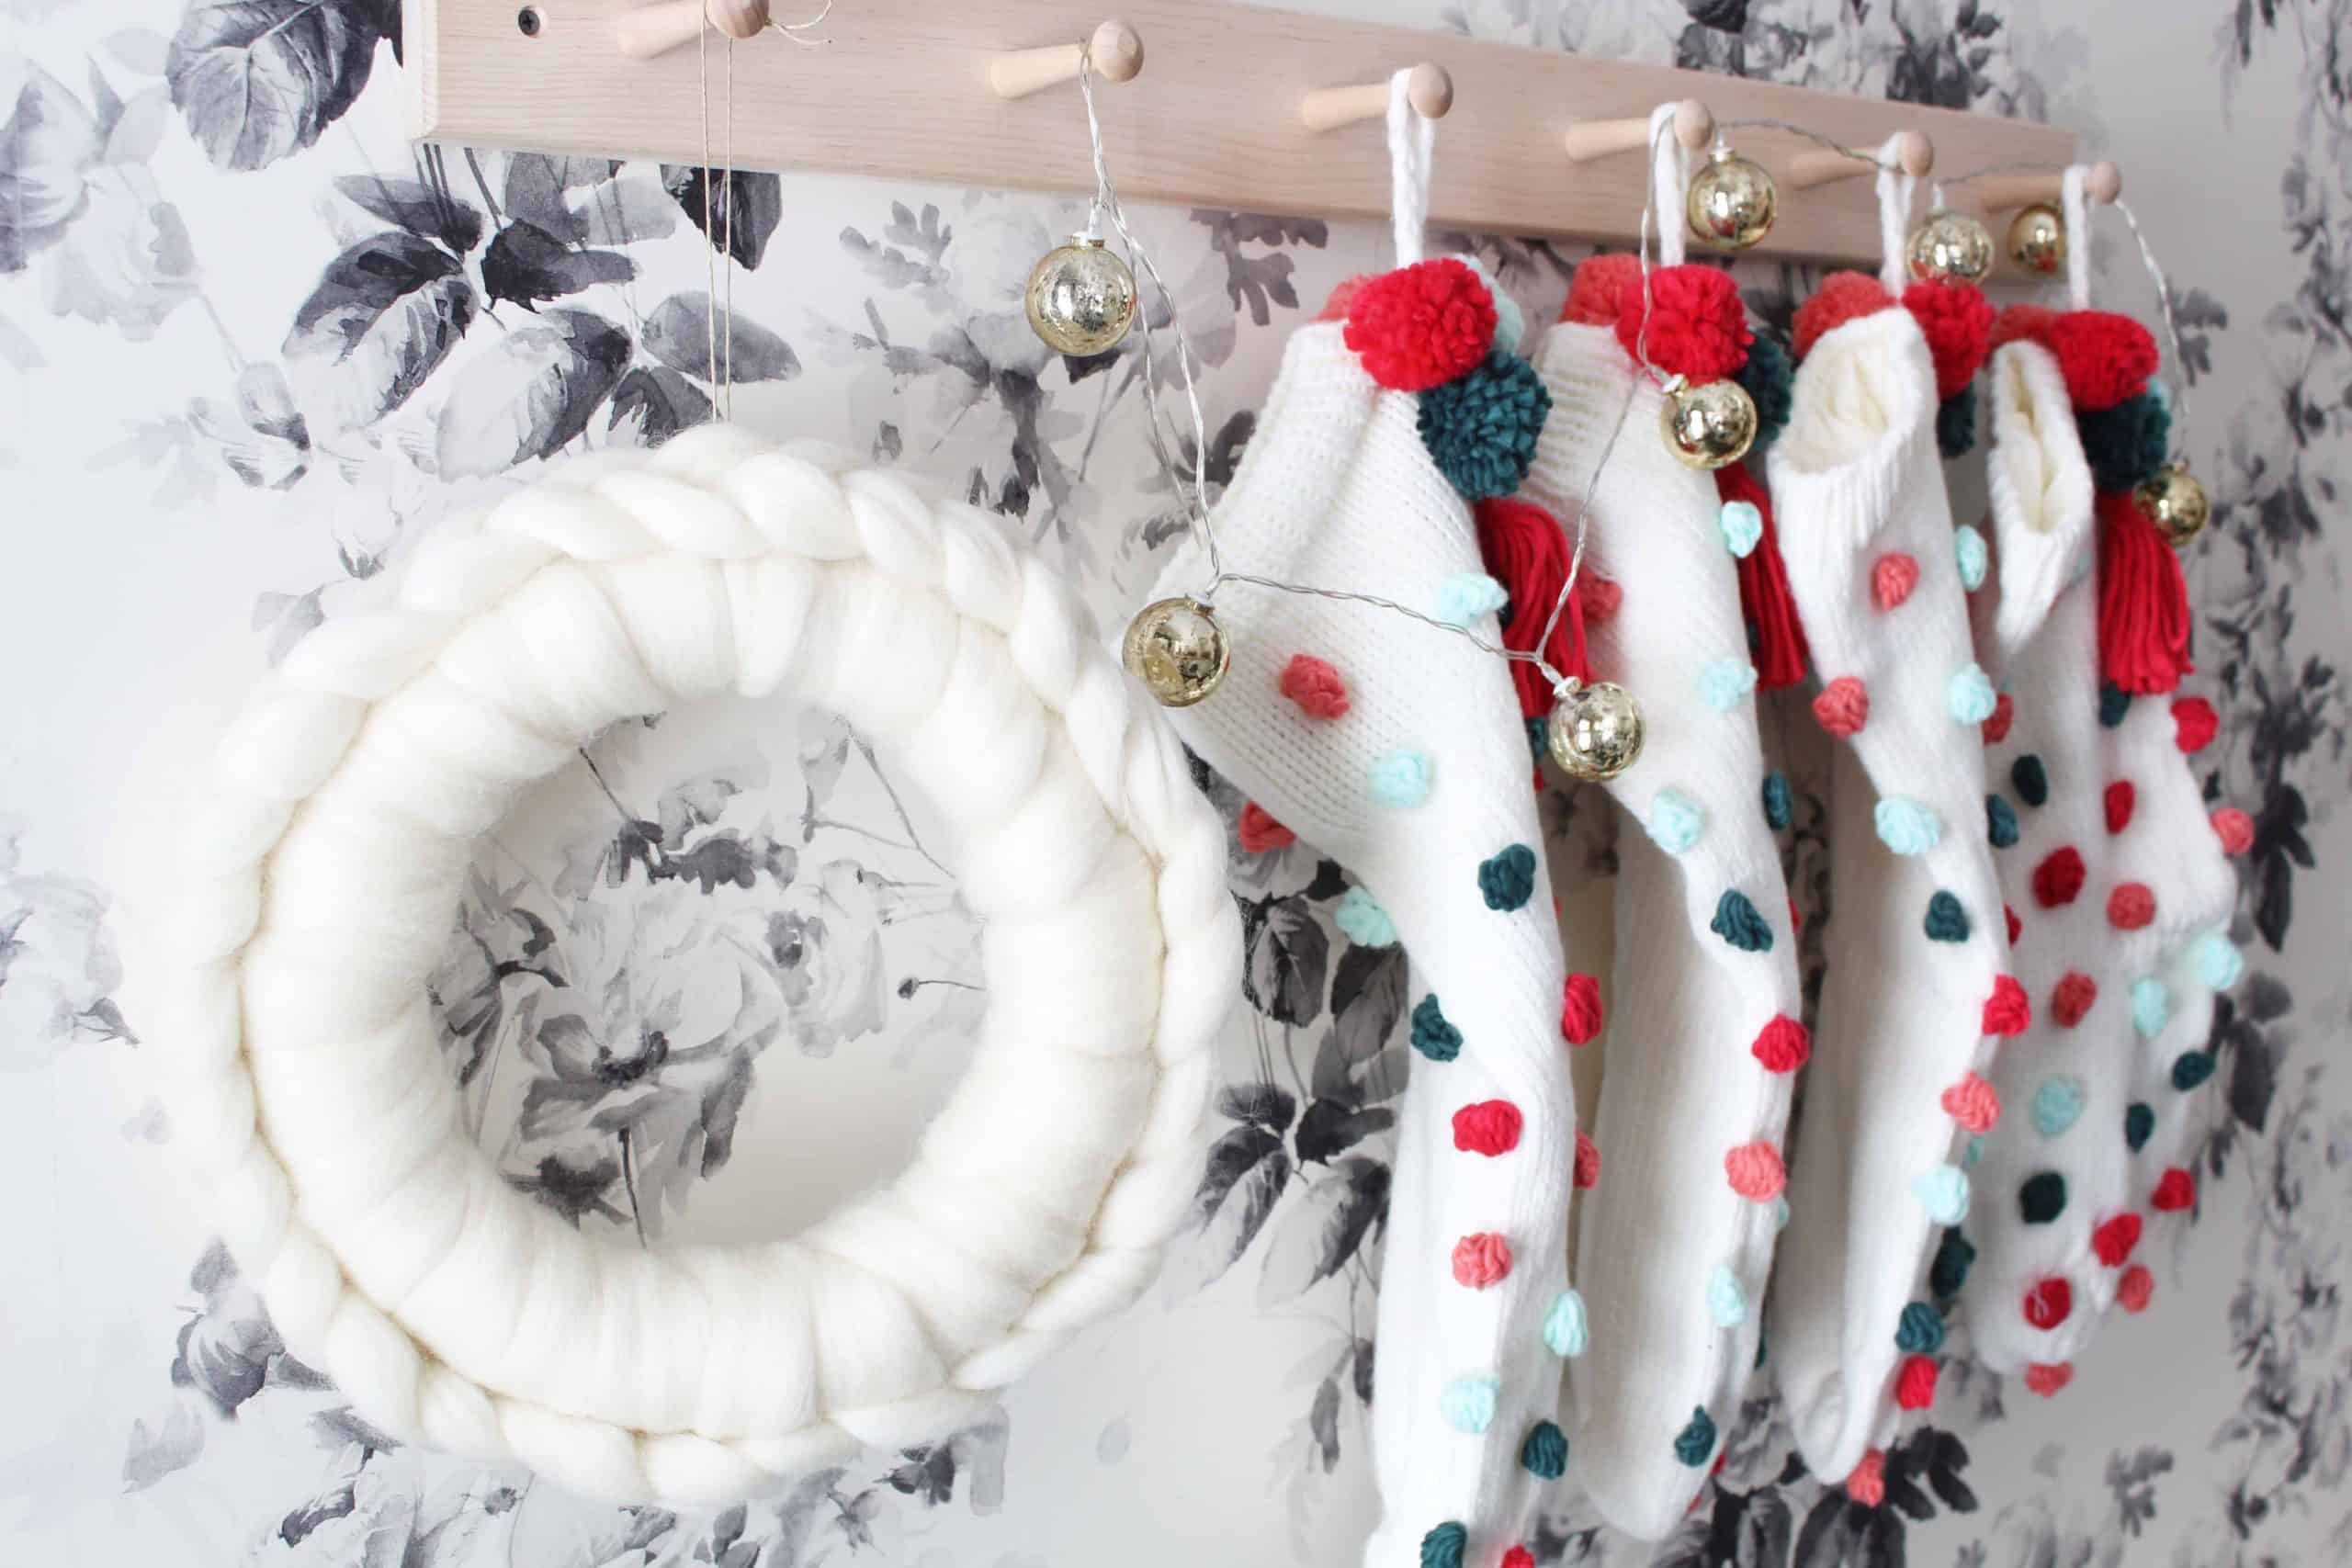
This whole project took under an hour and I’m so happy I gave it a try! P.s. I finally got our laundry room wallpapered and I love it! More to come on that project as well as a full tour of the hardest working room in our home. 😉



Does a wreath get much cozier than this one? Ah, so much cuteness I can hardly stand it! I hope you enjoyed this DIY project and if you decide to make one, be sure to let me know how it turns out!
Want More? Check out these other cozy posts:
Christmas Gift Guide: My Favorite Things!
Peppermint Twist Christmas Kitchen Tour
This post contains some affiliate links for your convenience. Click here to read my full disclosure policy.
Want to save this post? Pin it here!


Beautiful wool winter wreath! I pinned it to my winter decor board. I’m visiting from A Morning Cup of Joe Link Party. I shared #80. 🙂
Thanks so much for stopping by, Allyson!
Such a lovely and cozy winter wreath, Tiffany! You will be one of my first features at Tuesday Turn About in 2020 tomorrow! Thanks for sharing, and hope to see you back tomorrow! Hugs! (Pinned to two boards)
It’s absolutely beautiful Tiffany, no wonder you fell in love with the look.