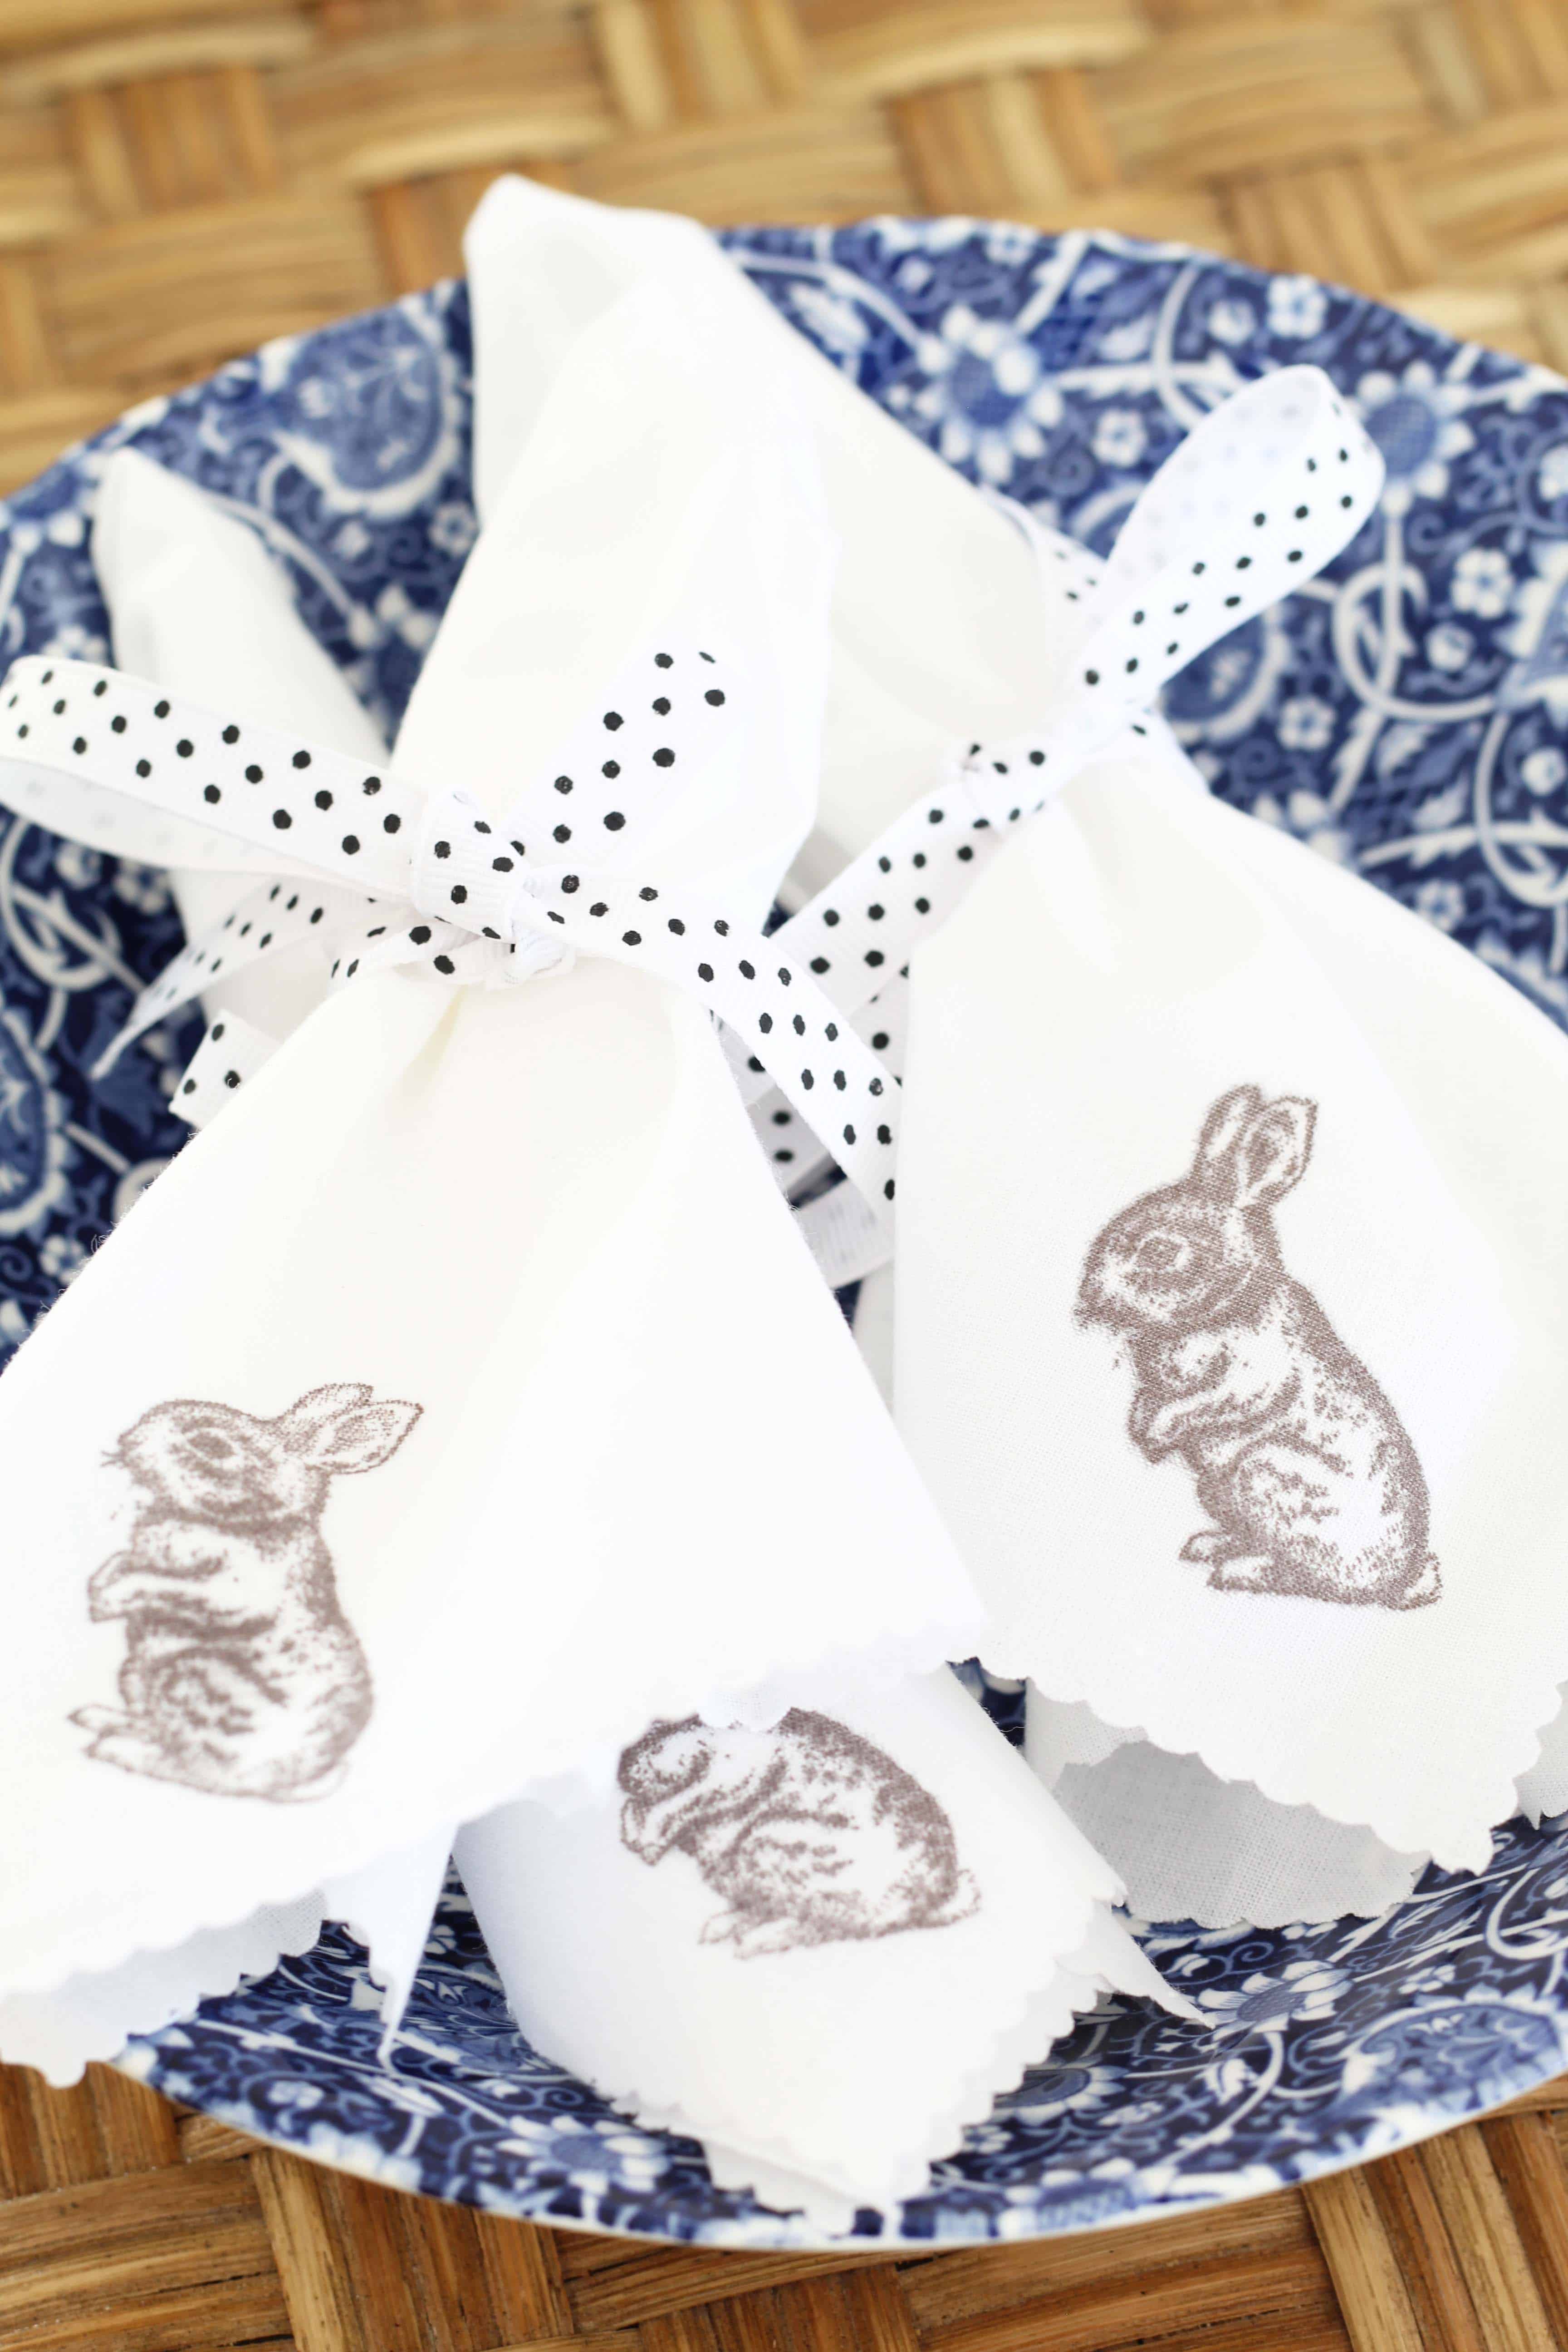
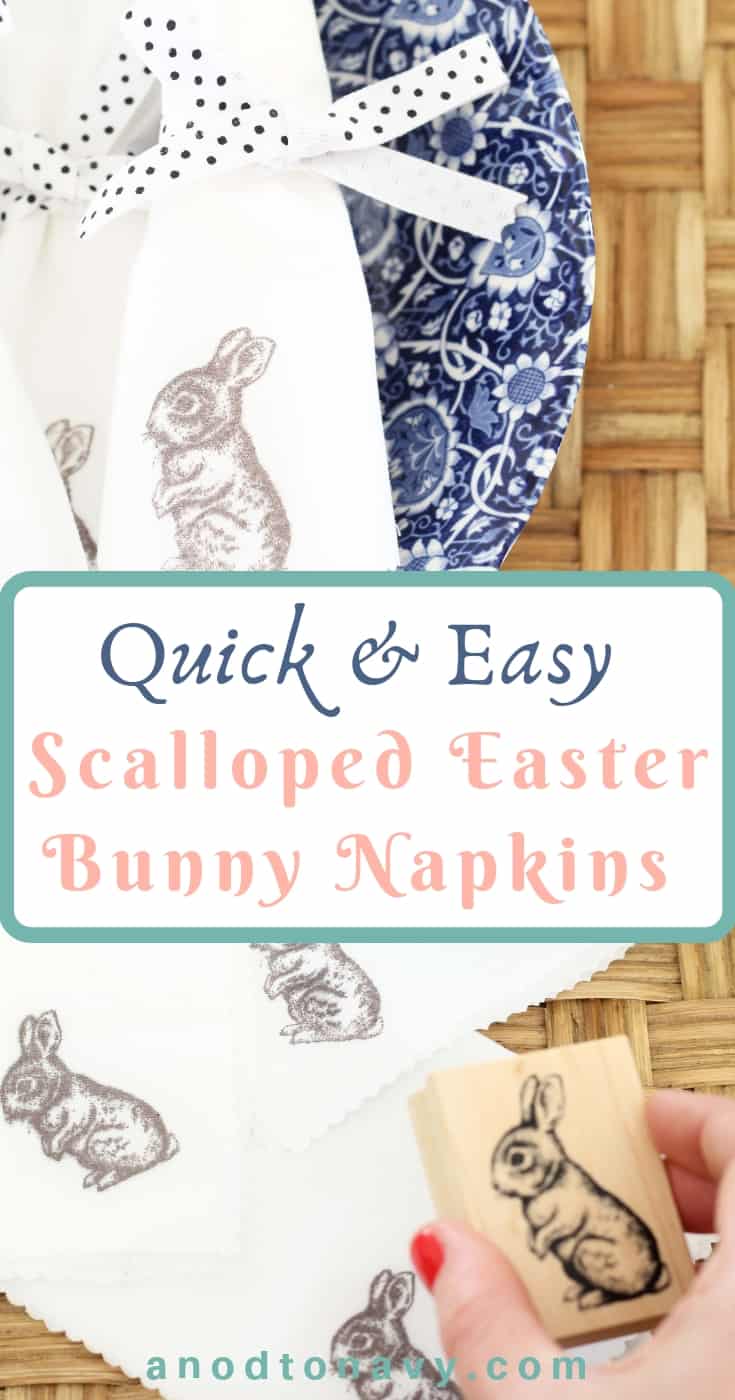
These easy scalloped Easter bunny napkins are a great last minute addition to your Easter dinner table or bar cart!
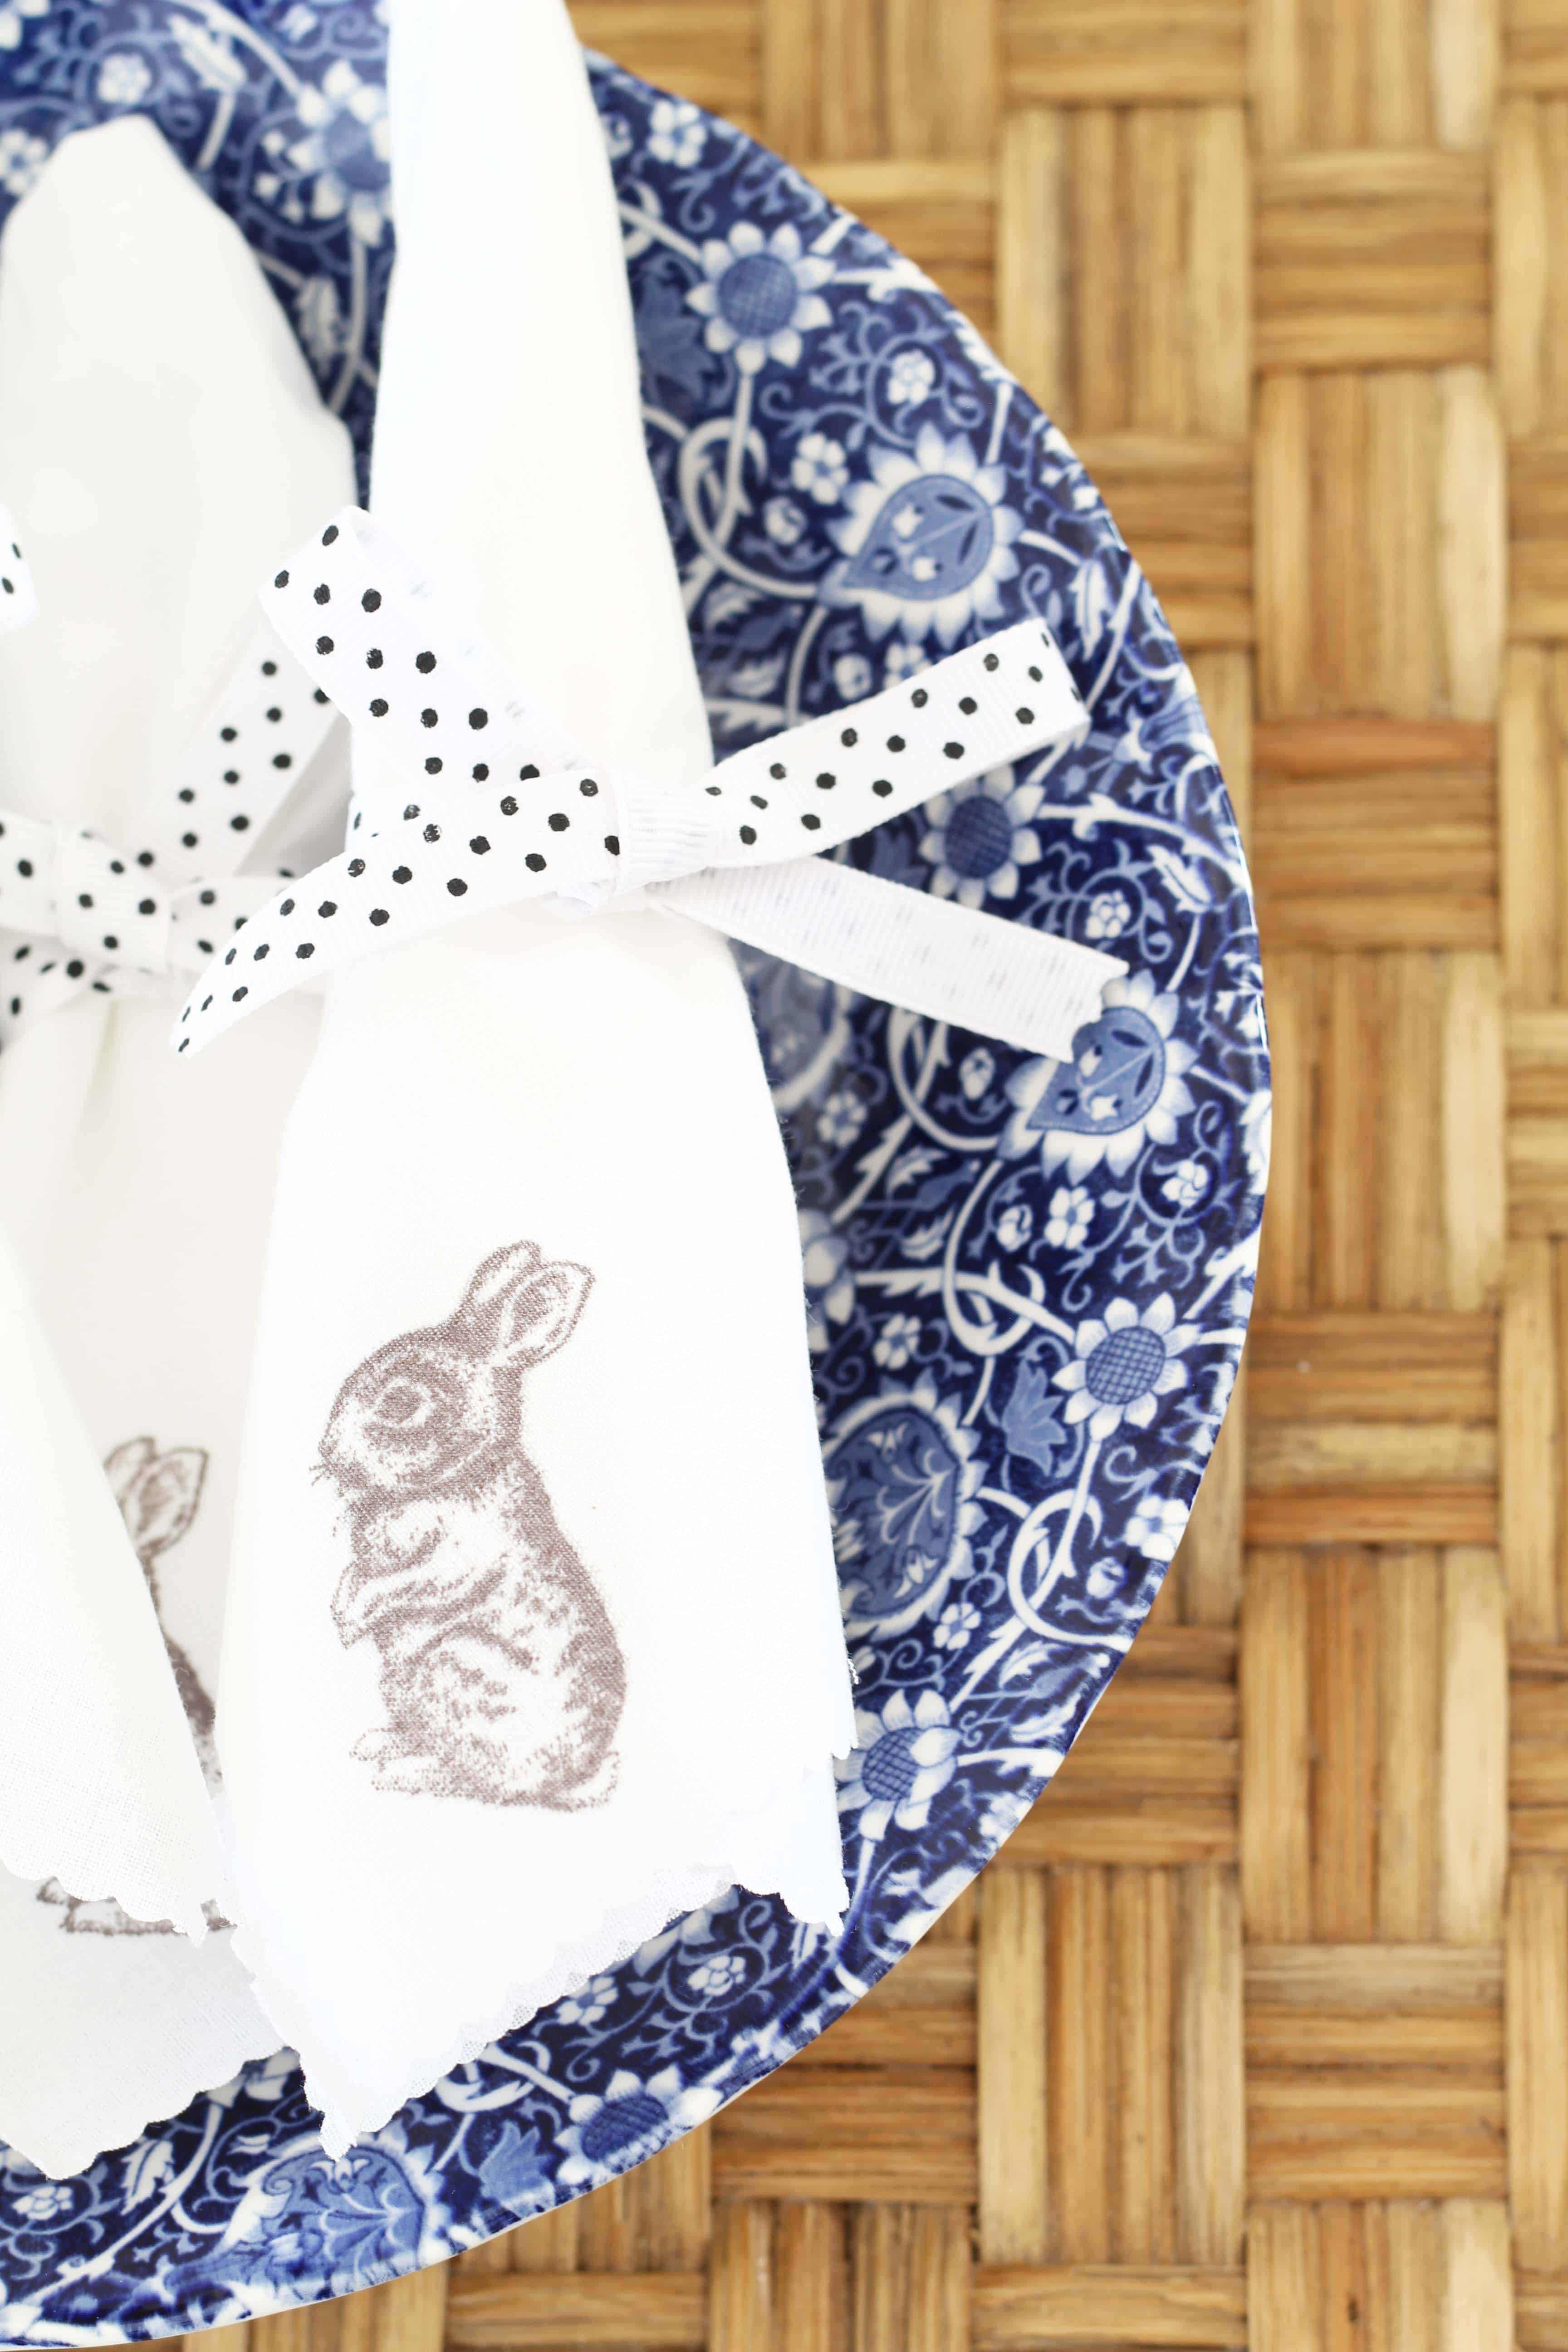
I think I’ve mentioned it before, but Easter is definitely a holiday that sneaks up on me as far as decorating and holiday prepping goes. Since Easter is only a week away, I thought it might be a good time to share a quick and easy craft idea that can literally be duplicated for any holiday of your choosing.
I first made these easy stamp napkins when I was in college for a student Christmas party we were holding, and my love affair with them has continued through the years. Part of the reason I like this this craft so much is because it uses such basic items but the end result looks so custom. Depending on what size you choose to cut your fabric, these would be equally adorable as cocktail napkins on your bar cart or as traditional dinner napkins on your table.
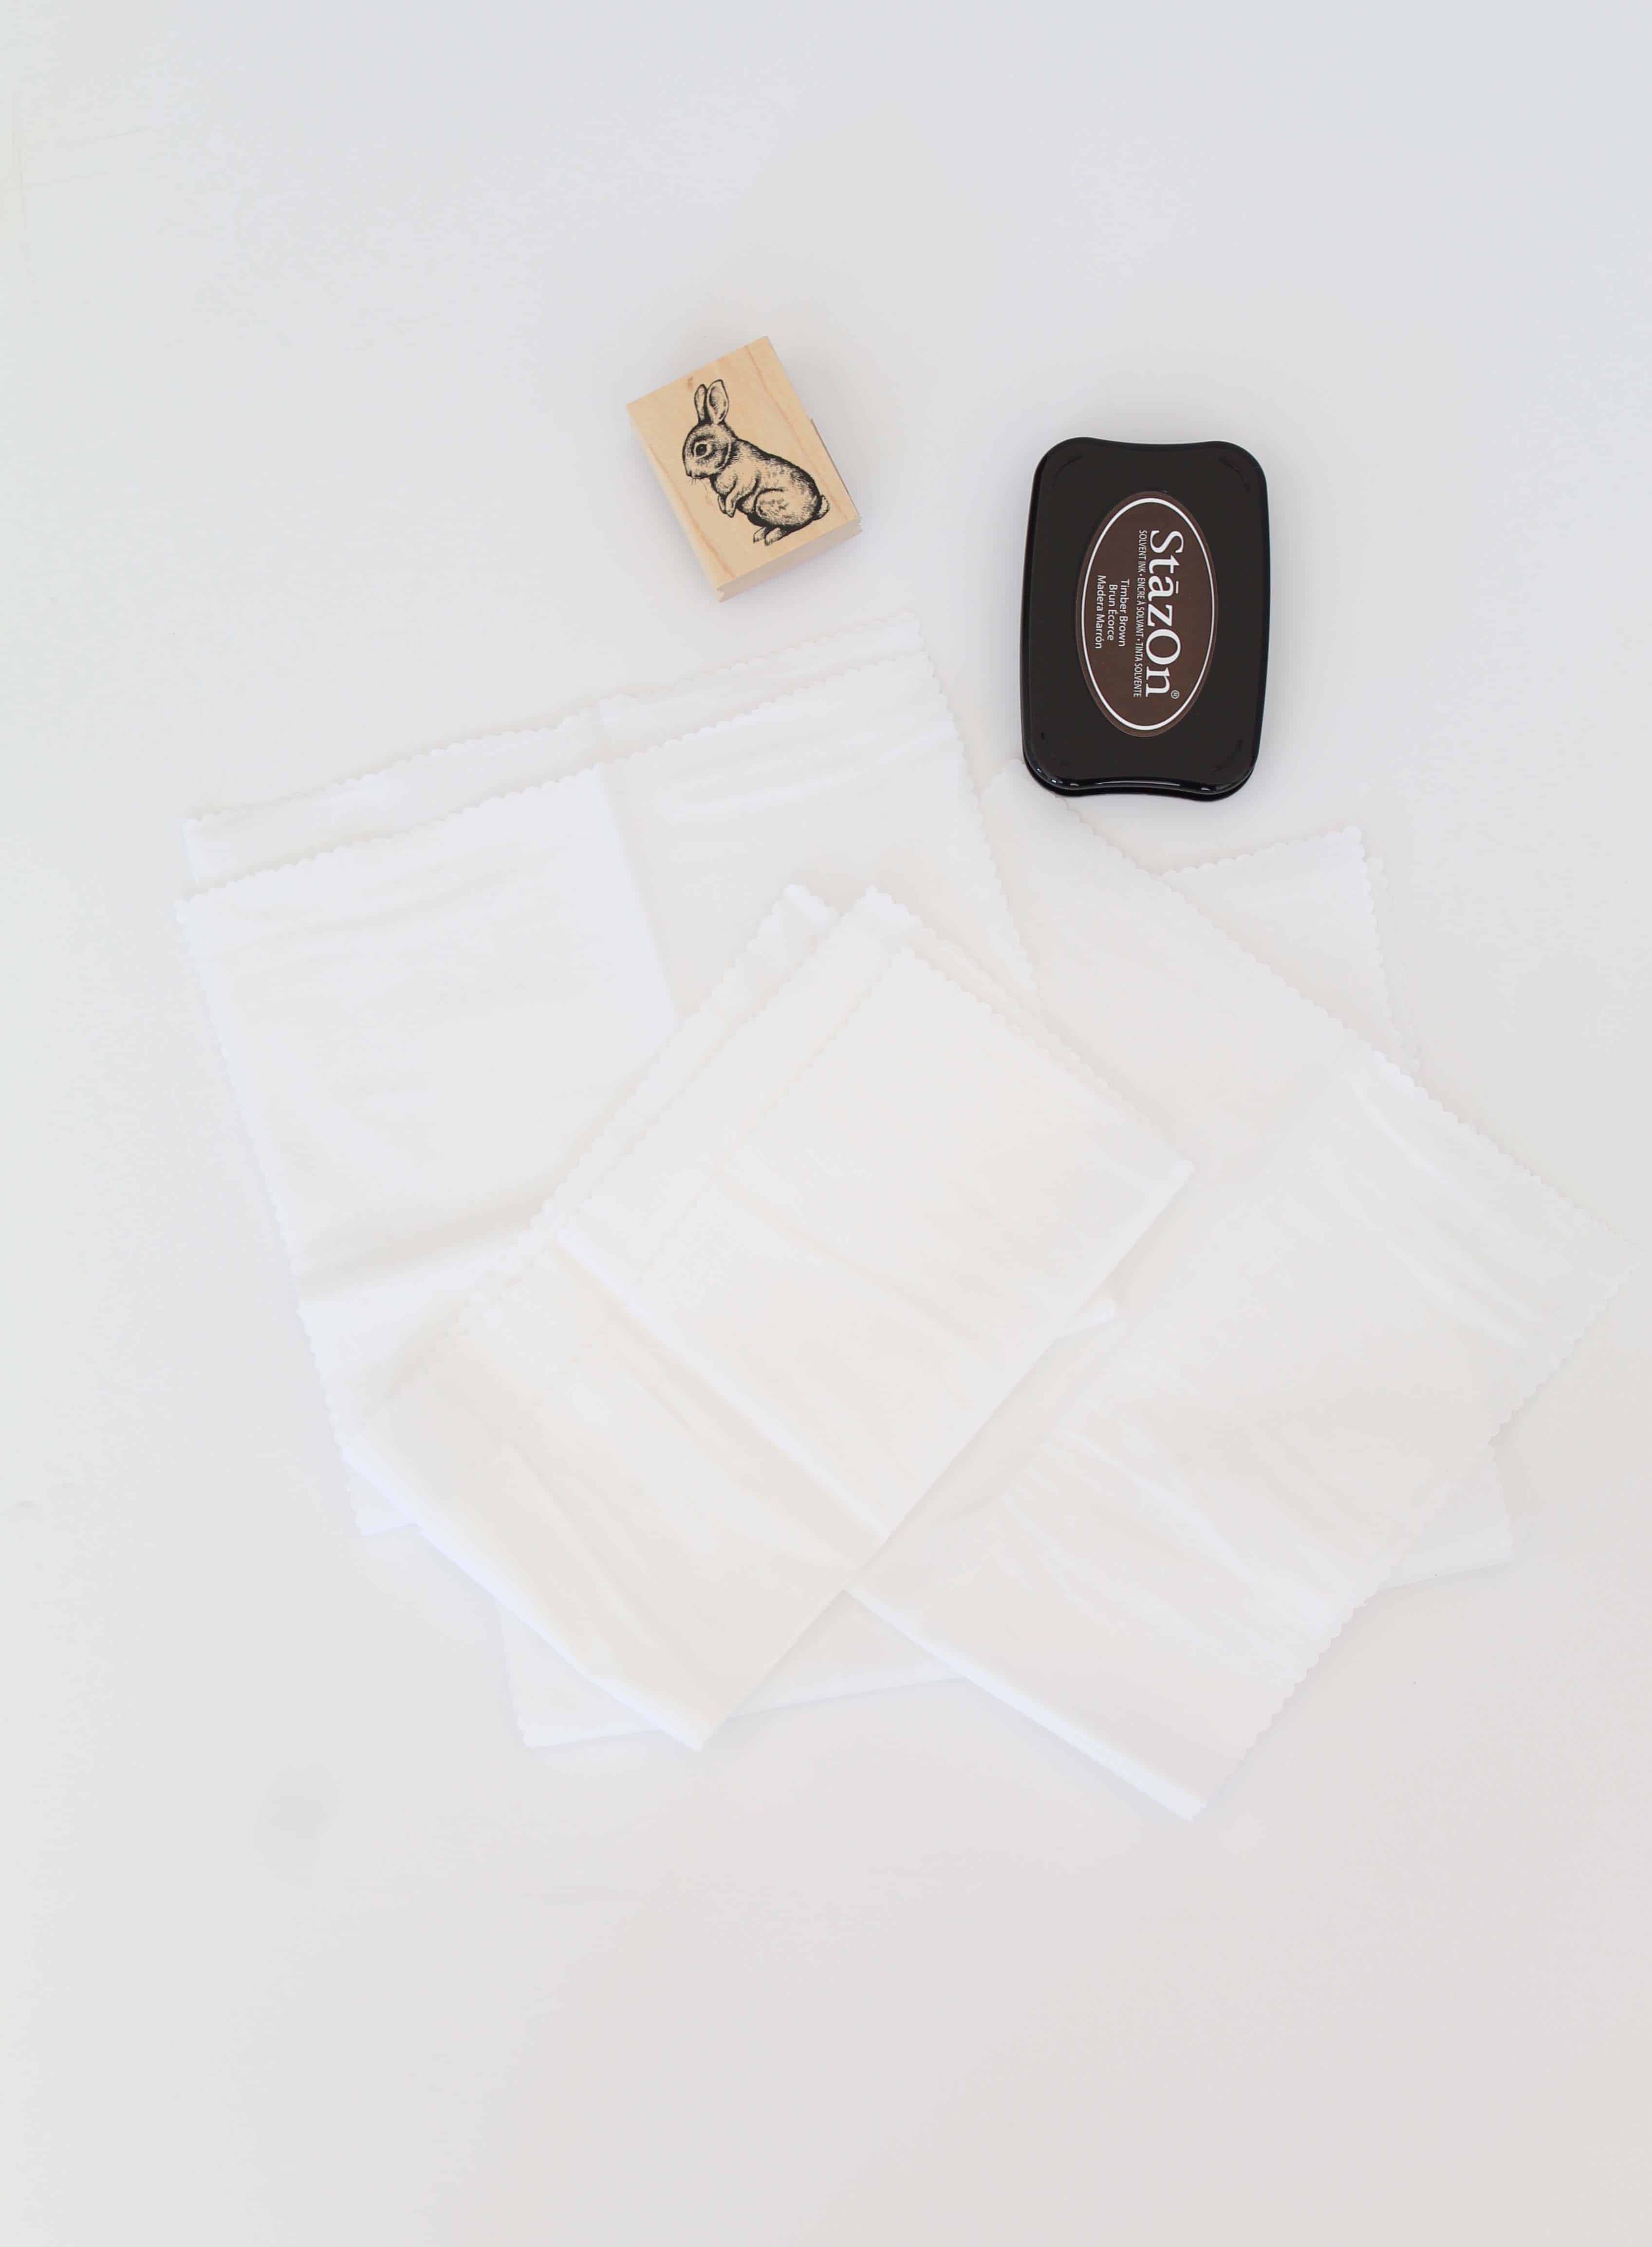
What You’ll Need
- Bunny stamp (or any stamp of your choosing)
- Ink
- Craft Fabric
- Scalloped Pinking Shears
How to Get A Scalloped Edge
I started this project by cutting all of my craft fabric up into dinner sized napkins with my pinking shears (roughly 18″ x 18″). Set aside a small piece of scrap fabric so you can practice your stamping technique before you do your actual napkins. I bought these pinking shears a while back for a project and have used them so much since! Even though I don’t sew, it’s amazing how much I use these to cut fabric – way more often than I would have thought.
If you’re unfamiliar with what pinking shears do, they basically cut fabric a certain way so it doesn’t fray. They also leave a nice finished cut so you don’t have to sew it. You can find pinking shears that cut in a variety of different line styles. Scallops are one of my favorites, so it was a no brainer to snap these up when I saw them.
How to Stamp Cloth Fabric
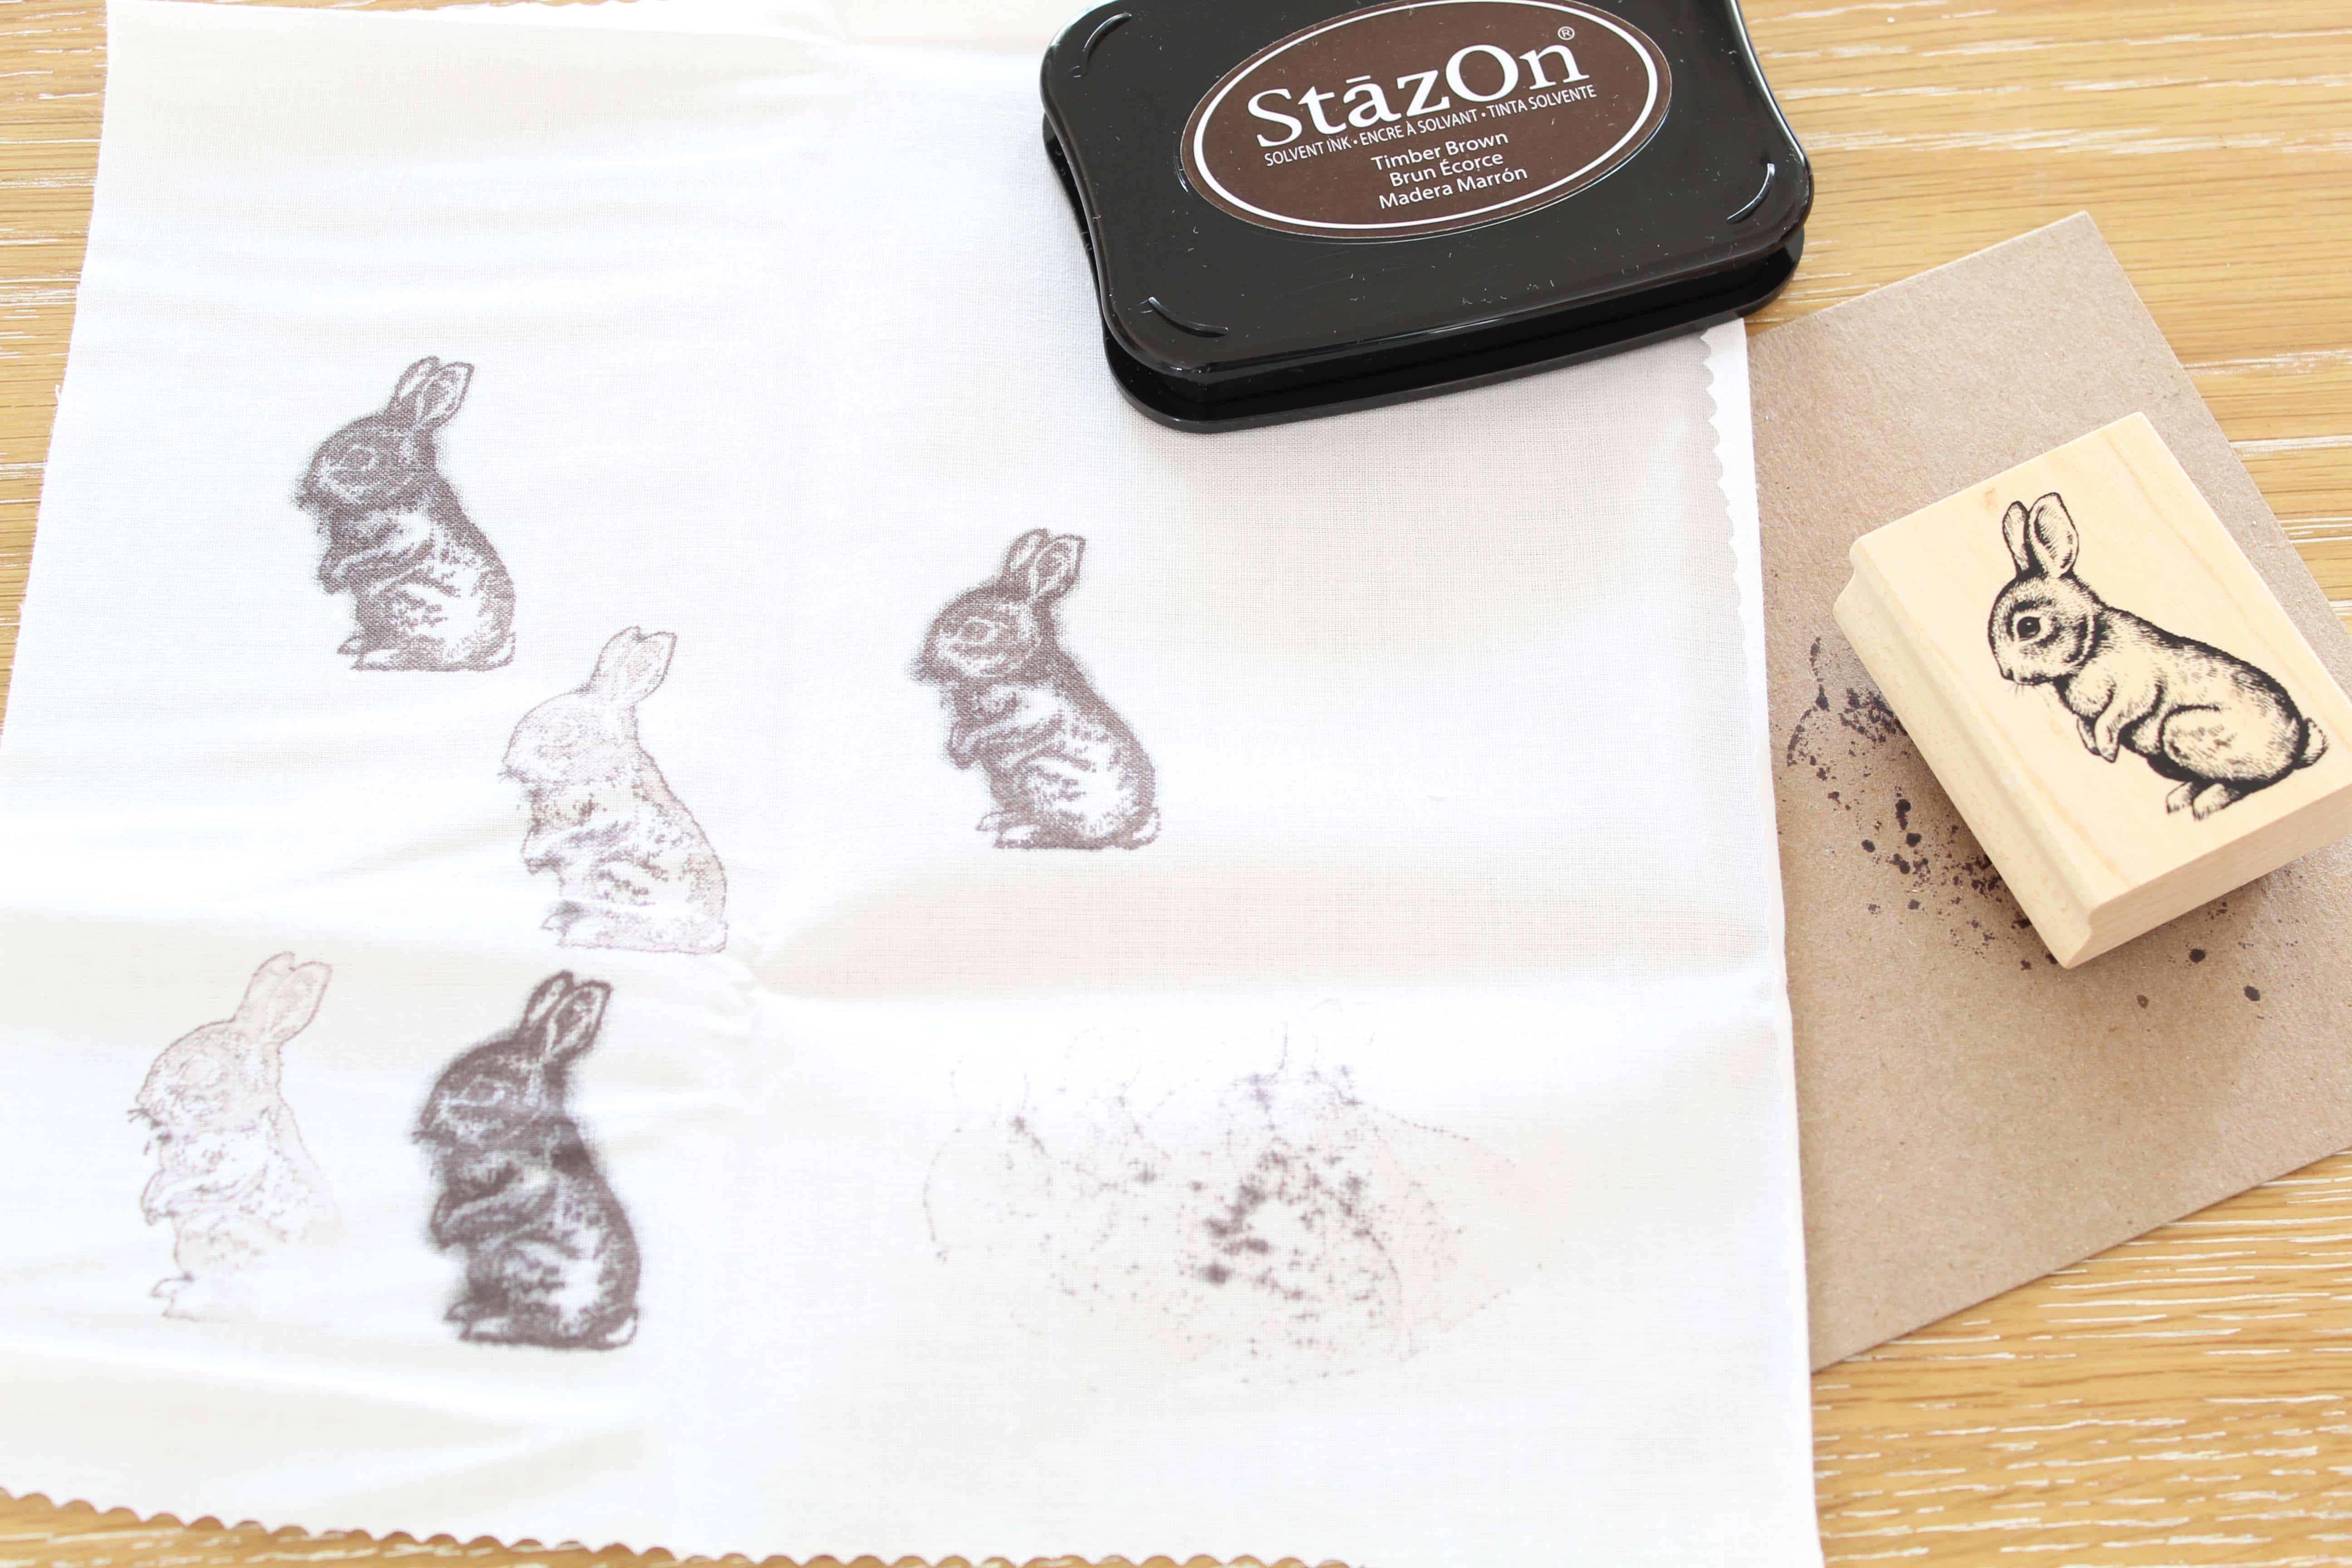
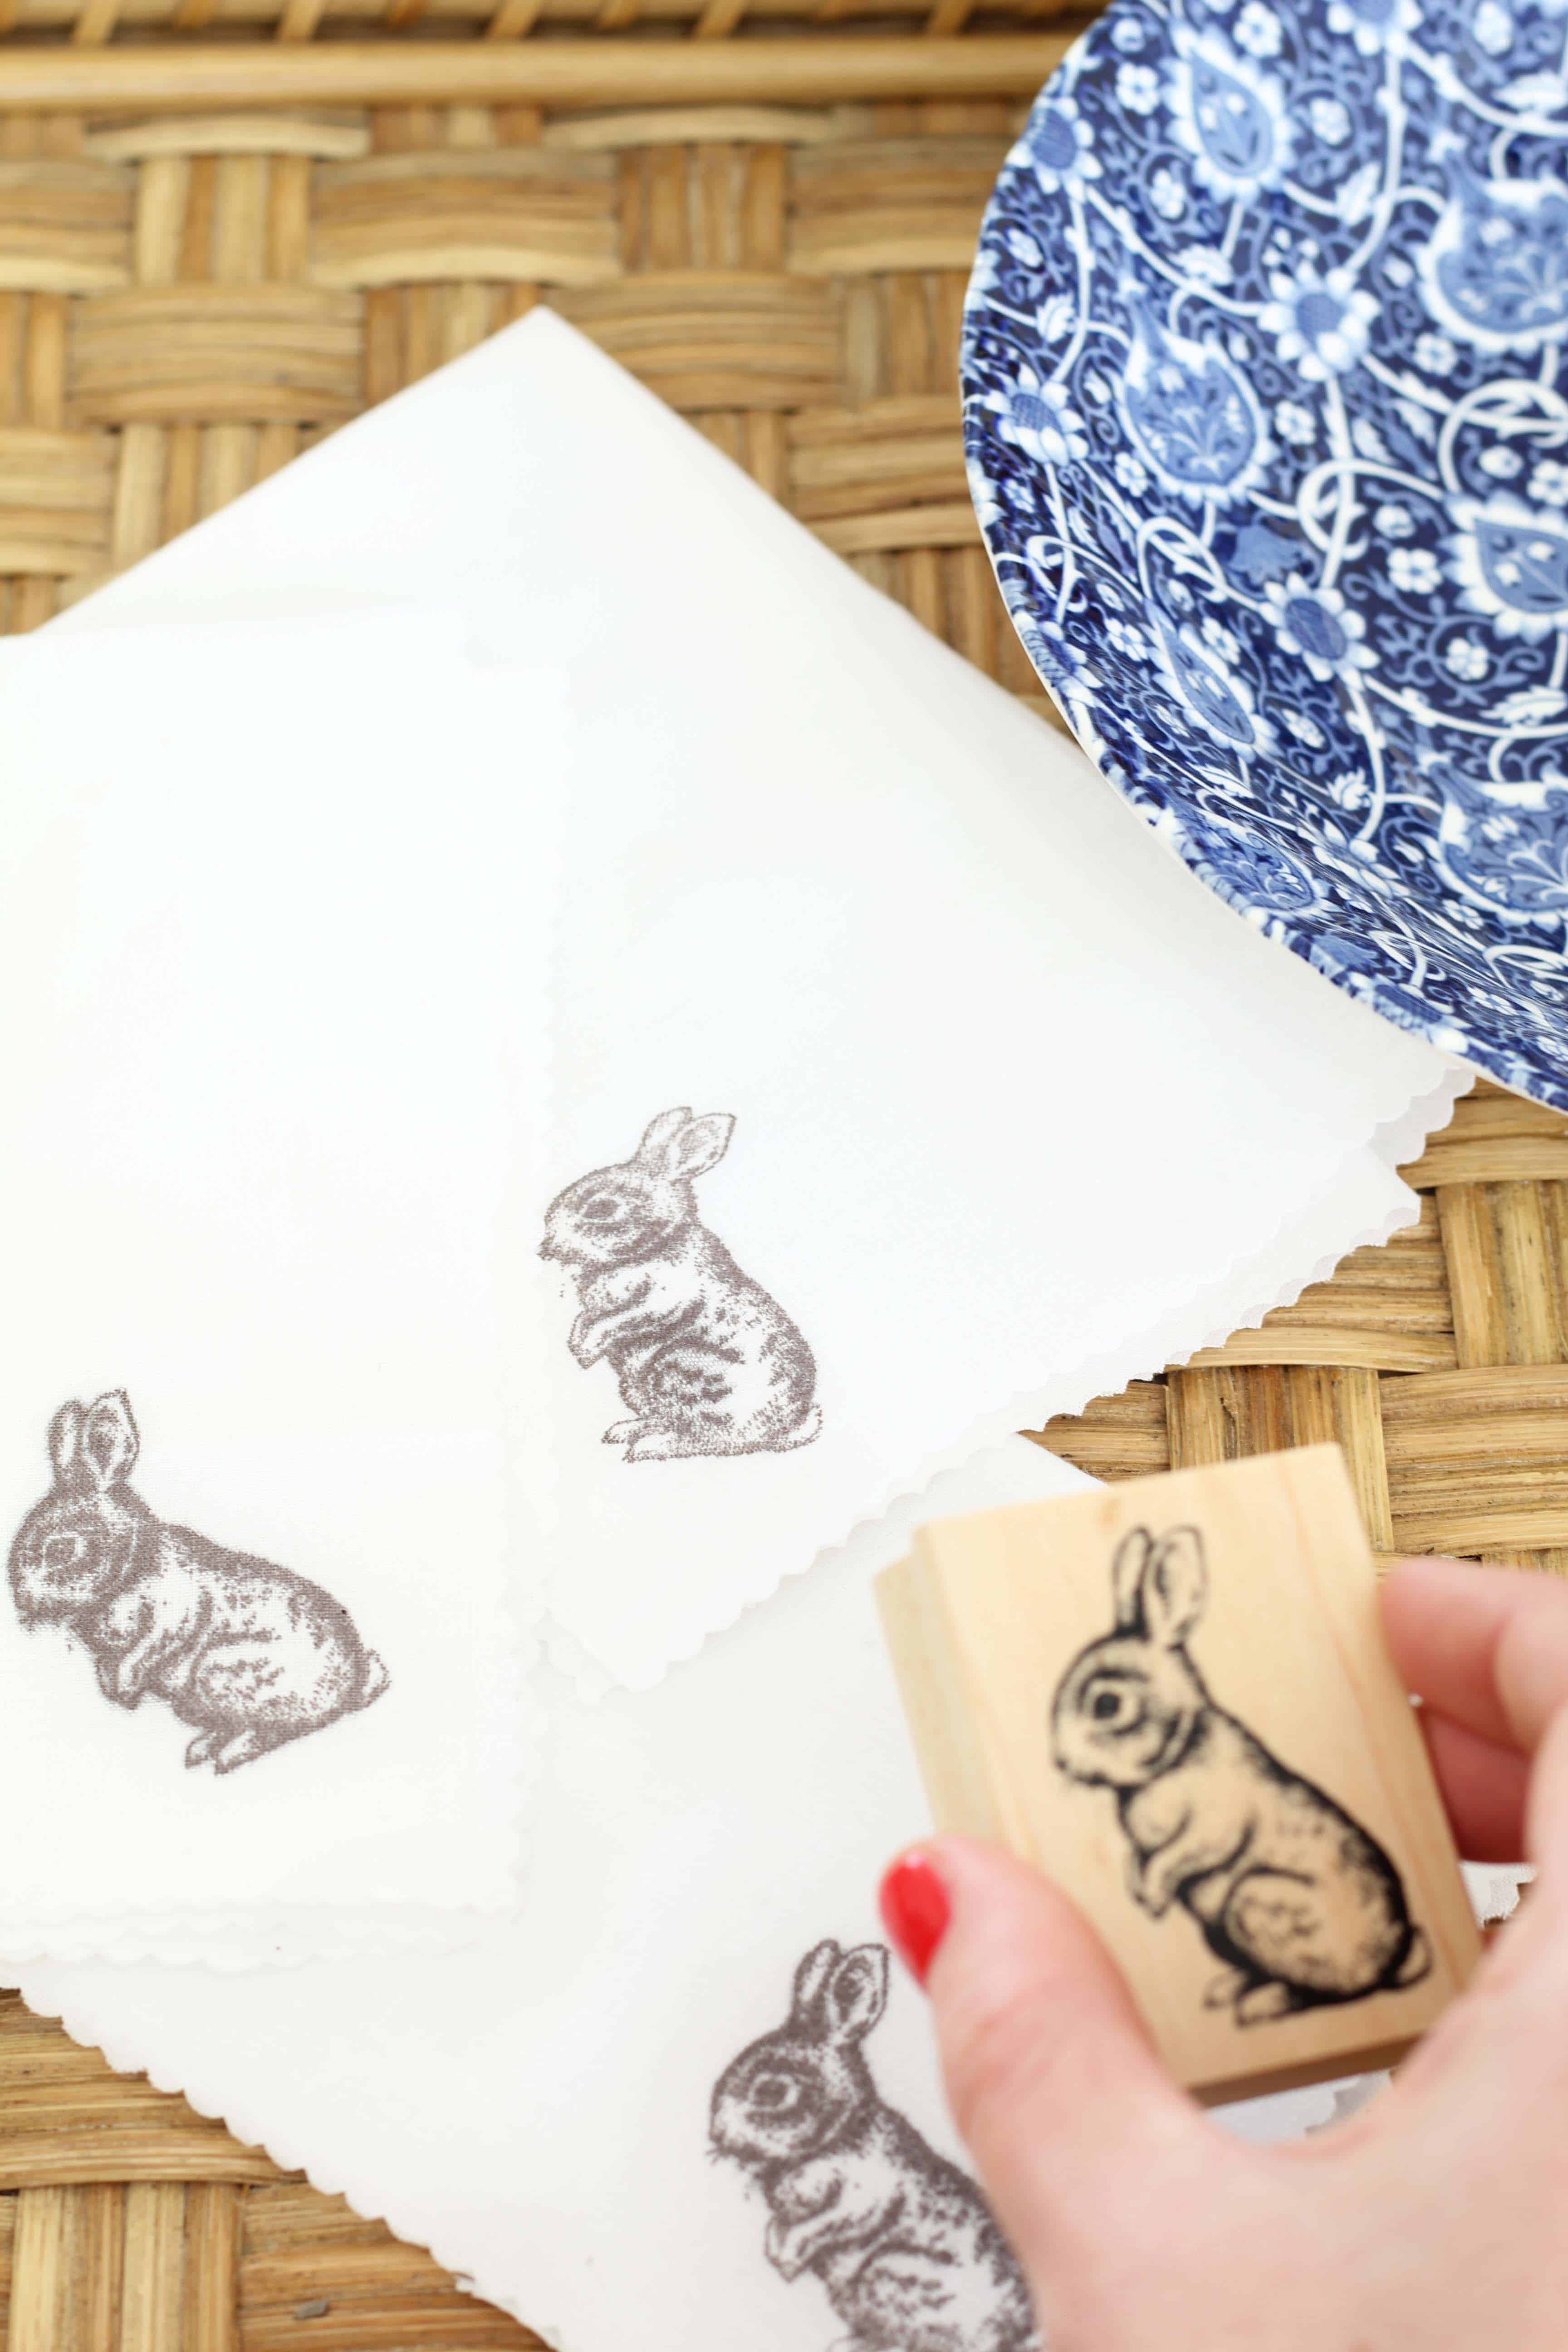
After I had the napkins cut, I gave them a quick steam with my steamer to get any major wrinkles out. This gave me a nice flat surface to stamp on. The stamping is by far the hardest part of this easy project, mainly because you have to keep yourself from overdoing it with the stamp ink. Less is definitely more when it comes to stamping on fabric. Too much and the ink will continue to bleed into the fabric fibers leaving you with a fuzzy image rather than the crisp, clean one you’re going for.
The best advice I can give for the stamping part is to practice on an extra piece of scrap fabric you set aside before you start on your actual napkins. This will help you get the technique down, and help you determine how much ink you need to use. You can see where I did this in the third photo above. It also gives you a visual example of what I mean by those “fuzzy” stamped images.
How to Set An Image in Fabric
Once you have your bunnies stamped onto the fabric, let them set and dry for about 20 minutes. Once they’ve dried I like to run a warm iron over each bunny image. This helps “set” the image and make it more durable for actual use. After that, grab some cute ribbon and start tying up your napkins! I find that the easiest way to do this is to lay the napkin flat, and then grab it with your thumb and forefinger right in the middle, essentially pinching it. This leave you with a nice triangle shape that you can then gather together and tie off. Voila!

Then it’s on to the fun part, actually using your napkins! I hope you enjoy making these bunny napkins as much as I did! Have a blessed Easter weekend 🙂
This post contains some affiliate links for your convenience. Click here to read my full disclosure policy.
Want to save this post? Pin it here!

I love these bunny napkins, they are so simple and so so cute!! I also love how you just tied them together on the plate. Happy Easter Tiffany!
Thanks, Katrin! The polka dot ribbon is my favorite part!
So adorable, and such a versatile idea, Tiffany… You can do this for all sorts of crafts! Pinned! Thanks for sharing at Homestyle Gathering!