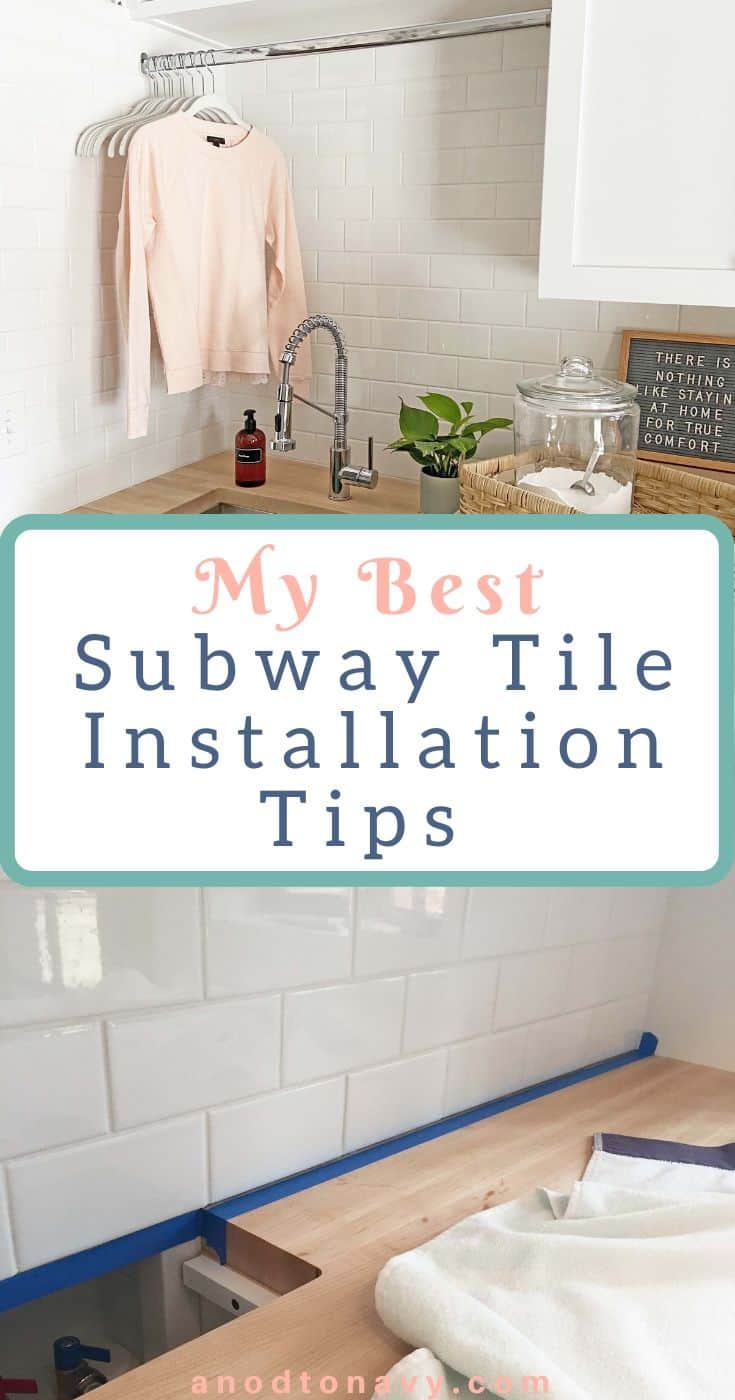
Subway tile backsplashes are timeless and relatively easy to install. Here are my best subway tile backsplash installation tips!
As a caveat, let me start by saying that I’m not a professional tile installer, nor do I claim to know the “best” or “easiest” way to install subway tile. These are just my own tips, learned as a newbie installing subway tile for the first time. This is by no means a comprehensive tutorial, it’s meant to supplement all of the other great tutorials out there. I recommend researching at least 3 different tutorials before starting on any tiling project because you will probably learn something different from each one! The products we used to complete this project are listed at the end of the post in the sources section. 🙂
My Best Subway Tile Backsplash Installation Tips
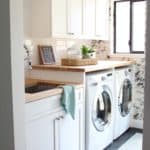
When we were deciding on finishes throughout our home renovation process, we knew we wanted to do tile in the bathrooms and the laundry room. Once we got over the initial shock of the bathroom tile bids alone, we figured we could wait on the laundry room and figure out what we were going to do there later. Fast forward a year and I finally got up the courage this past fall to watch some online video tutorials on tiling and get to work on our unfinished laundry room backsplash.
To me, tiling a backsplash was a daunting prospect. I’m a bit of a perfectionist and the idea of crooked tile or incorrect grout lines makes me a little crazy. Doing DIY projects in your home can sometimes be a risk, especially when you have no idea what you’re doing. My biggest fear was spending money on a renovation and then messing up the finishes (like this tile). But at the end of the day, I don’t want to live in a home where I’m afraid to try new things because sometimes those new things have the best results!
There are million and one tutorials out there on tiling. Some great, some not so great, and a ton of really comprehensive ones. The biggest thing I learned after reading so many of them is that unless you are doing a really basic backsplash with no corners, or different countertop heights, etc. You have to cherry pick the parts of each tutorial that actually apply to your project.
So, here are my top tips. These are things that tripped us up as we were installing tile, things that were hard to find the answer to, or just really basic tiling tips that you need to know no matter what you’re tackling!
Where To Start A Subway Tile Backsplash Installation
Some people swear by starting in the middle of your project wall and working outward. There are different reasons to do this, the main one being that it’s easier to map out your tile pattern this way, especially if you want your tile centered a certain way under a focal point. For instance, a stove or sink.
We weren’t really concerned about either of those things since we were doing a laundry room and I felt like it would just be adding one more element to the mix that made things harder (our two differing countertop heights was the main thing on my mind.)
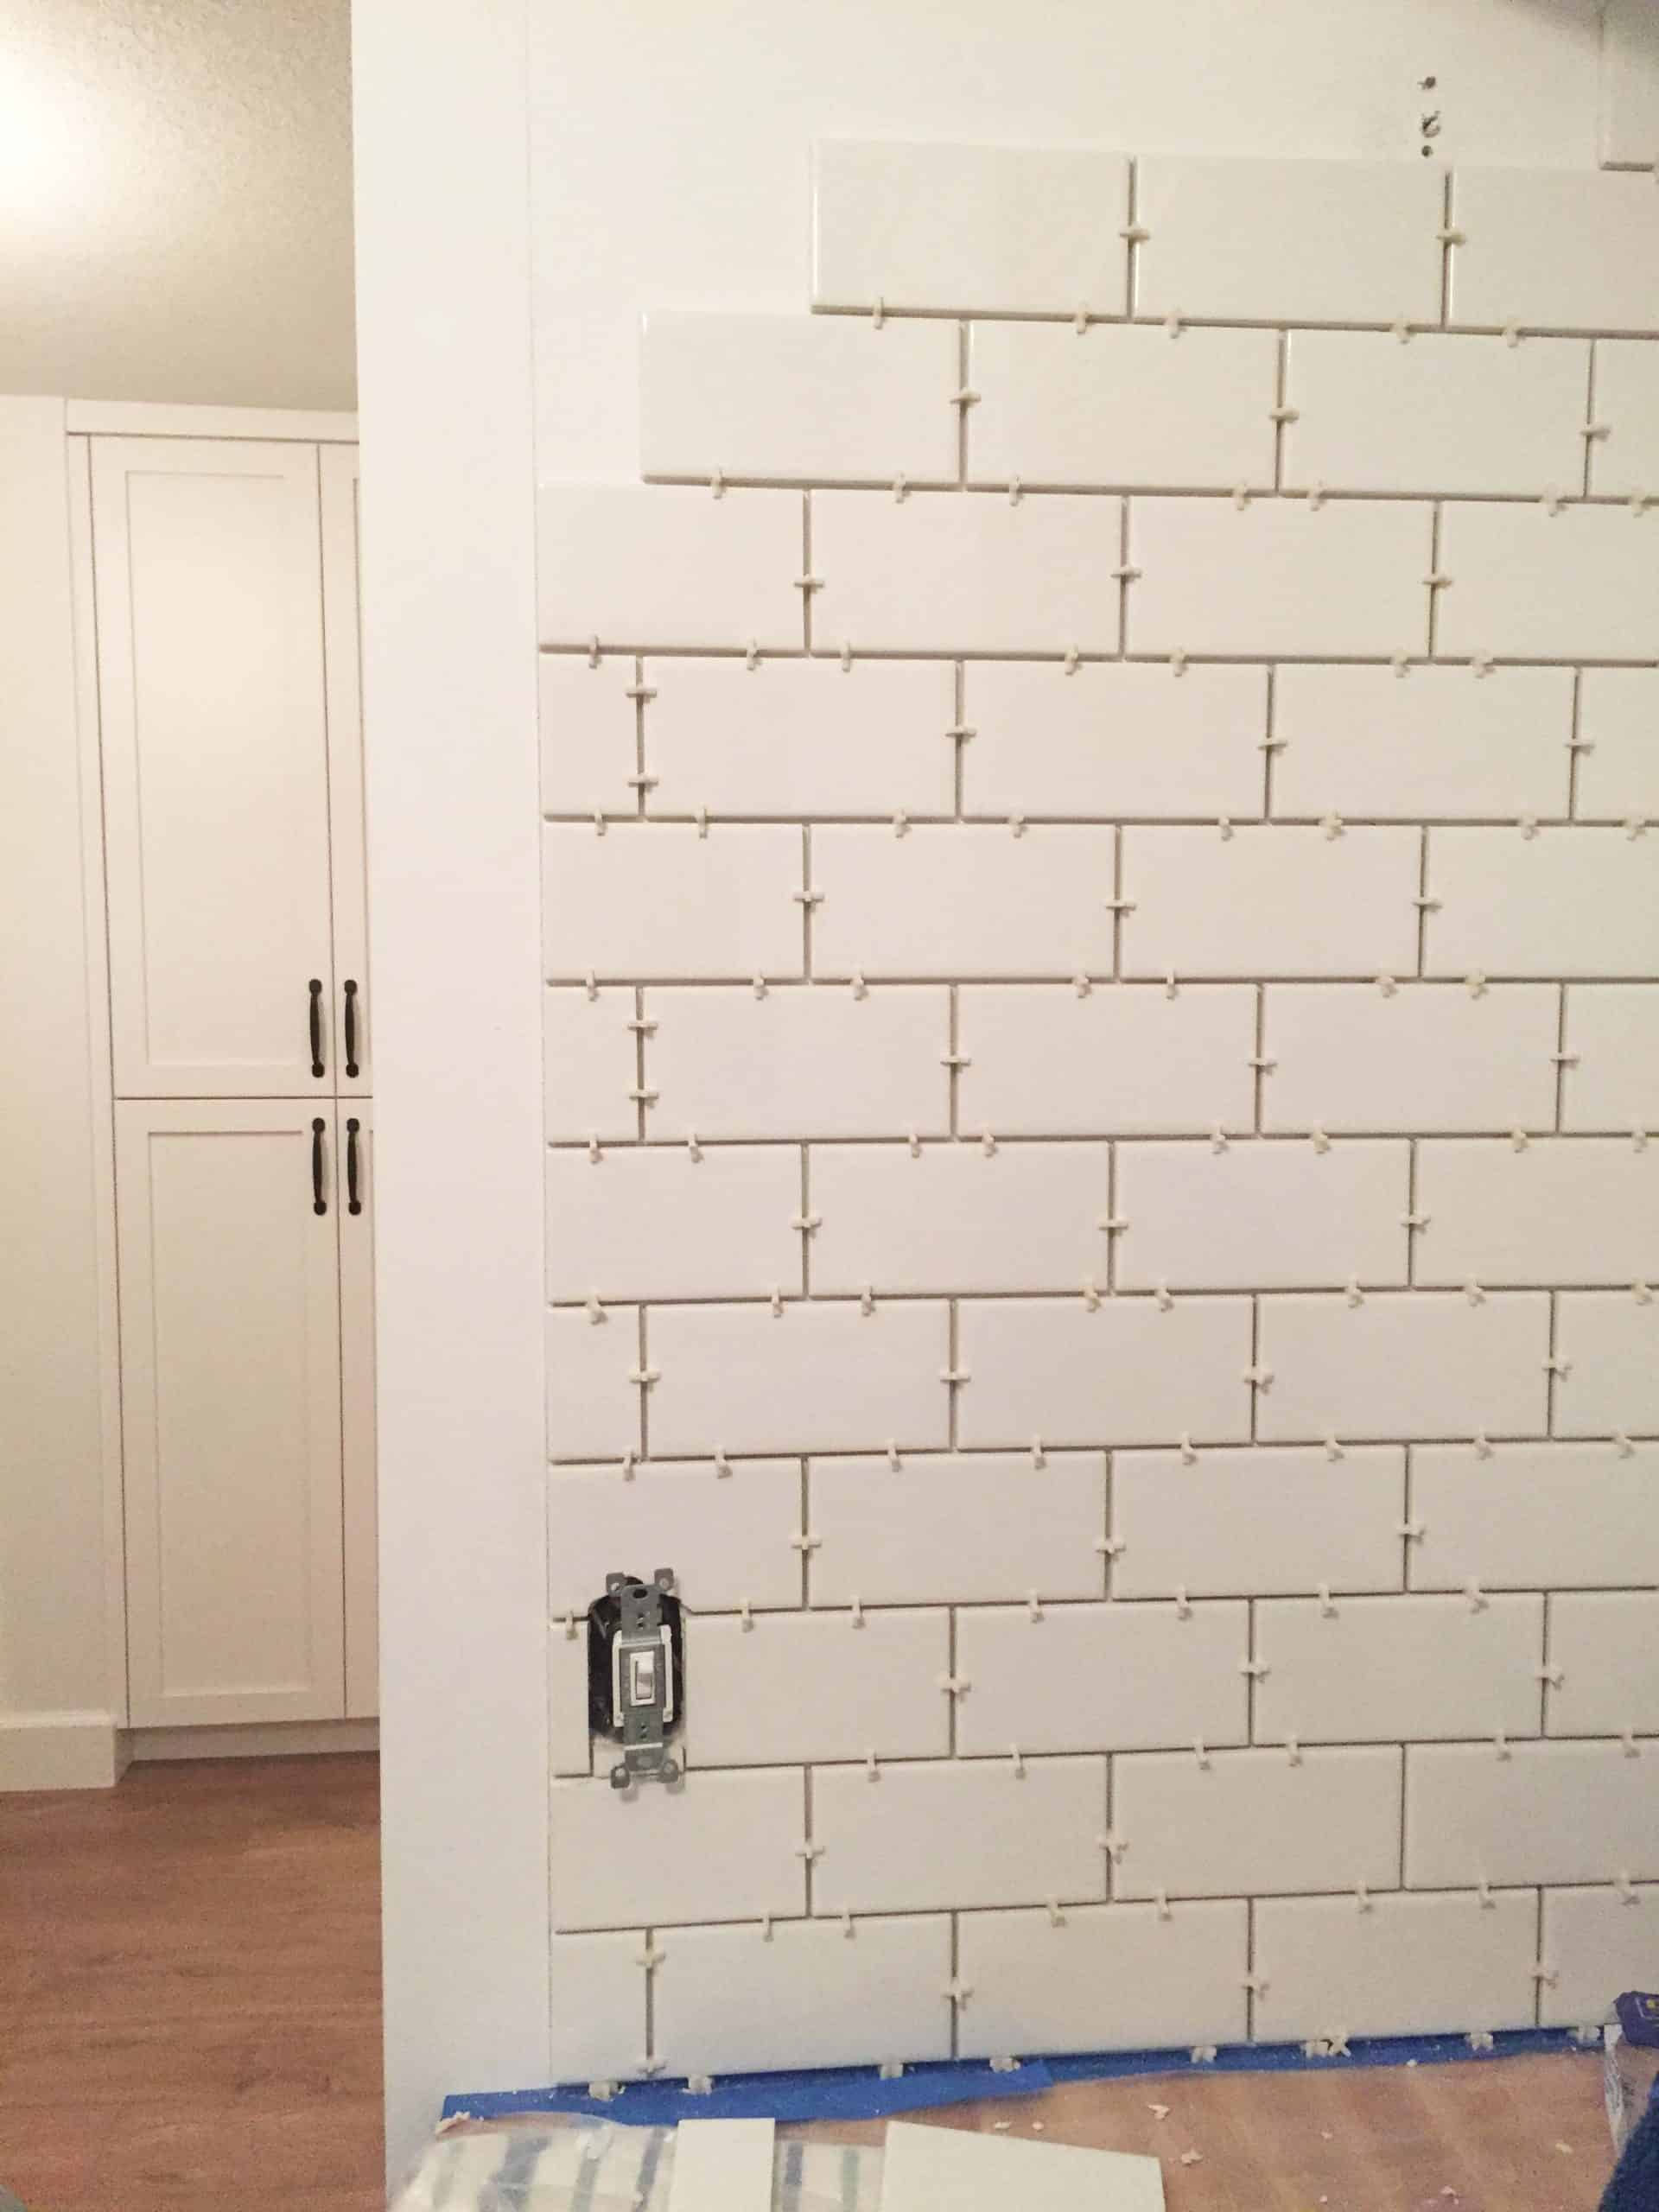
We started at our shortest, furthest away wall. Aka, the easiest place to start and the spot where, if we made mistakes they were less likely to be seen. Plus, starting on the opposite wall where we knew we were going to have to do a line of finish trim was harder and left us with no room for error.
Layout & Spacing Of Tile
We used basic 1/8 inch spacers for our tile. I wanted the grout line to be fairly standard, nothing too crazy. Plus the 1/8 inch grout line worked out just about perfectly for us with how much space we would have leftover at the base of our tile where it met the countertop. This became key later when we were trying to match the grout lines up with the different countertop heights.
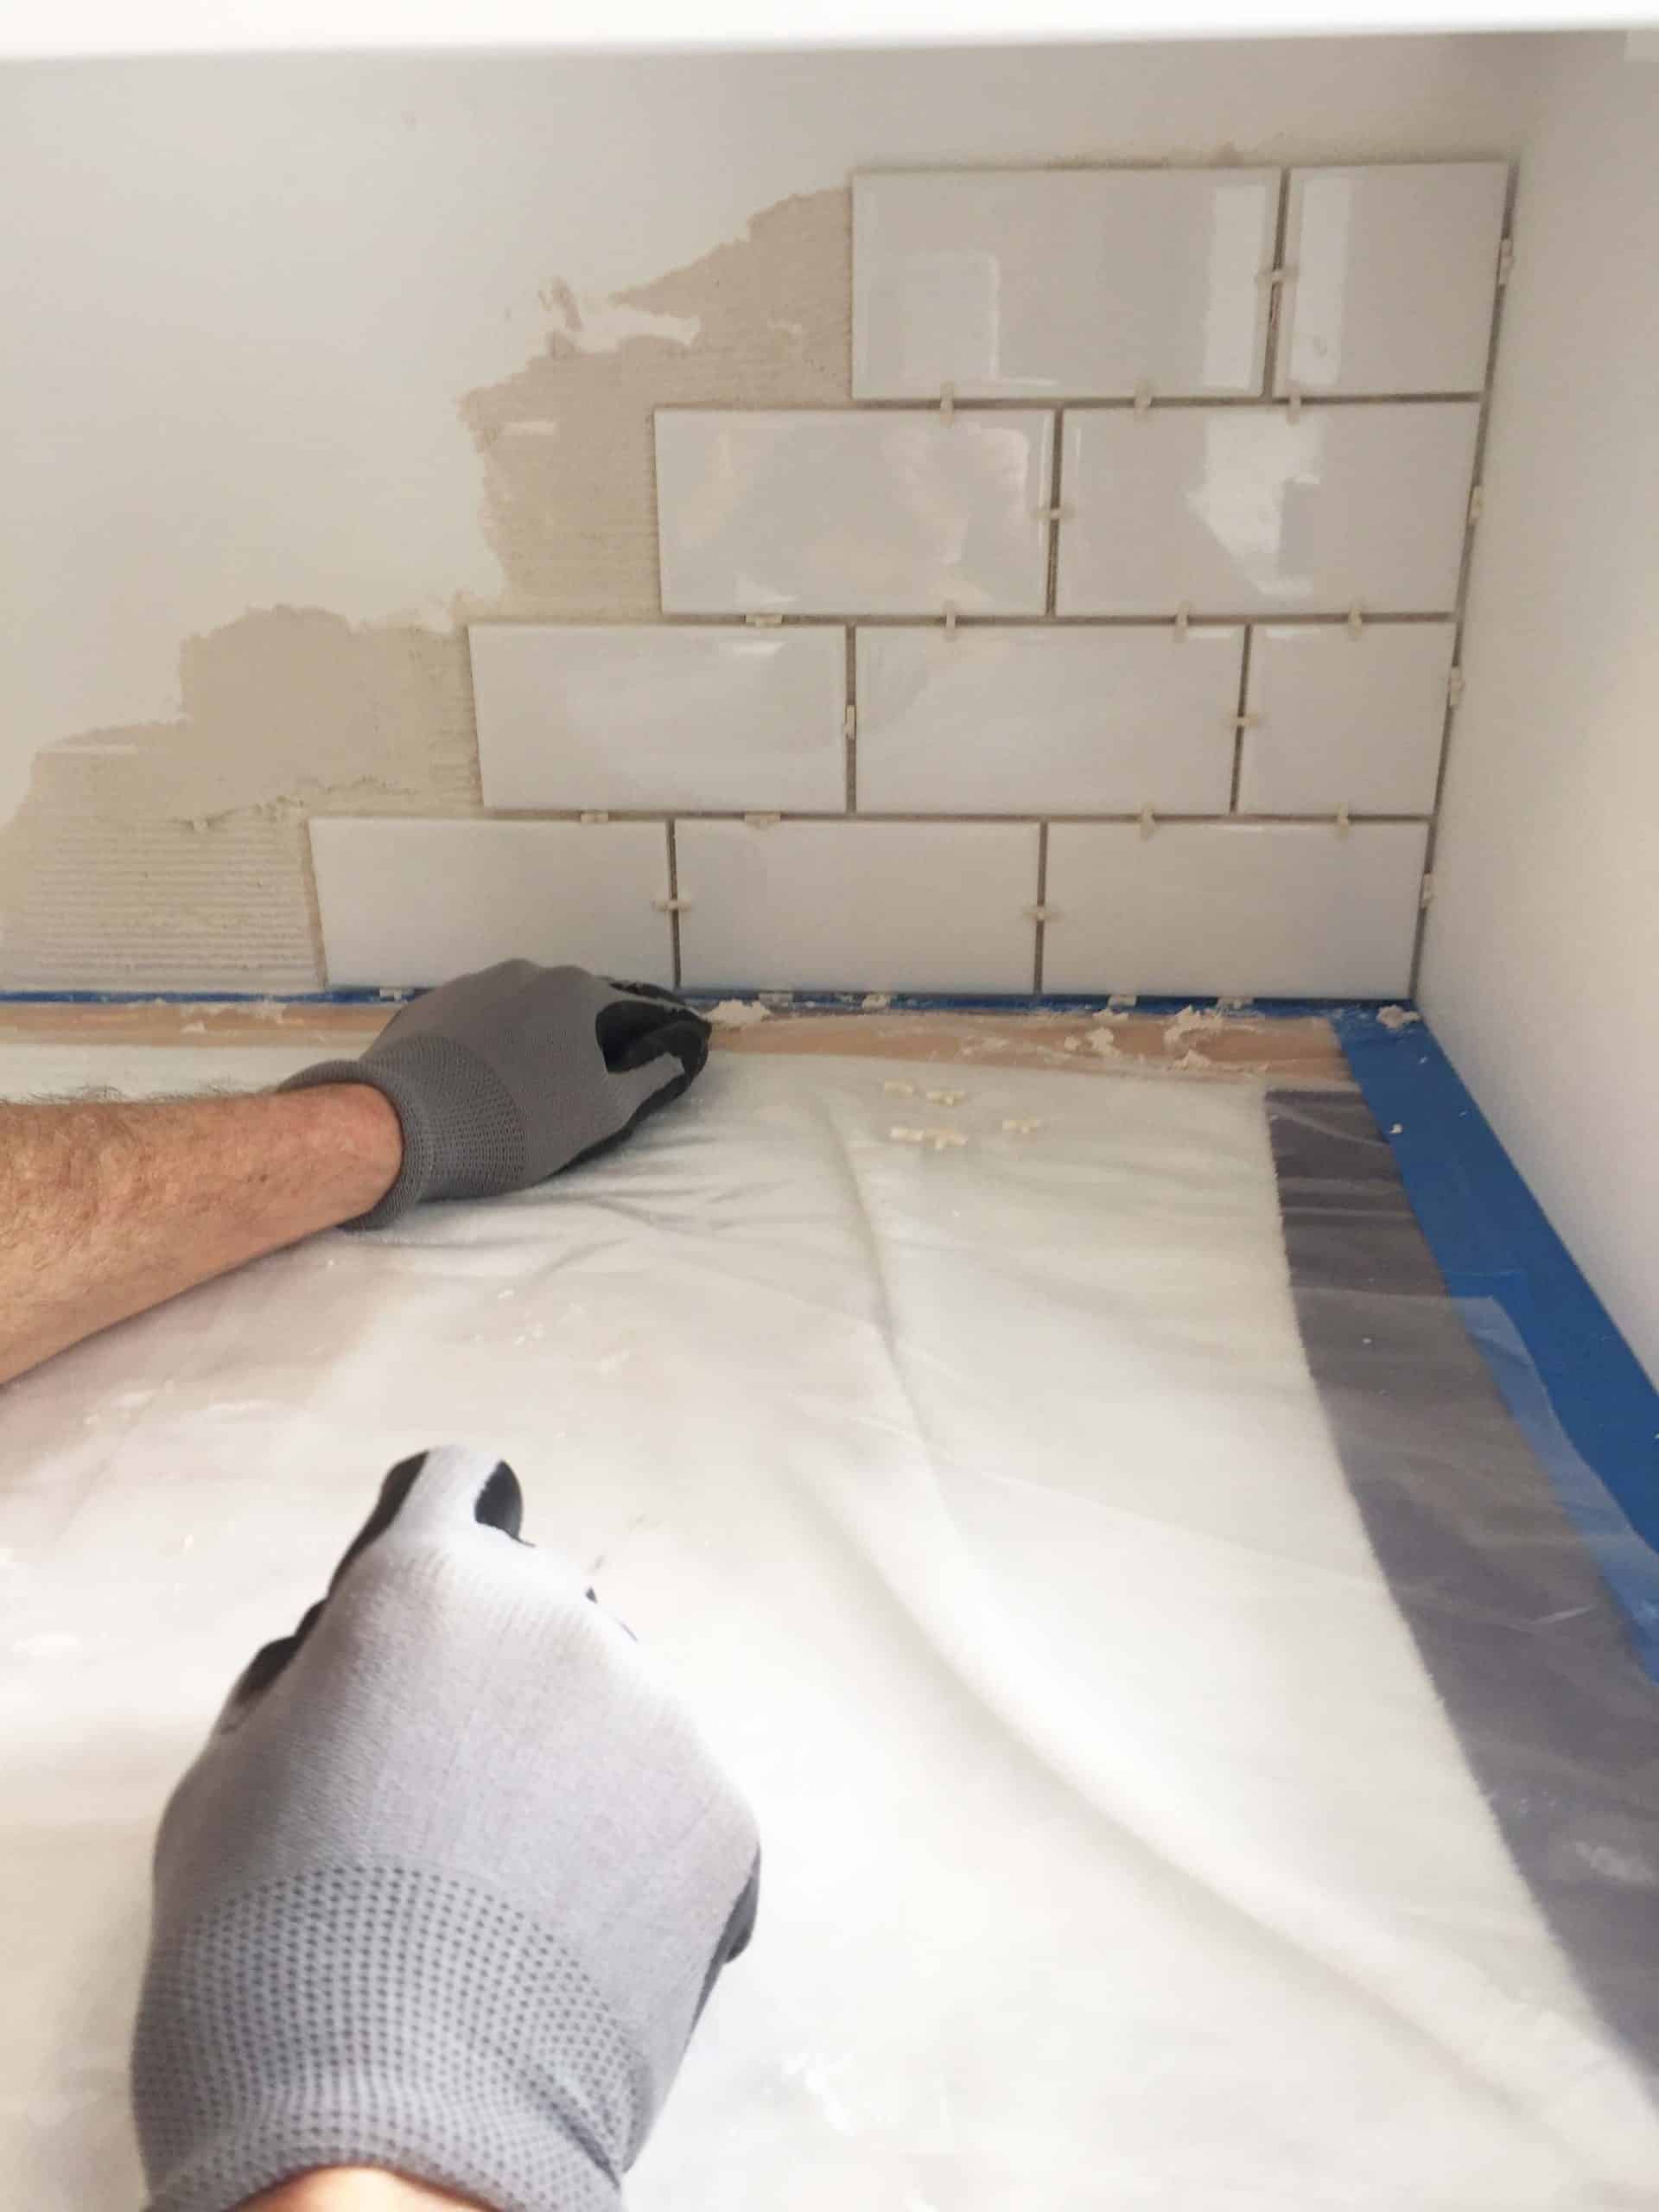
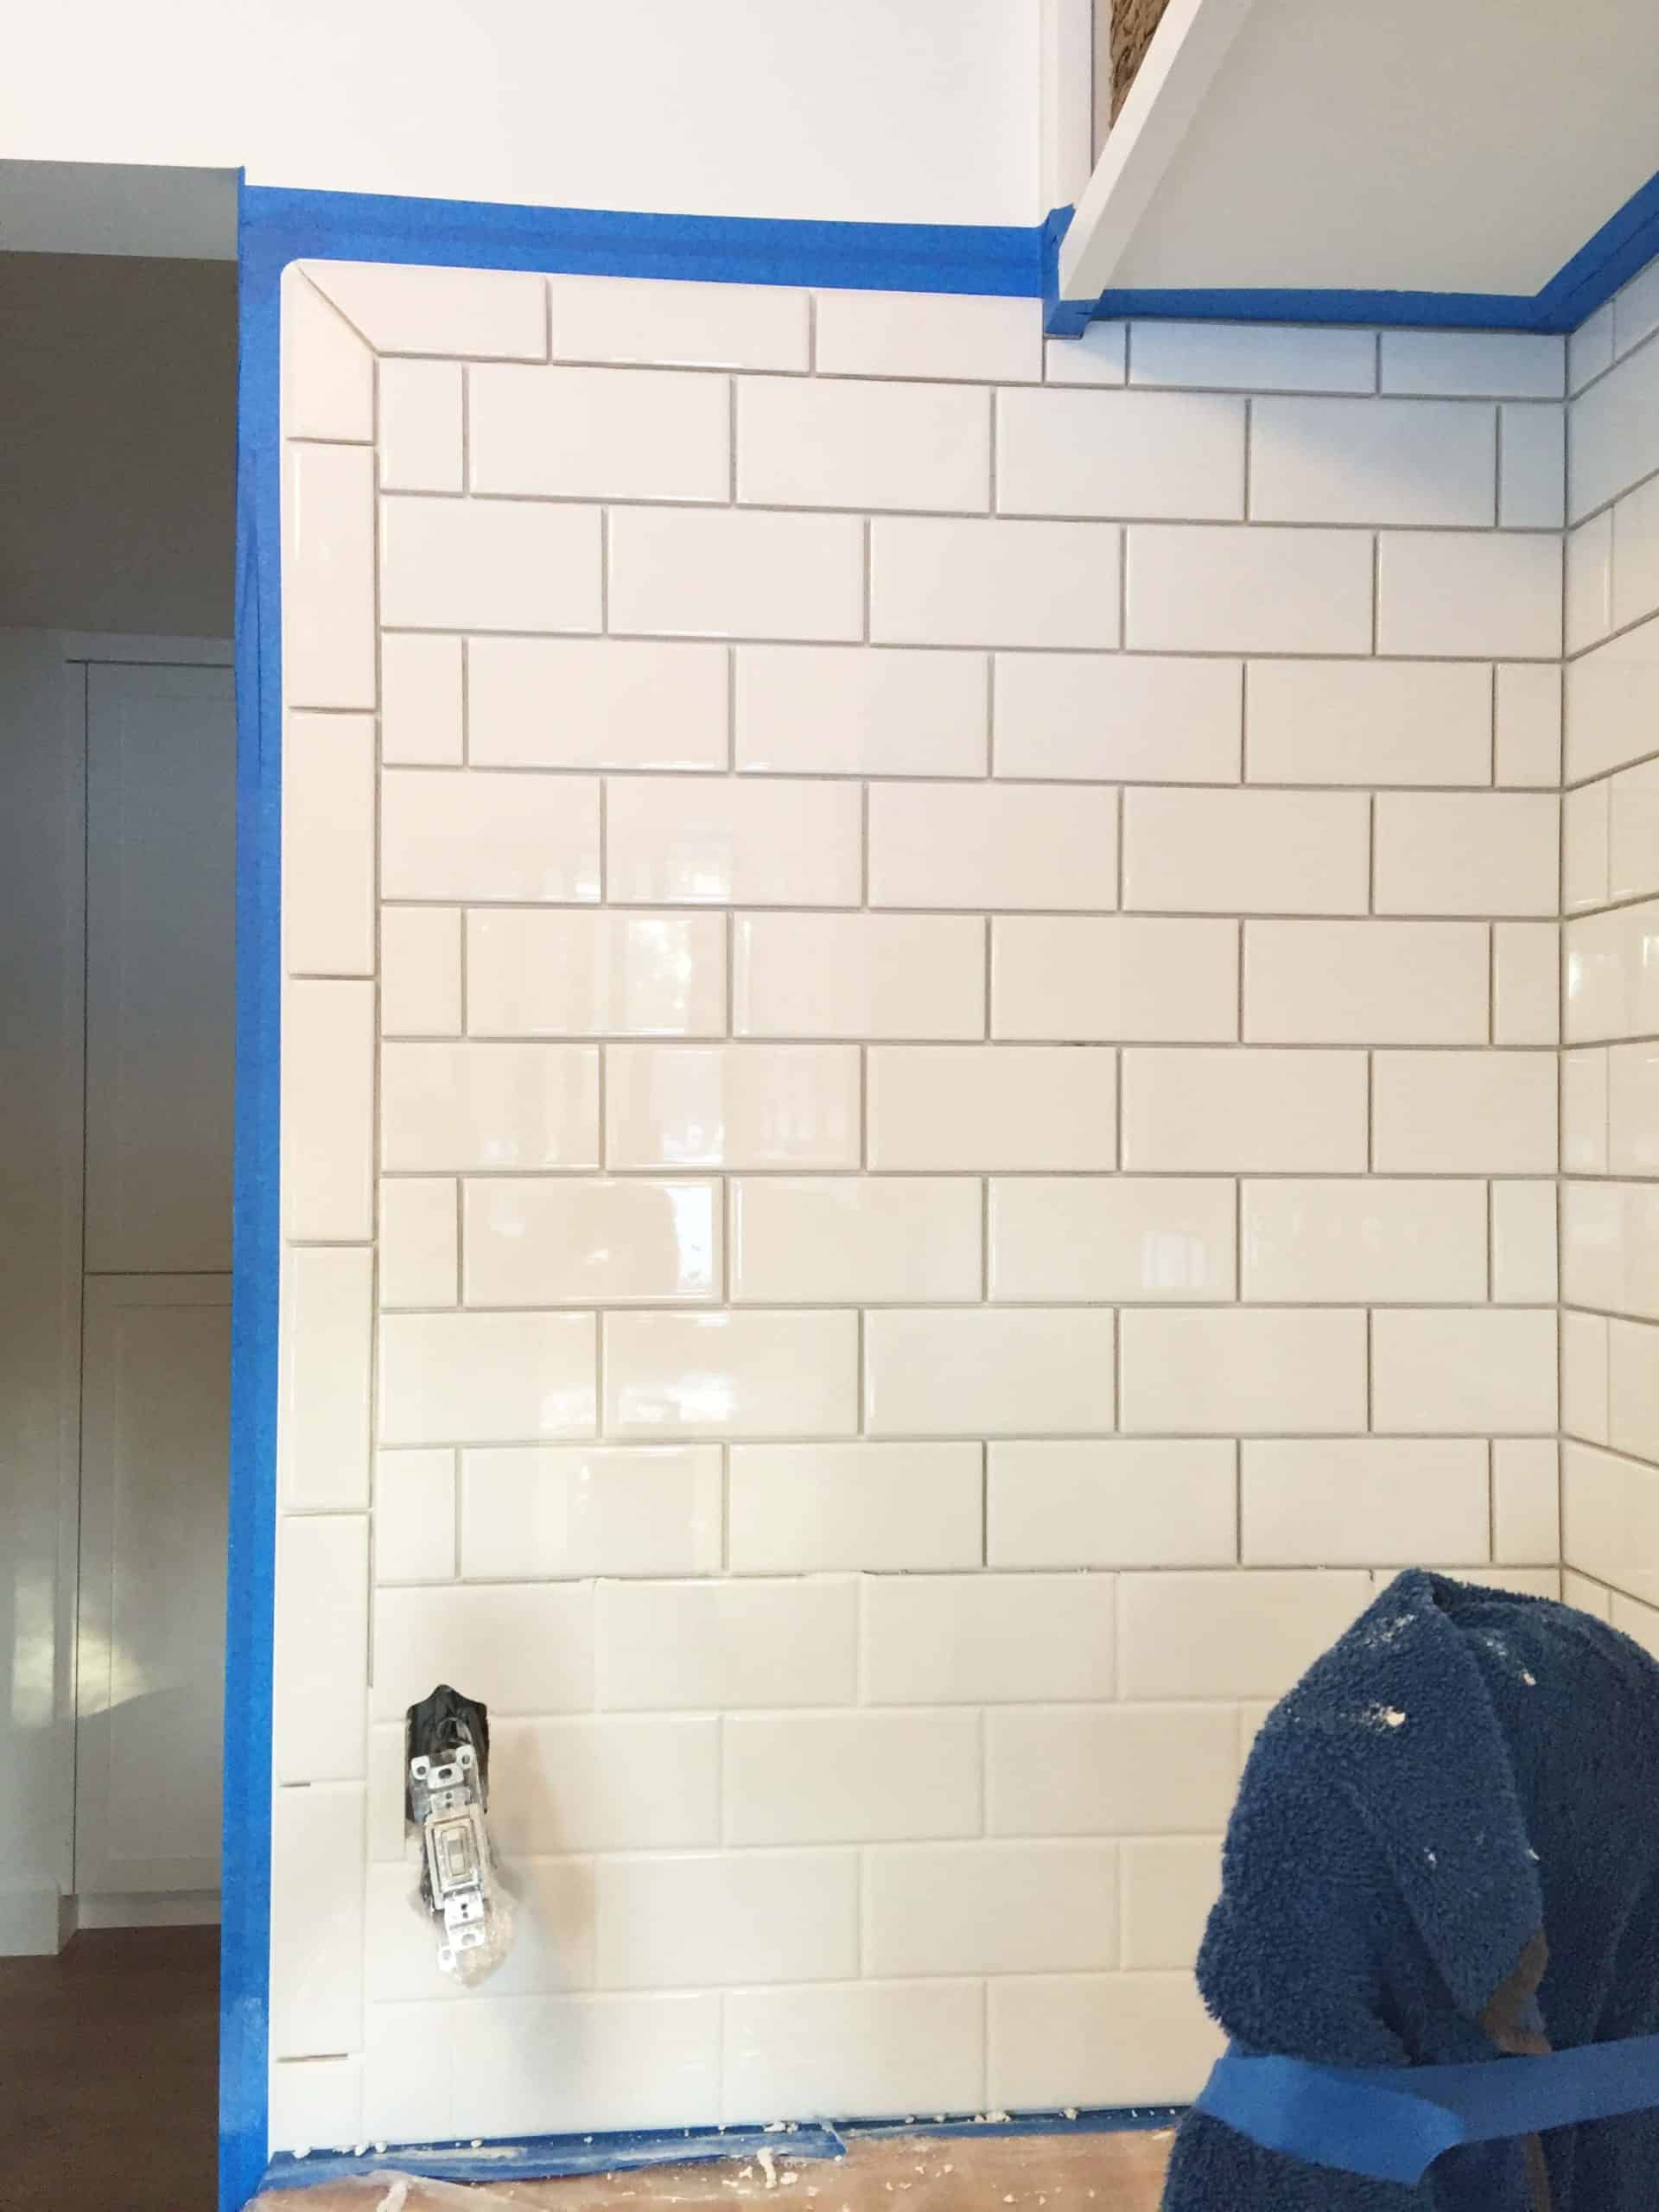
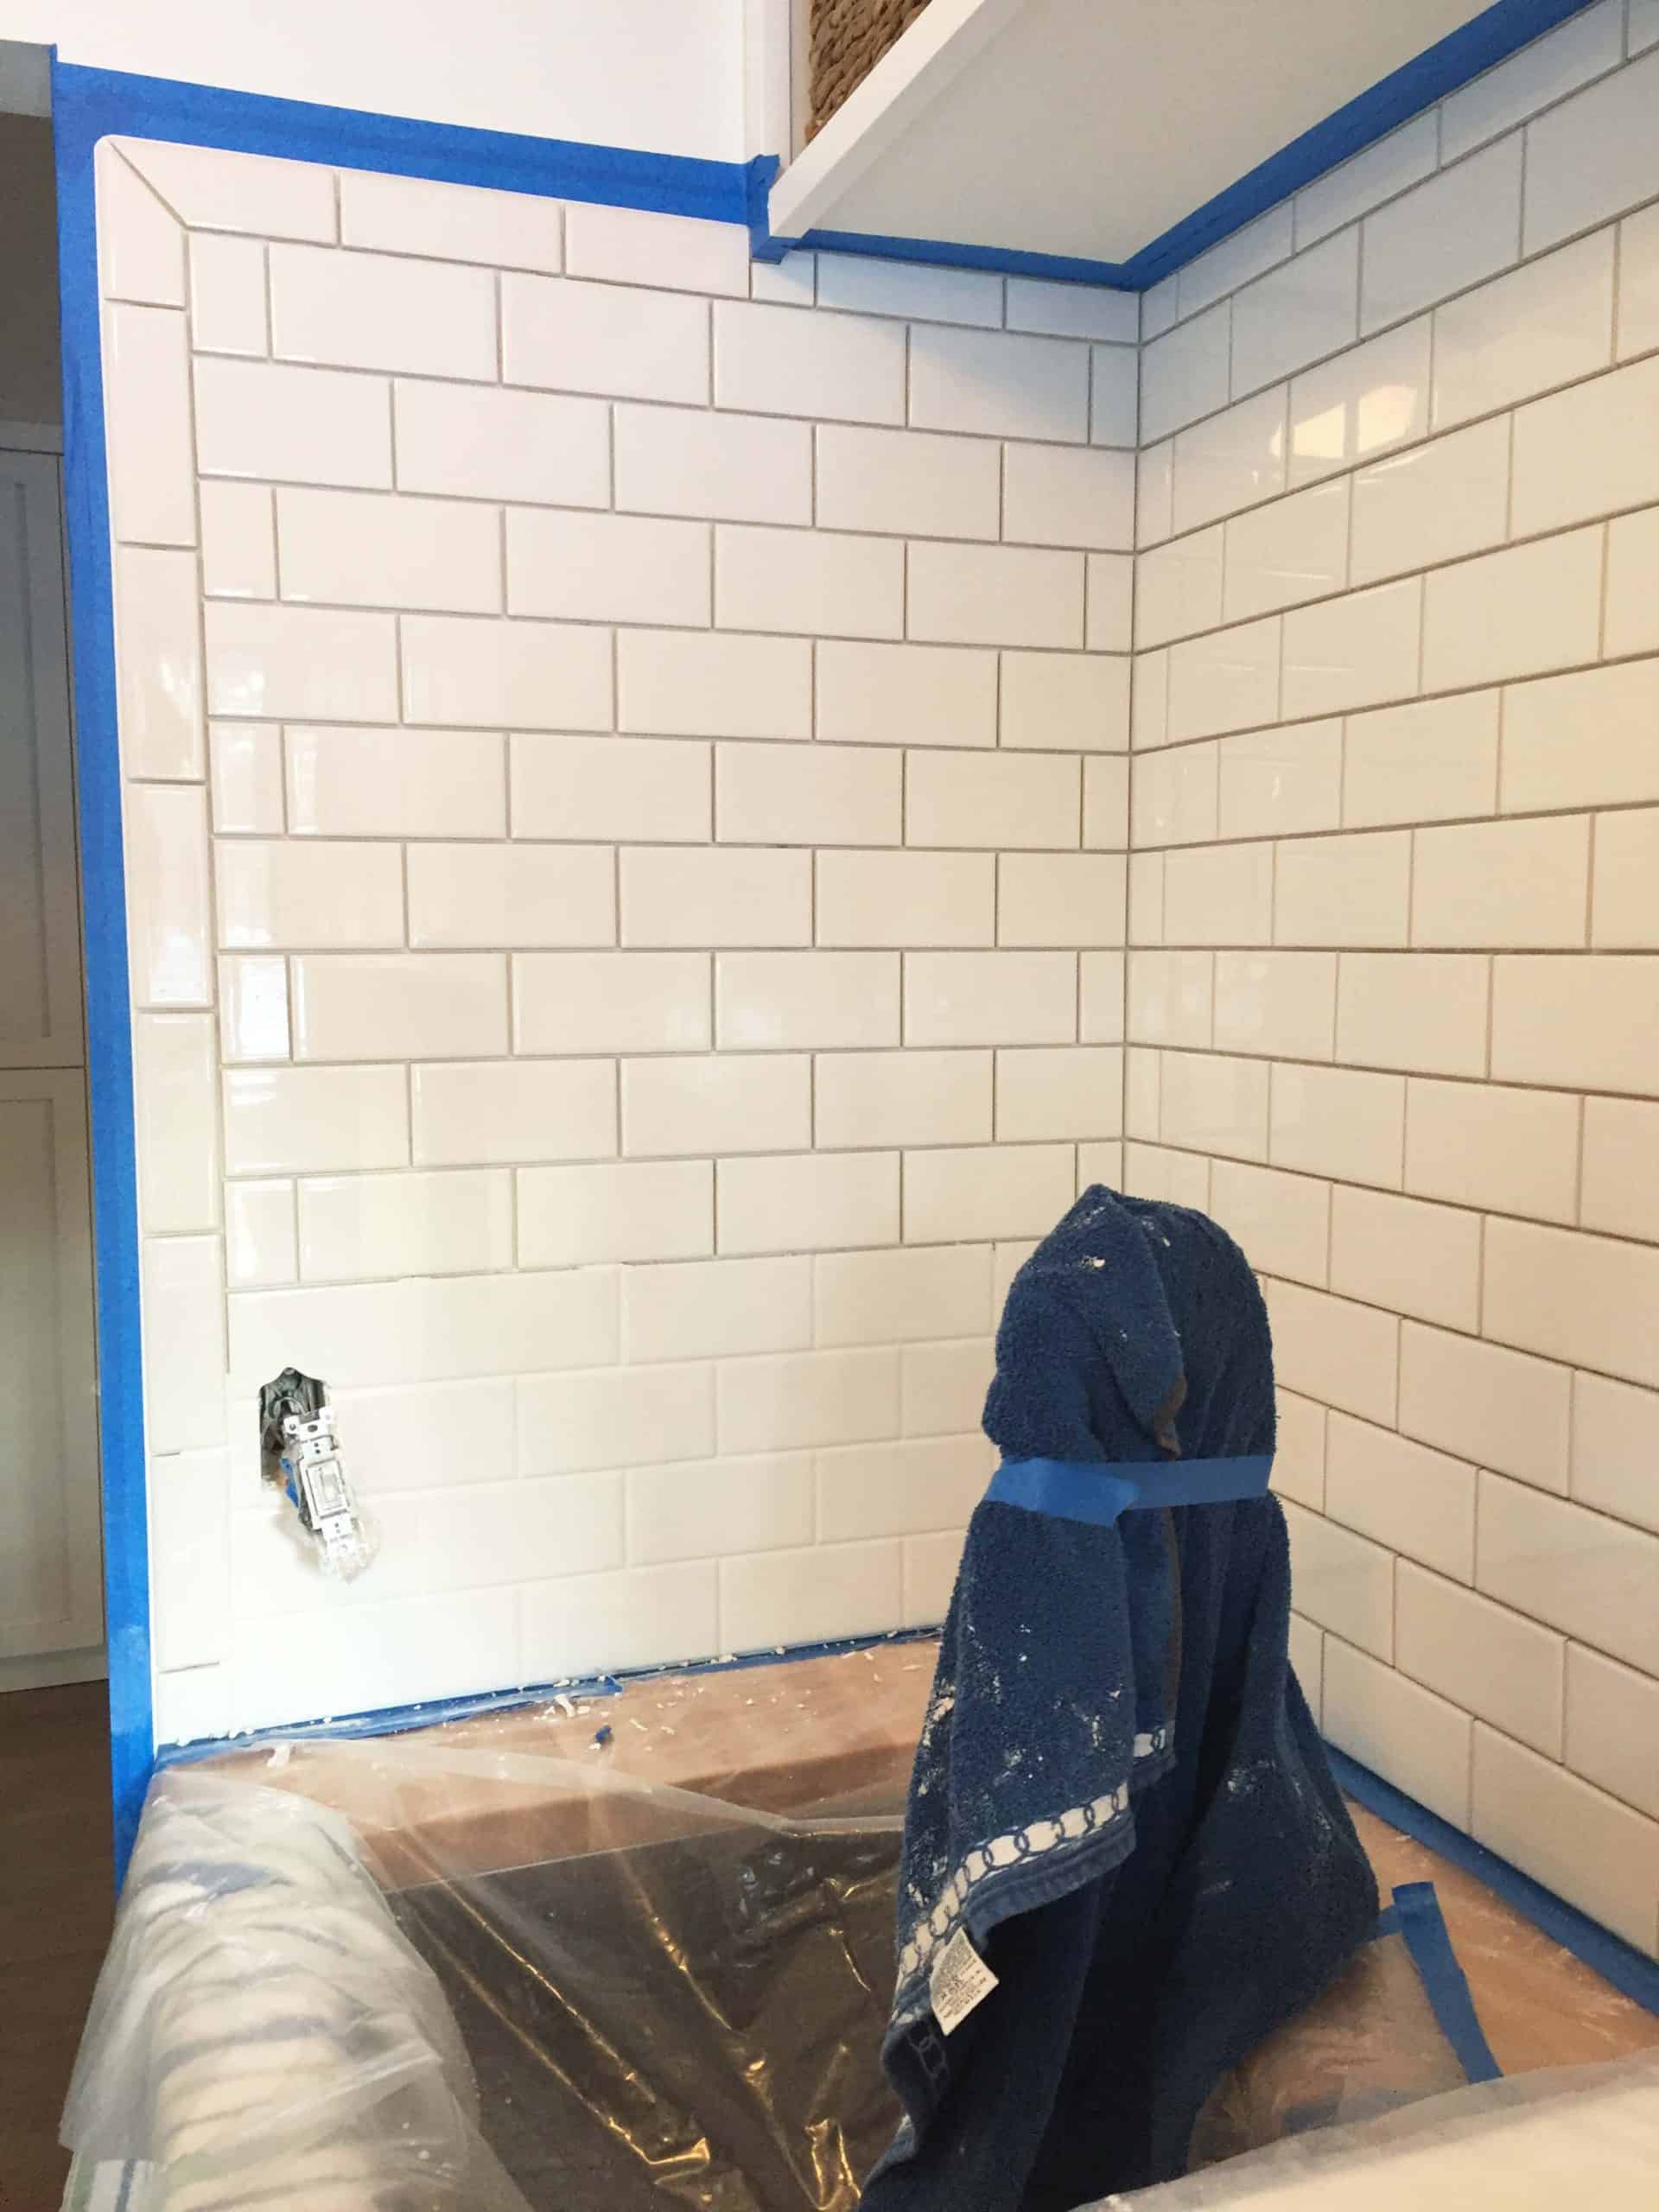
For layout we used a standard “running bond” pattern. This is a very common pattern to use with 3×6 subway tile. Basically it means the center of each tile is lined up with the edge of the tile above it. If you’re interested in finding out about all the different tile patterns that can be done, this post has a lot of good, basic information on them.
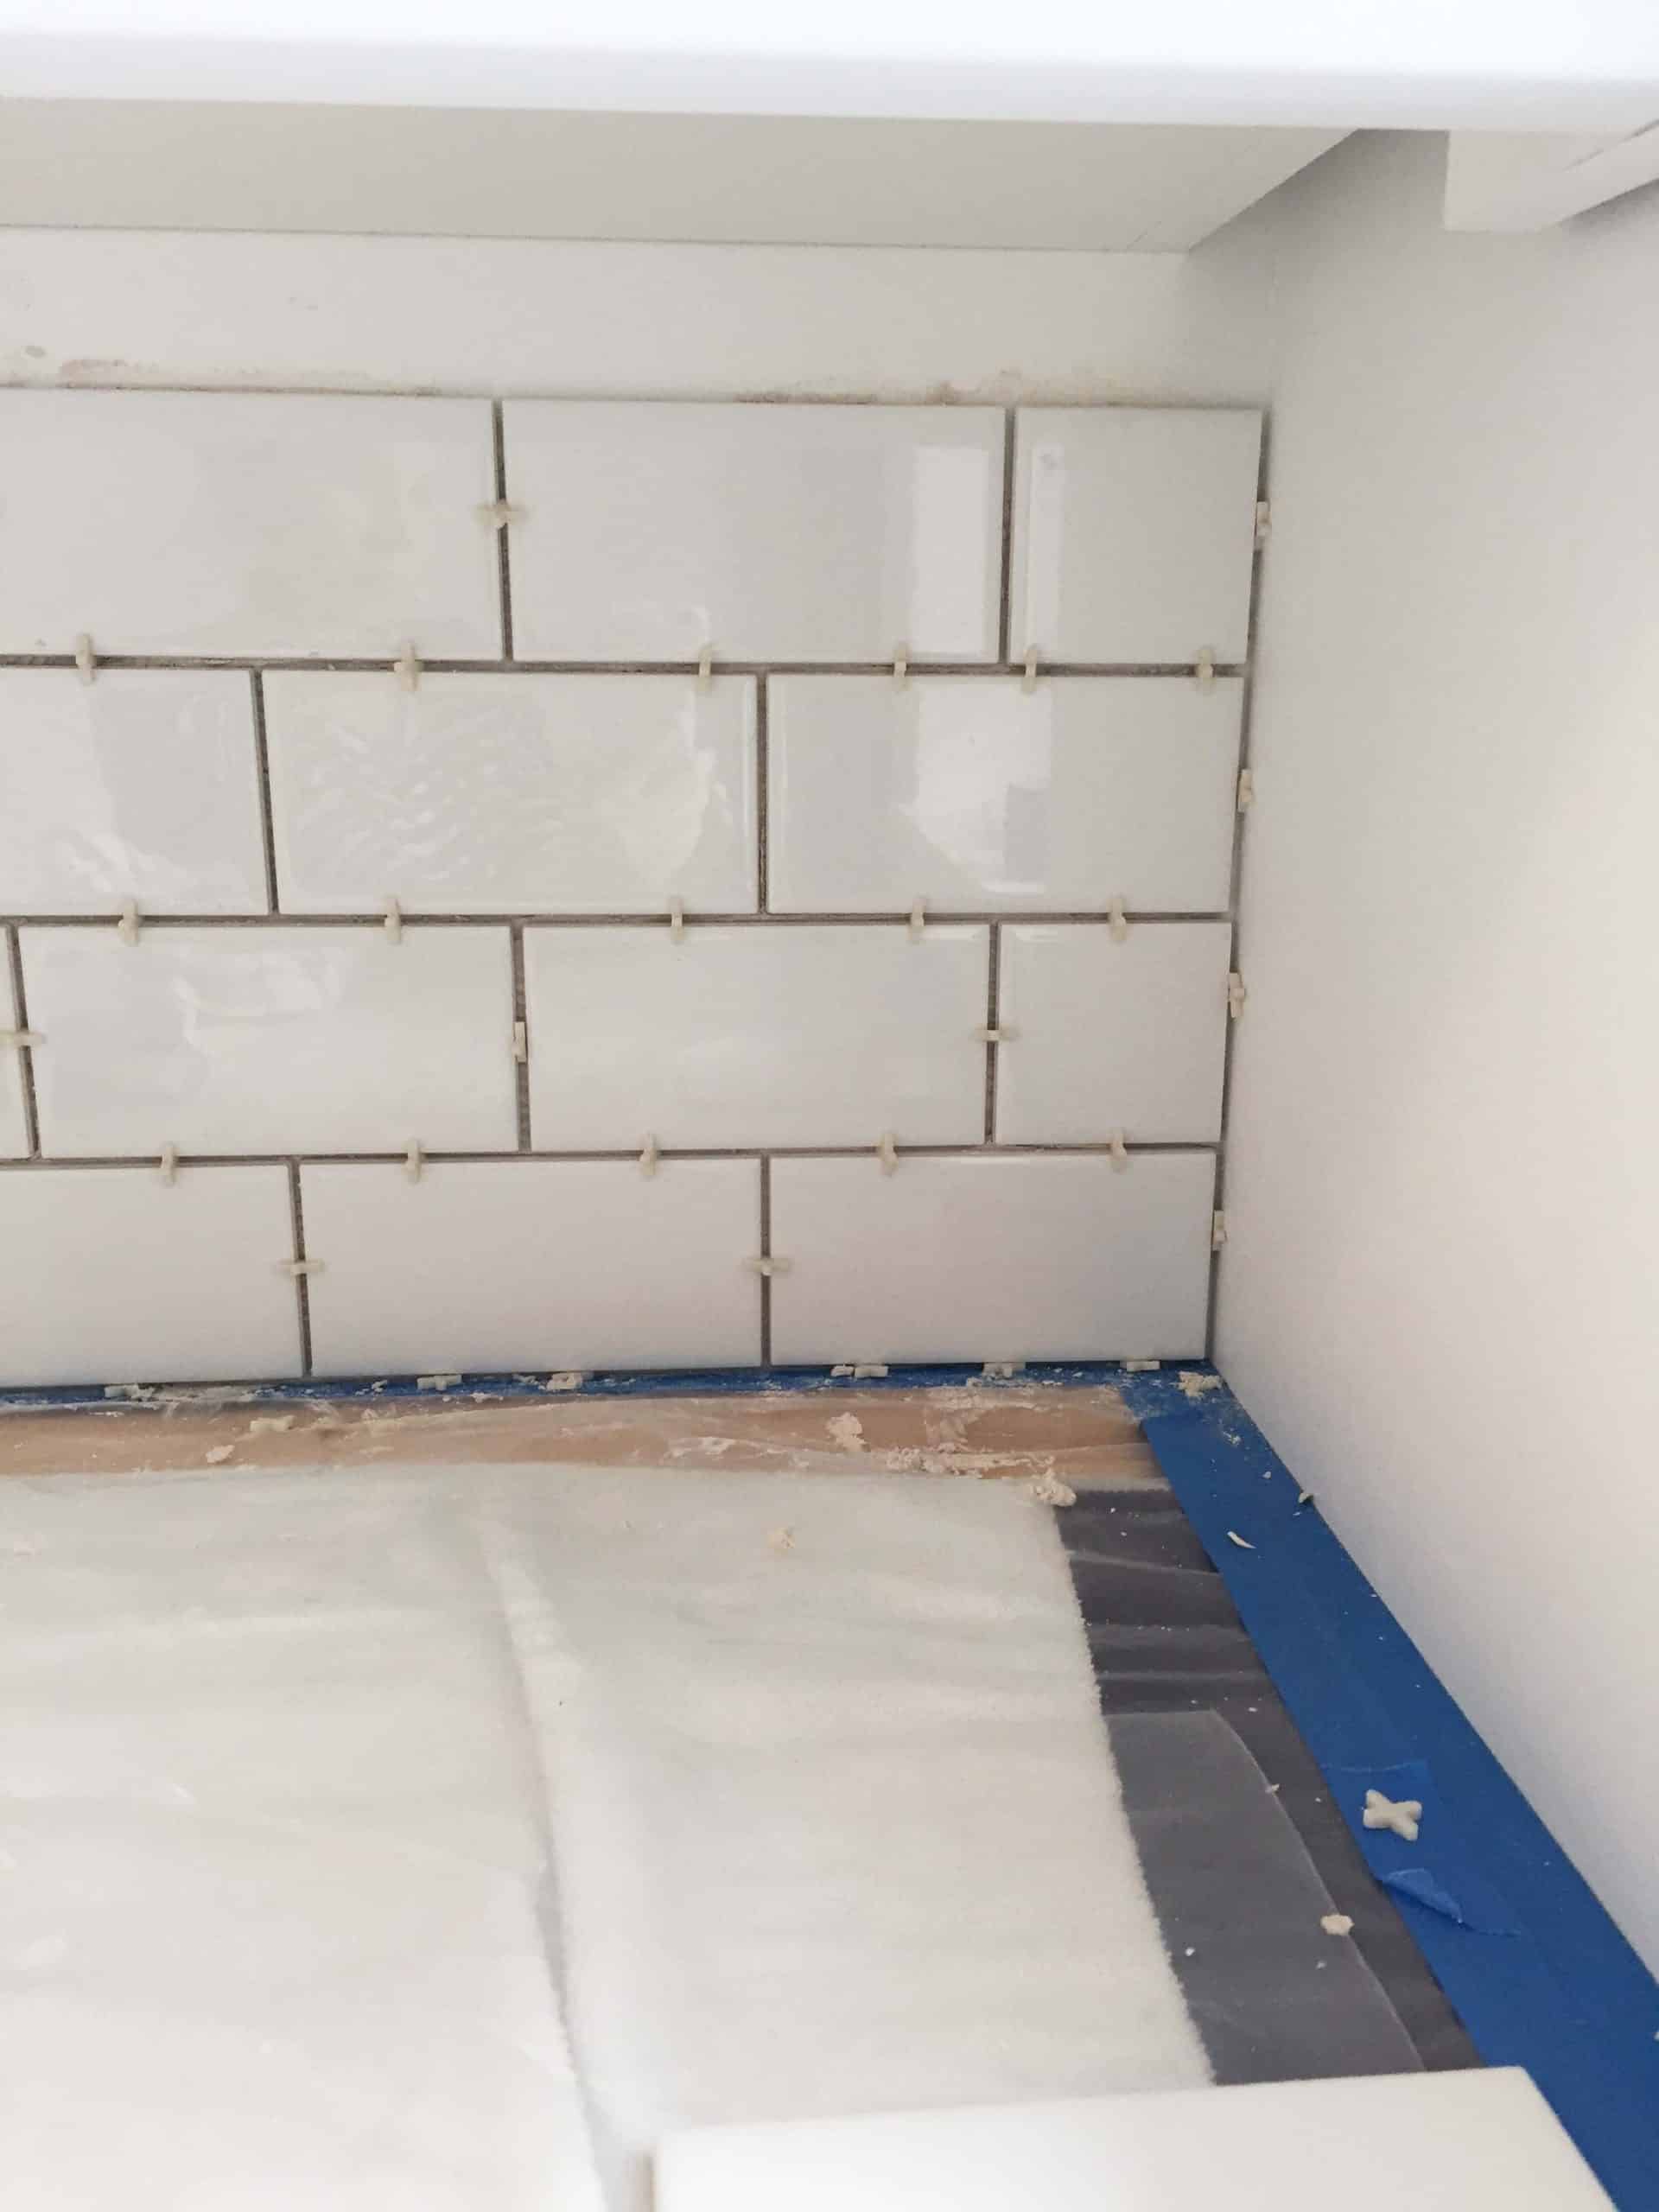
In the picture above, you can see we started at the corner wall using alternate full tiles and tile cut in half to start our running bond pattern.
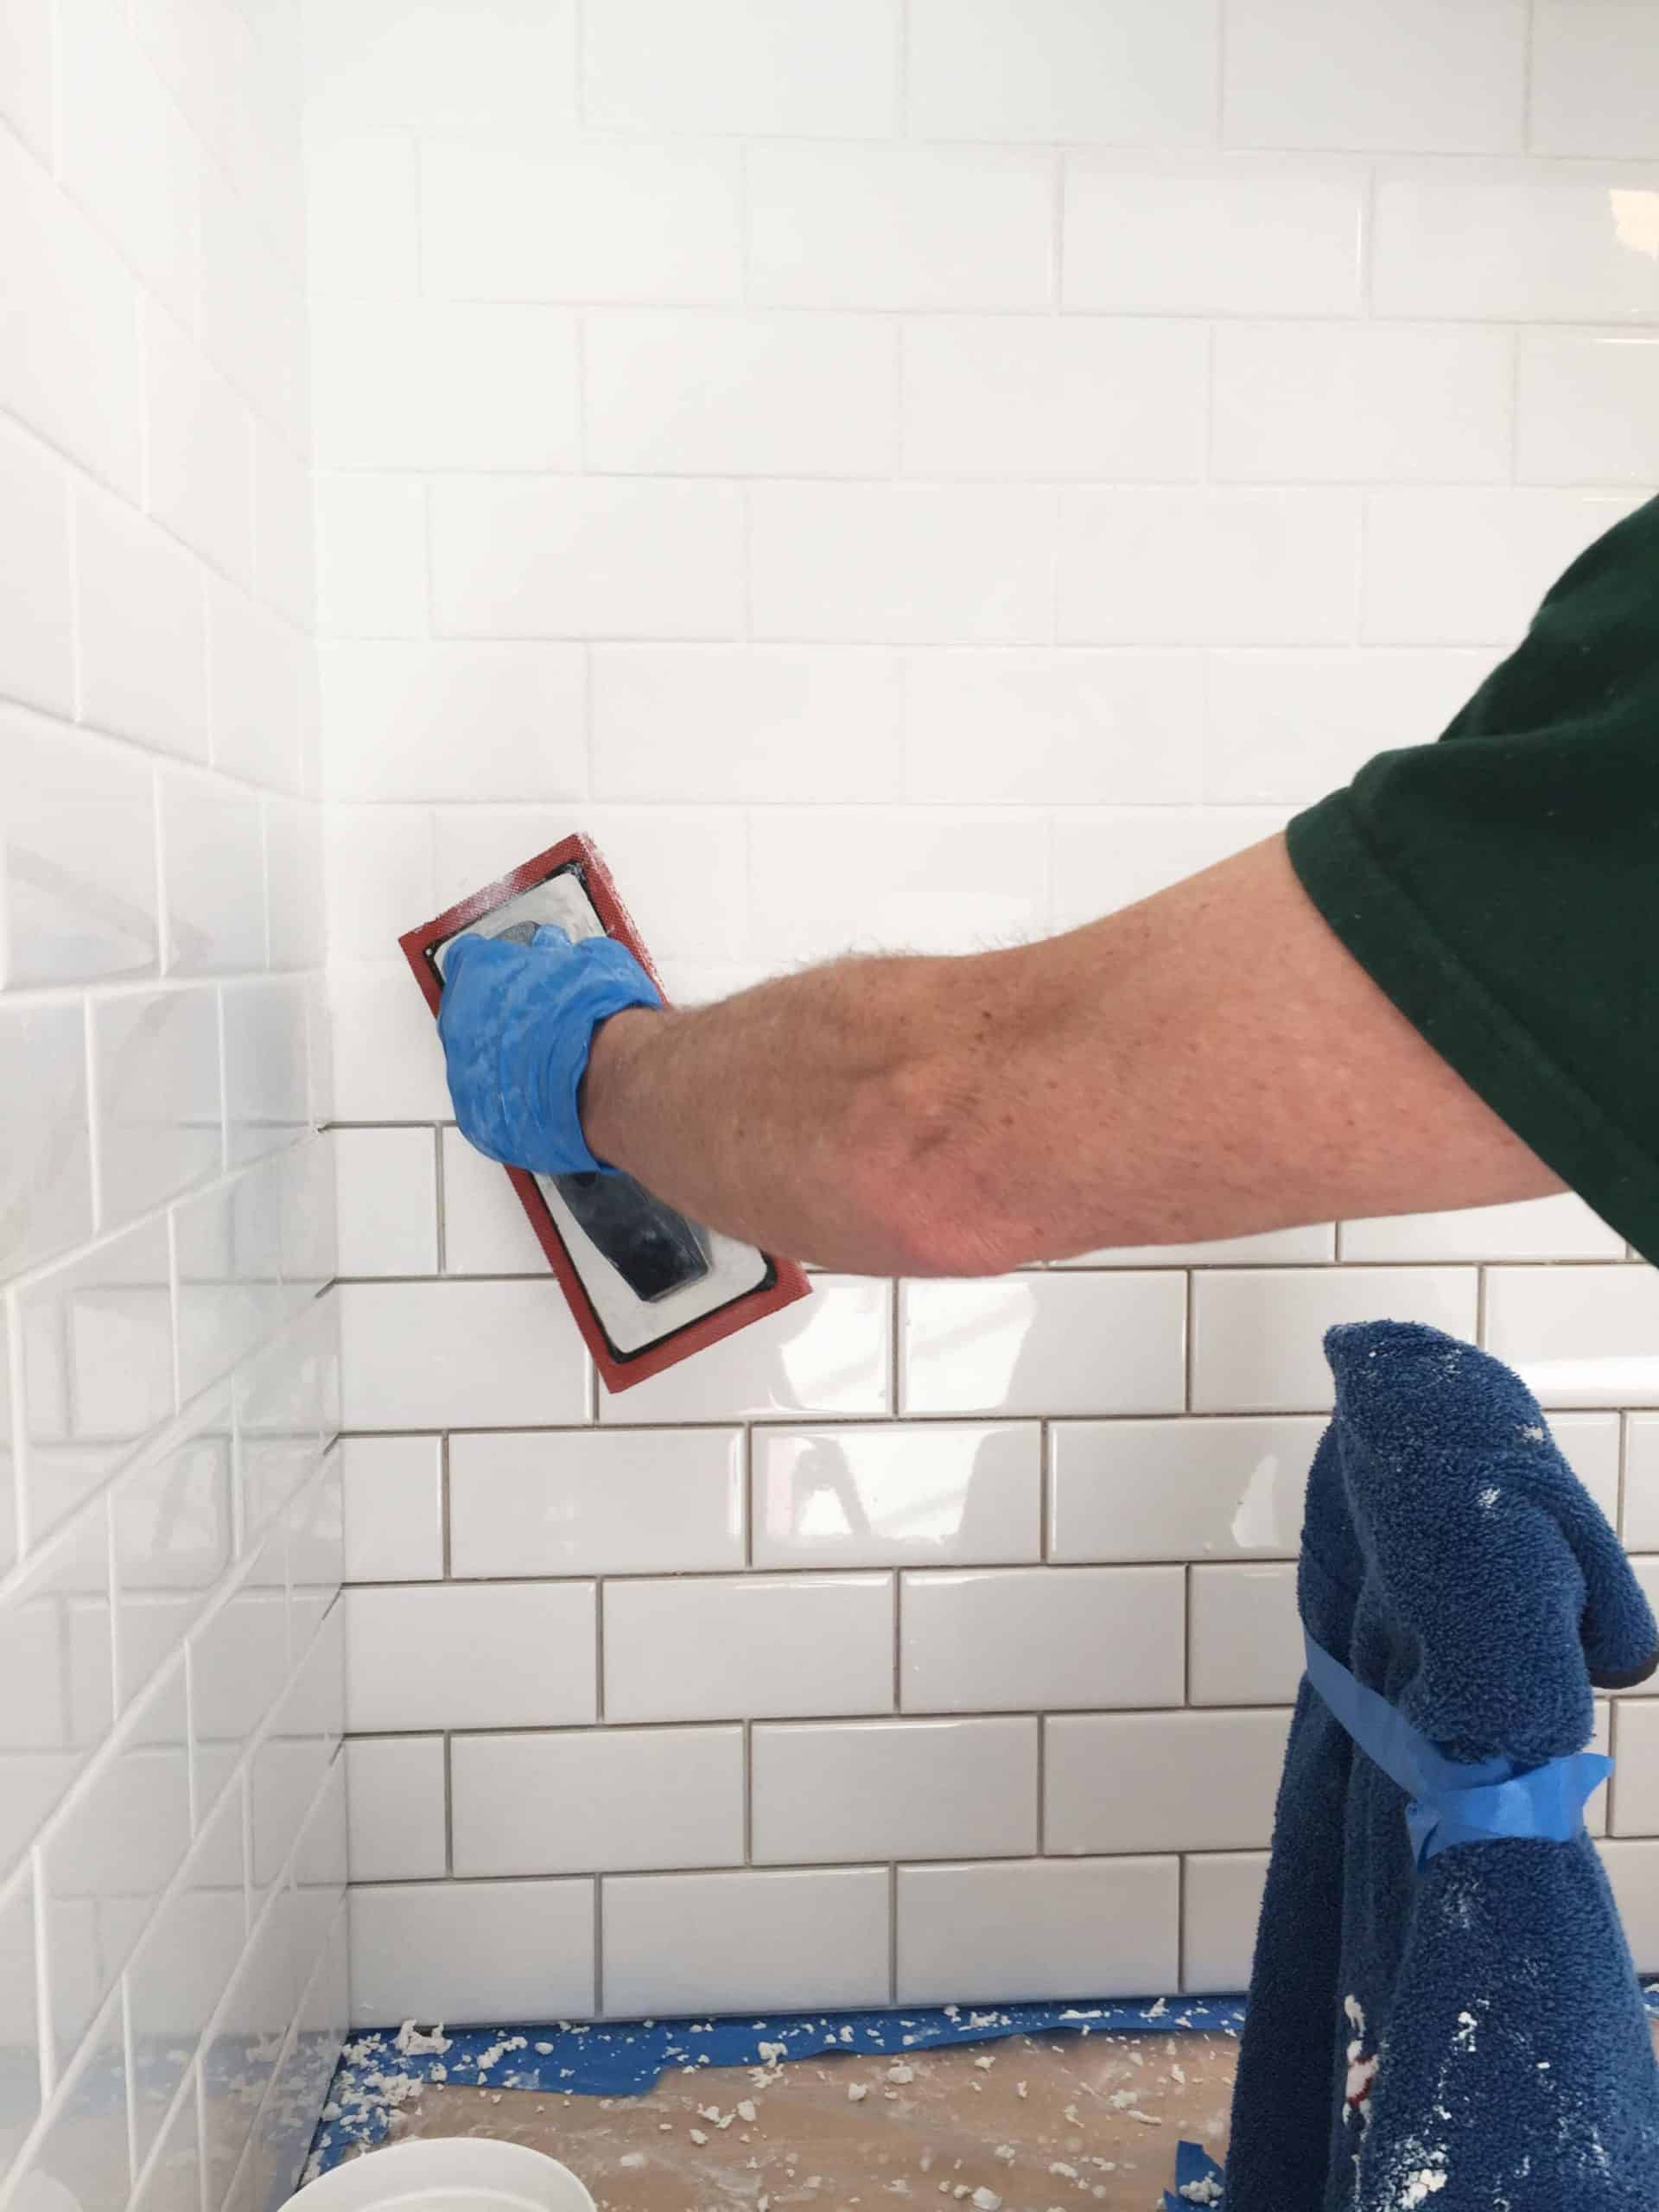
How To Grout A Subway Tile Backsplash
Grouting was actually harder than I thought it would be. There is definitely a certain technique to it and a lot (lot!) of wiping down your tile with a wet sponge. The key is to get a rhythm going where you wipe the tiles down enough so there isn’t any grout residue left, but not so much that you actually start pulling the grout out of the grout lines with too much cleaning.
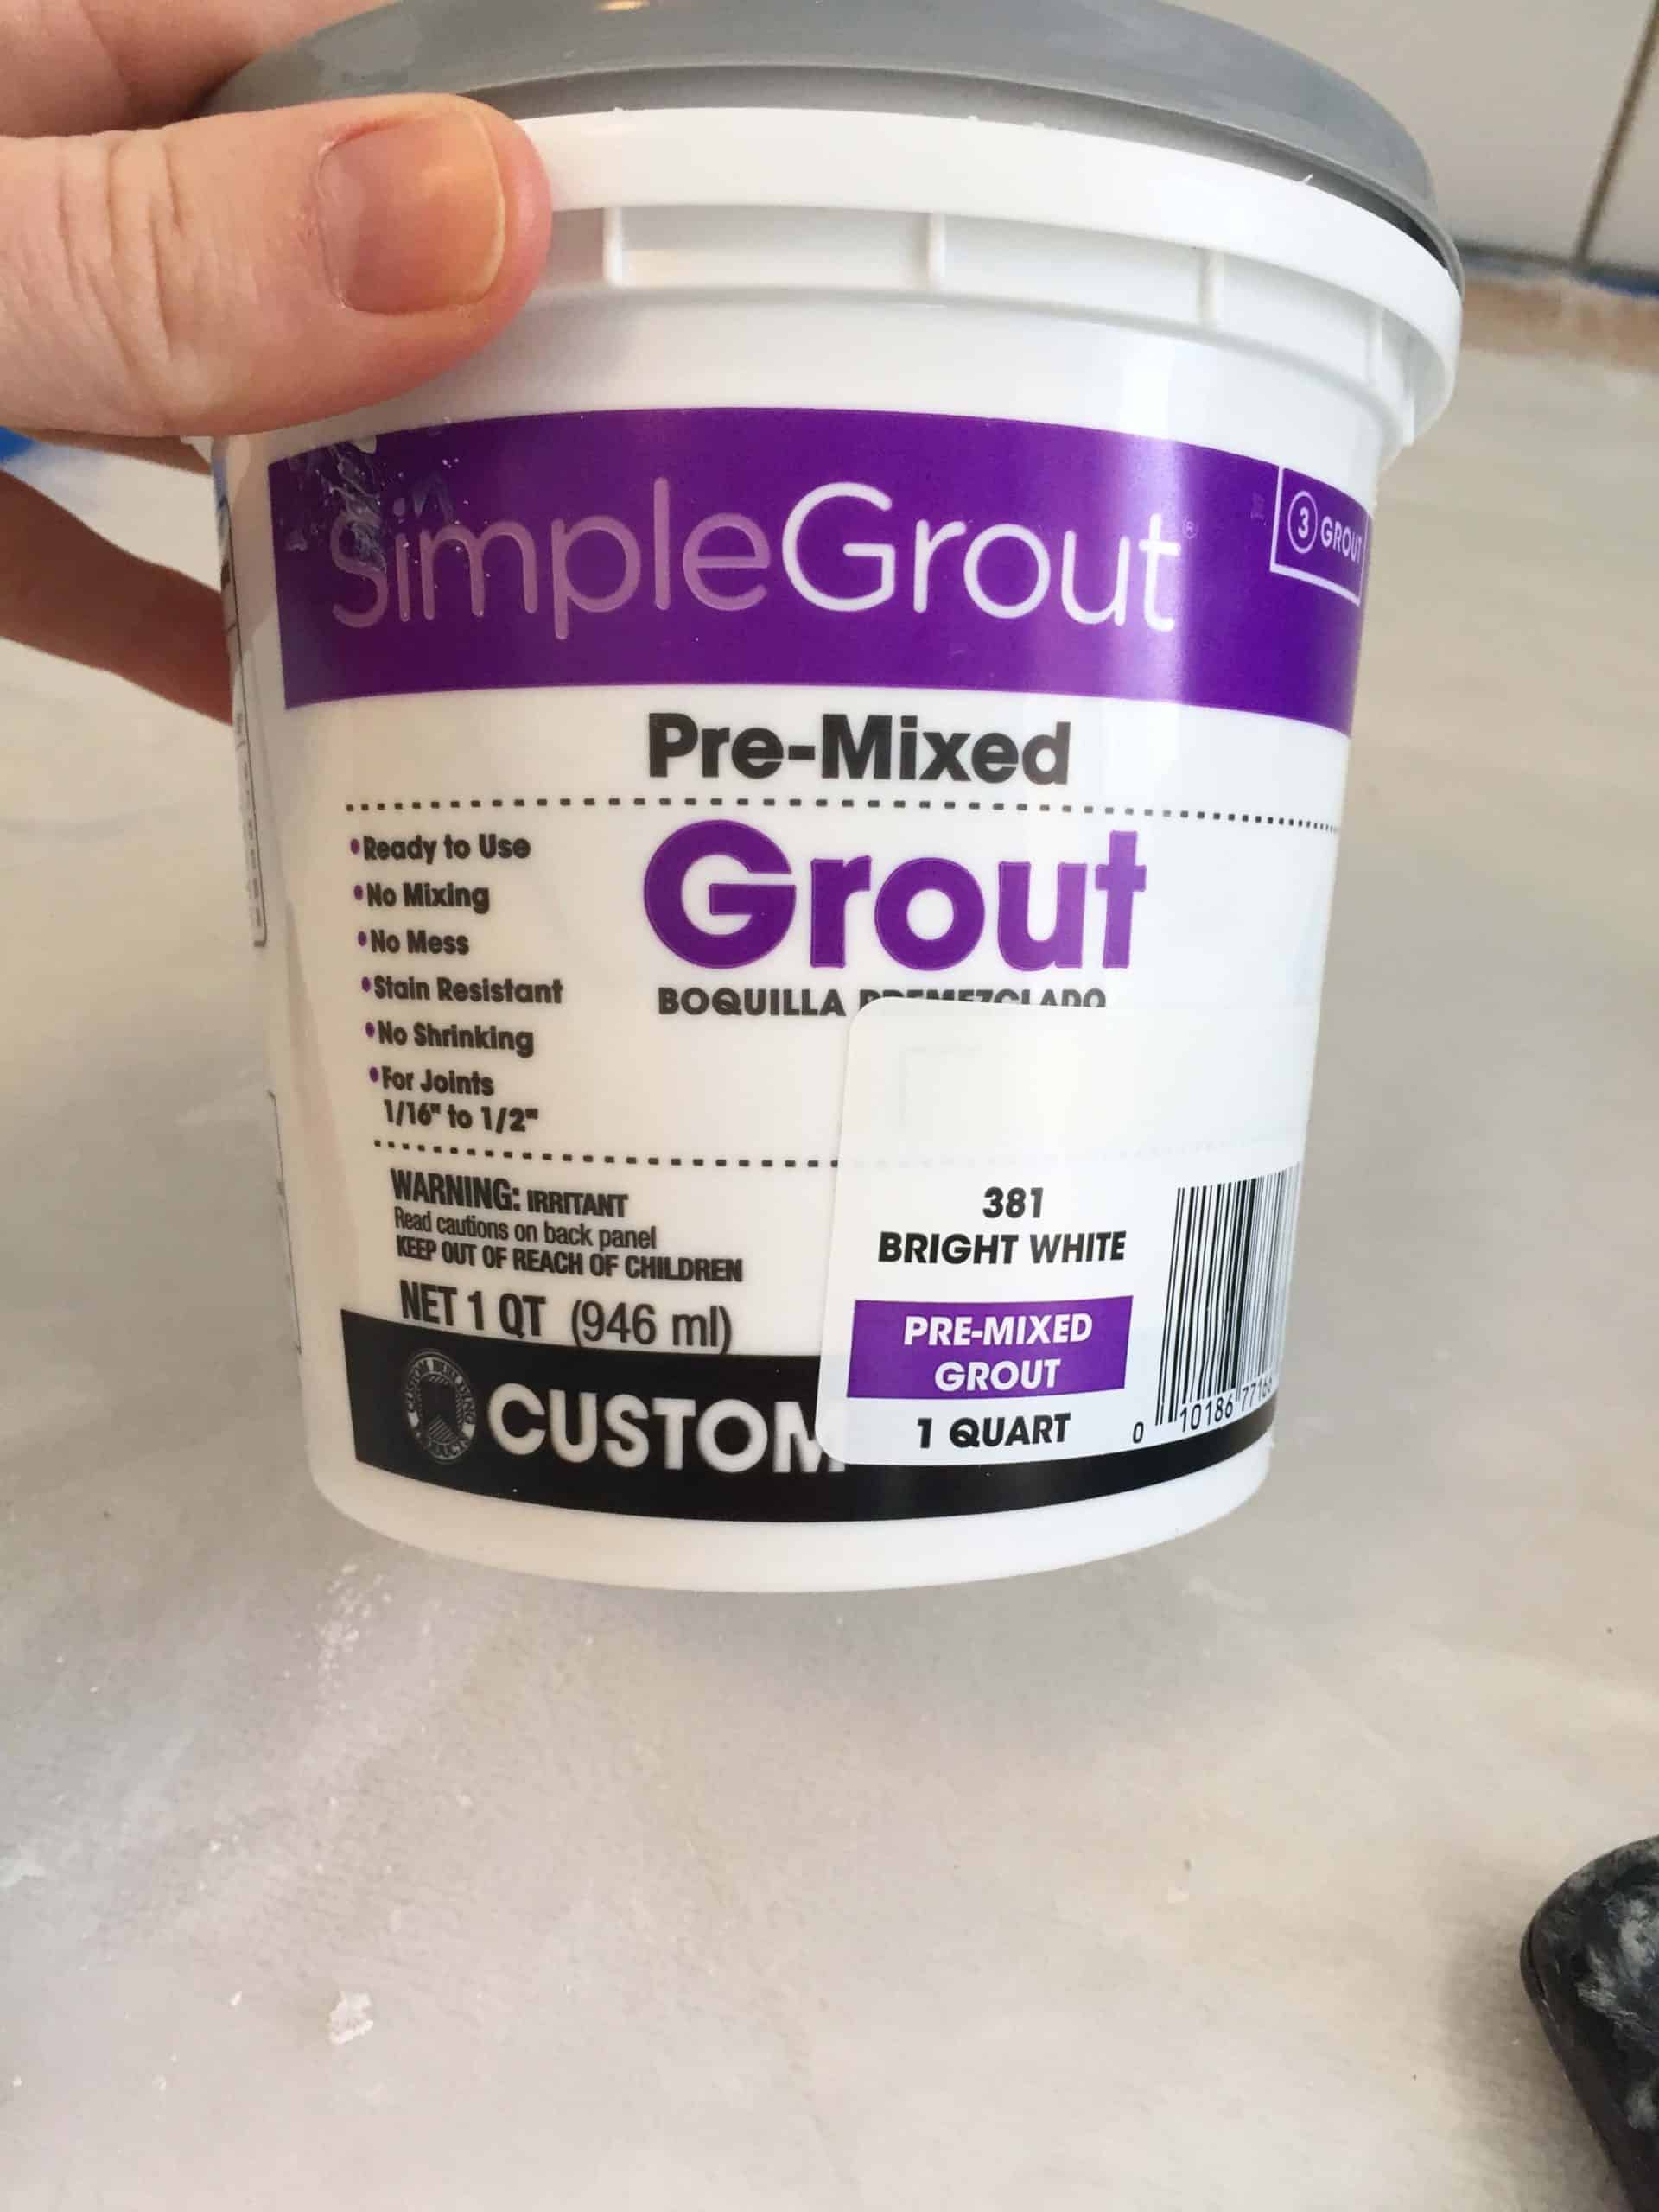
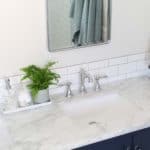
We used a sanded, premixed grout in bright white to match our subway tile. I can’t sing the praises of premixed grout enough. For a first time tiling project, it’s a must!
Creating A Uniform Base Grout Line
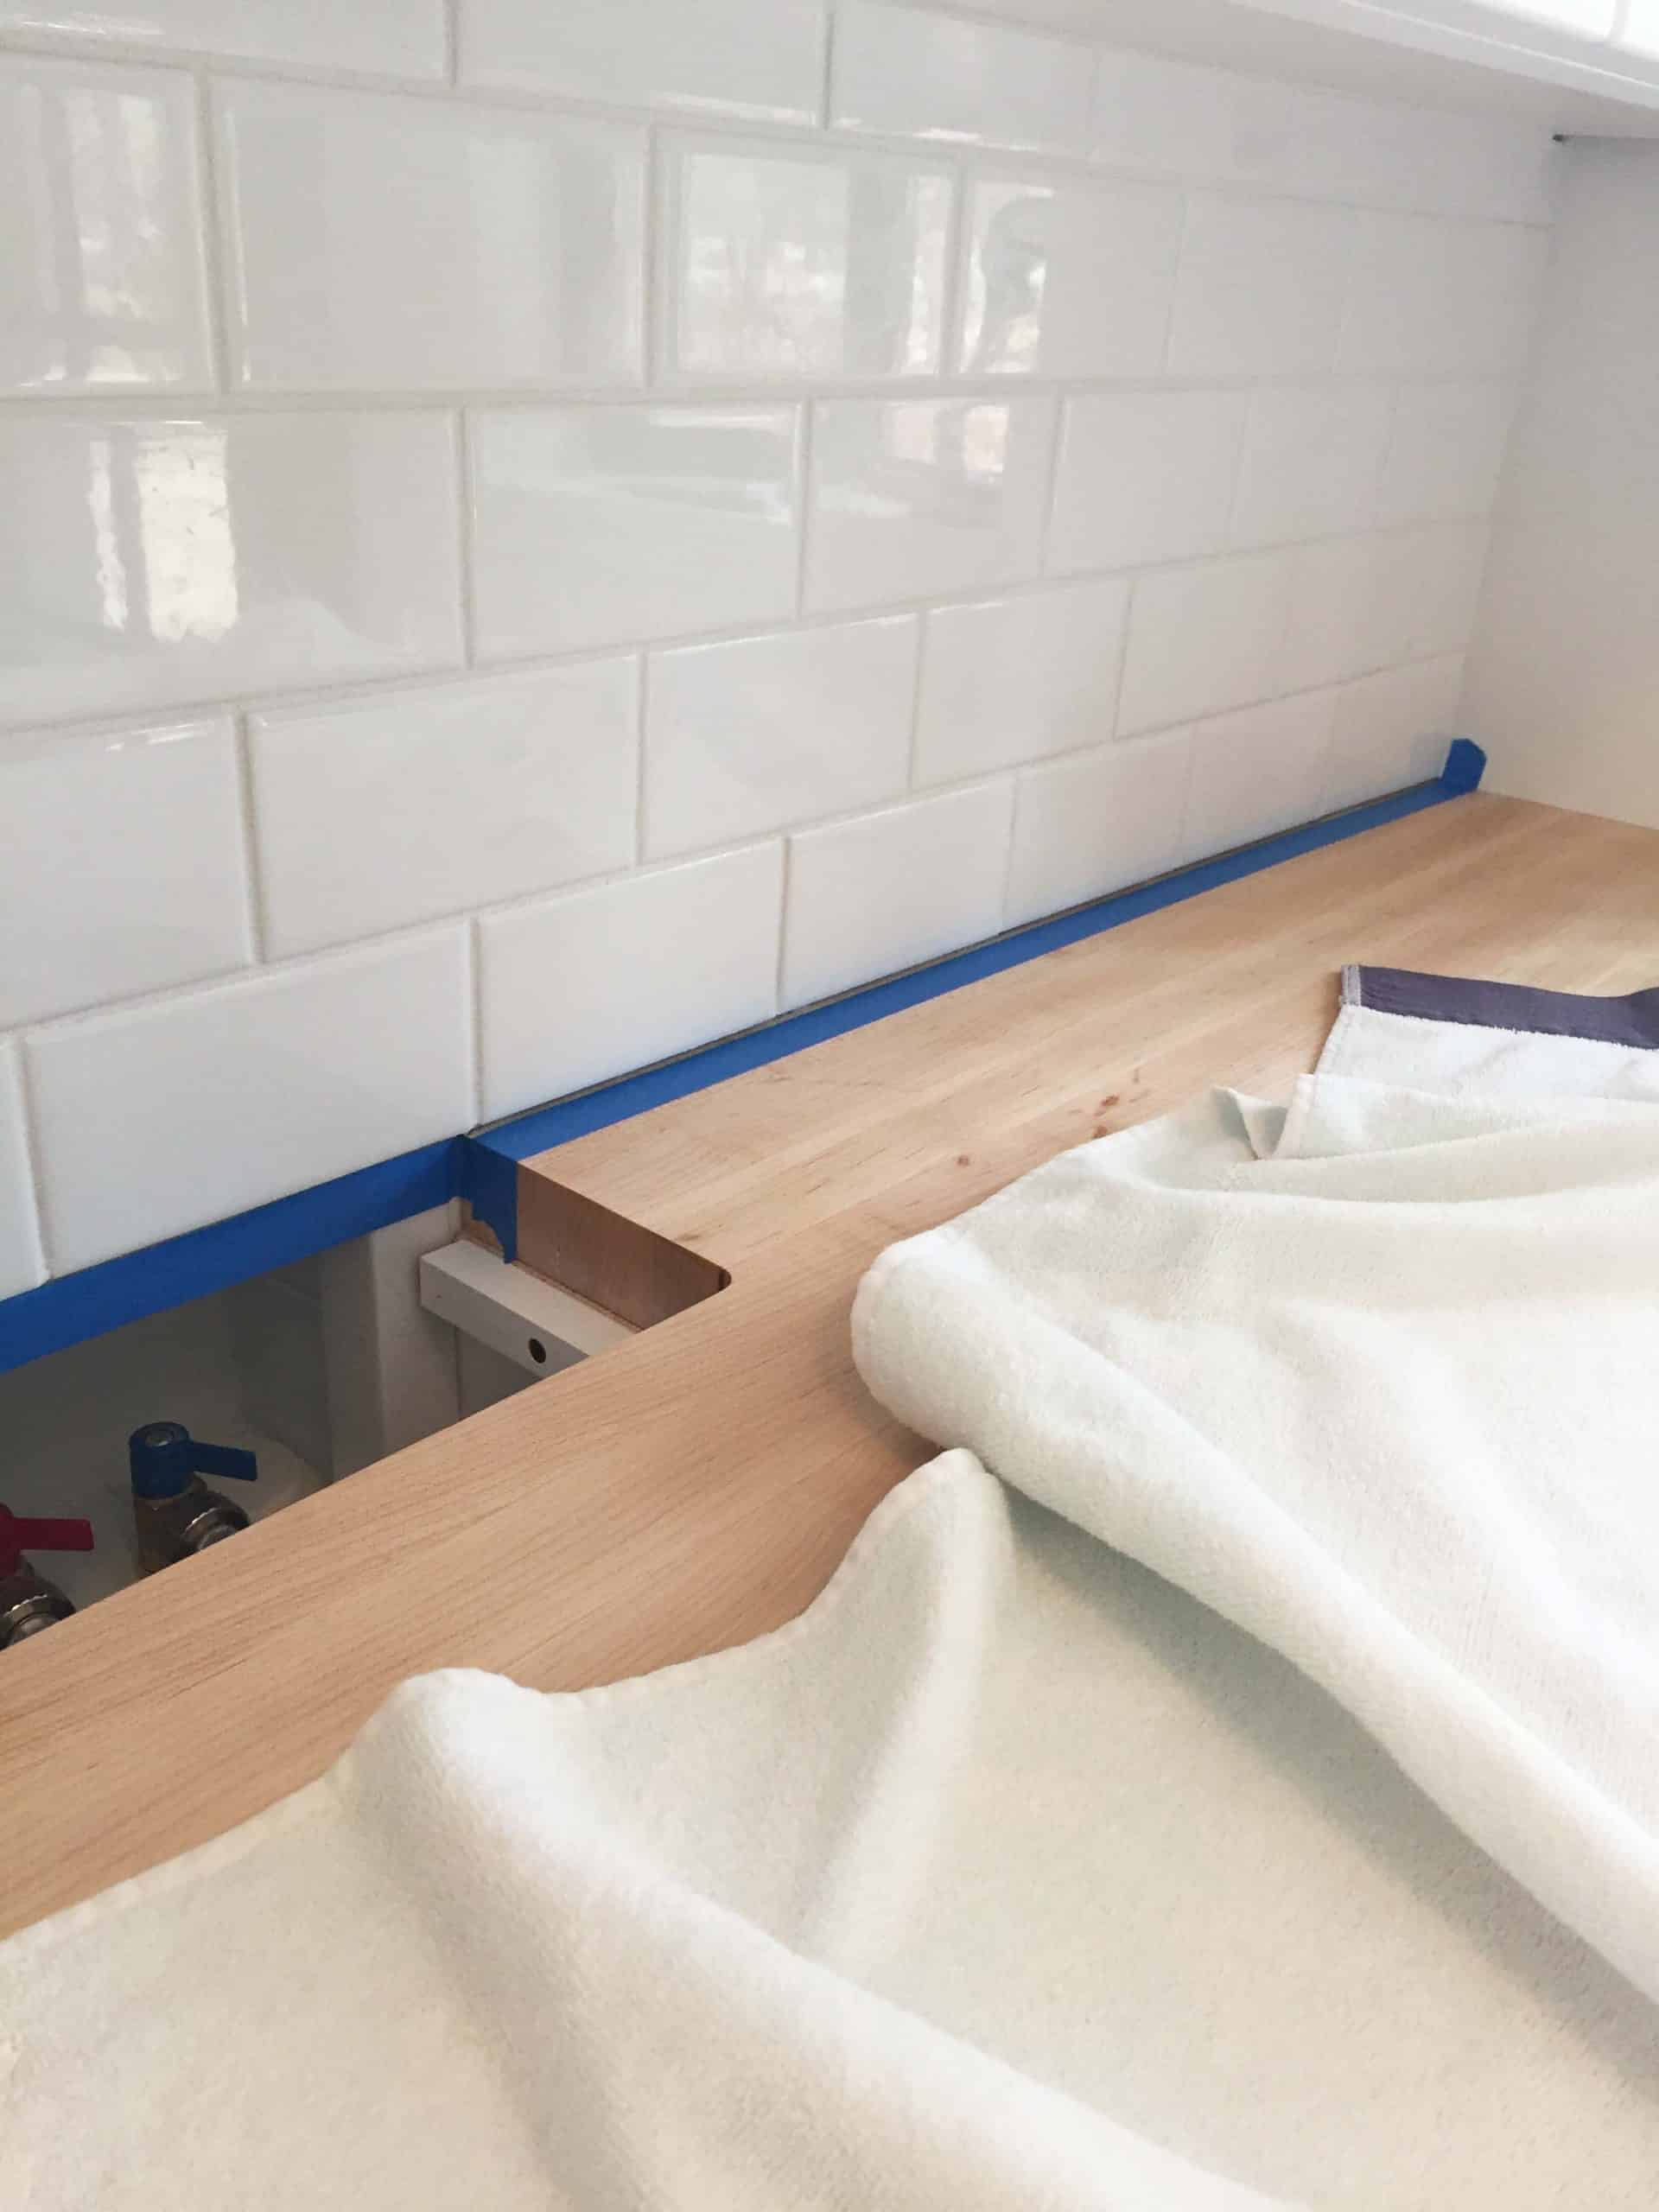
I’ve seen this done a couple of different ways, but the general consensus seems to be that caulking (rather than grouting) your grout line where it meets the countertop is the best option. Countertops and homes settle, which can creating cracking in your grout. We had this happen with the grout where it met the counter in out last home and had to have it redone.
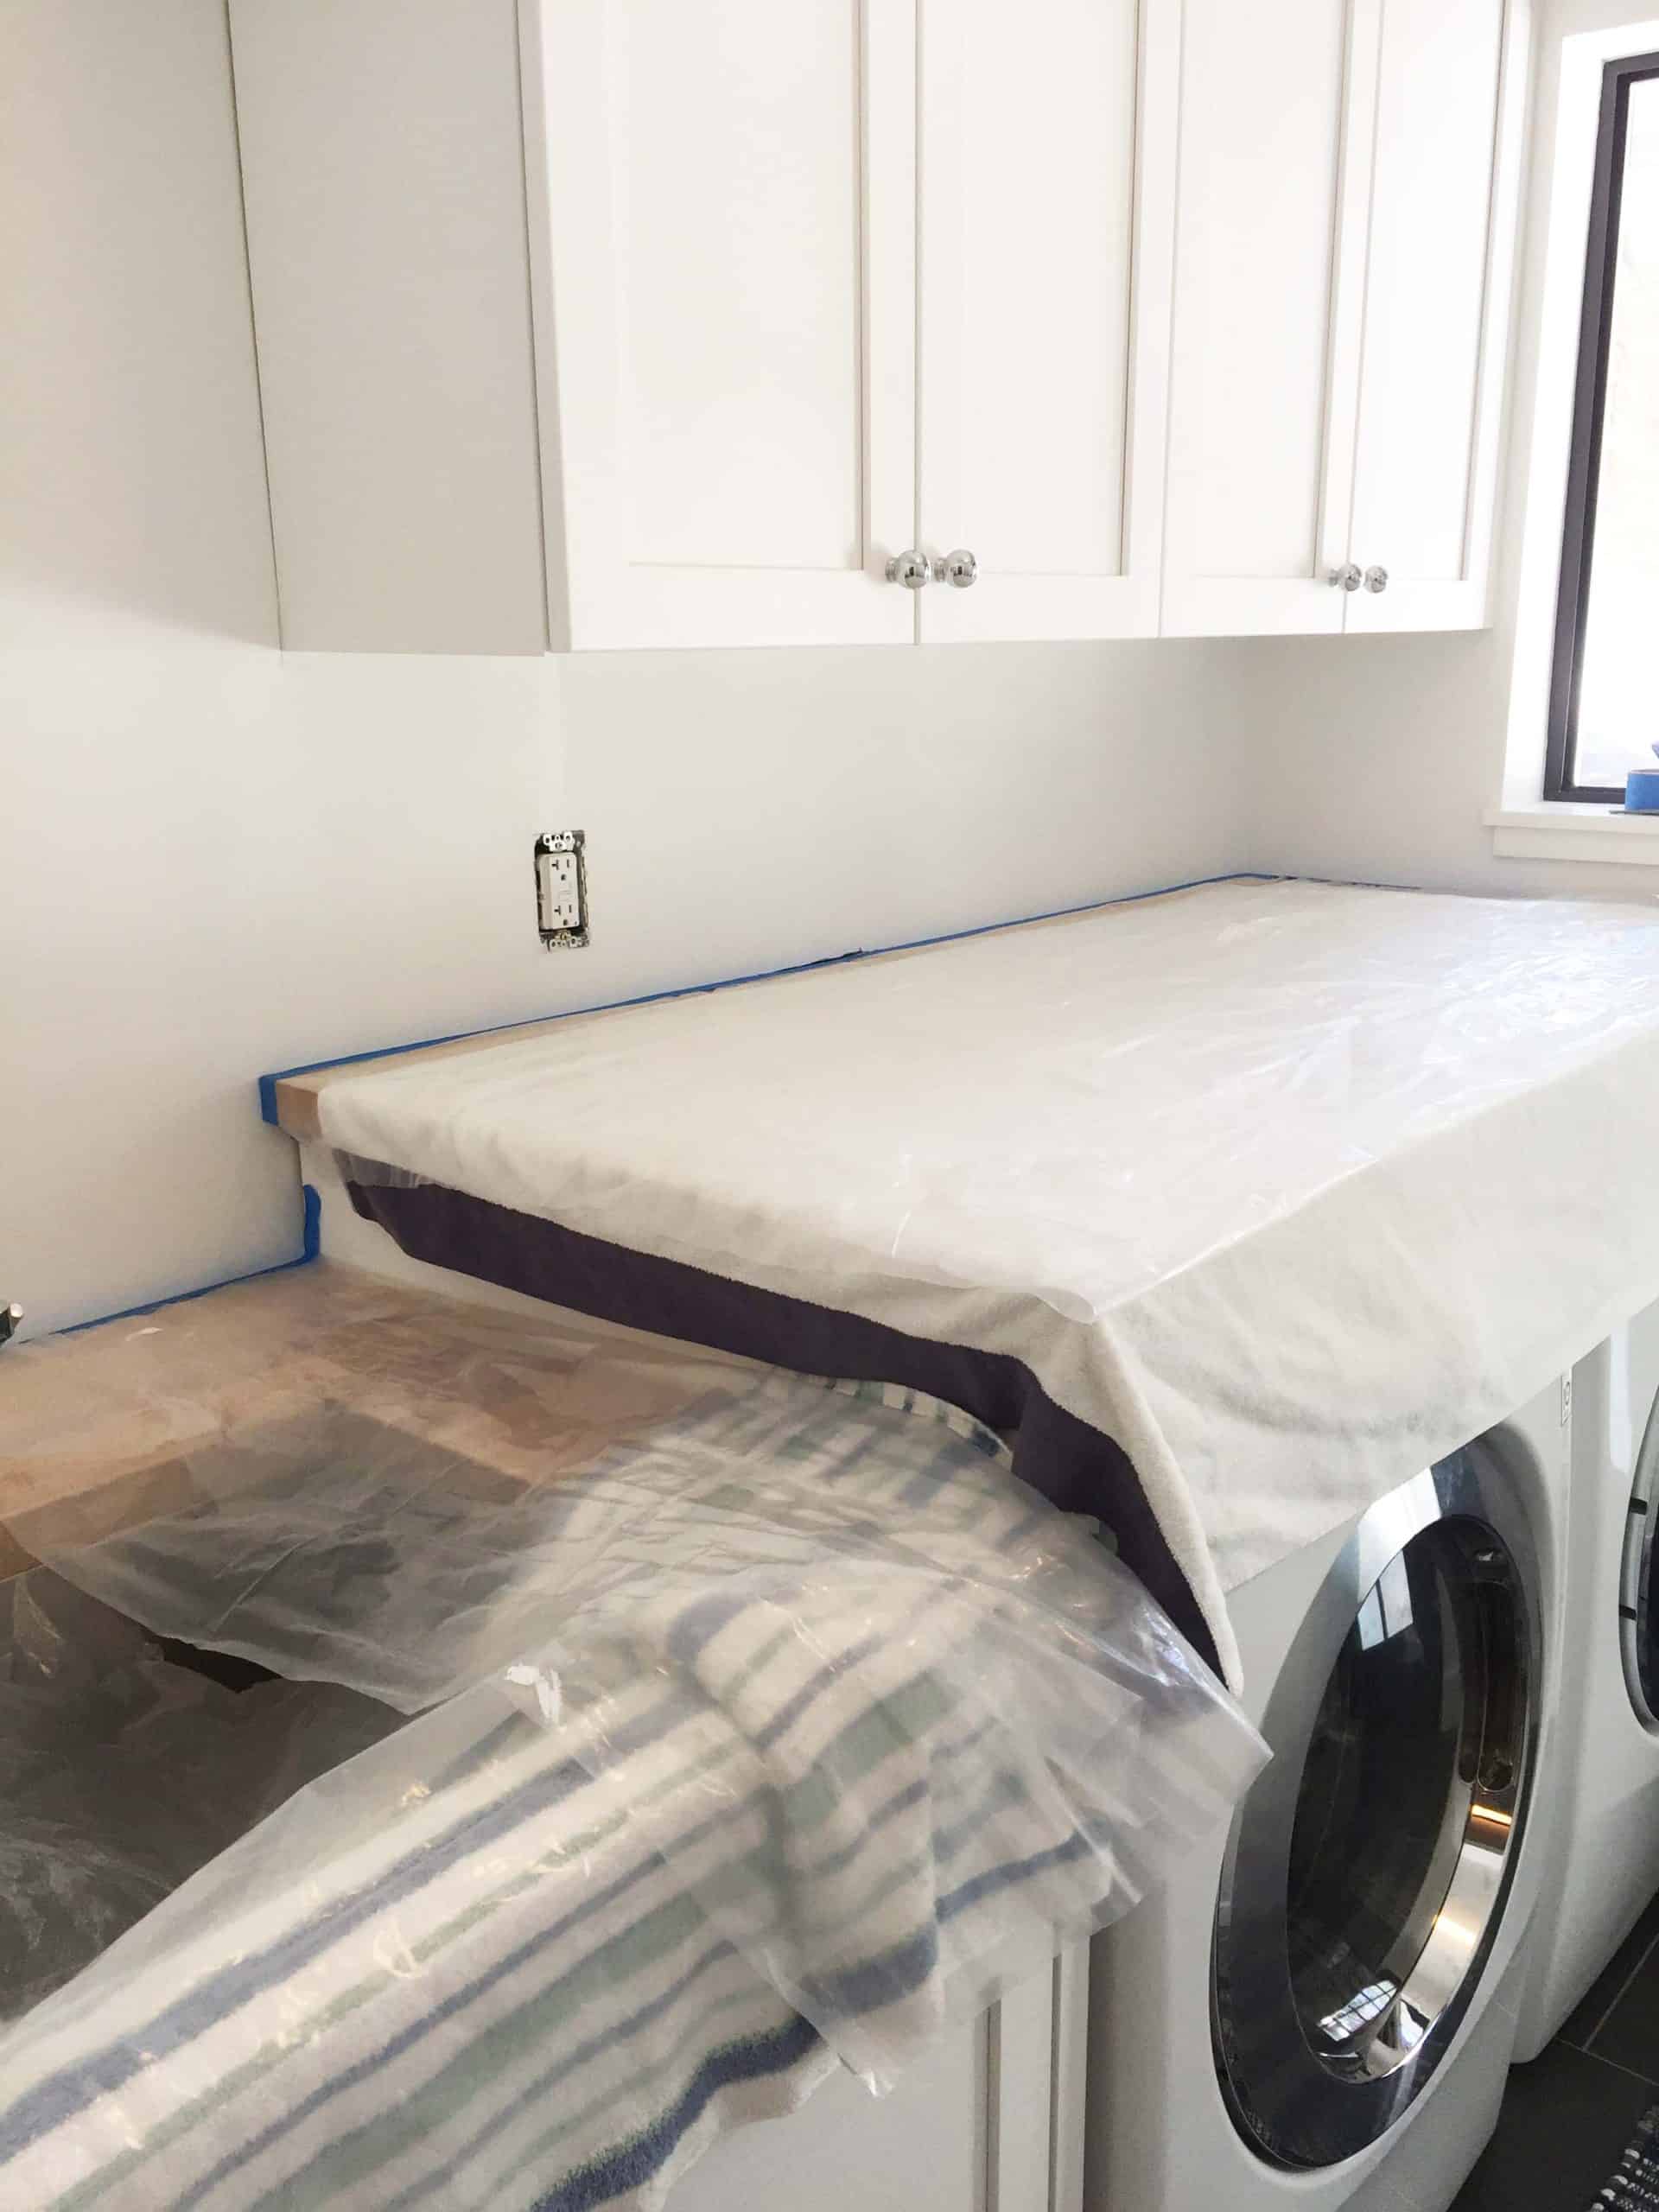
We used a bright white sanded ceramic tile caulk that matches our grout for the countertop seam. Since we have a butcher block counter and for uniformity purposes, we taped off the counter to match the 1/8 inch spacing we already used throughout the project.
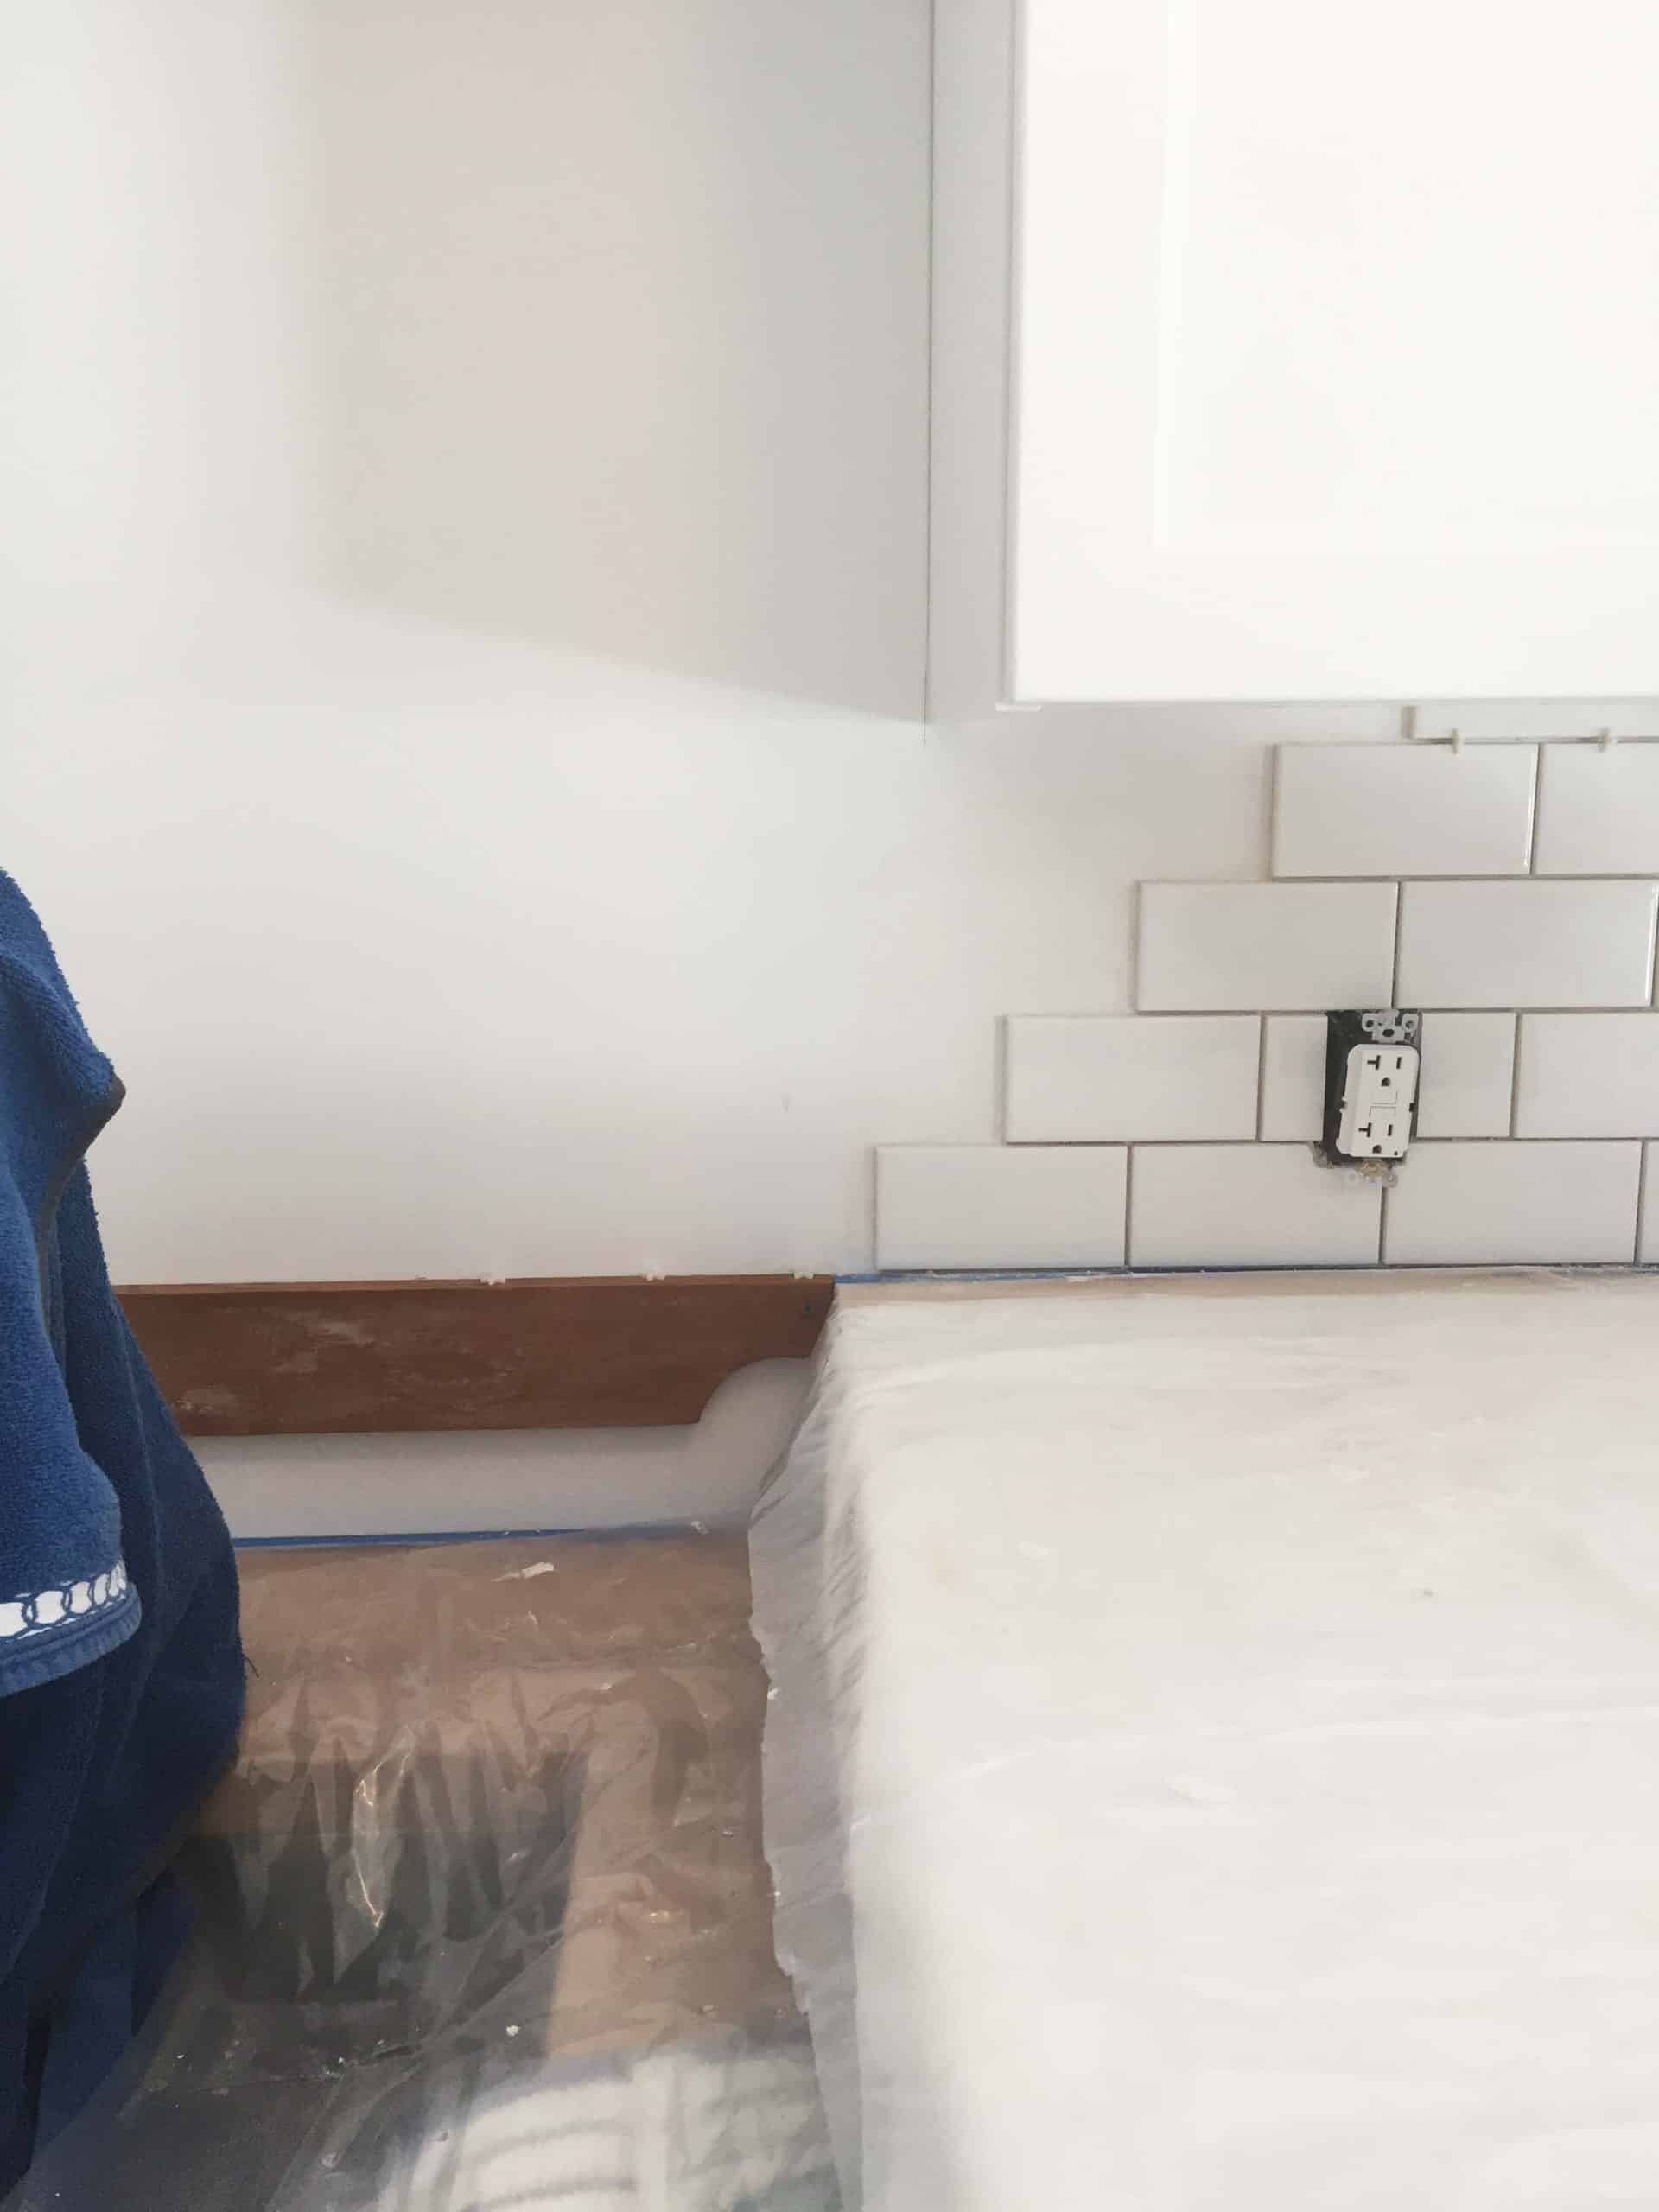
How To Tile When You Have Two Different Countertop Heights
This was probably the most challenging part. I could not for the life of me find a good tutorial on how to match up/plan out tile when you have two different countertop heights! We ended up leveling and screwing a board into the drywall to match the bottom line of tile coming from the shorter countertop.
You’ll notice in the picture above that we then used the board as a sort of “faux” countertop to keep our line and spacing even all the way across. Once we had tiled across that board and the tile had cured, we removed the board. We then tiled below and above it based on that line of tile. Keeping that line consistent is key because it keeps your pattern the same for the rest of your wall.
There was a certain amount of luck involved here because we could have run into an uneven number when it came to tiling below the board. Meaning that getting a full two rows of tile as well as the 1/8″ spacing may not have worked. For some reason we completely lucked out with the perfect amount of space. If this hadn’t happened we would have had to cut down the final line of tile where it meets the sink countertop to compensate.
Outlets
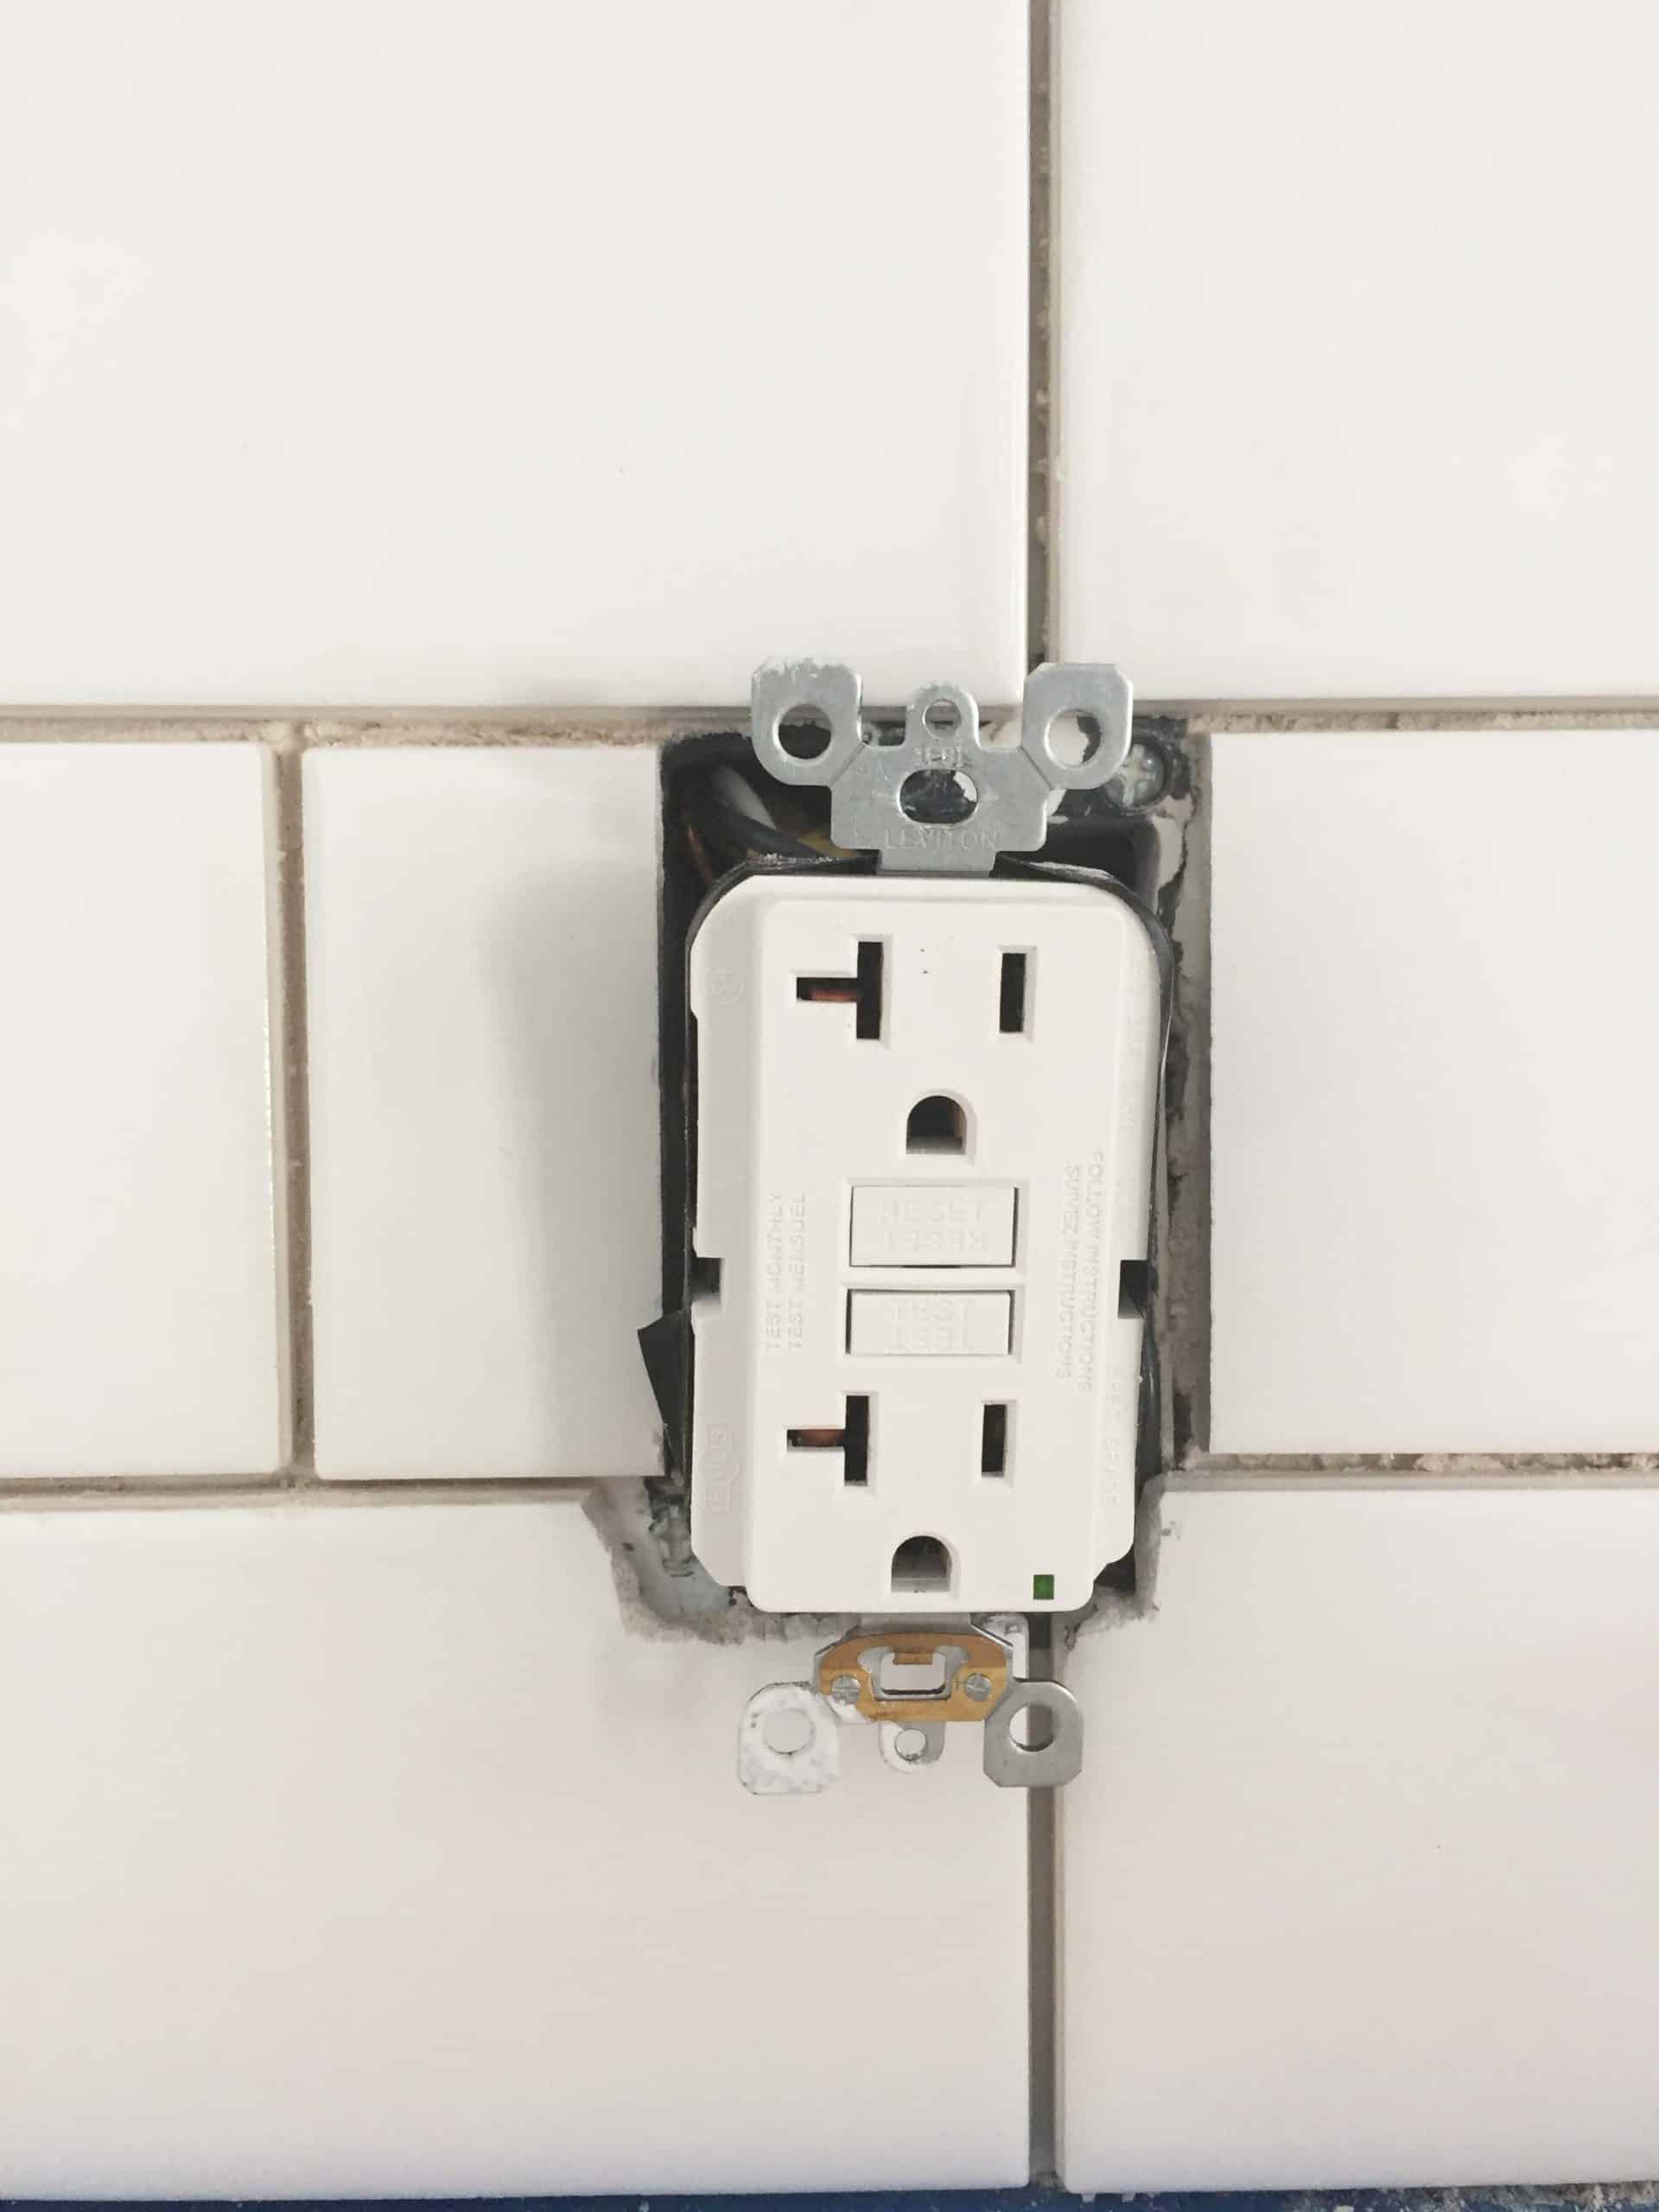
Outlets can seem tricky and they are a little bit. Just remember you only have to make them look good to the point where they are covered by the outlet cover. Since we were using a hand tile cutter it was a little trickier to get the lines straight. You can see where the tile had to be chipped out around the bottom tile. This wouldn’t be an issue if you were using a tile wet saw and could make more precise cuts.
What Type of Trim Tile To Use
Ah, the trim tile. I agonized over this part so much. Since our tile was leftover from our bathroom renovations (Daltile from Home Depot) we were a little limited on on the finish trim tile we could use. Daltile makes their line that’s sold at Home Depot especially for them, so you can’t get that specific subway tile anywhere else. They also don’t make a full 3×6 matching finish tile for their subway tile there. We ended up using this 2×6 bullnose tile as our finishing tile.
Just remember to figure out what you are using for your finishing tile before you start your project! This will impact how you measure and your final tile layout.
Hopefully these tips have helped you with questions you might have when it comes to tiling a backsplash in a laundry room. This tile has added so much to our laundry room. There’s just something about tile that makes it feel more finished. I’ll be back soon with a full reveal of our laundry room, wallpaper and all!
Update: See the full Laundry Room Reveal here!
Post Sources:
3×6 Daltile Subway Tile // 2×6 Bullnose Tile // Hand Tile Cutter // Grout // Ceramic Caulk // Grout Float
This post contains some affiliate links for your convenience. Click here to read my full disclosure policy.
Want to save this post? Pin it here!


[…] used a bunch of traditional materials that I knew we wouldn’t get tired of. One was the white subway tile backsplash that we tiled late last year ourselves. It was our first attempt at tiling anything and a […]