Thinking about getting rid of a chair because the fabric on it is outdated or damaged? Try this easy tutorial on how to reupholster a chair cushion.

This post contains some affiliate links for your convenience. Click here to read my full disclosure policy.
I thought about titling this post something like “how to reupholster a chair seat in 10 minutes” until I actually did the project and realized there isn’t anything quick about reupholstering – especially when you’re not an expert. This is a DIY tutorial that’s right up your alley if you’re looking for an affordable way to update a chair cushion without all the fancy stuff (like piping or trim).
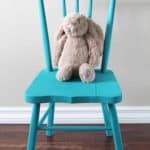
I found this cute wicker chair on one of my recent Goodwill trips, it was actually on the same trip where I found this piece as well. It was sitting in the “last chance” section of the store with a $5 tag on it. I wasn’t sure what I was going to do with it, but for $5 I couldn’t pass it up! Here’s how it looked when I bought it:

Not too bad, it’s a sturdy chair with good bones and great lines. I knew it could be really cute with a fresh coat of paint and new fabric for the seat cushion. Painting wasn’t a problem, but the cushion? I had never reupholstered one before. I’m happy to report that while it takes a bit of effort, it’s a DIY update that that anyone can do! Here’s how I did it:

What You’ll Need:

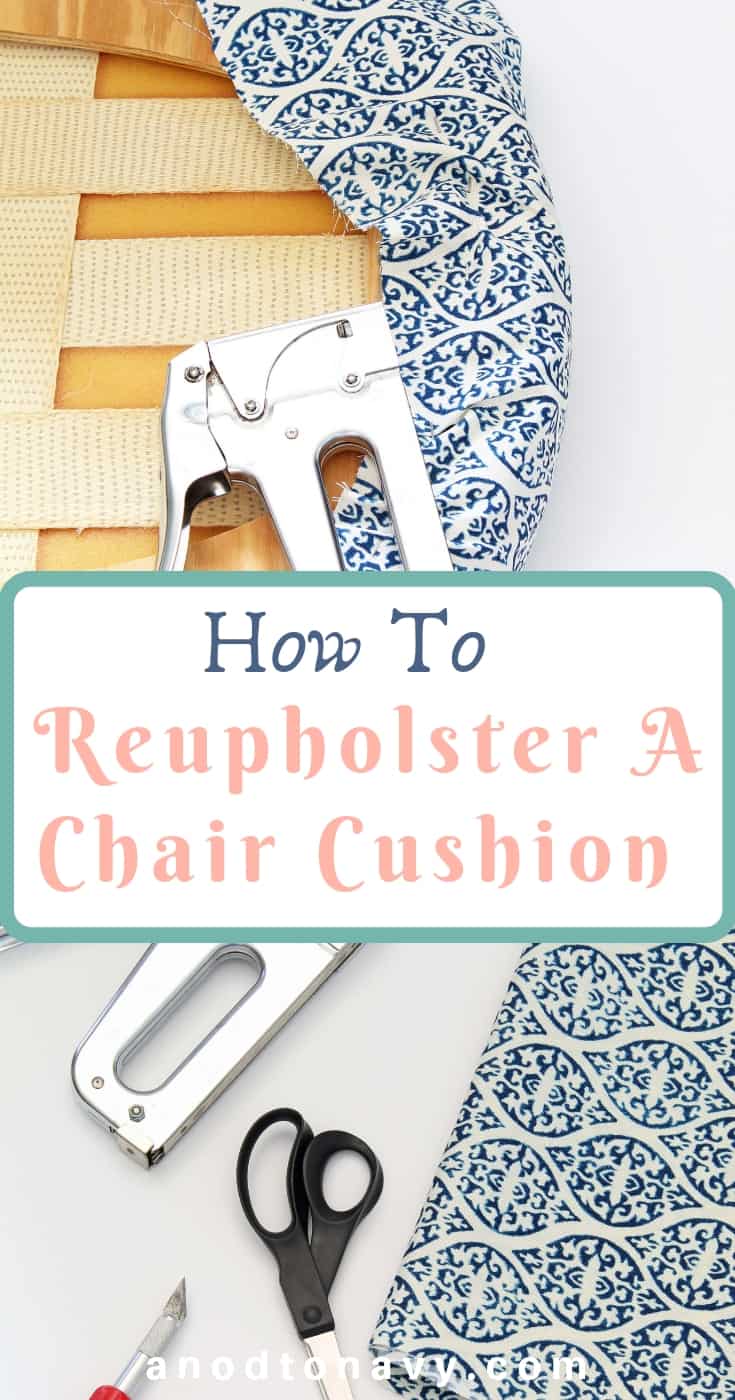
How To Reupholster A Chair Cushion
1. I started by flipping the seat cushion over and using an exacto knife to cut around the perimeter of the old fabric. Once I had cut completely around it I was able to remove it from the cushion. I’ve seen a couple of different ways to deal with the old fabric from the seat cushion; some people just reupholster over the old fabric, while others pull all the staples out and remove it completely.
I didn’t want to reupholster over the old fabric because there was piping on it that would make the new fabric look lumpy. I contemplated taking all the staples out, but after spending half an hour attempting to pull just one out, I knew it would take literally all day to pull the staples! Thus, the exacto knife approach.

2. Once I had the old fabric cut off, I laid the seat cushion out on top of it. I used some outdoor Waverly fabric from Joann’s. I bought a yard of fabric, which ended up being plenty. If I had it to do over I would cut the old fabric off and bring it to the store with me so I could just match the amount I needed.

Cut Your Fabric in the Shape of the Cushion
3. I then cut the fabric out in the shape of the cushion, leave about 4-5 inches around it. This was generous for the cushion I was working with, but I was paranoid about cutting too much off. You can alway cut more off, but you can’t go back and add fabric!
How much fabric you leave as an allowance really depends on the depth of your cushion. I recommend measuring the depth and then doubling it. For example, if your cushion is 2 inches deep, leave 4 inches around the edge when you cut it out. Again, you can always cut any excess away at the end!

How to Attach Your Fabric
4. Now it’s time to start stapling! I’ve come to the conclusion that adjusting the fabric so that it looks right on the cushion is more of an art than a science. A lot of things will determine how you adjust the fabric, mainly the shape of your cushion and the depth. I think square cushions are the easiest since you have actual corners to work with.
I was working with a cushion that was rounded on one side and flat across the front. Since the front of the cushion is what people will see the most of, I started there; that way if there is any leftover fabric or an unavoidable pucker, I can make sure it’s in the back where you can’t see it.

Check As You Go
5. I worked my way slowly around the cushion adjusting the fabric and applying one staple about every inch. The key is to make tiny gathered pleats around the edge with the fabric. This allows the excess fabric to gather on the underside of the cushion and keeps it from showing on the part of the cushion you see.
My best advice on this part is to adjust, staple it, and then flip the cushion over and see how it looks from the front. This avoids you realizing there is a weird crease or pucker in your fabric once you finish and have a million staples in it – not fun.

Finishing Touches
6. Once you finish stapling completely around the cushion, flip it over and see if there are any areas with odd creases or excess fabric. If you see any, go back to that section of fabric and see if it’s an area you can adjust and anchor with a staple. You may end up with a bunch of staples on the back, but no one’s going to see that. Once I was sure I had everything where I wanted it, I went back and checked for any loose or slightly raised staples and tapped them flat with a hammer.

Reupholstering a chair cushion does require some effort and little bit of patience, but what you’re left with is worth it! A newly reupholstered cushion that totally transforms your chair. To compliment my new cushion I also painted the chair frame in this gray chalk paint using the same method I used in this makeover.
One of the best things about DIY projects is you get to tailor them to your personal style. You get to create something that is unique and nobody else has. So give it a try!
Want to save this post? Pin it here!


[…] How to Reupholster a Chair Cushion | A Nod To Navy […]