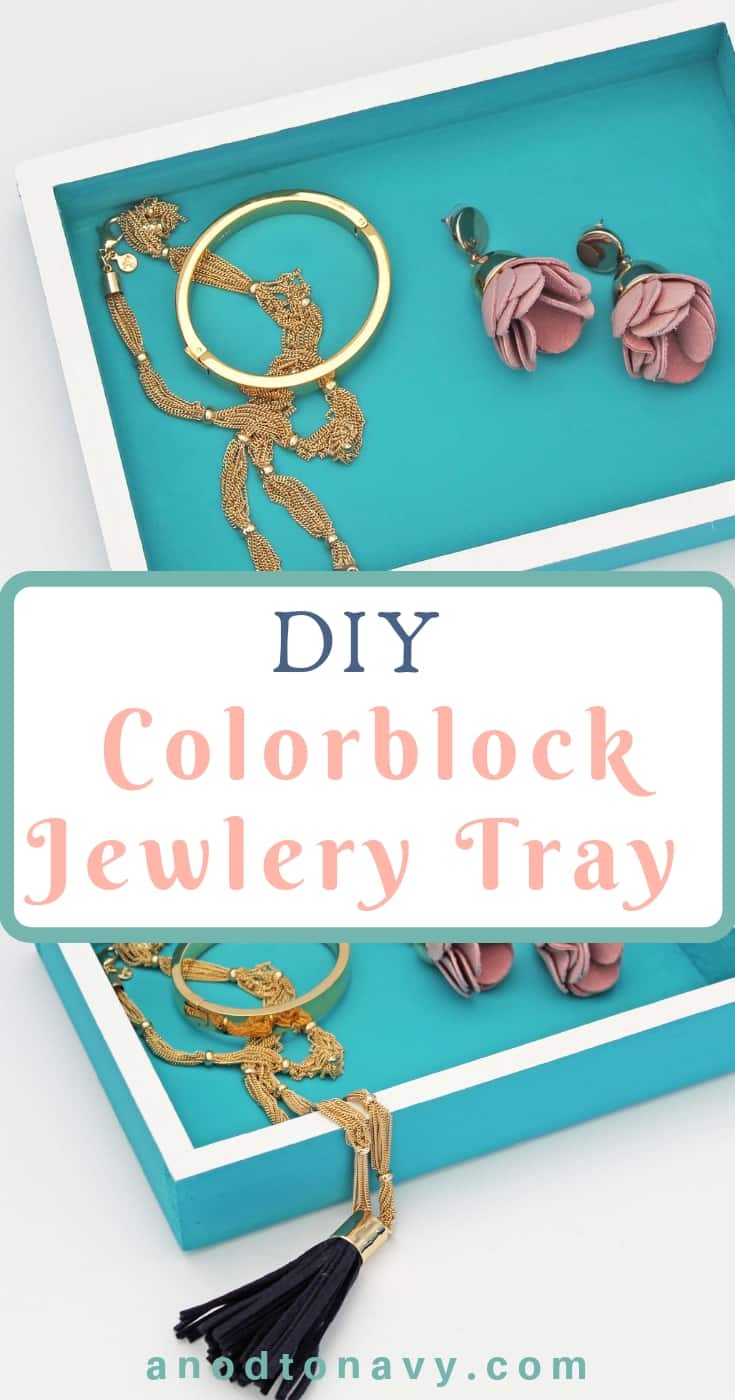
This DIY color block jewelry tray is an easy way to corral small items while adding a pop of color to your home.

This post contains some affiliate links for your convenience. Click here to read my full disclosure policy.
Jewelry trays are one off my favorites. They kind of play the same role on counter surfaces that baskets do throughout the rest of the home – they hide stuff and make things look better just by being in them.
The second reason I love these so much is because there are so different ways to use them….the possibilities really are endless. Here are just a few of the ways we use them around our home:
- By our front door for keys and phones
- On a desk to gather small items (paperclips, binder clips, etc.)
- On a bedside table as a place for jewelry, watches, rings, etc.
You can find various versions of these types of trays (sometimes called valet trays) all over the place. If you’re not into DIYing one, here is a cute alternative you can buy. If you want to make one of your own, here’s how I did it:)
What You’ll Need To Make A DIY Color Block Jewelry Tray:
- Acrylic paint in your choice of color
- Painters tape
- Foam brush
- Wood tray
- Modge Podge or some kind of sealer


1. Use the painters tape to seal off the rim of the tray. I did this by keeping the tape flat on the rim and gently pressing down. Don’t fold the sides of the tape down or it will be in the way when you go to paint the sides. I did two coats of paint on the interior of the tray and on the outside. I let it sit for about 15 minutes and then used a hair dryer to make sure the paint was dry enough for me to pick it up.

2. I then removed the painters tape so the rim of the tray was exposed. I gently applied my accent color paint (white) on to the rim of the tray using a foam brush. This part was surprisingly easy, I was afraid it would drip or leave an uneven edge, but since the rim was flat it was just a matter of dabbing the paint around the edge until I was satisfied with how it looked (I did two layers again).
3. I waited about 15 minutes, and then used the hair dryer again to speed up the drying process. Once the paint was dry, I did a coat of Modge Podge in a matte finish to keep any chips or scrapes at bay.

And then of course I had to try some jewelry out in it to make sure it works 😉
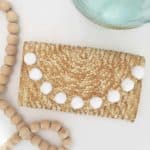
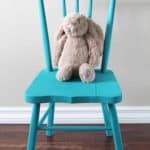
Want to try more DIY projects? You might enjoy these:
DIY Beeswax Essential Oil Candles
Want to save this post? Pin it here!


I would love for you to share your post with us at Creatively Crafty #CCBG http://tryit-likeit.com/entries/link-party