Paper bag stars (also called craft paper stars) are a beautiful and budget friendly winter craft. Here’s how to make paper bag stars!
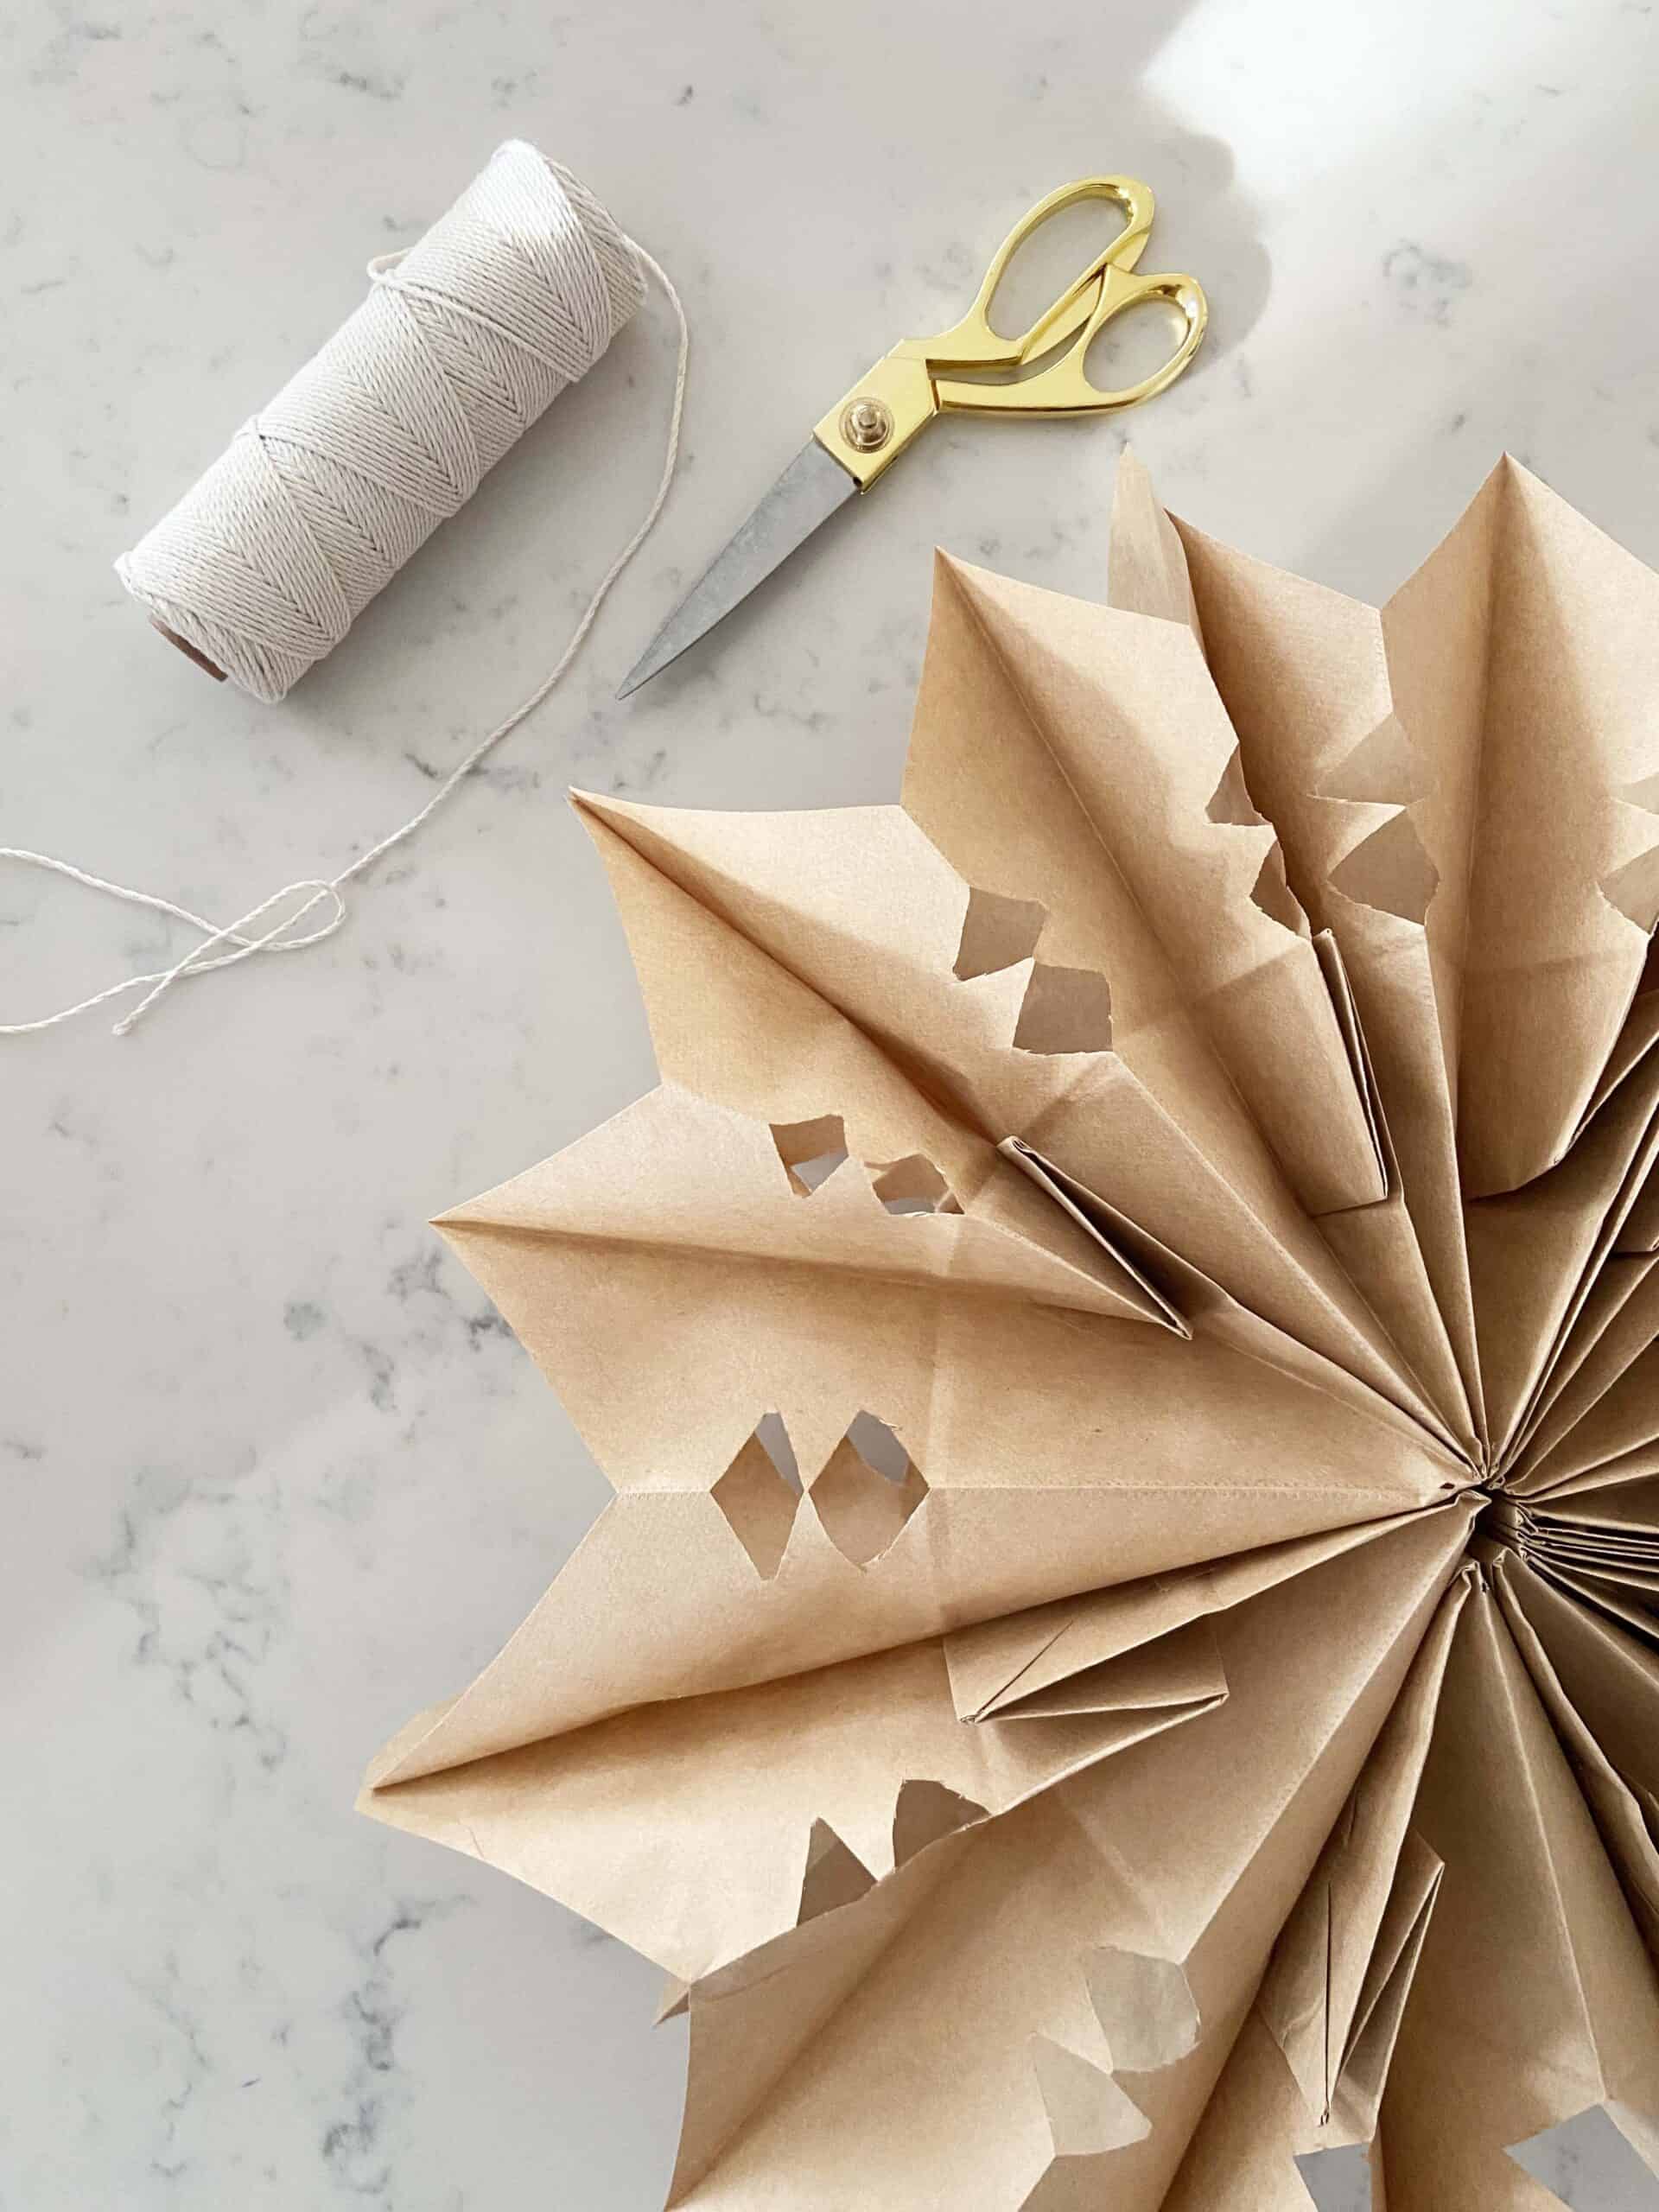
Paper bags stars remind me a little bit of the lantern stars I’ve been seeing all over the place for the past couple of years. Except without the light-up part. We made these paper bag stars as a fun winter craft to cozy up the house after our Christmas decorations came down, but they would also be perfect for Christmas as well!
There is something about the January/February part of the year that just begs for a little bit of extra coziness around the house, don’t you think? Hang these in front of windows to catch the light, over your kitchen sink for a little bit of extra cheer, or in a kids room for added whimsy. These stars look good just about anywhere!
How To Make Paper Bag Stars
The best part about these paper bag stars is how easy they are to make and how forgiving they are (i.e. a little messed up cut here or there doesn’t really matter). All you need is a stack of small paper lunch bags (the bigger the bags = the bigger the stars), scissors, a pencil, a hot glue gun, and some string for hanging. Below are the steps we used to make ours!
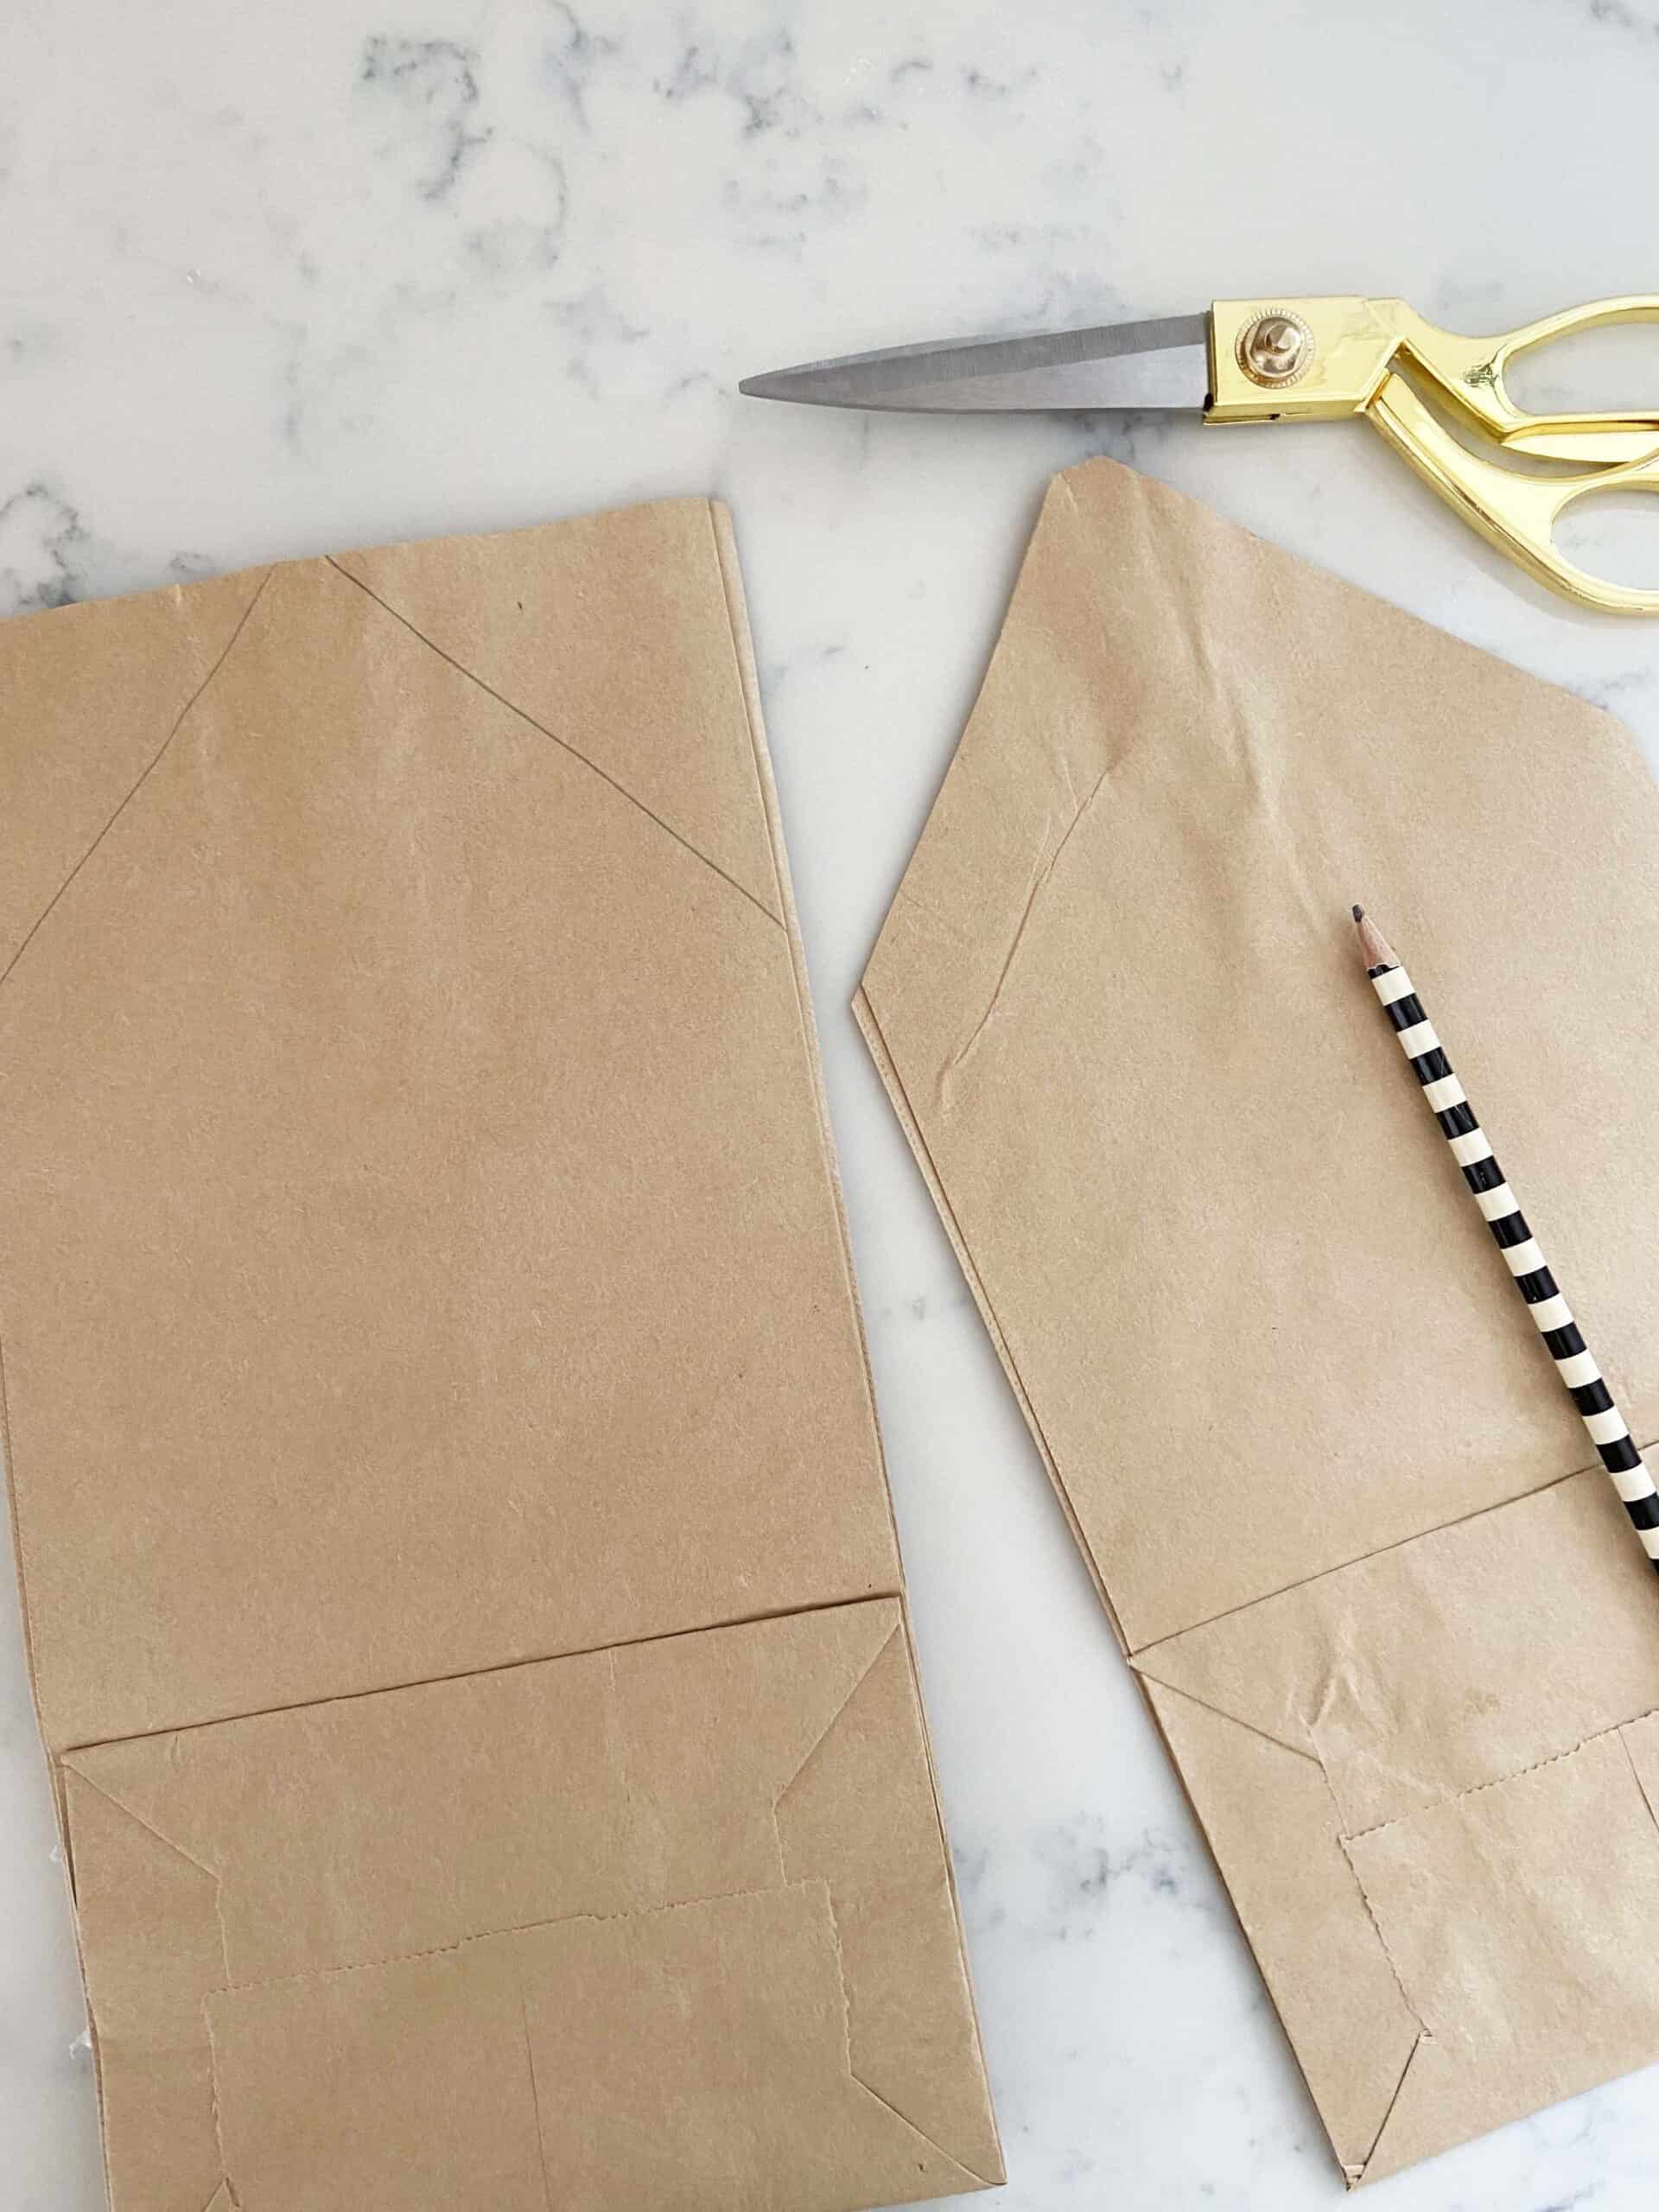
1. Create A Template
Start by counting out a stack of 10 paper bags. Then cut the bags straight across the top to make sure you’re starting with an even surface. Once that’s done, take one bag and draw a peak with a pencil at the top.
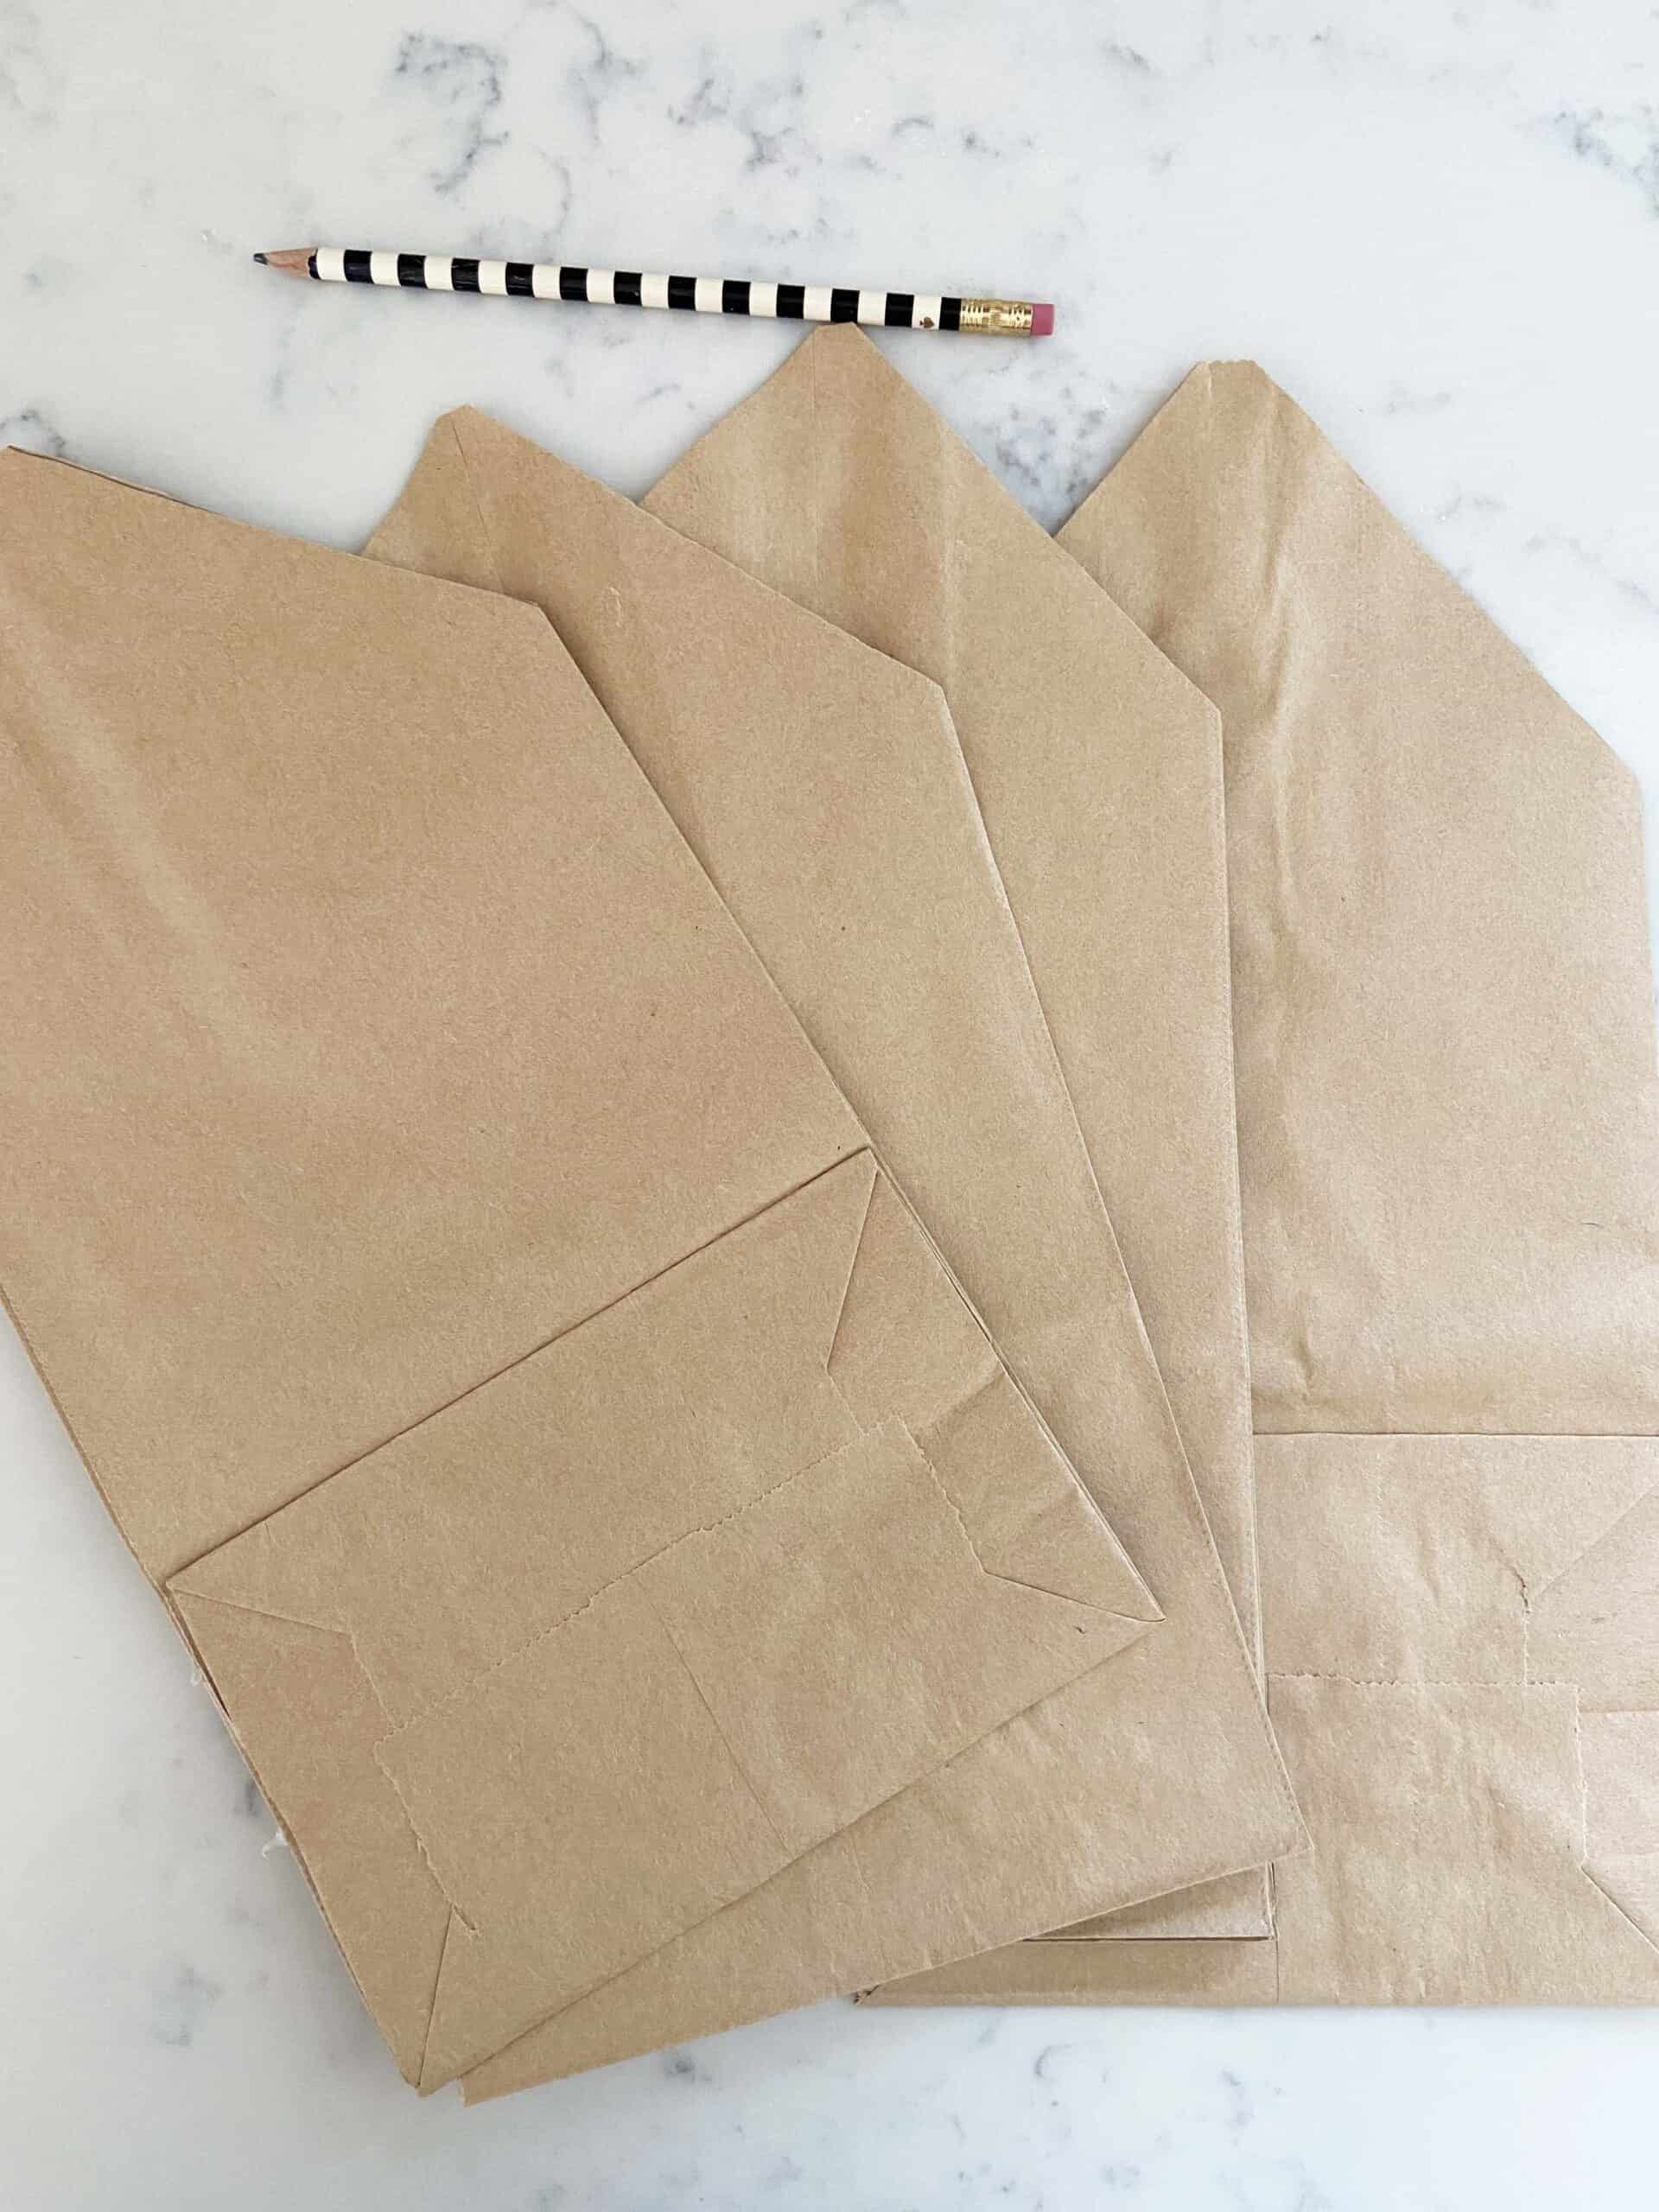
2. Cut Bags To Template
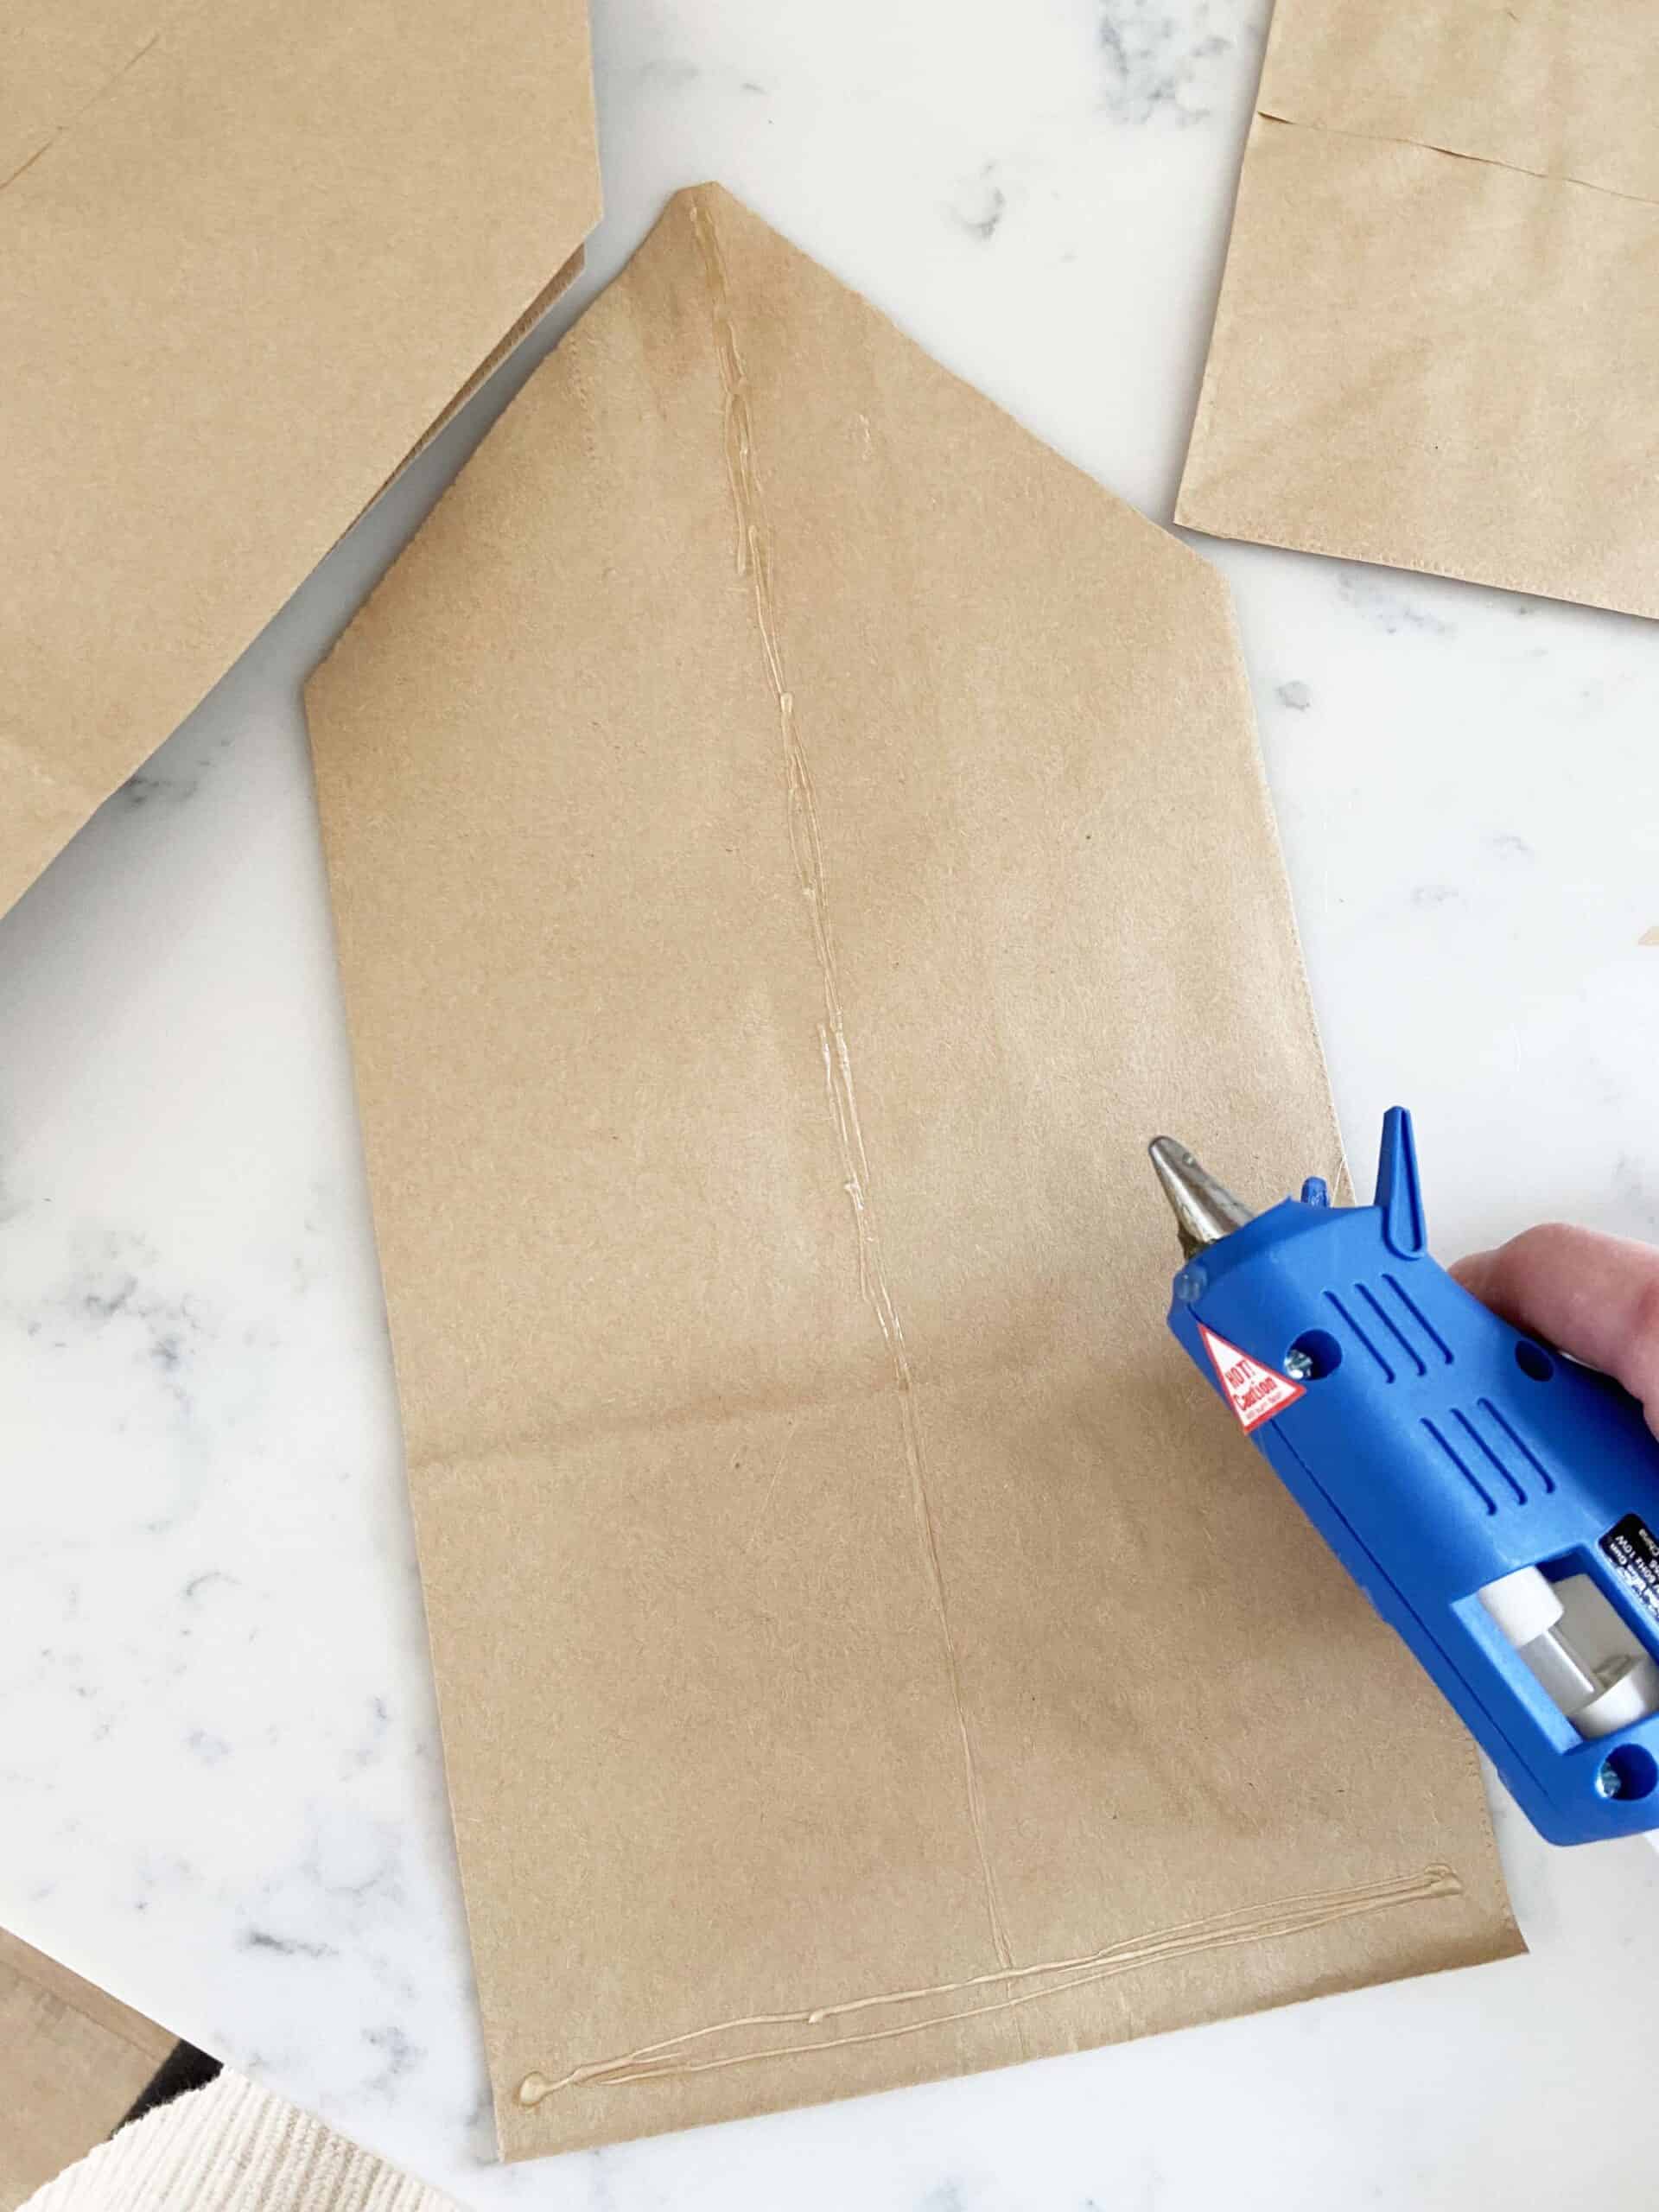
Cut the bag along those two lines. Use that bag as your template to cut your other 9 bags the same way. (I cut mine in two sets piled on top of each other to save time.) You should end up with a stack of bags shaped a bit like the outline of a house (above picture).
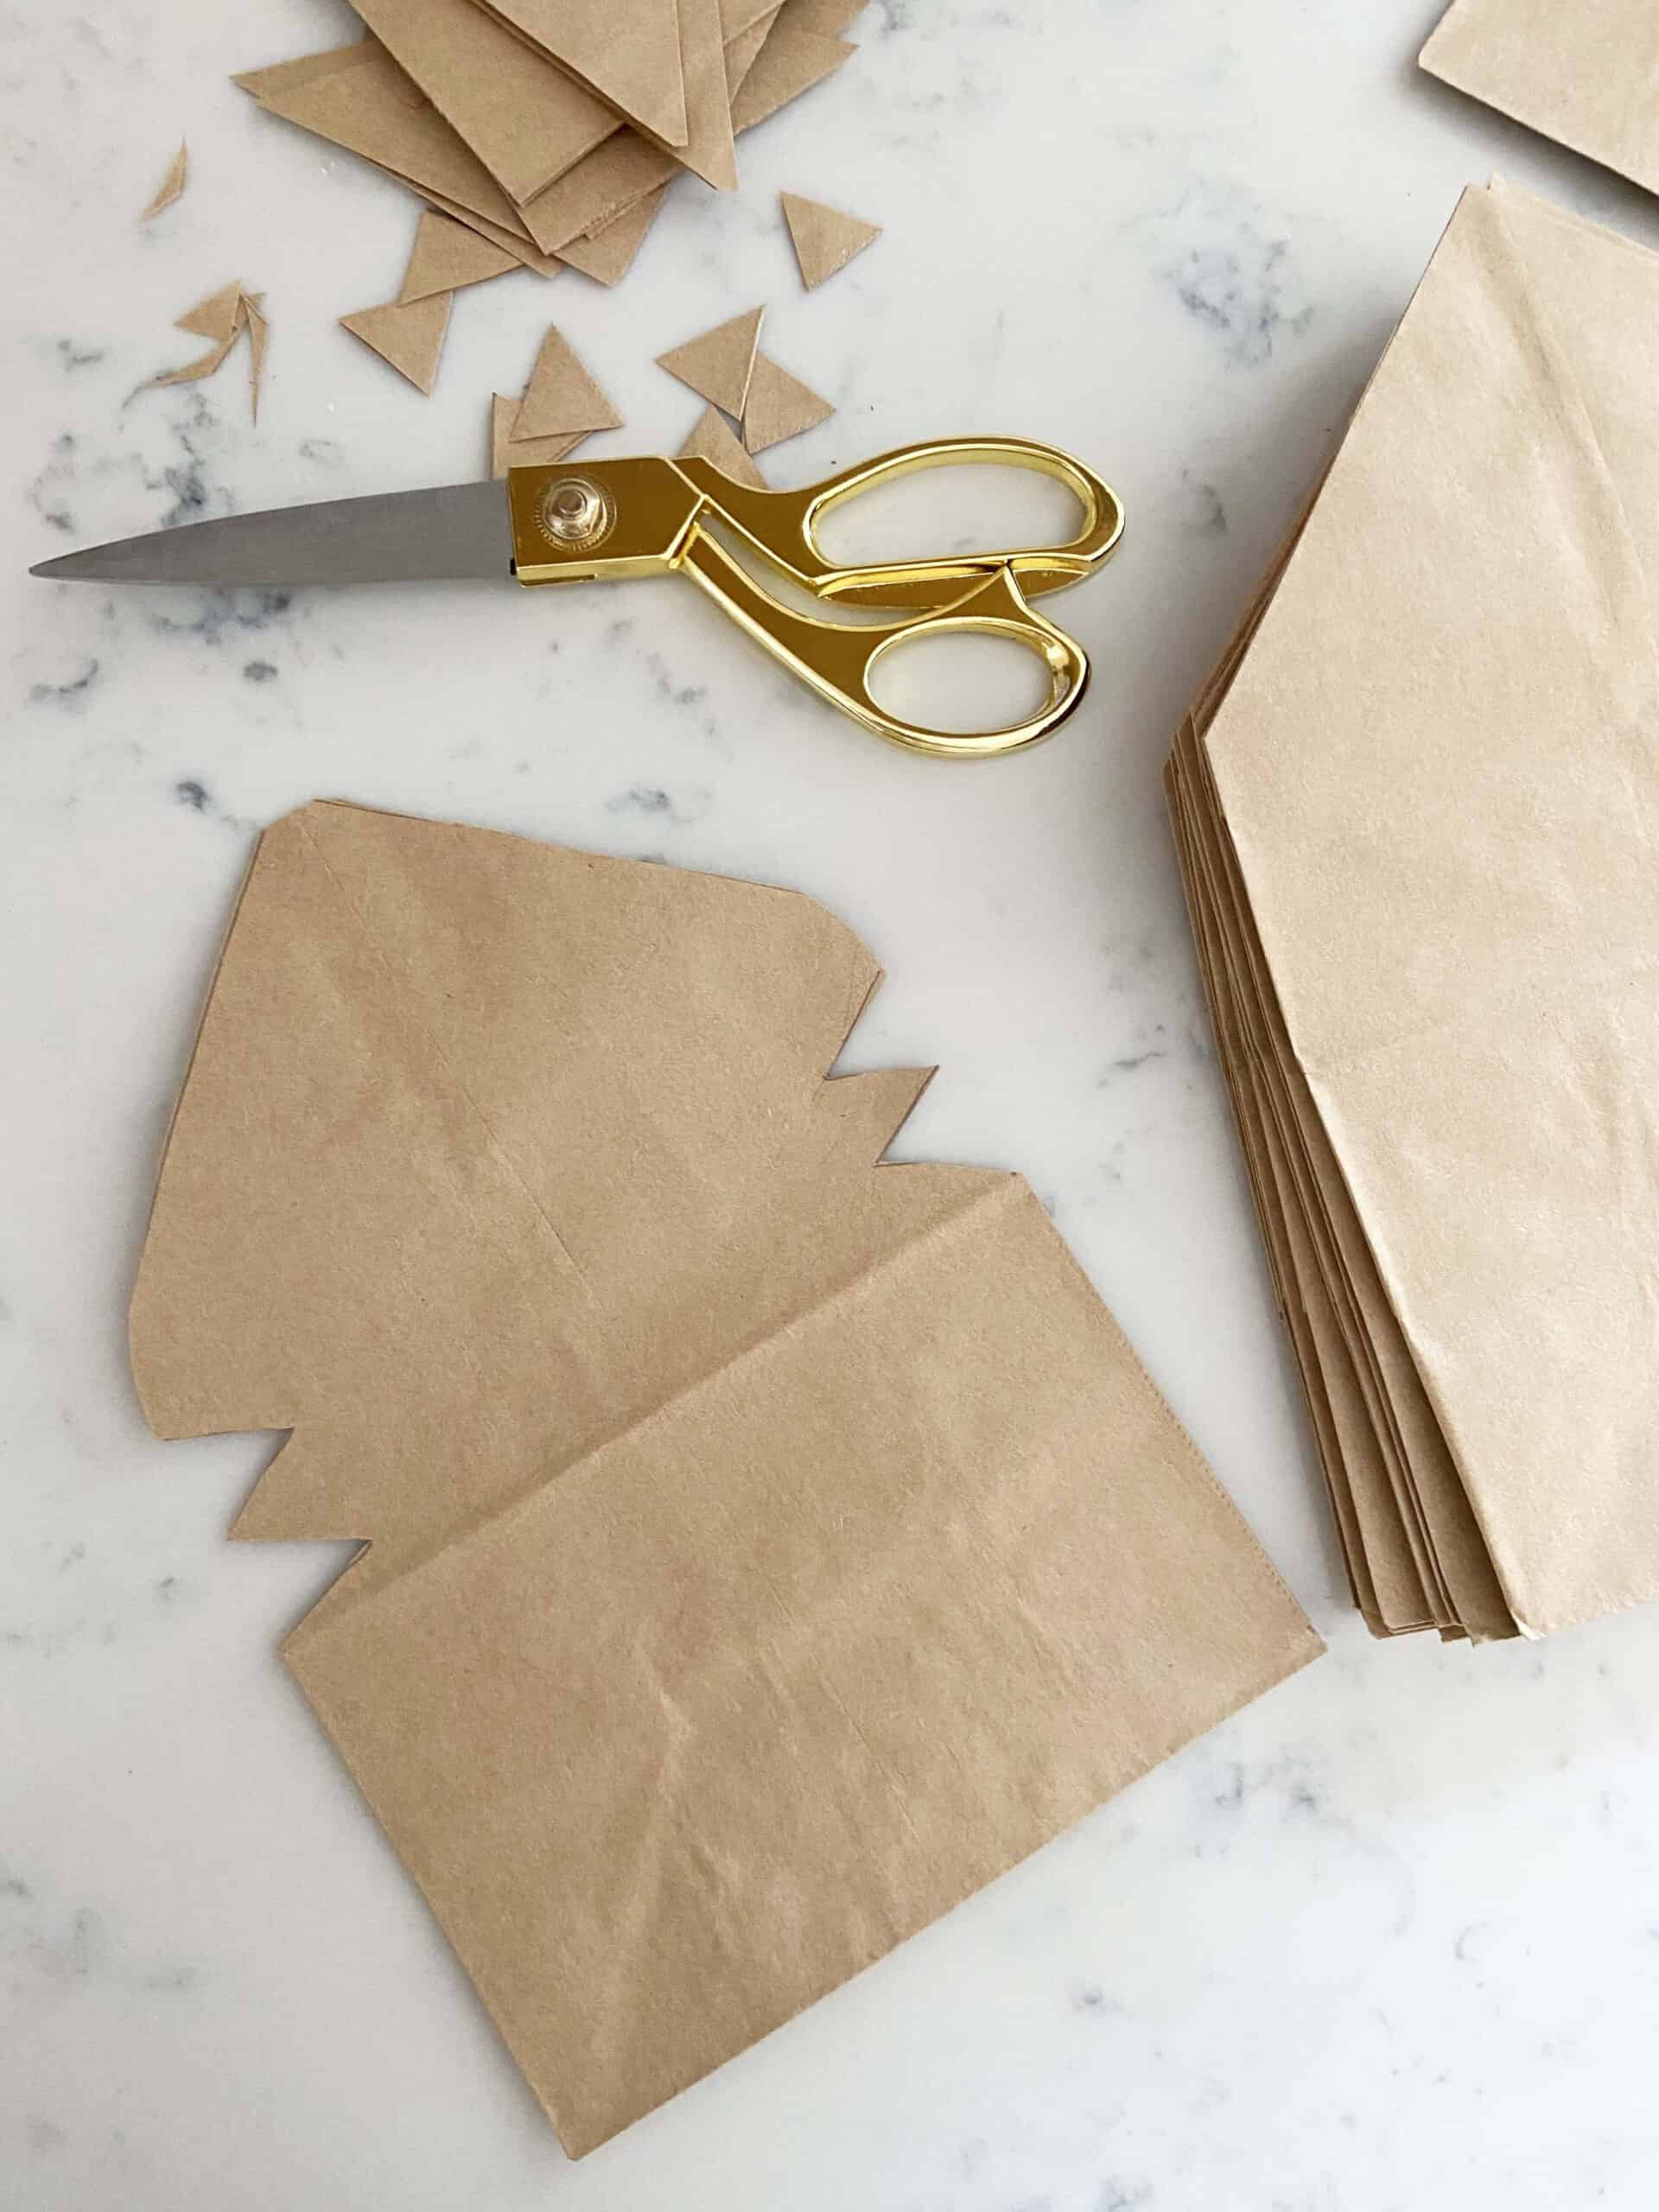
4. Add Cutout Details
This step is optional. If you want some cut out details in your stars, this is where you add them. If you don’t, your star will look like the one two pictures below.
You can add cut outs in any size or shape you want. The closer you add them to the bottom of the lunch bag, the closer they will be to the center of the star when you open it up. I added two triangle(ish) cut outs just below the peak of mine (see example above).
5. Glue Bags Into A Stack
Once you have your bags cut out (or with no cut outs) use your glue gun to create a T-shaped line from the top of the peak to the bottom, and another line across the bottom of the paper bag (see example above). Do this for each bag and stack the next bag on top as you go. This will eventually create a stack of bags all glued together.
6. Open Bags To Create Star Shape
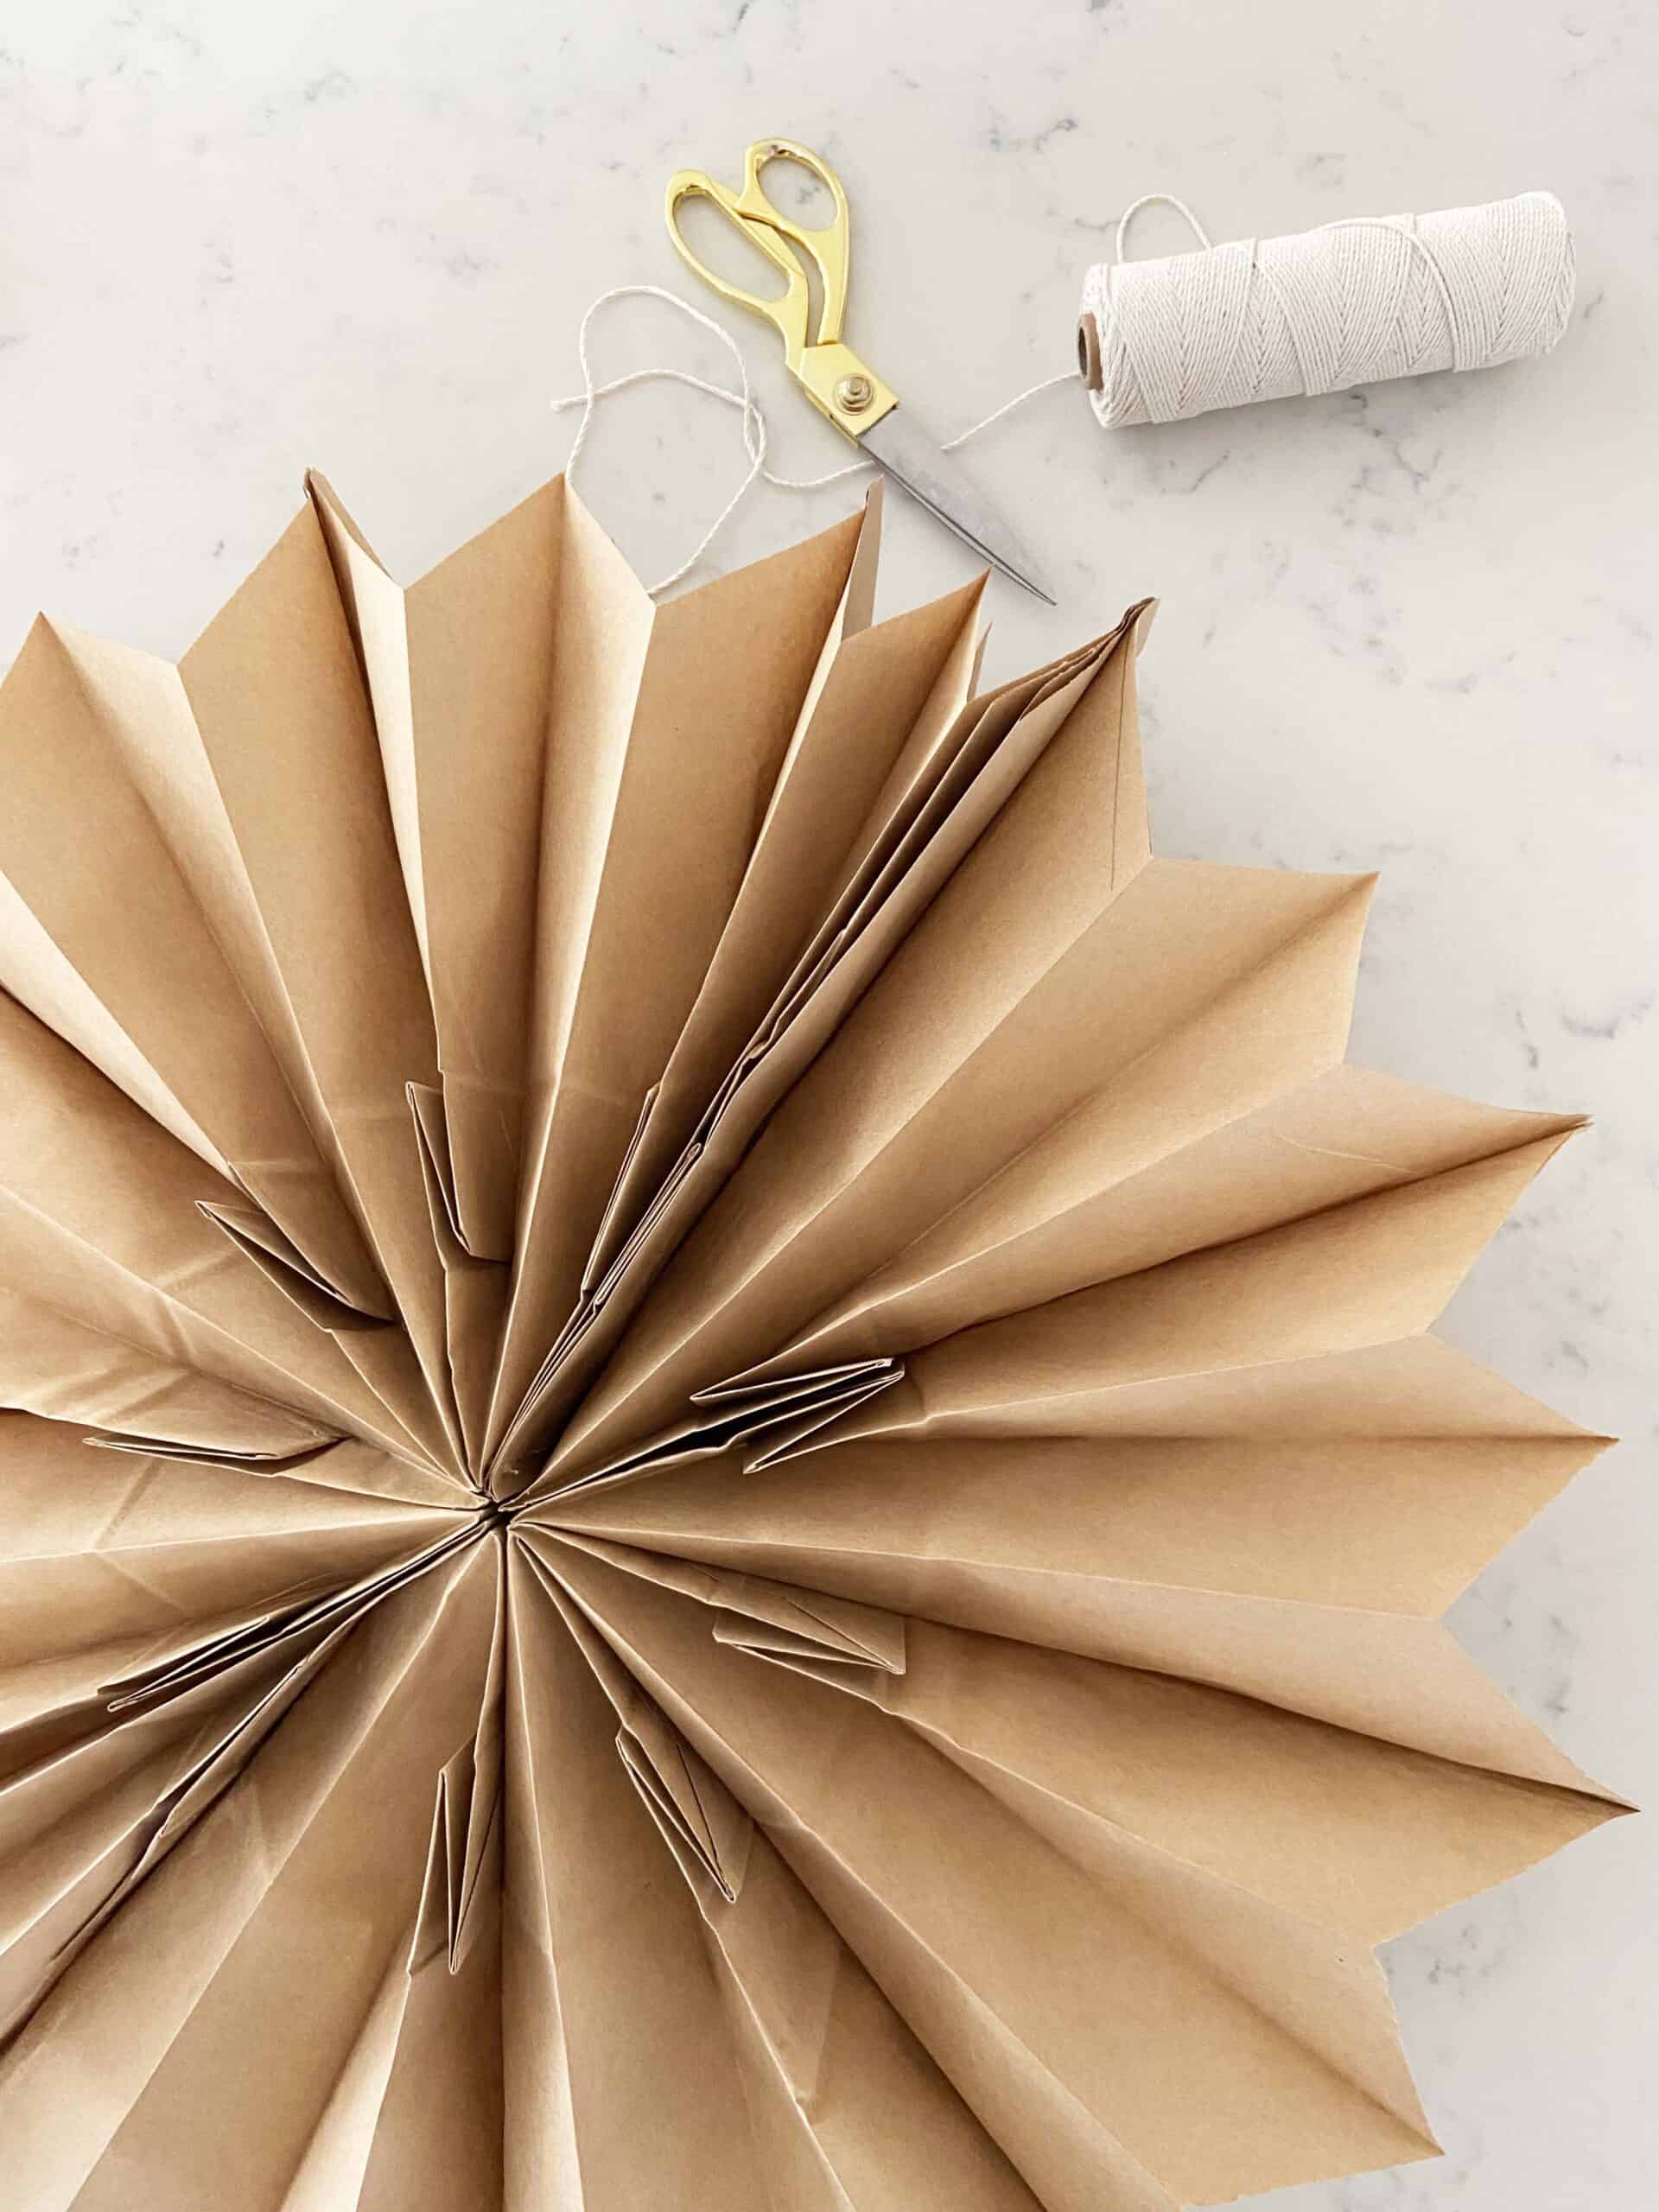
Once all the bags are glued into a stack, gently pull the bags open to fan them out into a star shape. This will also let you check to see if any glue seeped out and stuck where it shouldn’t have. If it did, just gently pull the paper apart.
Once you know the star opens up correctly, add glue to the top of the last paper bag in the same T-shape. Open the paper bags and fan them out to connect the star together. Insert your hands into the first and last paper bags and hold them together for about 30 seconds to make sure the glue holds.
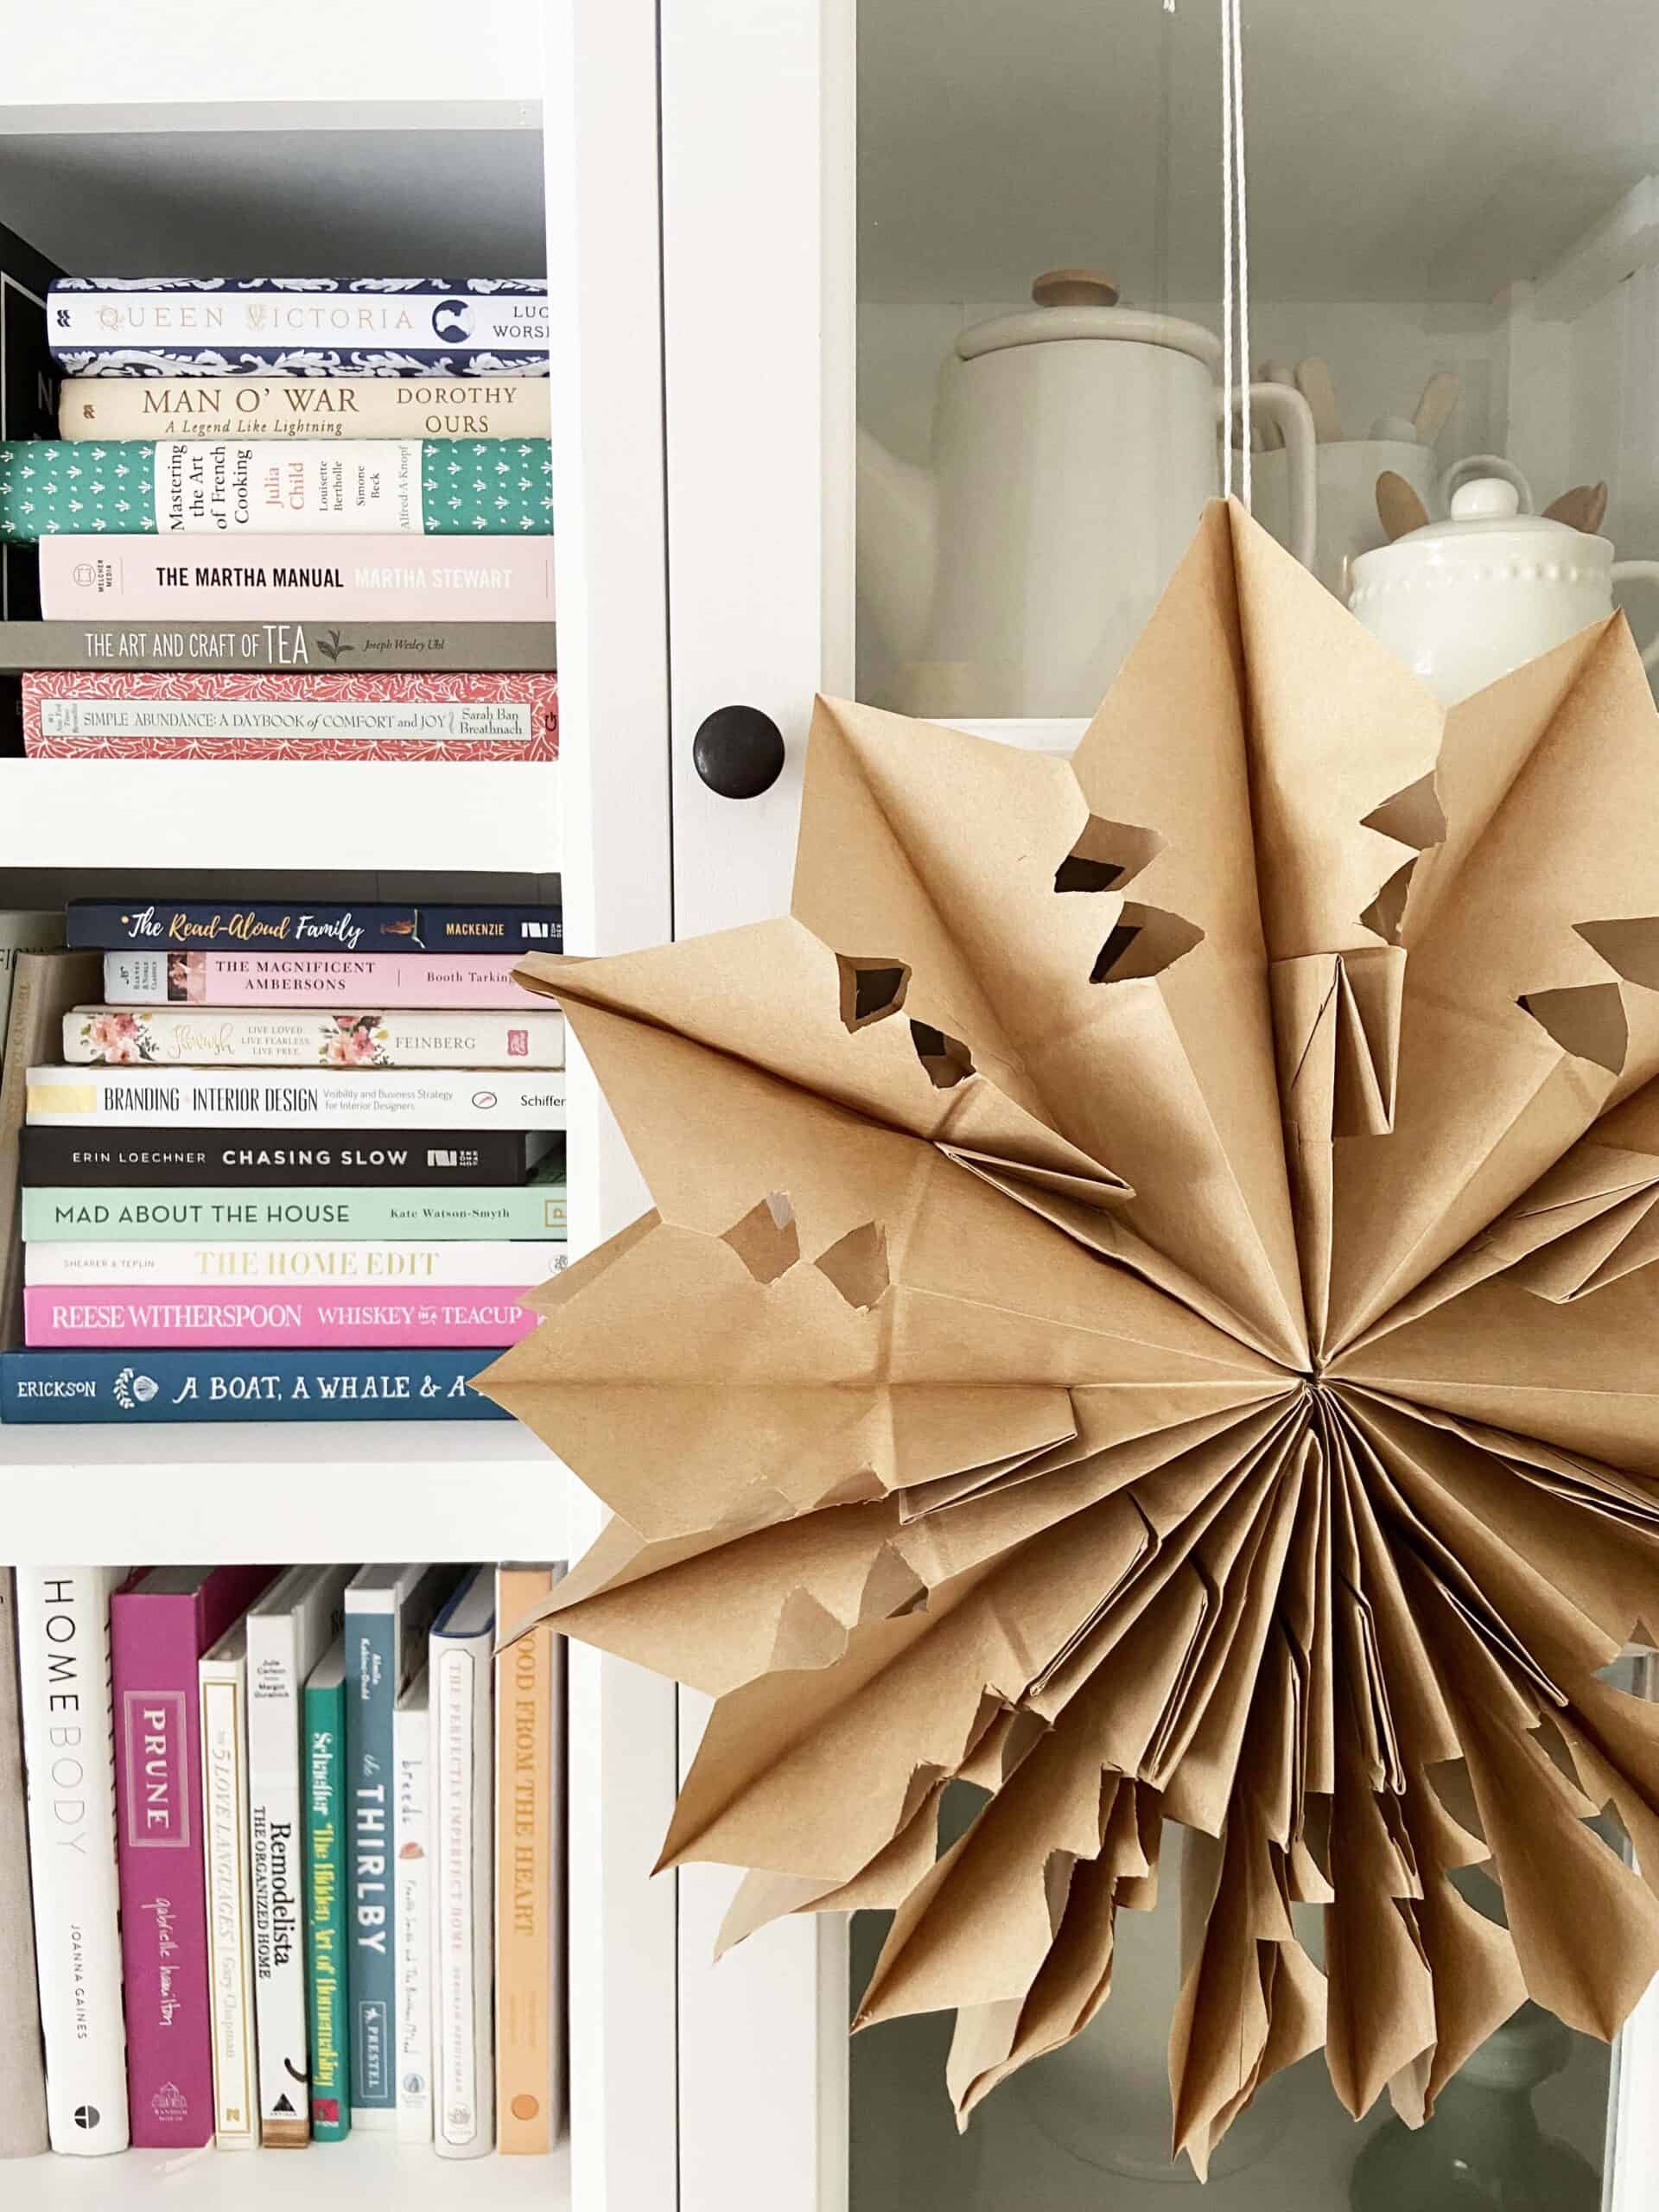
Once the glue has set, poke a hole into the top of one of the star points (about 1 inch down) and loop some twine or string through the hole for hanging.
Voilá! A simple and cozy craft to brighten up those long winter days. 💕
Like This post? You might enjoy these:
Creating A Hygge Home This Winter
A Hygge Worthy Wool Winter Wreath
Post Sources
This post contains some affiliate links for your convenience. Click here to read my full disclosure
Want to save this post? Pin it here!


Leave a Reply
You must be logged in to post a comment.